Documents & Templates
Digitizing your HR paperwork can save you time and effort. With flair, you have a central location to upload, manage, share, and securely store HR documents, payslips, and certificates.
Making Company Documents Available to Employees
Making company documents easily accessible to all employees on the Employee Hub can be done through a few straightforward steps. To do this, you'll need to access the flair HR app on Salesforce.
- Begin by launching the flair HR app on your device. This app serves as the platform through which you can manage and distribute company documents.
- Once you have launched the flair HR app, locate the navigation bar. In the navigation bar, you will find an option labeled Company Documents. Click on this option to proceed.
- Alternatively, if you're unable to find the Company Documents option in the navigation bar, you can use the App Launcher to search for it. Simply enter Company Documents into the search bar.
- After accessing the Company Documents section, you will be presented with an option to create a new document. Click on the New button to begin the process.
- Next, give the document a meaningful and descriptive name that will help employees easily identify its content. This name will be displayed when employees access the document.
- If you do not wish to immediately publish the document to all employees, you can mark it as a draft. Uncheck the draft checkbox to indicate that the document is ready for publication.
- Next, proceed to upload the files you want to share with your employees.
- Save the document to complete the publishing process.
- To confirm that the document is accessible to all employees, switch to the Employee Hub. You should be able to see the newly published document on the Corporate page of the Documents section.
By following these steps, you can efficiently distribute company documents and ensure that important information is readily accessible to all employees.
Uploading Employee Documents in Bulk
To upload employee documents in bulk to the Employee Hub using the flair HR app, follow these steps. This is helpful for the mass distribution of payroll documents or other files to the correct employees, who will receive them in the Documents section of the Employee Hub.
Creating a Template
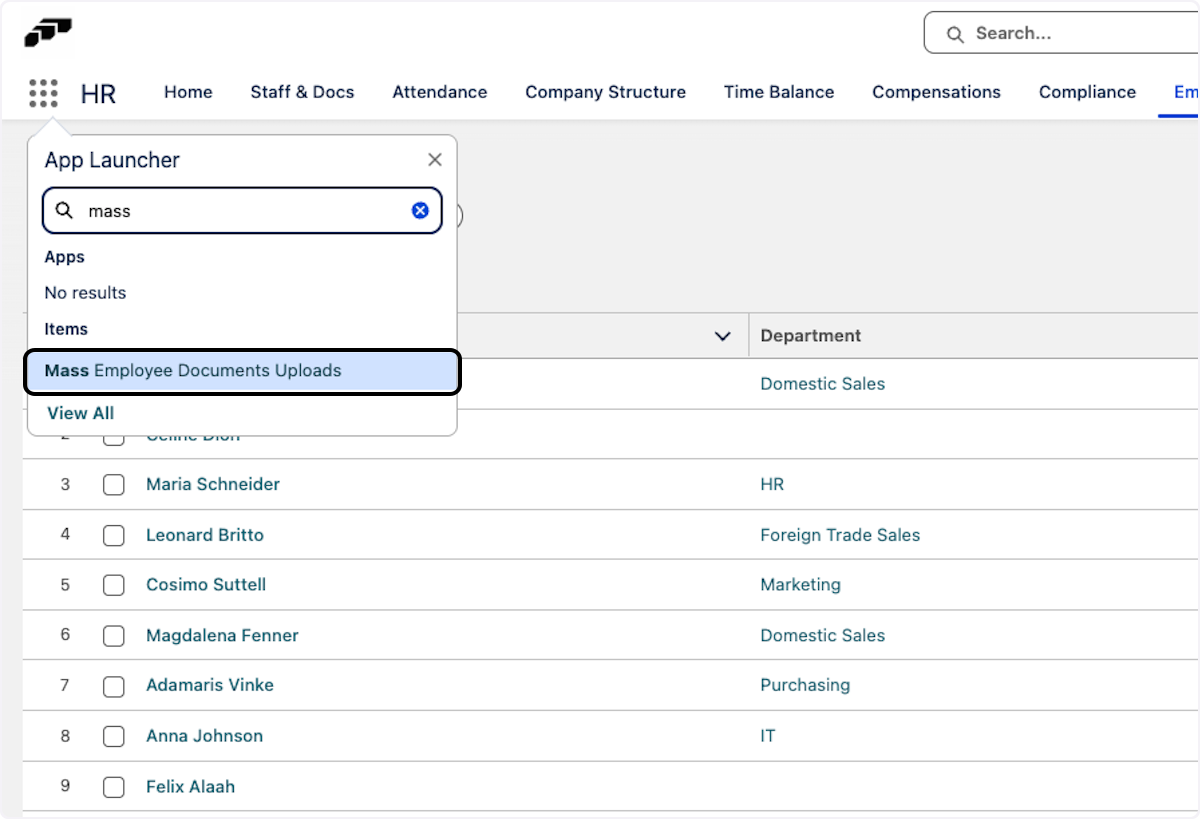
- Click on the App Launcher and search for Mass Employee Documents Uploads.
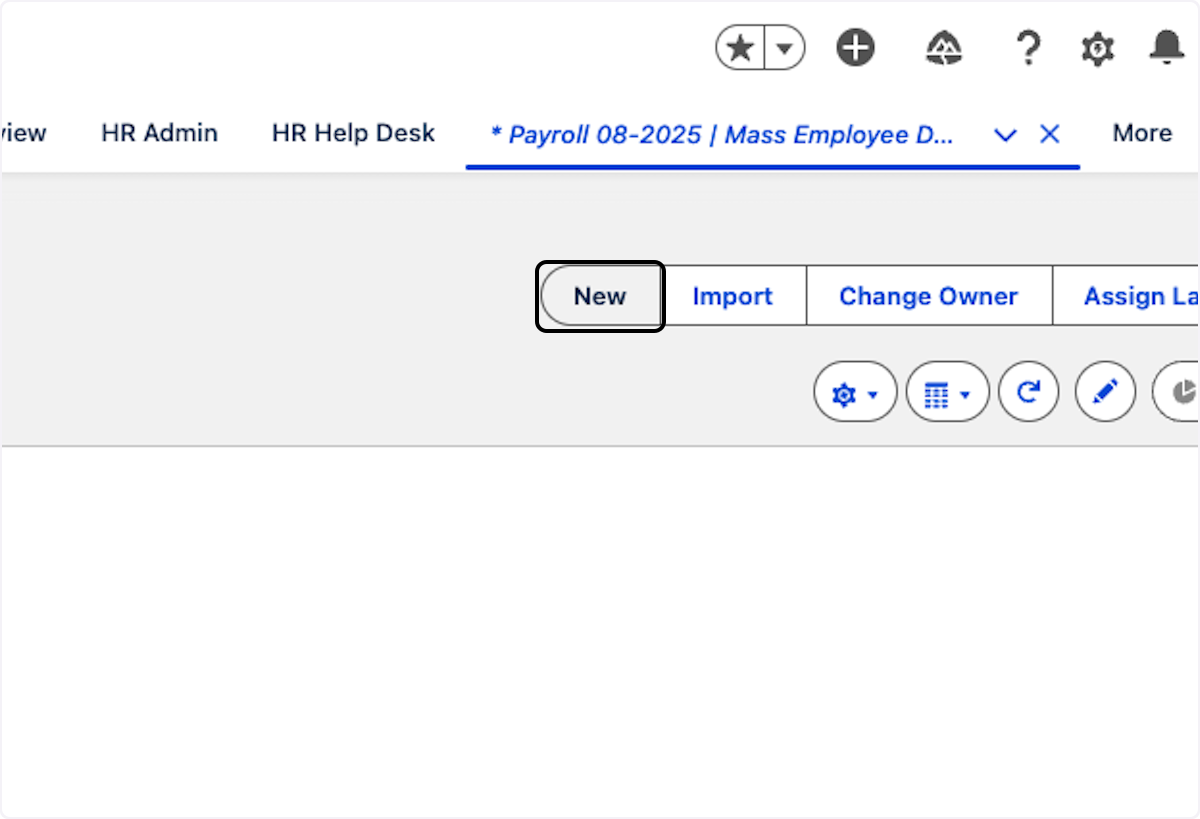
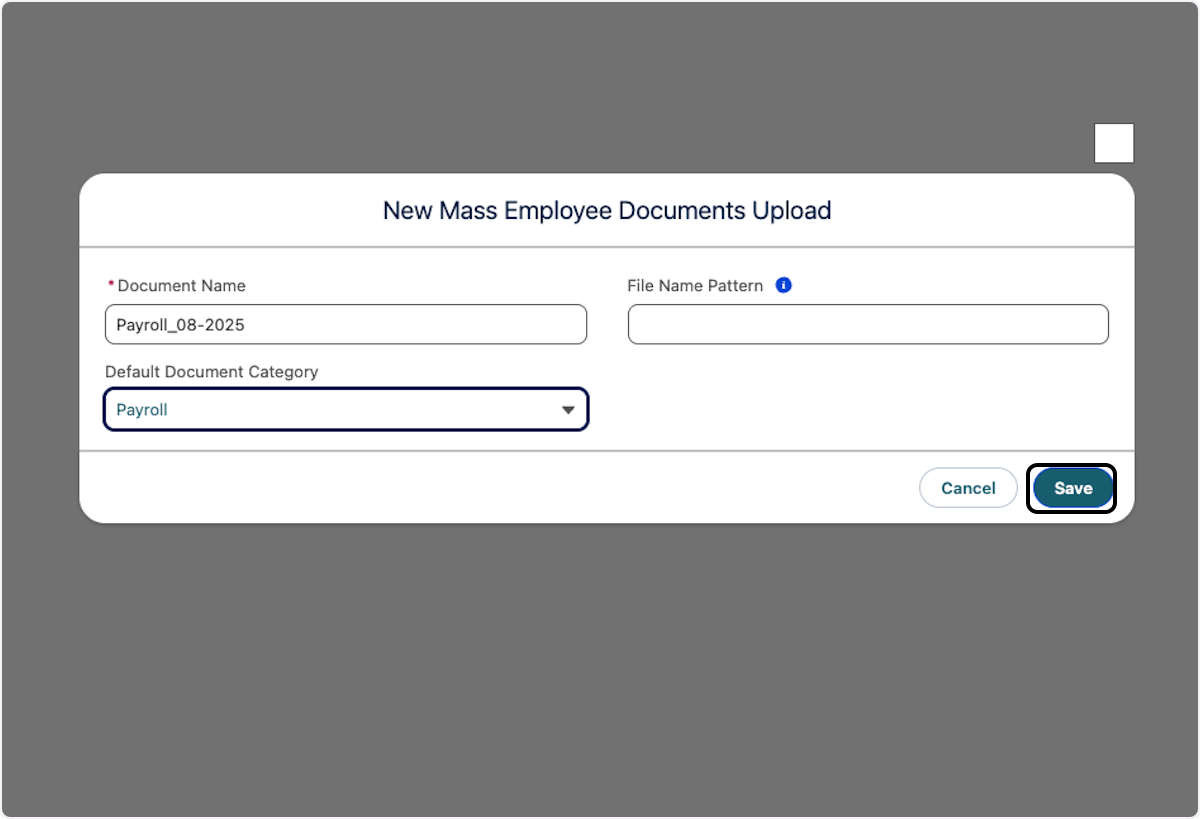
- Click New to create a new template for uploading documents in bulk.
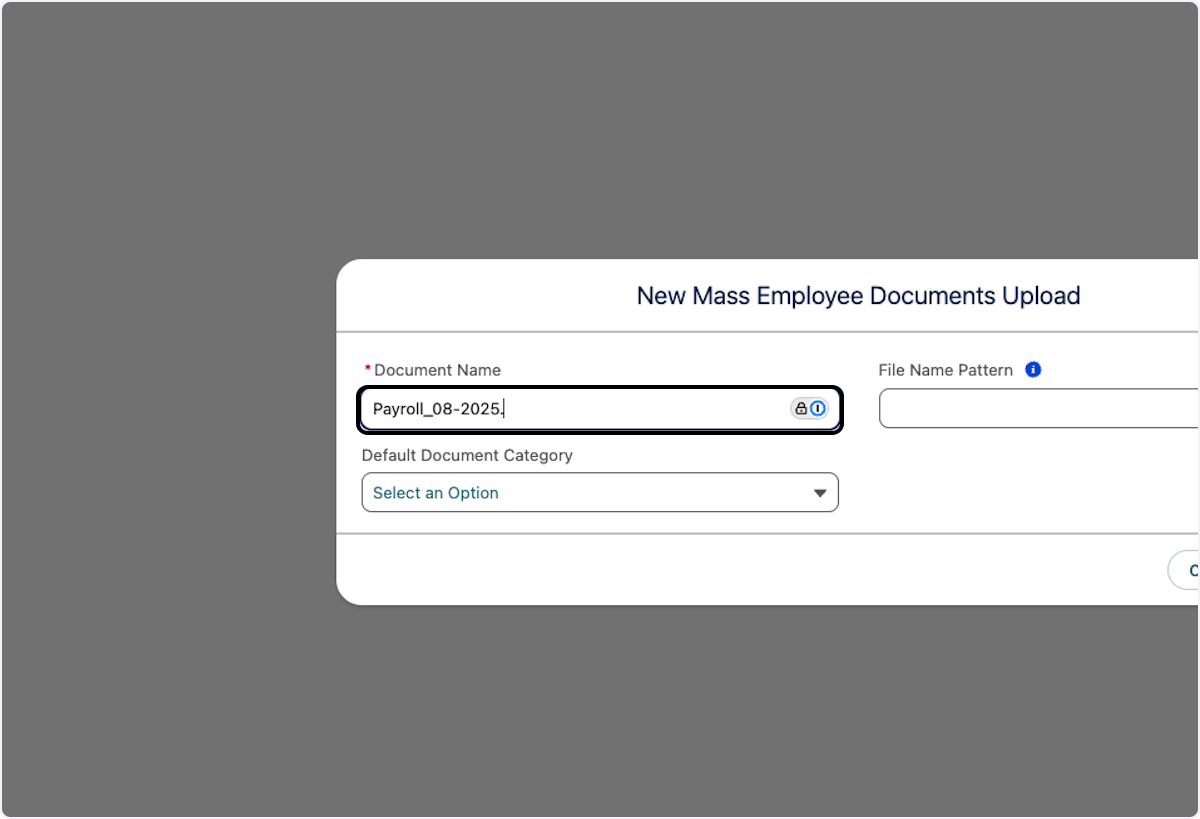
- Give your template a name.
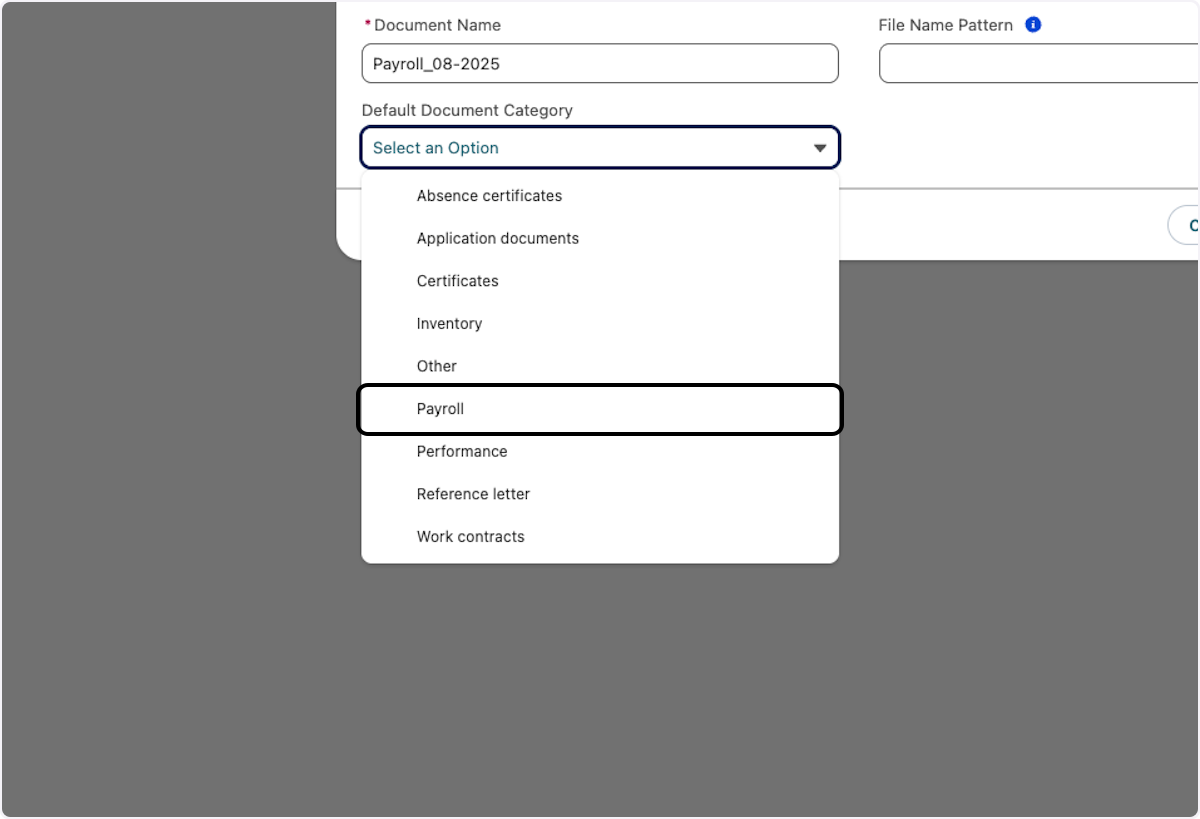
- Choose the type of document you are uploading. For example, select Payroll as the Default Document Category.
- Click Save. You will automatically be directed to the new template.
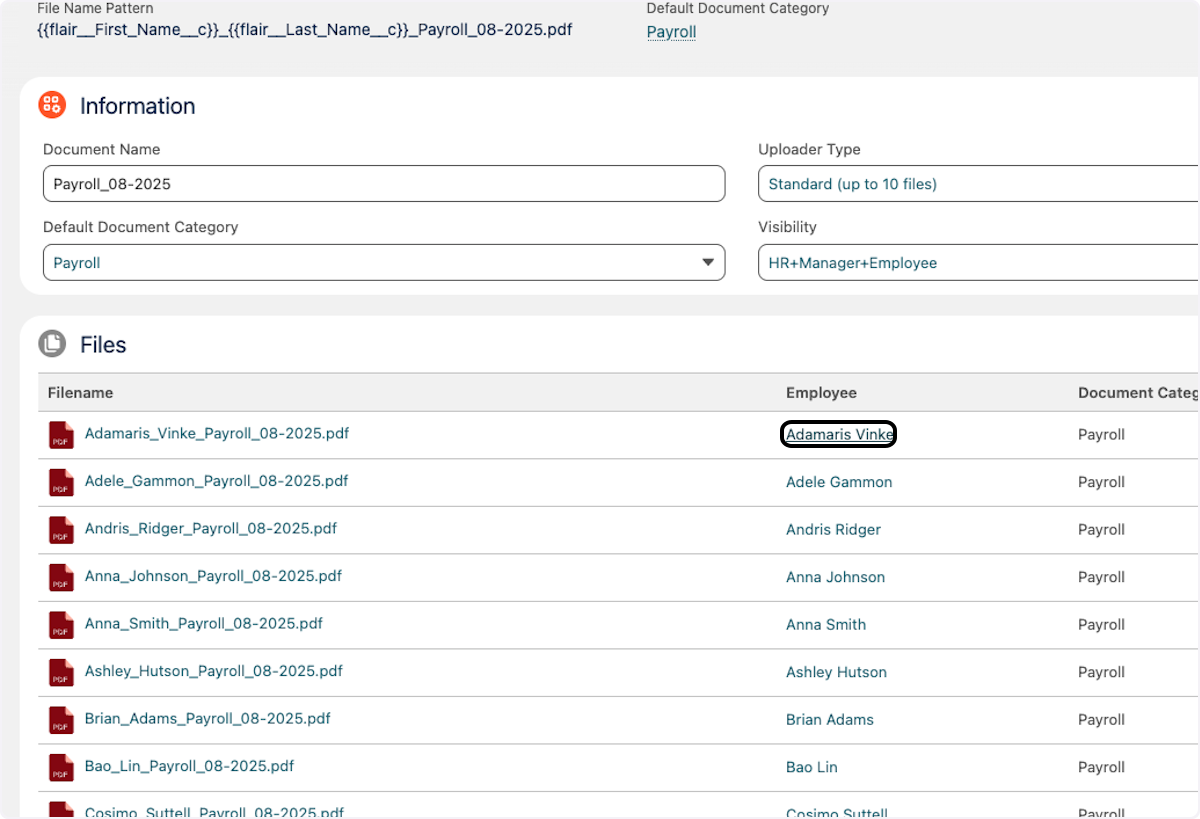
Configuring Visibility and File Name Patterns
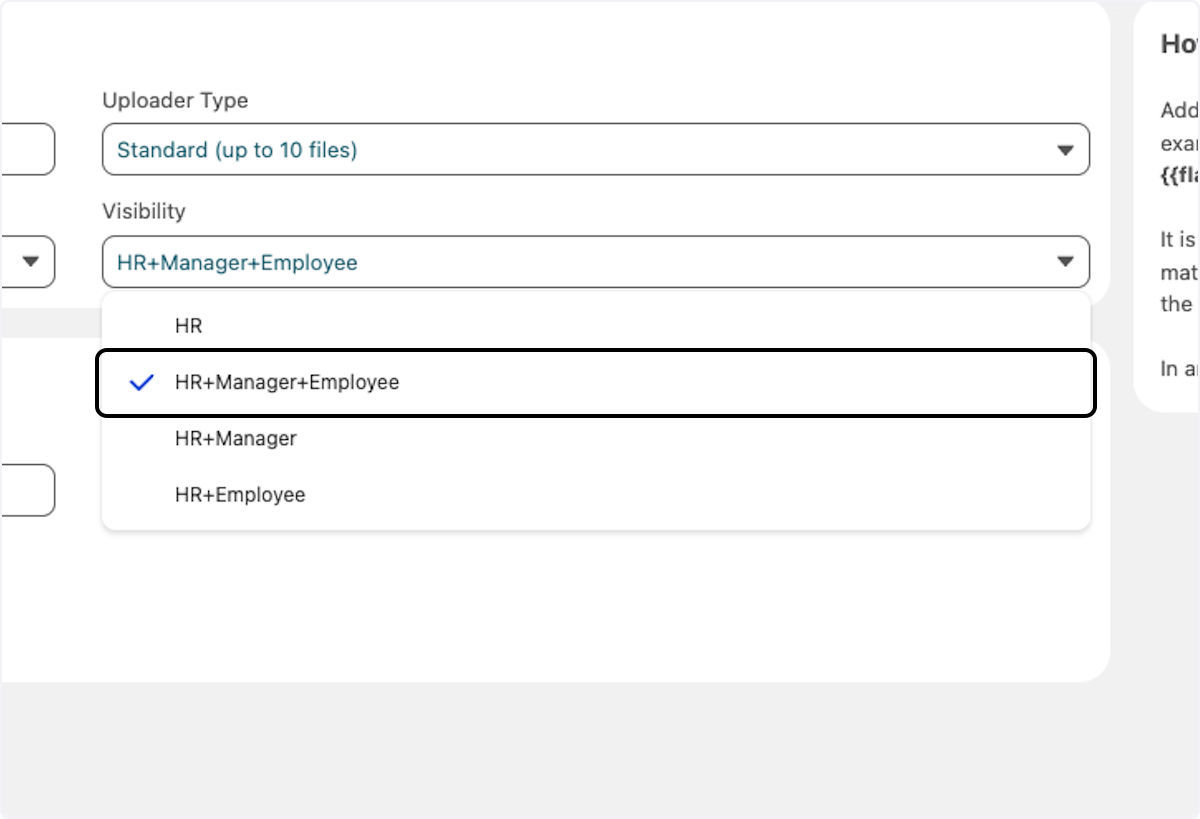
- Use the Visibility box to determine who can receive and view the documents you wish to send. The options include: HR+Manager+Employee, or simply the HR department.
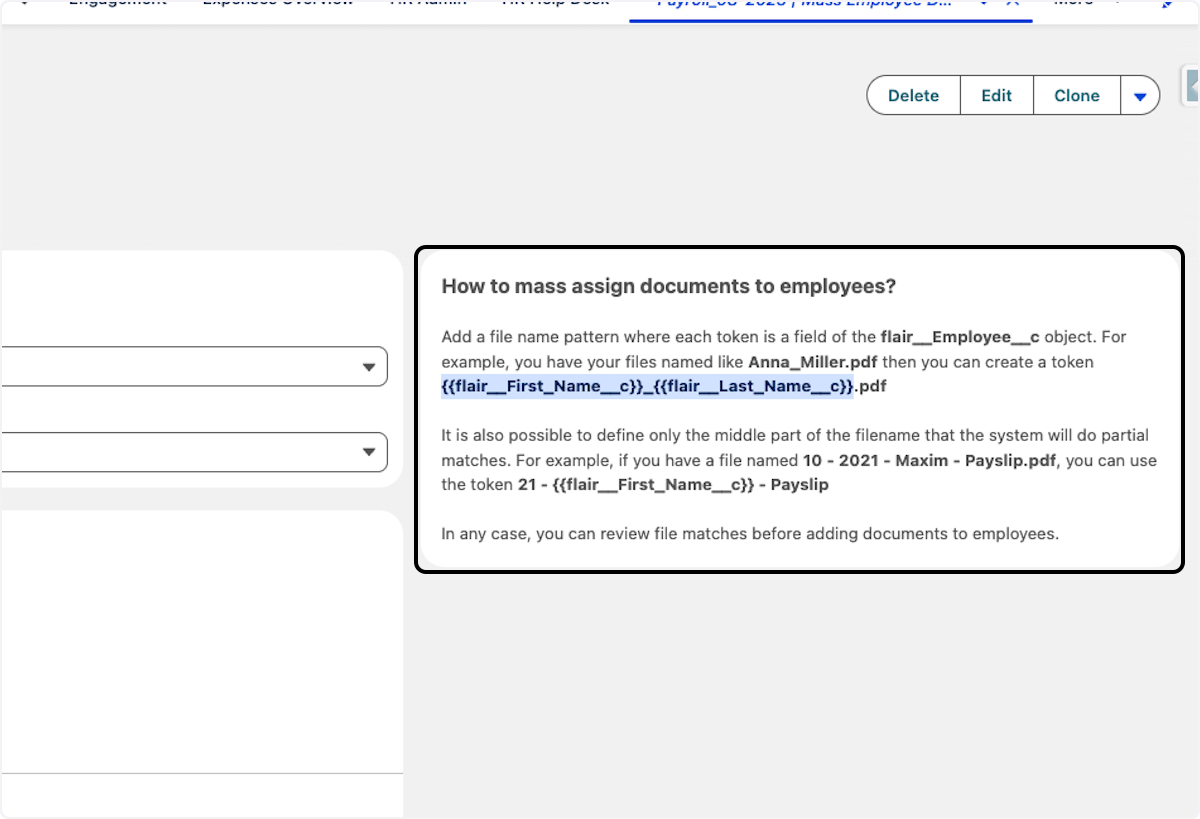
- Within the template, you can give your documents a File Name Pattern. For example,
{{flair__First_Name__c}}_{{flair__Last_Name__c}}.pdf. This allows the flair system to automatically assign documents to employees based on the file names.
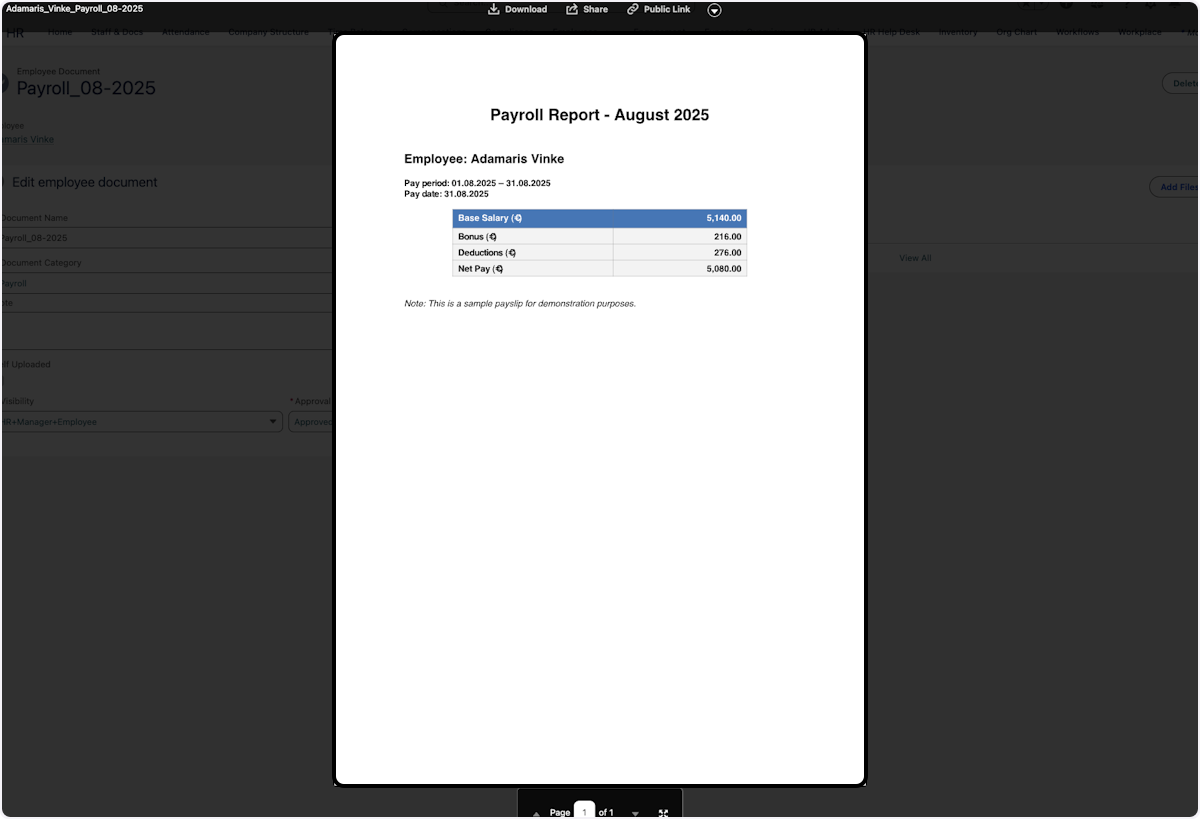
If the document you want to upload for each employee is currently named Adamaris_Vinke_Payroll_08-2025.pdf, you can replace the first name and last name with merge fields. Simply copy the merge fields from the information box next to the template.
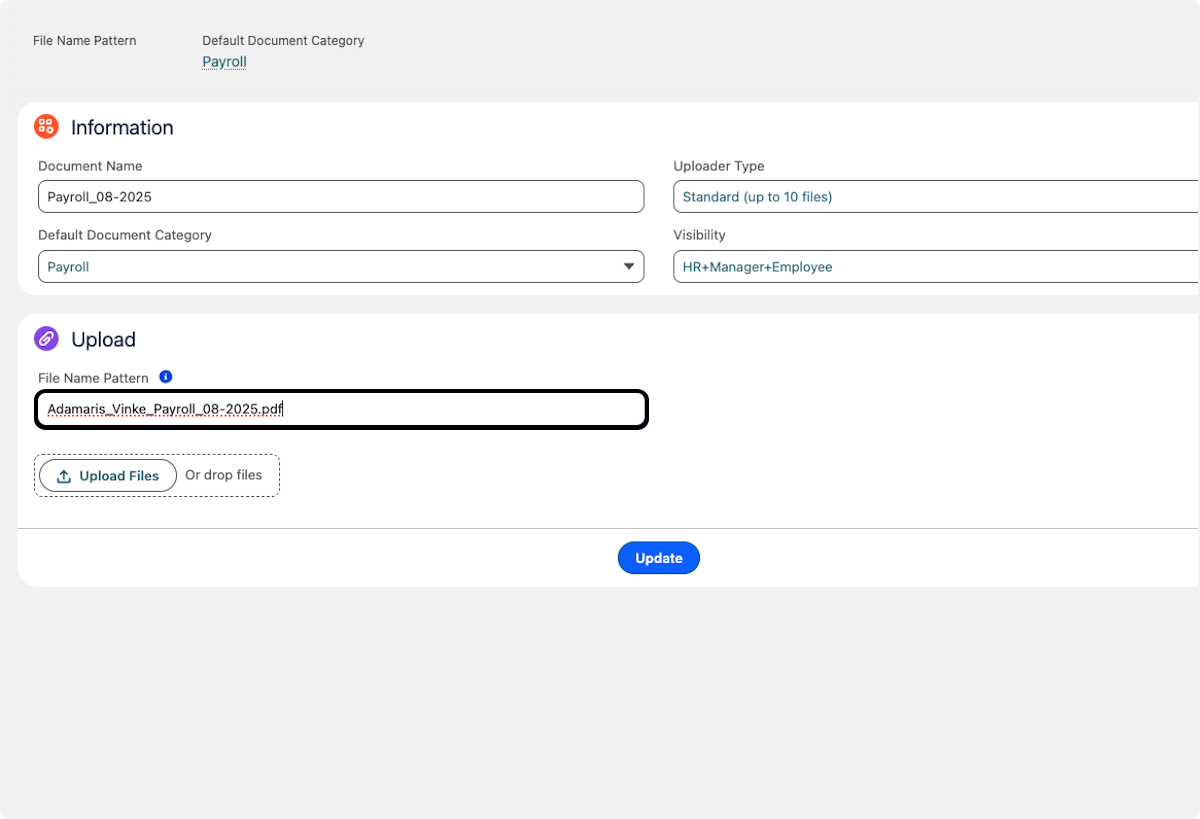
- The File Name Pattern should now look like this.
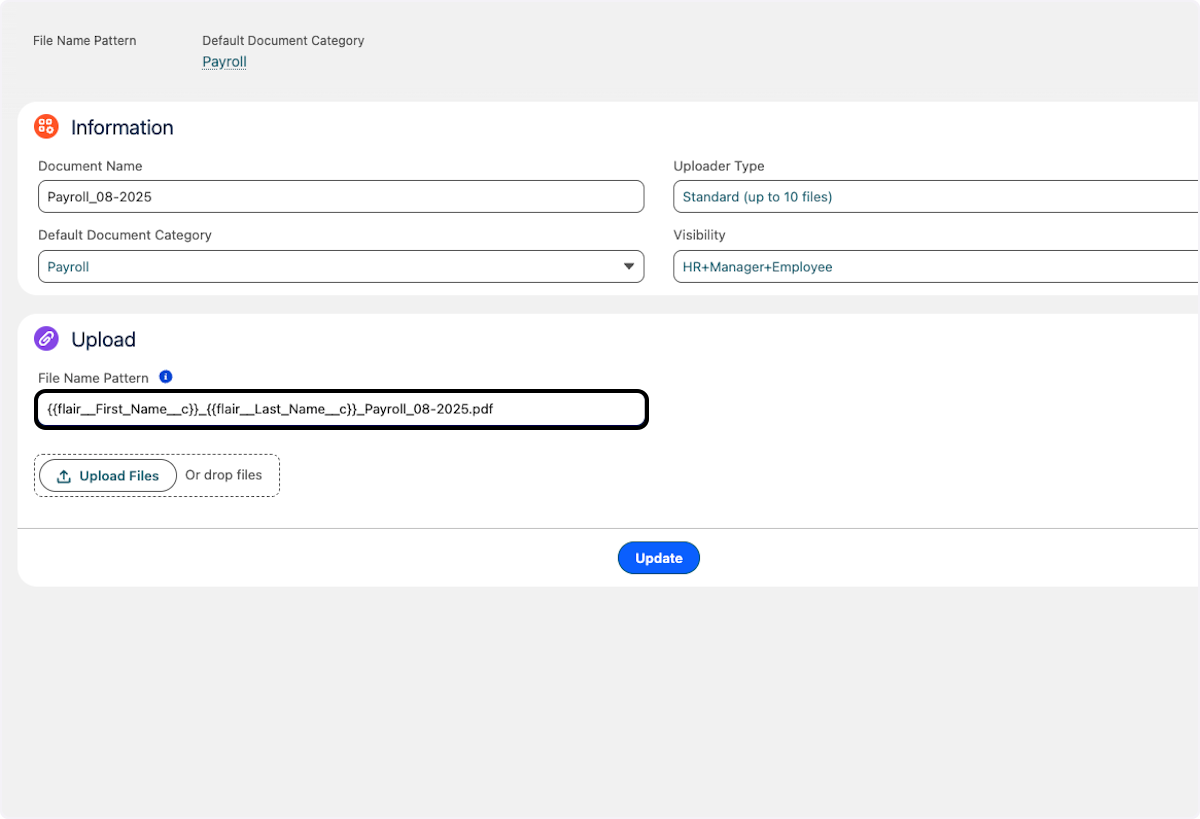
- Click Update to save the File Name Pattern.
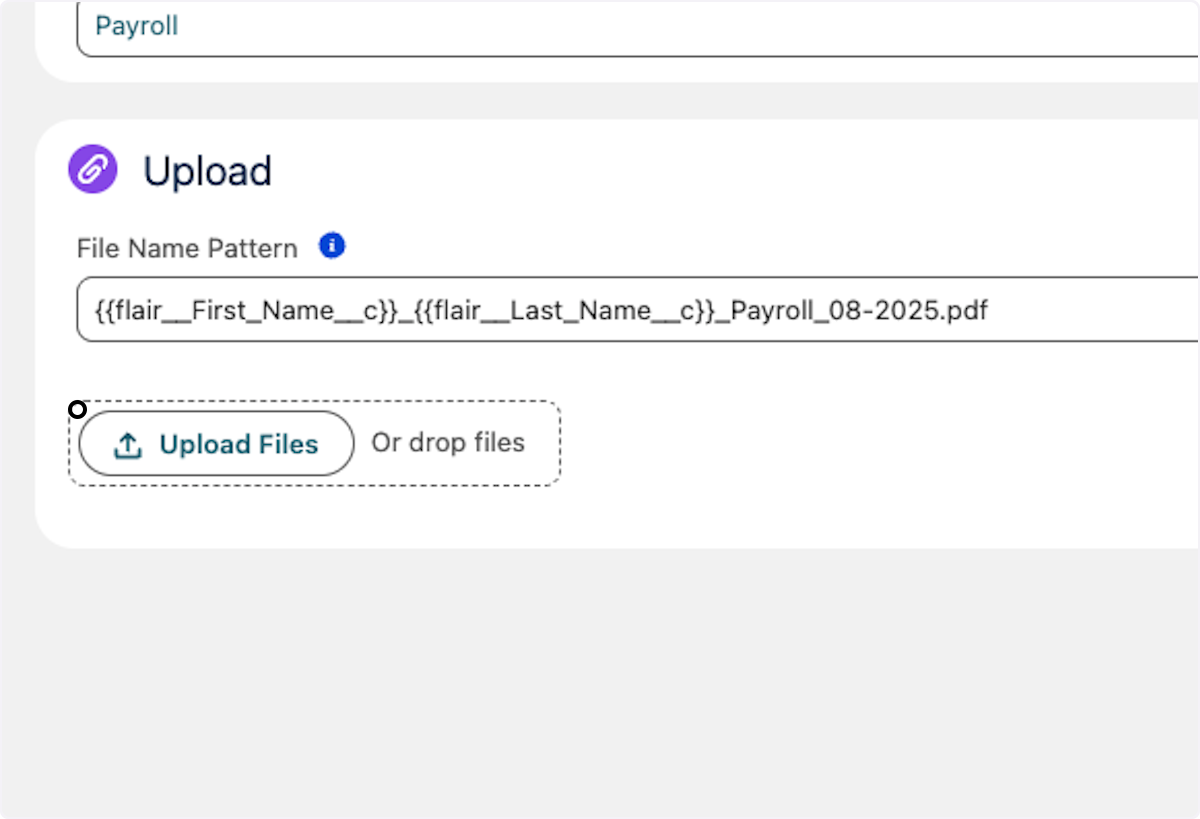
Uploading Files
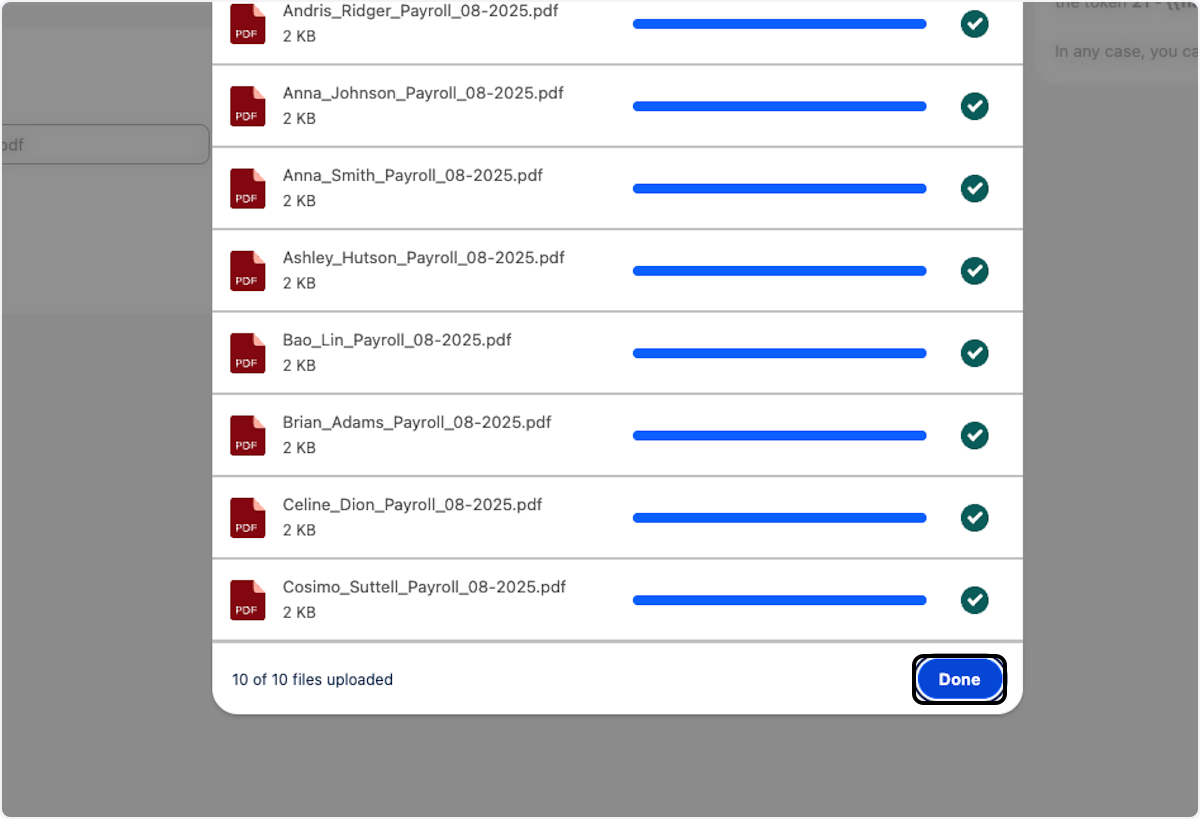
- Click Upload Files and choose the files you want to upload.
- Once the upload is completed, click Done.
- Click Create Employee Documents. The system will assign documents to employees automatically wherever possible, based on the predefined File Name Patterns. You can also manually assign documents to employees if needed.
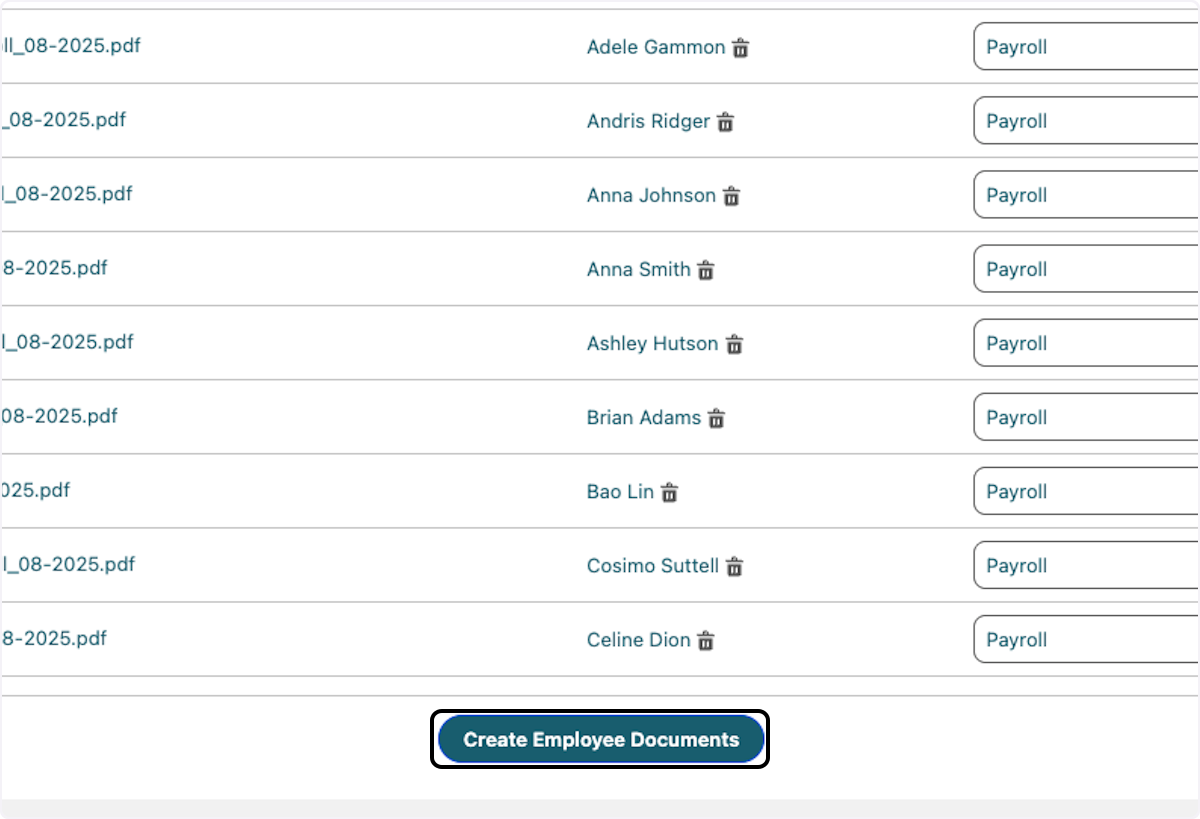
The documents will then be visible to employees or managers in the Documents section of the Employee Hub.
Verifying Document Assignment
You can verify that documents have been correctly assigned by checking an employee's record:
- Click on any employee from the list.
- Click on the Documents tab.
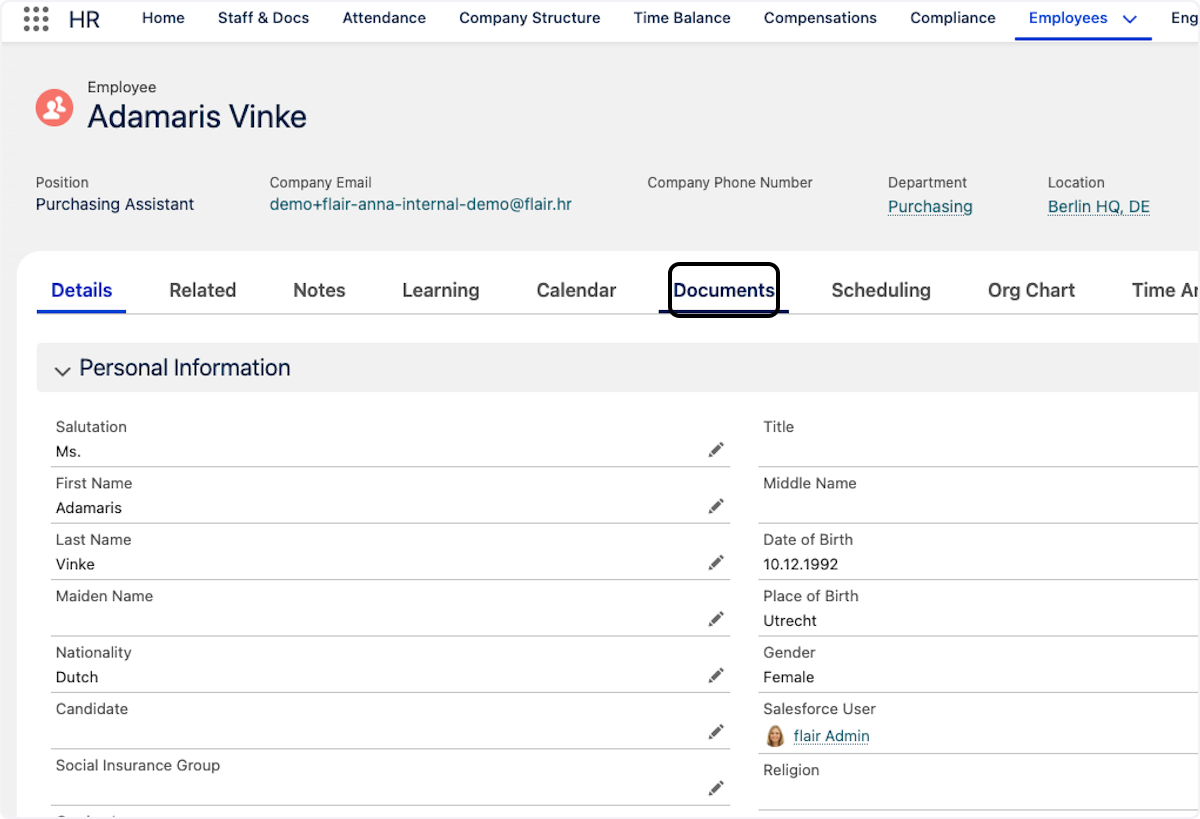
- You will notice that the document you uploaded has been automatically mapped to the employee.
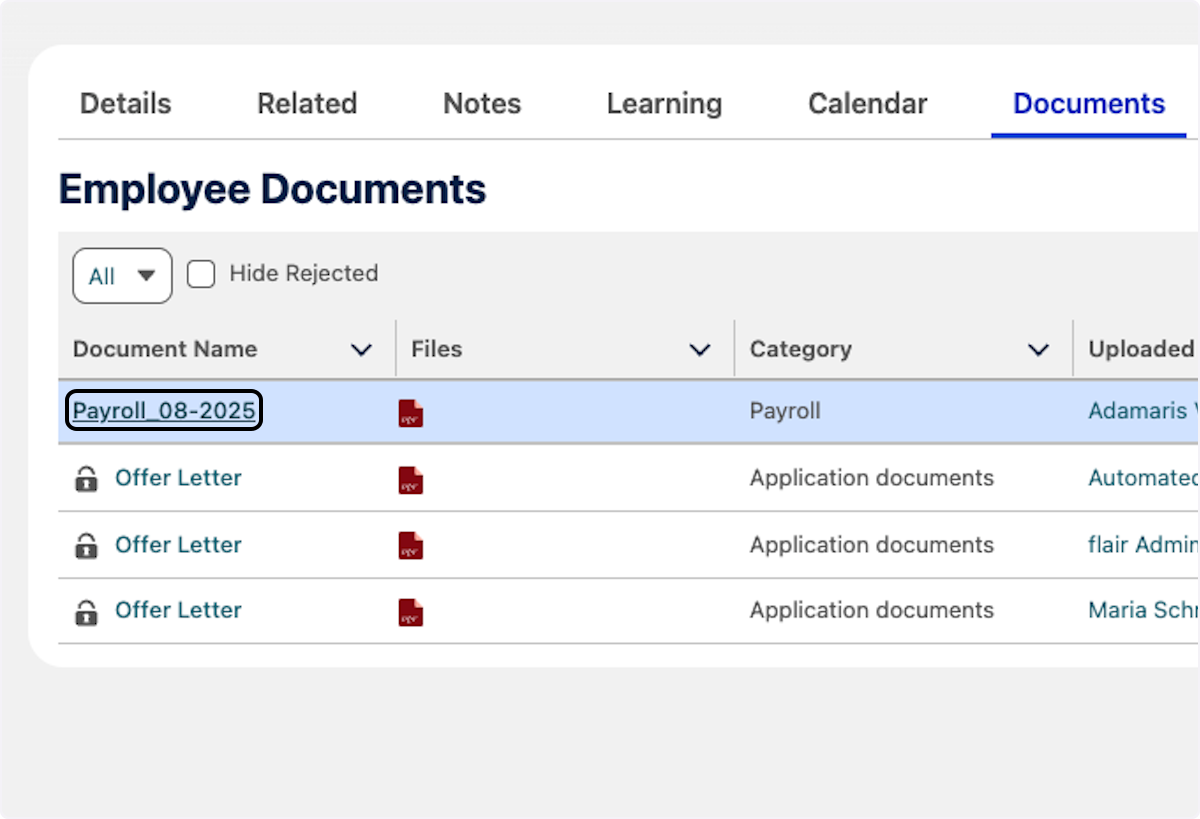
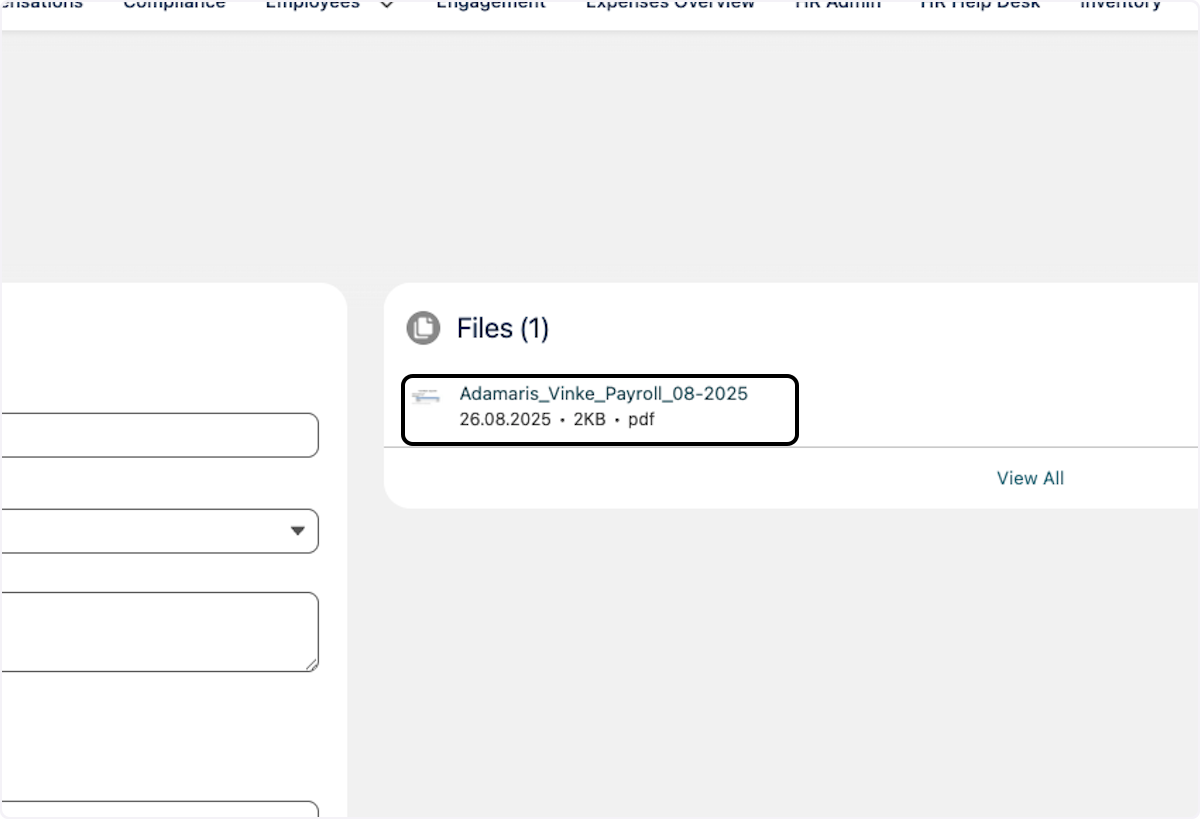
- Click on the file to open it and verify the content.
Uploading Documents via SFTP
If your organization uses an SFTP server to store documents such as payslips, you can upload files directly from the SFTP server into employee records. This is useful for integrating with external payroll systems or other services that deliver files via SFTP.
Step 1: Access Employee Document Upload
- Navigate to the Staff and Docs tab.
- Locate the Employee Document Upload section.
- Click Create New Upload to start a new document upload process.
Step 2: Choose the SFTP Upload Type
When creating a new upload, give it a name (e.g., "January Payslips 2025") and click Save. Then, select one of the following upload types:
- Standard: Upload up to 10 files.
- Custom: Upload up to 1,000 files.
- Split: Upload one file and split it into multiple files for different employees.
- SFTP: Upload files directly from an SFTP server.
For SFTP, select SFTP and click Update.
Step 3: Enable and Configure SFTP Integration
If SFTP integration is not yet enabled:
- Click the Enable SFTP Integration option.
- Enter the SFTP host details.
- Click Save to configure.
Step 4: Upload Files from SFTP
- After enabling SFTP, click Add from SFTP.
- Browse the SFTP server to locate your files. You can navigate folders and select individual files or entire folders to upload.
- Click Download to transfer the files into the platform.
Step 5: Automatic File Matching
- Use the File Name Pattern feature for automatic matching. Define the file name pattern using employee fields (e.g., employee name or employee number) and update the pattern to match your employee object fields.
- Confirm that files are correctly assigned to employees based on their numbers or names by cross-referencing employee details in the platform.
Step 6: Create Employee Documents
- Once files are matched, click Create Employee Documents.
- Verify that documents have been added to the respective employee records by navigating to the Documents tab.
- Open and review individual files to ensure accuracy.
After enabling SFTP, you can also upload files directly to specific employees by selecting the employee and choosing the file(s) to upload. This feature is also available in the Recruiting section.
Restoring Deleted Documents
If you accidentally delete a document or other record, you can restore it from the Salesforce Recycle Bin.
- Click on the App Launcher in Salesforce.
- Search for and click on Recycle Bin.
- In the Recycle Bin, locate the deleted record. You can switch between My Recycle Bin (items you deleted) and All Recycle Bin (all deleted items, if you have permission).
- Select the record you want to restore.
- Click Restore to recover the record to its original location.
Automatic Document Text Parsing
flair automatically extracts and parses text from all uploaded employee documents. When you upload any document to an employee's profile, the system automatically processes the document and extracts the text content. This parsed text is then stored in the system and becomes searchable, making it easier to find specific information across all employee documents.
This feature works similarly to how document parsing functions in the recruiting module, but it now applies to all employee documents uploaded in the system. The extracted text is immediately available and can be searched within flair, providing better document management and retrieval capabilities.
Restricting Employee Document Uploads
By default, employees can upload their own documents in the Employee Hub — for example, to share certificates or personal files with HR. If your organisation wants to control what employees can upload, you can disable self-upload on a per-company or per-employee basis.
When the restriction is enabled, the Upload buttons on the employee's Documents page and the dashboard profile widget are hidden. Documents submitted as part of a Request Form are unaffected — employees can still attach files to form submissions.
To restrict employee self-upload:
- Open the flair HR app in Salesforce.
- Navigate to Settings and open the Employee Hub configuration.
- Under Documents, enable the Restrict Employee Document Upload option.
- Save your changes.
This setting is global. If you need per-employee exceptions, create a Request Form that employees use to submit documents — attachments added through a form are always allowed regardless of this setting.
Mobile Document Management
Sometimes, you might want to check your work contract or a payslip out of working hours. The flair mobile app gives you a secure way to do this.
From the home screen of the mobile app, you can upload a document by clicking on the plus icon and the text Add. Simply choose a name and document category, then click Add File.
You can also view any documents that you have received in the Employee Hub. Tap the My Data tab at the bottom-right of the screen and you will see your most recent payroll documents and any documents you have uploaded.
Download our free mobile app for iOS and Android.