E-Signing
Note: E-Signing is a paid feature. If you don't see the e-signing feature in your organization, please contact our sales team to learn more about adding this capability to your flair subscription.
The flair e-signing feature can assist you in organizing signatures for contracts or files. With e-signatures, the cumbersome process of printing, signing, and scanning is eliminated, significantly reducing the time it takes to finalize deals and documents.
flair e-signatures include advanced encryption, providing a level of security that is more robust than traditional paper-based signatures and filing. Here's how to insert an e-signature into a document uploaded on flair.
Preparing a Document for E-Signing
To add an e-signature to a file, you will need to upload a document onto flair and assign a signer. Follow these steps:
- In the flair HR app, go to the Employees section and select the individual you wish to assign as the primary signer for the document.
- In the employee's profile, access the Documents tab and upload the desired document for signing.
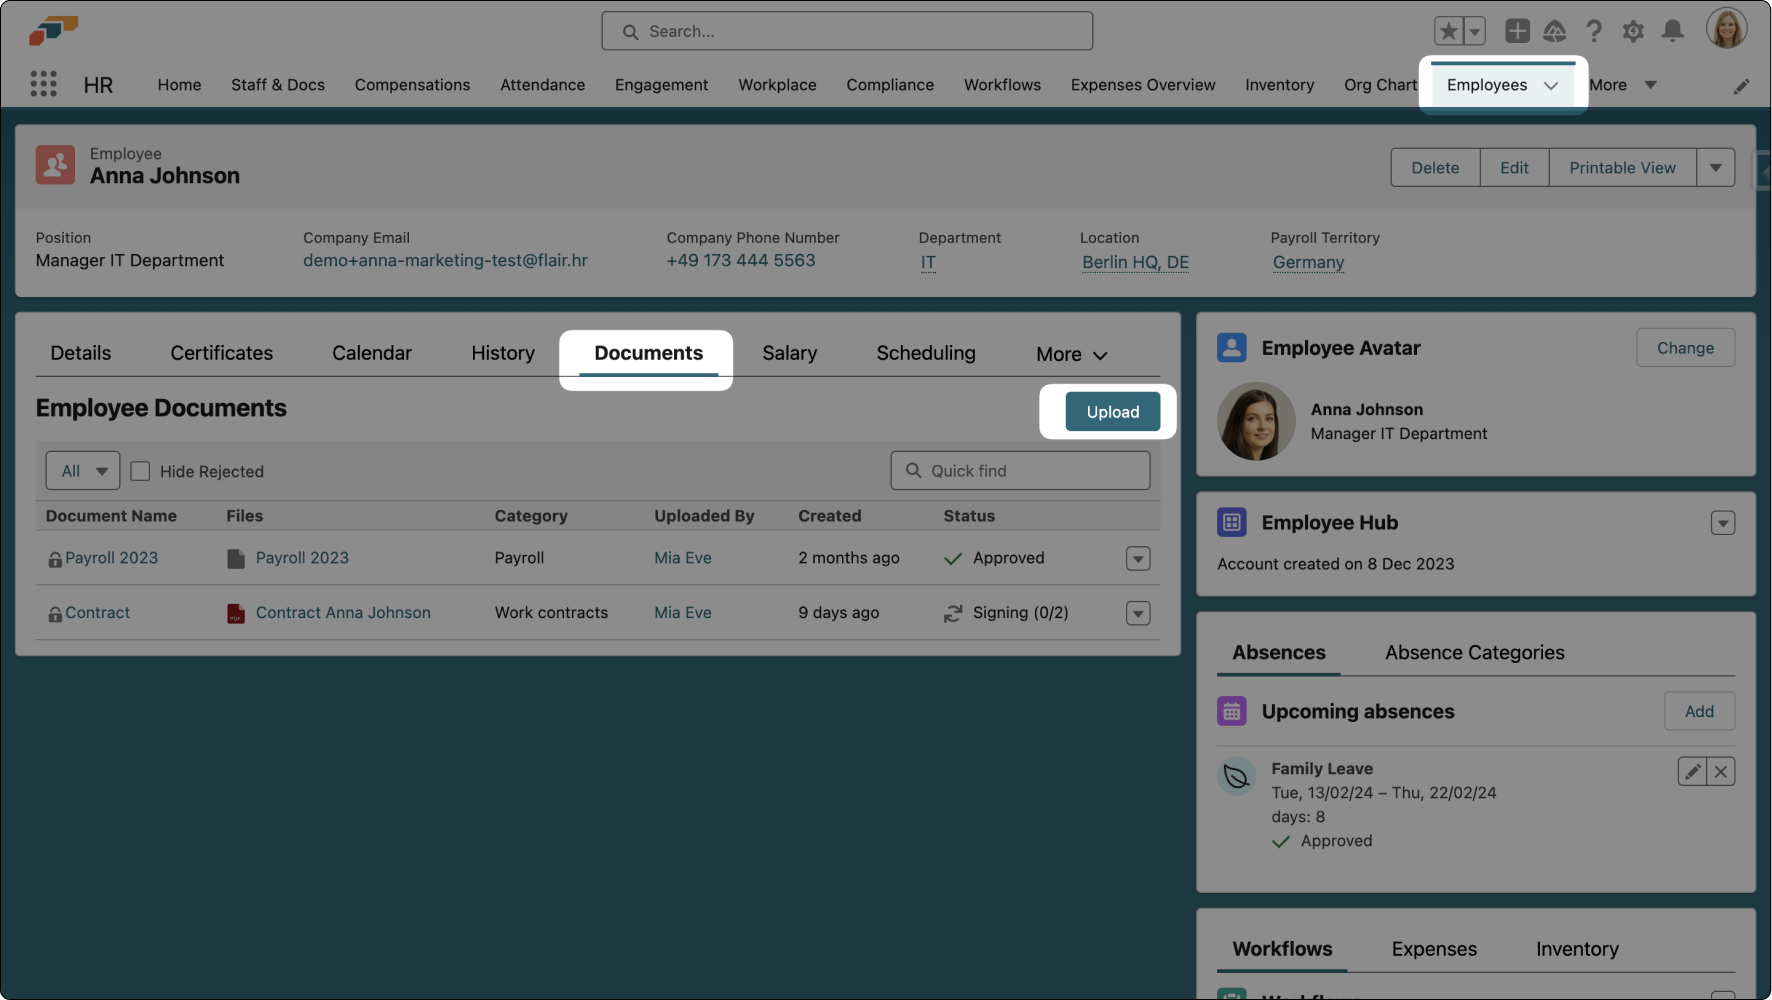
- Beside the Status field, click the dropdown arrow ▼ and select Sign.
![]()
- A popup box will display your uploaded document. Click Add Signer to choose the individual(s) required to sign. Multiple signers can be selected if needed.
- For every added signer, a color-coded signing component will appear, allowing you to effortlessly drag and drop it to the desired signature location.

- Next, initiate the signing process by clicking Send for Signing. This will send email notifications to the designated signers, prompting them to provide their unique signature for the uploaded document.
- Signers can swiftly access the e-signing feature via email, enabling them to view the entire document and affix their signature.
HR professionals can use our e-signature feature to keep track of documents that need to be signed. It is also possible to review the version history of a document.
SMS Authentication for Signers
When sending a document for signing, you can now require each signer to verify their identity with a one-time password (OTP) sent by SMS before they can sign.
Setting up SMS authentication
- Open the document signing modal for the record you want to send.
- For each signer, select SMS one-time password from the authentication dropdown.
- The signer's phone number is automatically read from their employee record (Company Phone Number) or candidate record (Phone).
- If a signer is missing a phone number, the modal shows an inline error and blocks sending until it is corrected.
- Click Send for signing when all signers are configured.

The phone number used for SMS authentication comes from the signer's Salesforce record and cannot be entered manually in the signing modal. Make sure employees and candidates have a valid phone number on their record before using SMS authentication.
E-Signing a Document
Putting your unique e-signature to a document is super easy using flair. Follow the steps below.
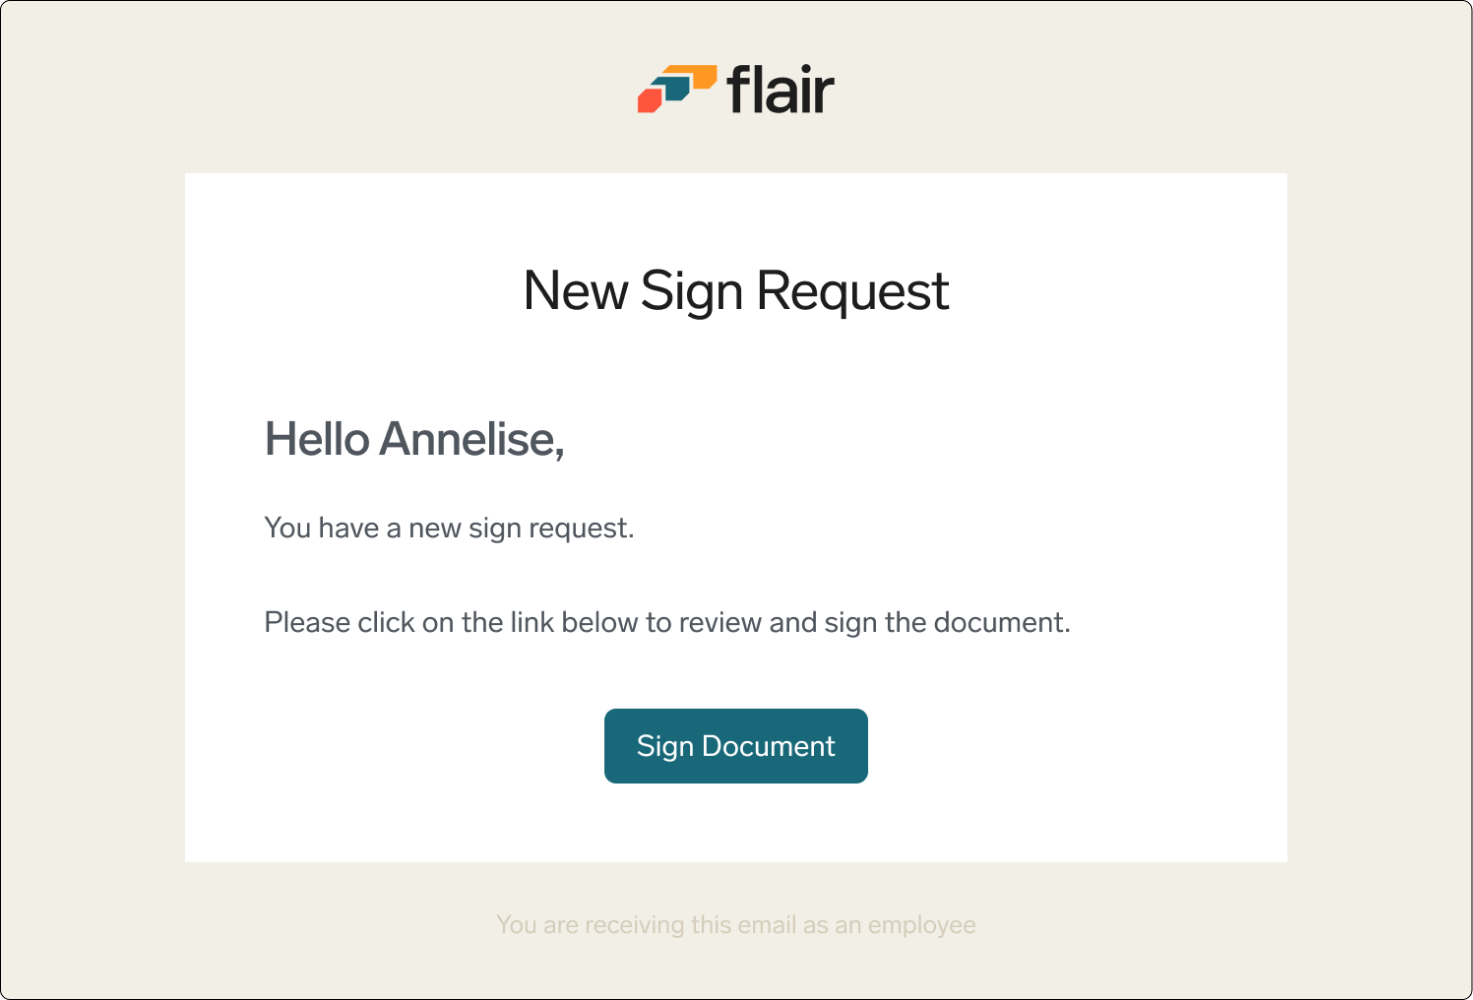
- If you have been assigned as a signer to a document you will receive an email notification.
- Click the Sign Document button in the email and proceed to add your unique signature.