Expense Rules & Tax Management
The expense framework includes powerful automation features that calculate reimbursements automatically based on company policies and legal requirements. This guide covers setting up Expense Rules Templates for automatic calculations and configuring Tax Management for proper tax handling.
Expense Rules Templates
Expense Rules Templates allow you to define automatic compensation calculations based on your company's internal policies or legal requirements. These rules automatically calculate expense amounts based on conditions like distance traveled, number of nights stayed, or other factors.
Accessing Expense Rules Templates
To access Expense Rules Templates:
- Navigate to the HR Admin tab in the flair workspace
- Find the Expense Rules Template link
- Click to open the template management page
A default Expense Rules Template is migrated to all customer orgs but is disabled by default. You'll need to enable it to start using automatic calculations.
Understanding Expense Rules
Expense rules automatically calculate compensation amounts based on specific conditions. For example:
- Mileage reimbursement: €0.30 per kilometer when employees travel using their own car
- Per diem allowances: Daily meal allowances based on travel duration
- Accommodation rates: Fixed rates for hotel stays
Creating an Expense Rule
To create a new expense rule:
- Open the Expense Rules Template page
- Click New to create a new rule
- Fill in the rule details:
Rule Configuration Fields
- Name - Descriptive name for the rule (e.g., "Mileage Reimbursement - Own Car")
- Record Types - Which expense item record types this rule applies to (separated by semicolons)
- Common types: Travel, Meal, Per Diem, Other
- Condition Field - The field to check for the condition (from expense item or parent expense)
- Operator - Comparison operator (equals, greater than, etc.)
- Condition Value - The value to compare against
- Compensation Amount - Base amount to compensate
- Calculation Field - Field to use for calculation (e.g., kilometers, number of nights)
- If specified, compensation = Compensation Amount × Calculation Field value
- Percentage Addition - Optional percentage to add or subtract from the item amount
Example: Mileage Reimbursement Rule
For a mileage reimbursement rule that pays €0.30 per kilometer:
- Name: "Mileage - Own Car"
- Record Types: Travel
- Condition Field: Means of Transport
- Operator: Equals
- Condition Value: Own Car
- Compensation Amount: 0.30
- Calculation Field: Kilometers
This rule will automatically calculate: 0.30 × Kilometers when an employee selects "Own Car" as their means of transport.
Example: Per Diem Meal Allowance
For daily meal allowances:
- Name: "Per Diem - Meals"
- Record Types: Per Diem
- Condition Field: (no condition needed, applies to all per diem items)
- Compensation Amount: (varies by meal type)
- Calculation Field: Number of Days
The system automatically calculates meal allowances based on:
- Start date/time and end date/time of the expense
- Which meals were provided (breakfast, lunch, dinner)
- Number of days covered
Expense Limits
You can set spending limits per record type with specific intervals:
- Daily limits - Maximum compensation per day
- Weekly limits - Maximum compensation per week
- Monthly limits - Maximum compensation per month
- Annual limits - Maximum compensation per year
When a limit is reached, the Limit Reached field is automatically set to true on the expense item. This can be used in custom validations or workflows.
Setting Up Limits
- In the Expense Rules Template, configure limit fields:
- Limit Amount - Maximum amount allowed
- Limit Interval - Time period (Daily, Weekly, Monthly, Annual)
- Record Type - Which expense item types this limit applies to
Department and Country-Specific Rules
Expense rules can be configured to apply only to specific departments or countries:
- Department - Rule applies only to employees from this department
- Country - Rule applies only to employees from this country
This allows you to have different policies for different teams or locations.
Enabling Expense Rules
After creating your expense rules:
- Ensure the Default Expense Policy is enabled
- The policy is disabled by default after migration
- Click the Enable button in the top right of the Expense Rules Template page
- Once enabled, rules will automatically apply when expense items are created
Tax Management
The Tax Manager allows you to associate tax types with expense item record types, ensuring proper tax handling for different types of expenses.
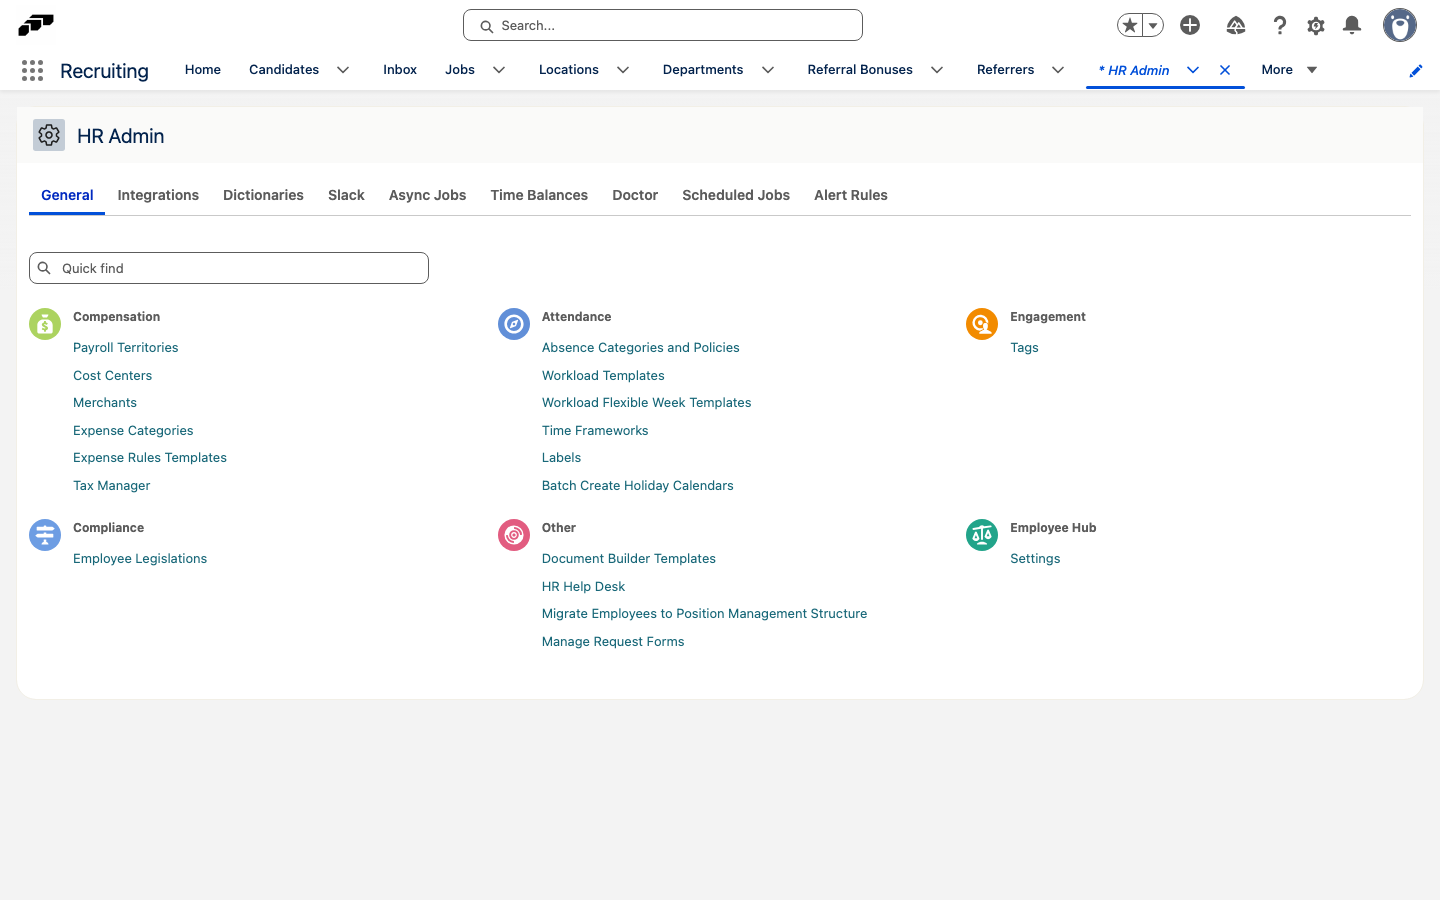
Accessing Tax Manager
To access the Tax Manager:
- Navigate to the HR Admin tab
- Find the Tax Manager link
- Click to open the tax management page
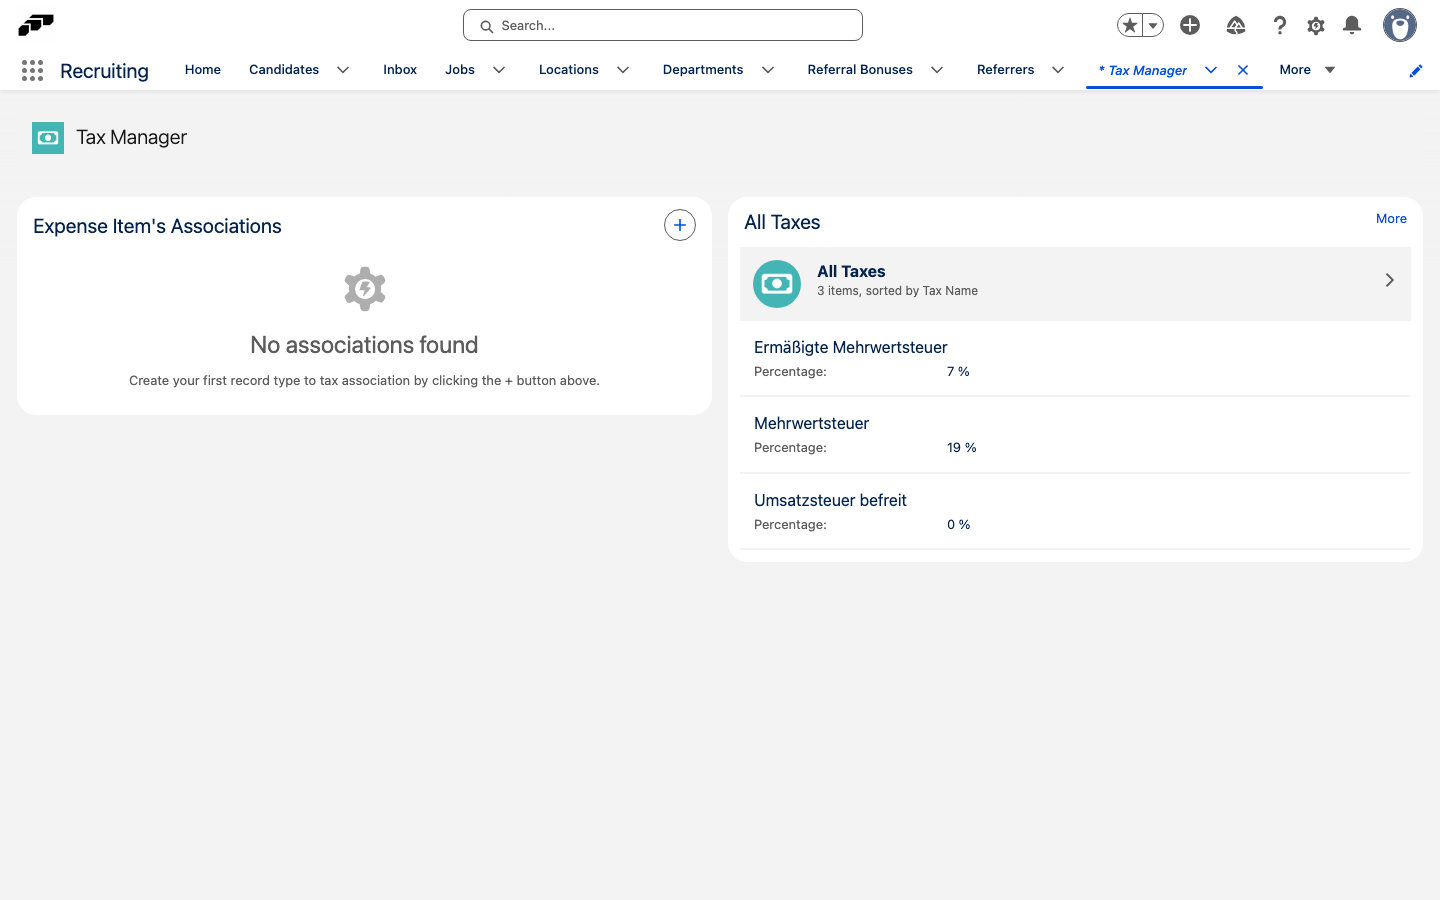
Understanding Tax Types
Tax types define how expenses should be taxed. Common tax types include:
- Tax Exempt - No tax applies
- Standard VAT - Standard value-added tax rate
- Reduced VAT - Reduced tax rate for specific expense types
- Custom tax rates - Organization-specific tax configurations
Creating Tax Types
To create a new tax type:
- In the Tax Manager, go to the Tax Overview section (right side)
- Click New to create a tax record
- Fill in:
- Tax Name - Descriptive name (e.g., "Standard VAT", "Tax Exempt")
- Percentage - Tax percentage rate
- Click Save
Associating Taxes with Record Types
The Tax Manager includes a generic component for associating record types with tax types:
- In the Tax Manager, use the Record Type Tax Association component (left side)
- Select the object (default: Expense Items)
- You'll see all available record types for that object
- For each record type, select the appropriate tax type
- Click Save to confirm associations
Example Associations
- Travel record type → Tax Exempt
- Meal record type → Standard VAT
- Other record type → Standard VAT
Automatic Tax Assignment
Once associations are configured:
- When an expense item is created, the tax is automatically assigned based on its record type
- If the record type changes, the tax is recalculated automatically
- Tax can also be set manually, but will be recalculated if the record type changes
Using Tax Manager with Other Objects
The Tax Manager component is generic and can be used with any object that has record types:
- Edit the Tax Manager page
- In the component configuration, change the object name
- Save the page
- The component will now show record types for that object
This allows you to manage tax associations for other objects beyond expense items if needed.
Related Topics
- Adding Expenses - Learn how employees create expenses that use these rules
- Managing & Approving Expenses - Understand the approval workflow
- Merchants & Categories - Set up the foundation for expense management