Merchants & Categories
Before employees can submit expense claims, it's important to set up your approved merchants and expense categories. This foundation helps organize spending and makes reporting easier.
In the enhanced expense framework, the merchant field has moved to the expense item level rather than the expense level. This allows for more detailed tracking when an expense contains multiple items from different vendors. Categories remain at the expense level.
Setting Up Merchants
Merchants are the approved vendors that deal directly with your company. These are the designated traders from whom employees can purchase and later expect a company reimbursement.
Adding a New Merchant
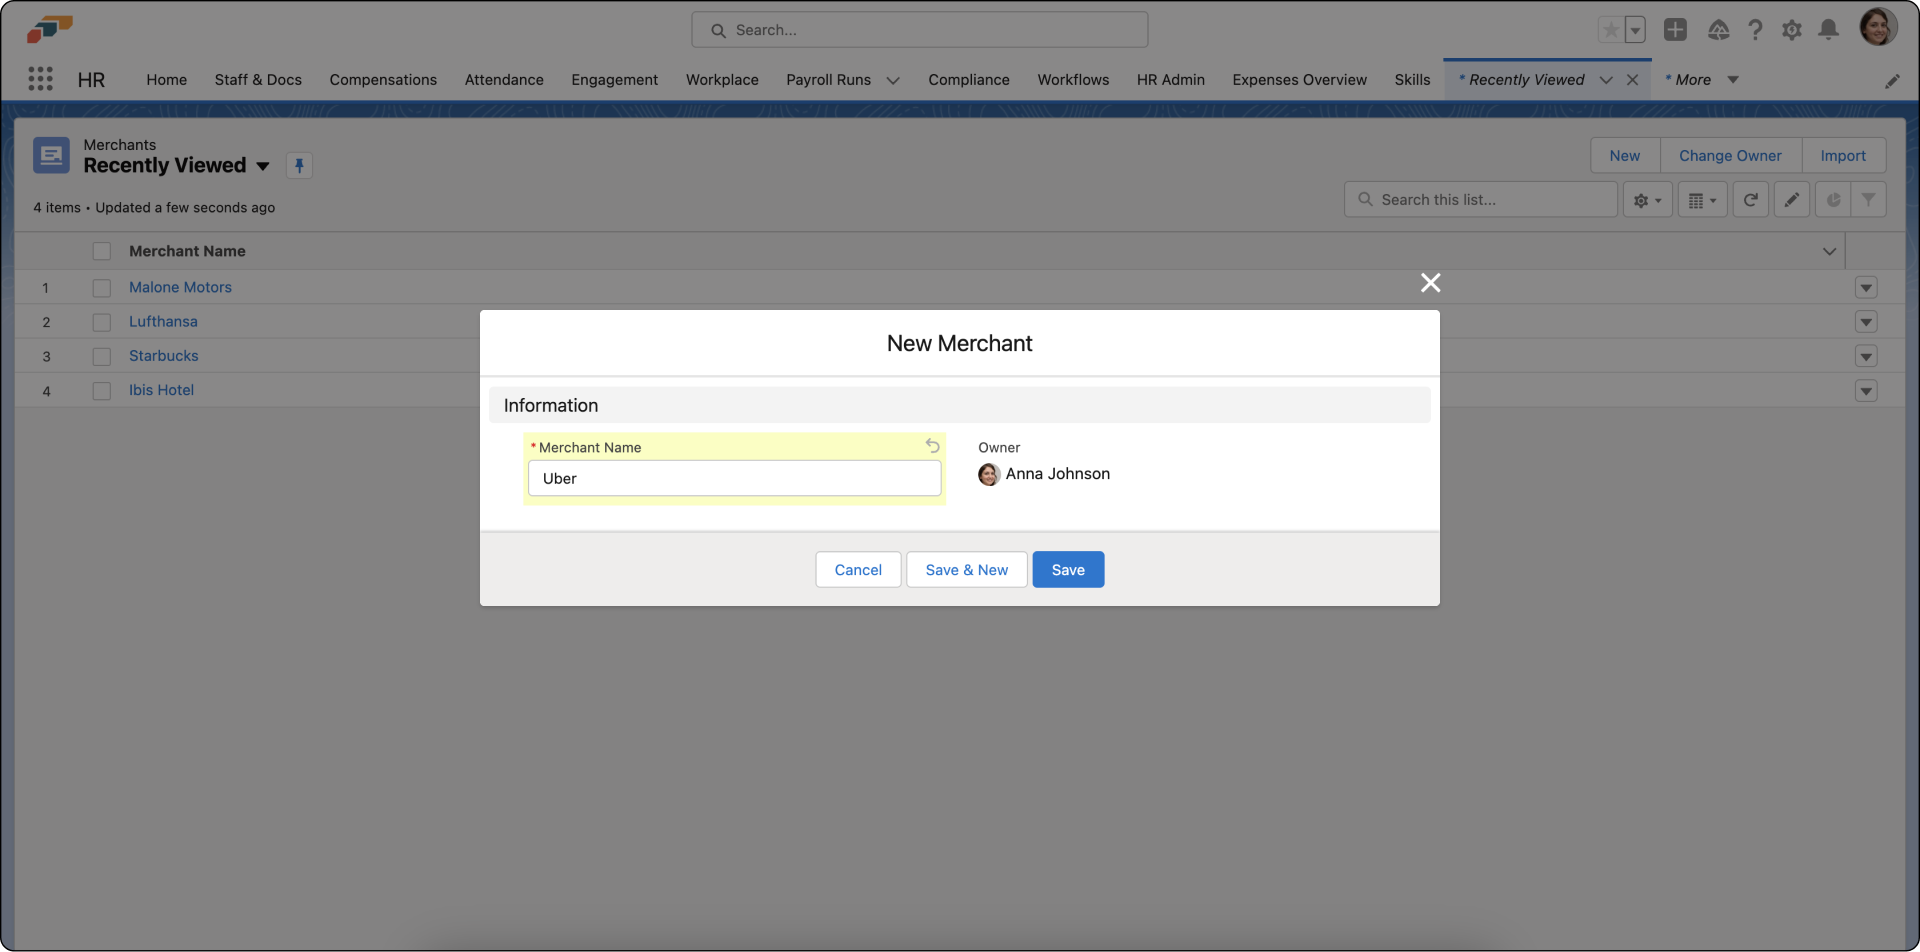
To add a merchant in Salesforce:
- Navigate to the HR Admin tab in the flair workspace
- Select the Merchants subsection located under the Attendance heading
- Click New to add merchant names and details
- Fill in the merchant information
- Click Save to confirm the new addition
Once merchants are set up, employees will be able to select them when creating expense items within their expense claims.
In the Enhanced Framework:
- Merchants are selected at the expense item level
- Each expense item can have its own merchant
- This is especially useful for reimbursement expenses where a single invoice may contain items from multiple vendors
In the Legacy Framework:
- Merchants are selected at the expense level (single merchant per expense)
Employees can add new merchants directly when submitting expense claims in the Employee Hub, even if they're not on the pre-approved list. This provides flexibility while maintaining oversight.
Building Expense Categories
To organize specific types of staff expenditure, flair allows you to build categories of expenses. This makes it easier to track spending by type and generate reports.
Creating a New Expense Category

To create expense categories:
- Click on the HR Admin tab
- Visit the Expense Categories section under the Compensation heading
- Here you can list types of expenses common to your business such as:
- Supplies
- Travel
- Utilities
- Meals & Entertainment
- Professional Development
- Equipment
- To add a new expense category, click New
- Fill in the category details
- Click Save to confirm the new addition
Best Practices
Keep Merchant Lists Up to Date
Regularly review and update your approved merchant list to reflect current vendor relationships and ensure employees have access to the vendors they need.
Create Clear Expense Categories
Well-defined categories make reporting easier and help employees choose the right classification for their expenses. Consider your business needs when defining categories.
Set Spending Limits
Define maximum amounts for different expense types to establish clear boundaries and expectations for employee spending.
Next Steps
Once you've set up your merchants and categories, you're ready to:
- Enable HR admins to add expenses on behalf of employees
- Allow employees to submit their own expense claims
- Set up approval workflows for expense review