Navigate the flair apps in Salesforce
Use the flair apps in Salesforce to find HR and recruiting records, move between pages, and organize the records you work with most often.
Employees, Managers, and HR Admins who use the flair apps in Salesforce.
Find the flair apps
- Click the App Launcher (⋮⋮ grid icon).
- Select flair HR or flair Recruiting. The app opens on its home page.
Find Salesforce navigation tools
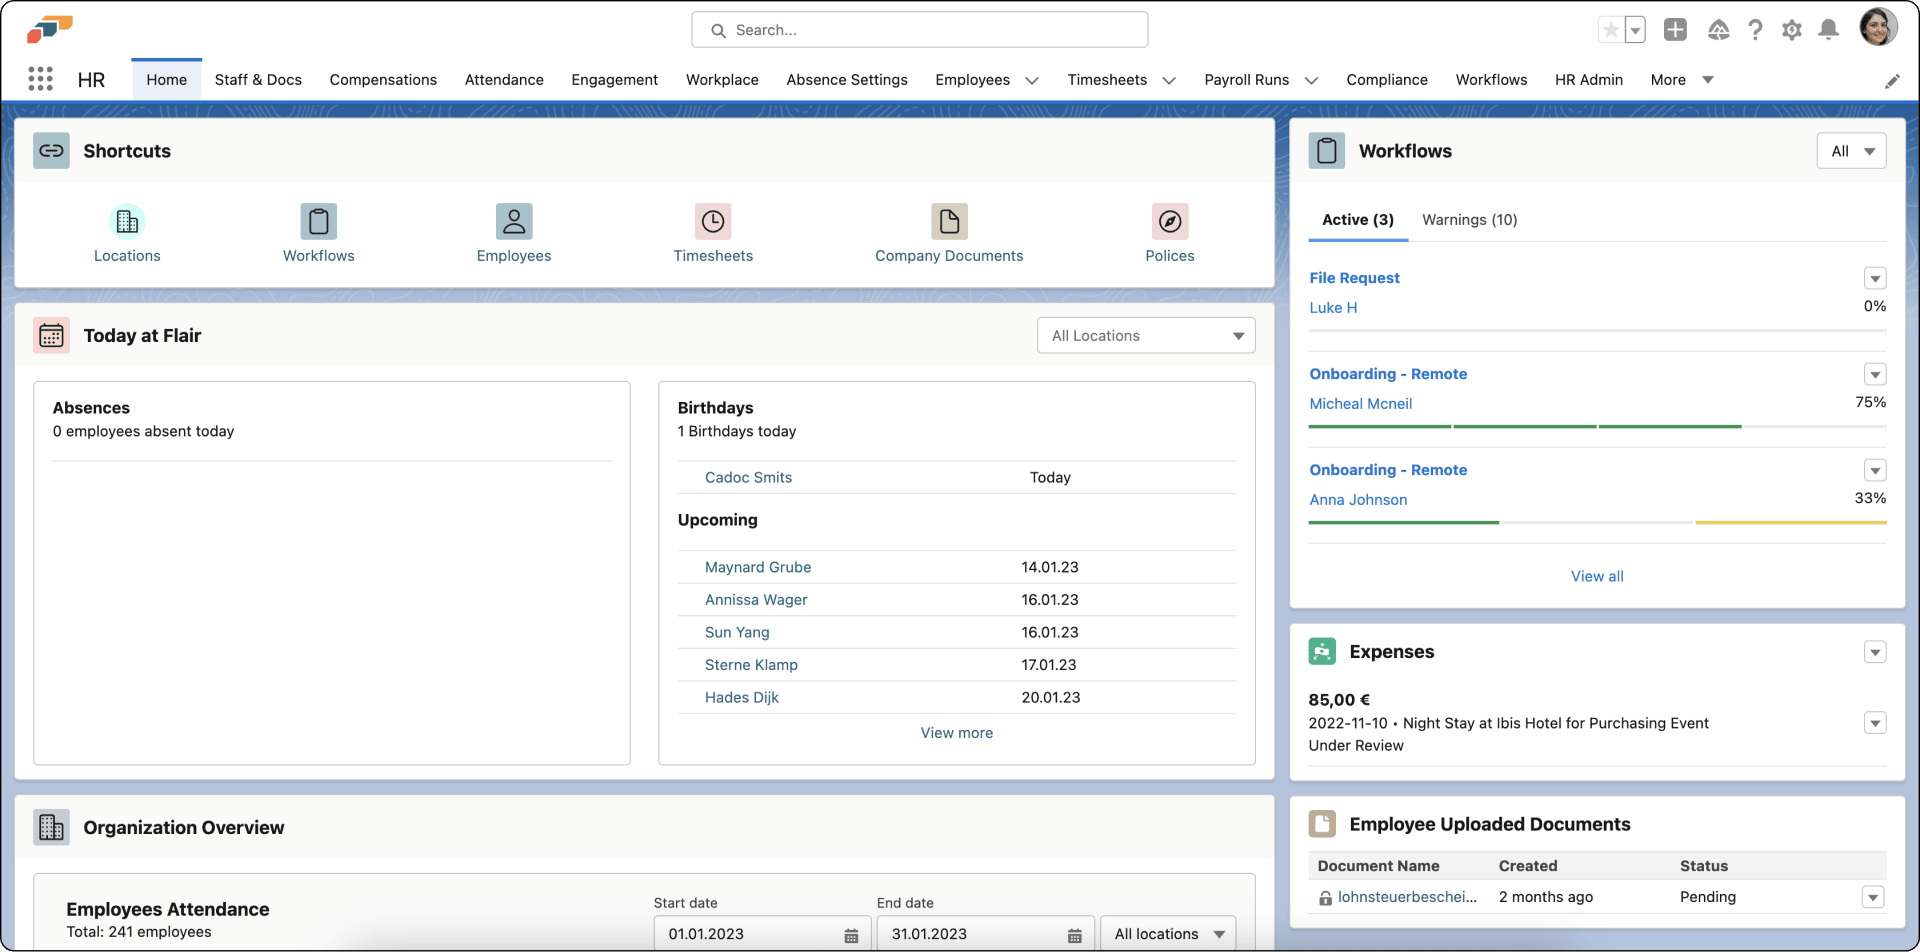
The Salesforce header and app navigation provide these tools:
- Global Search — searches records that your Salesforce organization makes searchable.
- Navigation bar — opens pages such as Attendance, Compensations, Engagement, Workflows, and Staff & Docs.
- Favorites — stores links to records, lists, groups, and other pages you use often.
- Global Actions — provides shortcuts for creating supported Salesforce records.
- Guidance Center — opens learning content suggested by Salesforce.
- Setup — opens Salesforce administration settings when your permissions allow it.
- Notifications — shows alerts about activity in your Salesforce organization.
- User profile — opens your Salesforce profile, personal settings, and sign-out action.
The pages available in the navigation bar depend on the flair app, your permissions, and your organization's Salesforce configuration.
Personalize the Salesforce navigation bar
The default navigation bar comes from your Salesforce Admins. You can reorder its items, remove optional items, and add pages or features you use often.
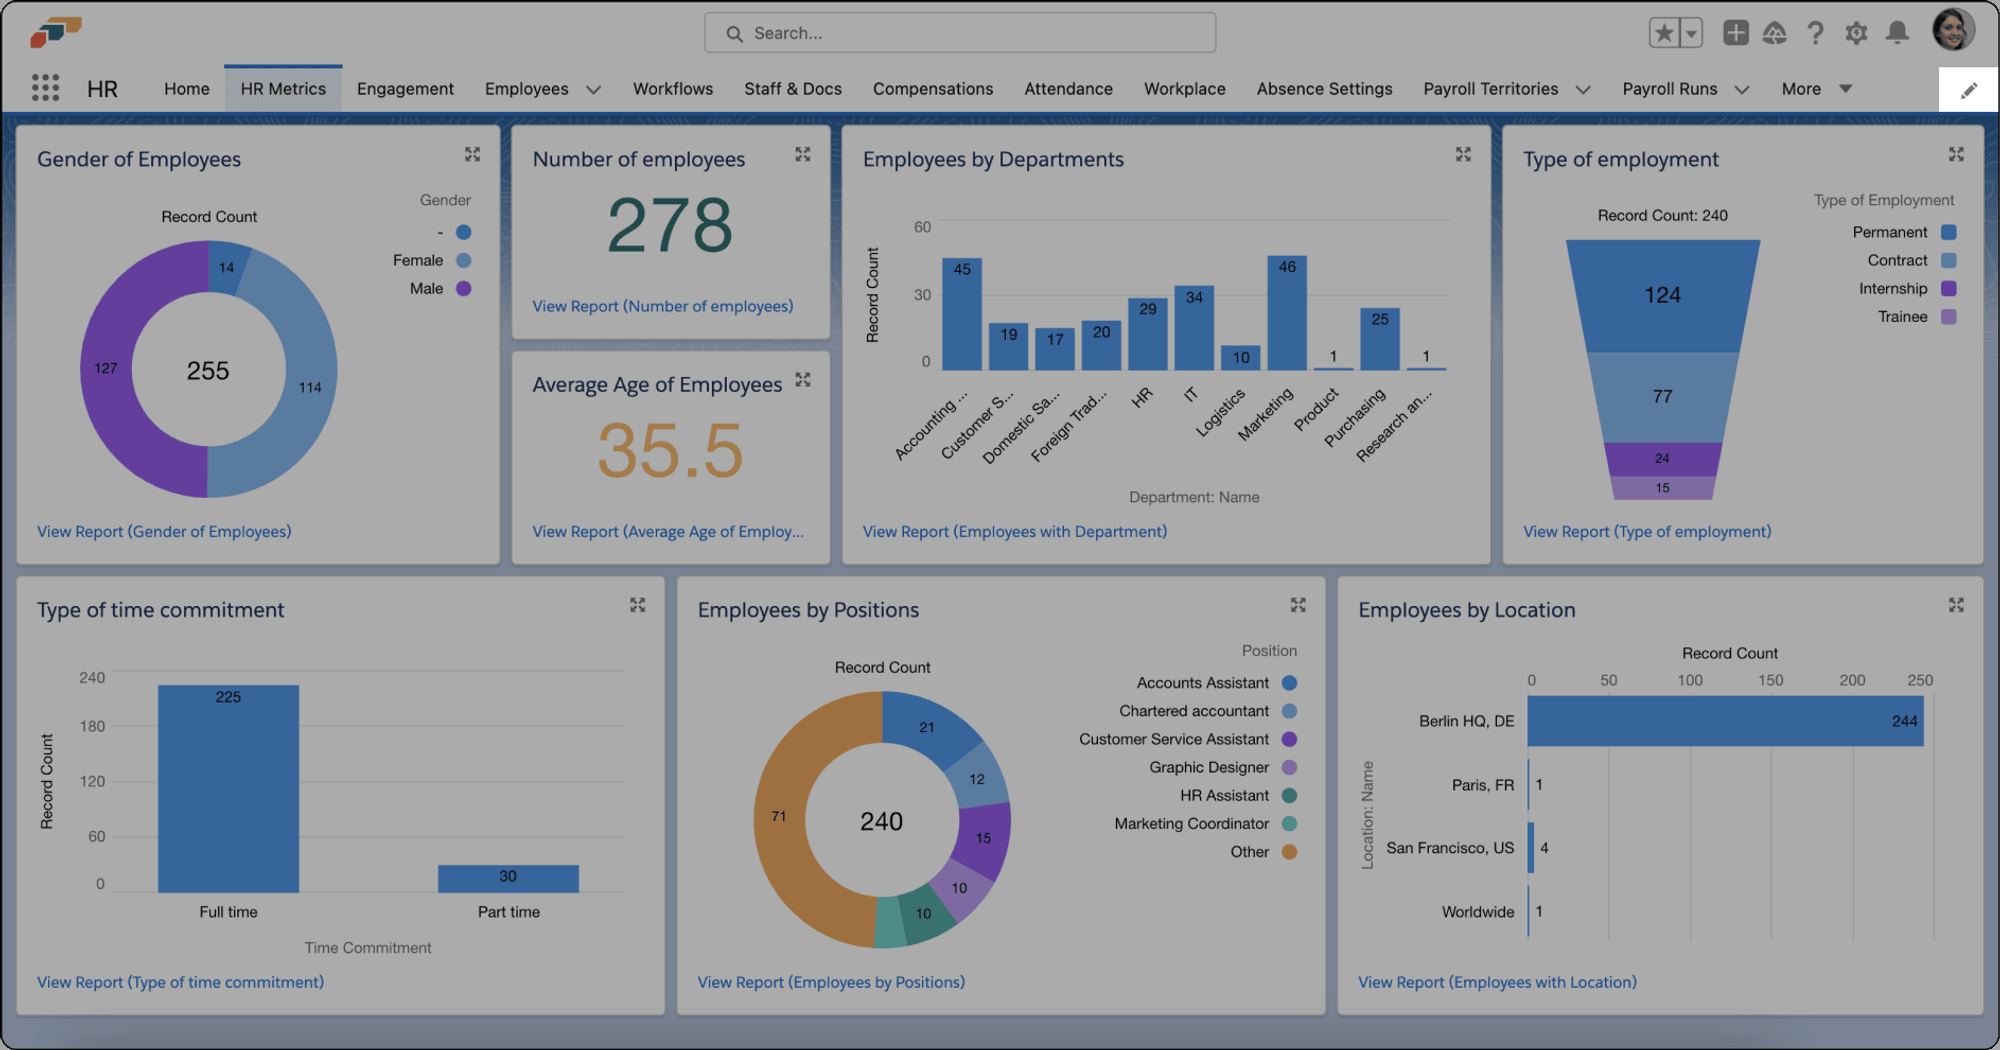
- On the right side of the navigation bar, click the pencil icon.
- In the navigation items window, drag items into the order you want.
- To remove an optional item, click x. Items required by your Salesforce Admin cannot be removed.
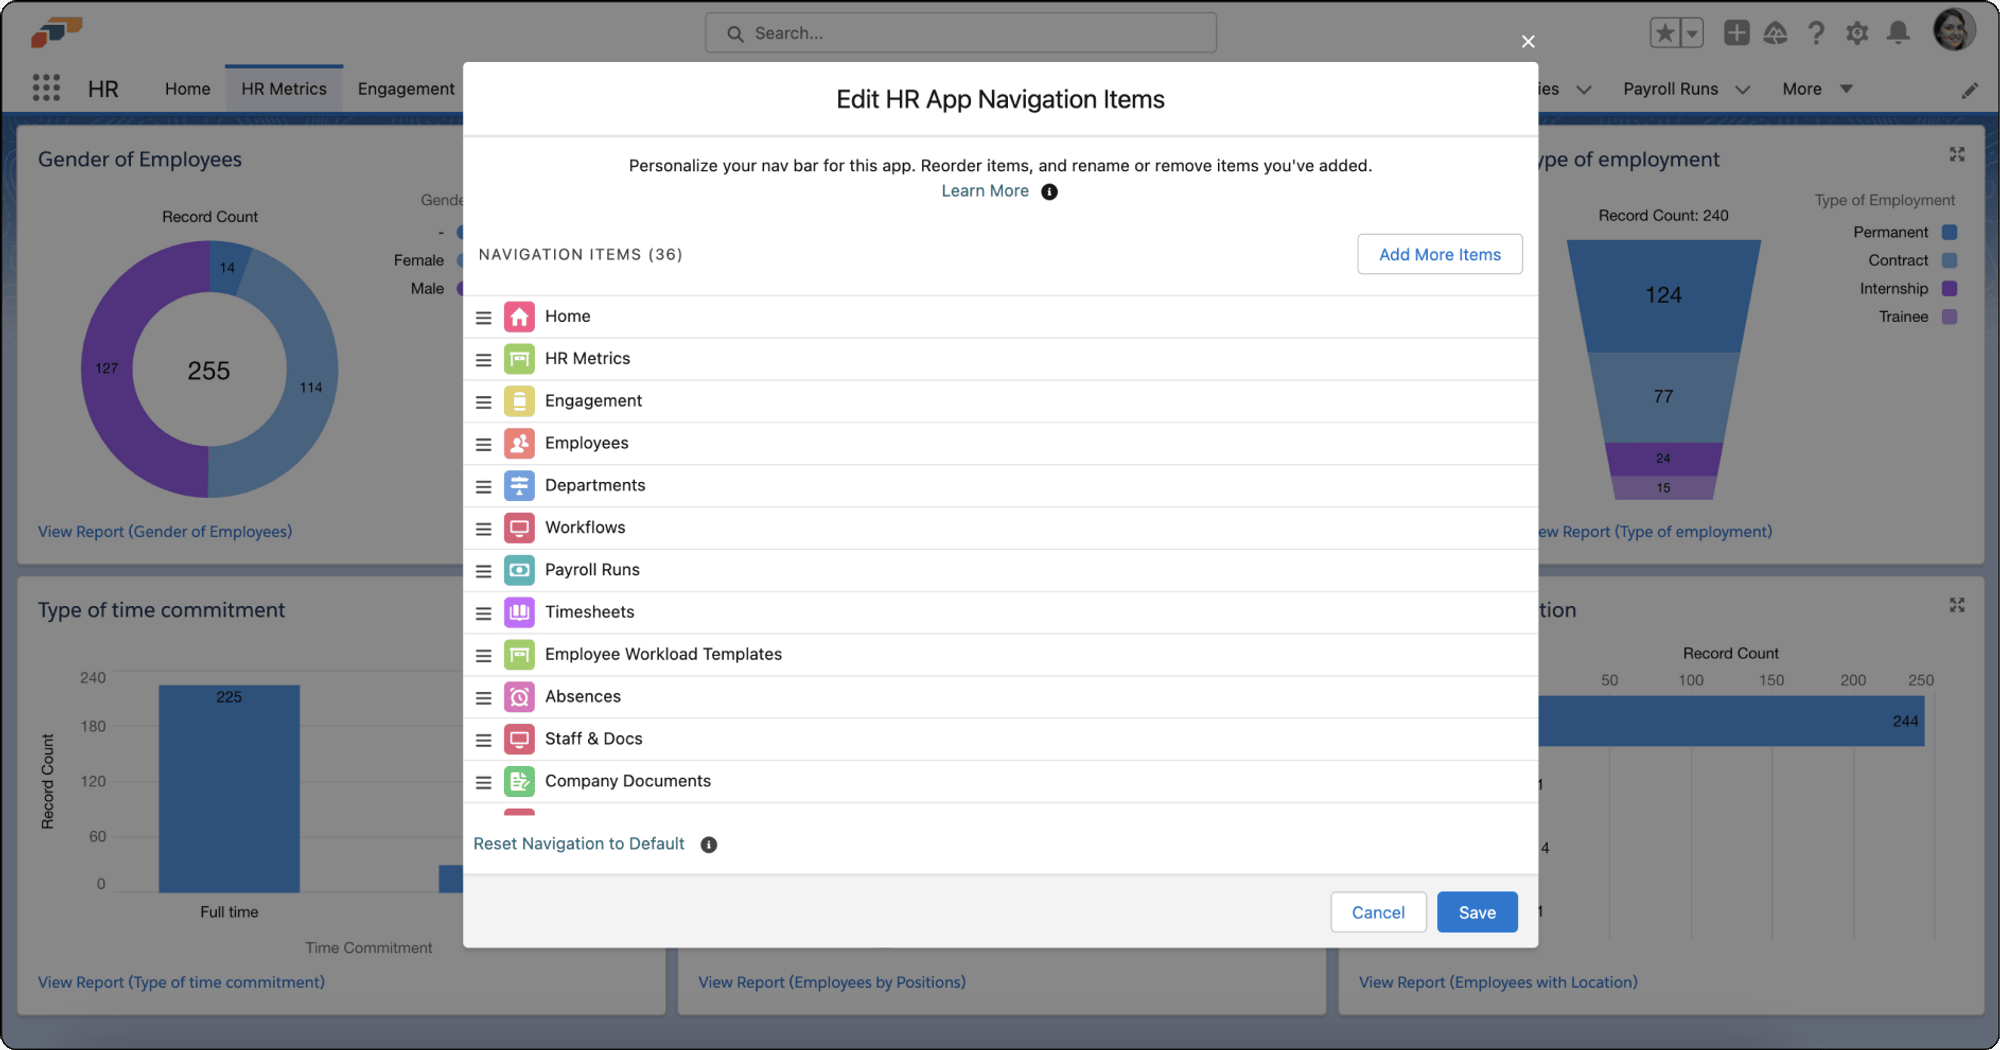
- Click Add More Items.
- Select the items you want to add.
- Click Add Nav Items. The items appear at the bottom of the navigation list.
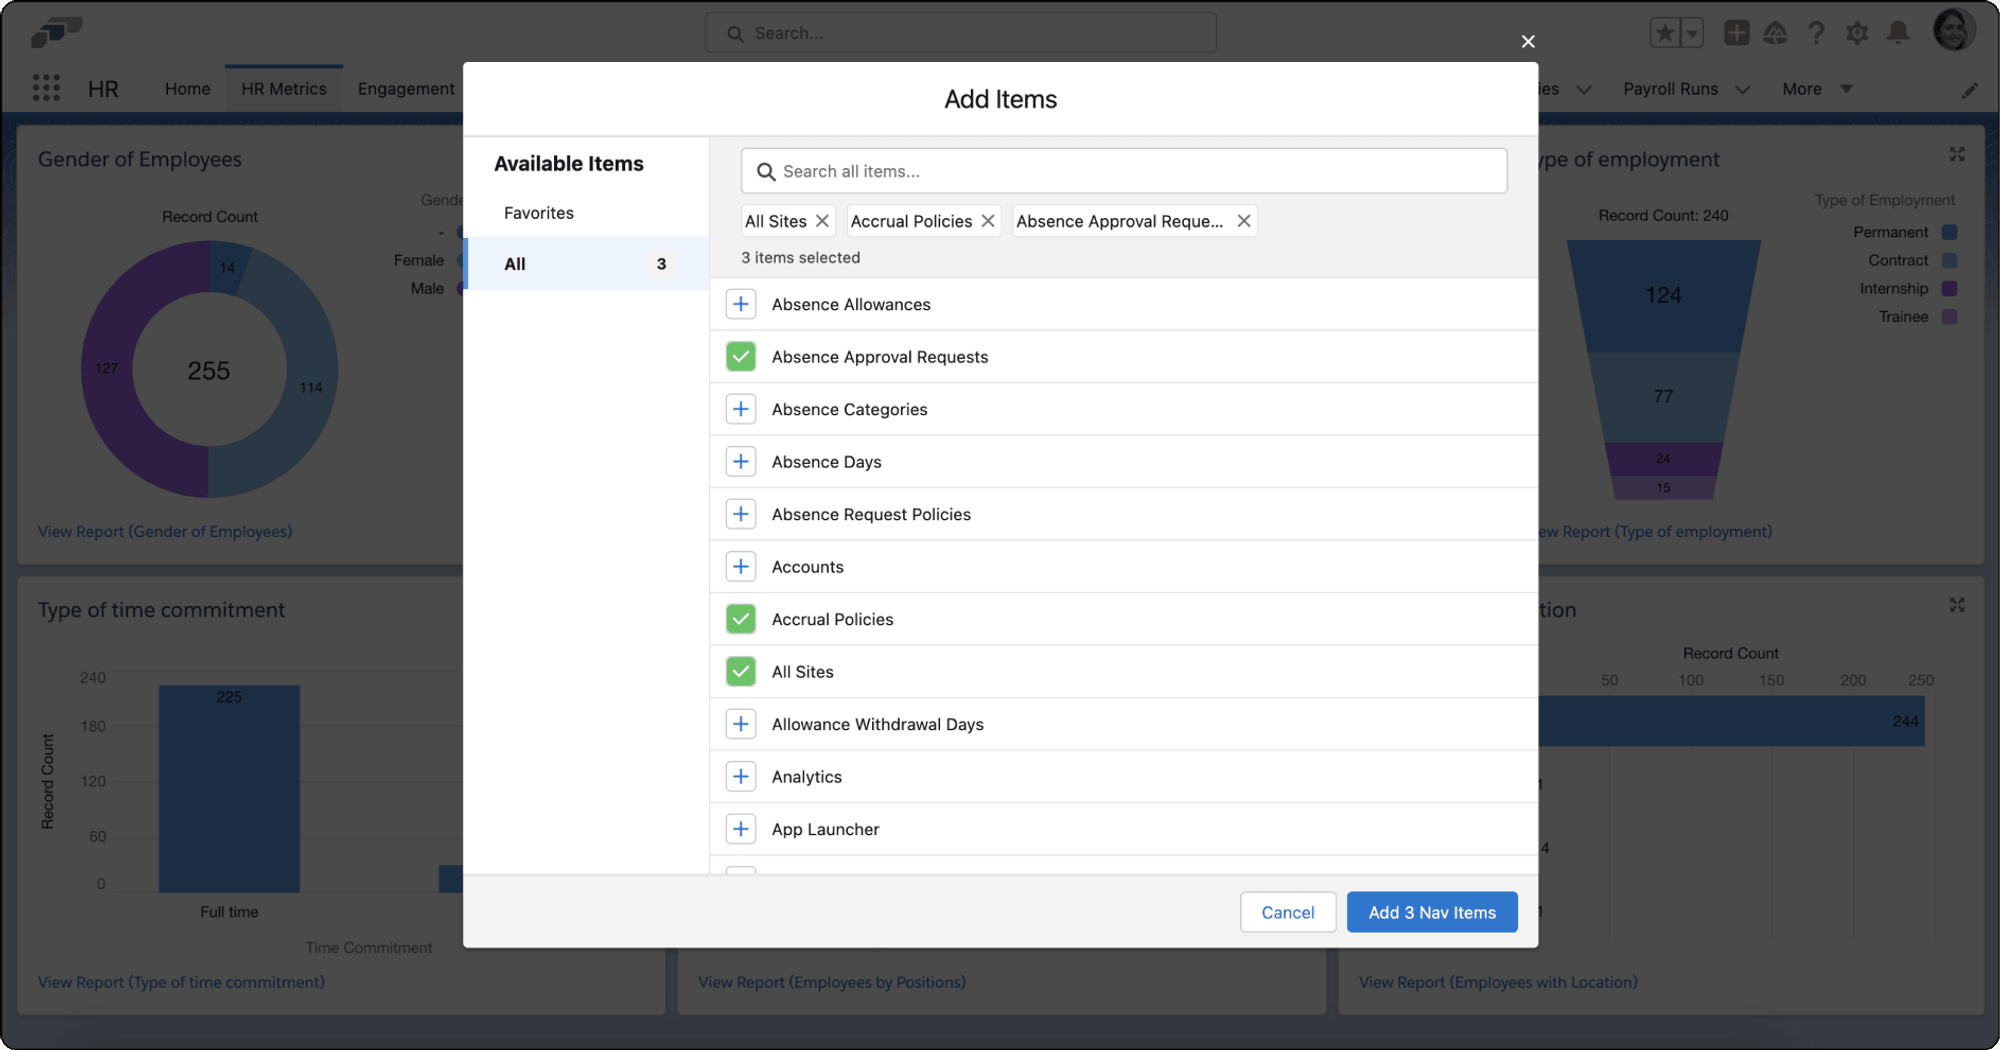
- Arrange the new items.
- Click Save. The navigation bar shows your changes.
Work with list views
A list view displays records for the page you opened. Use its controls to choose a saved view, search the current list, change the display, or create a record.
Create a list view
- Open the page whose records you want to organize.
- From List View Controls, select New.
- Enter a name for the list view.
- Select who can see the list view.
- Click Save.
Filter a list view
- From List View Controls, select Filters.
- Click Add Filter.
- Select the field, operator, and value for the filter.
- Click Done.
- Click Save.
Choose list-view columns
- From List View Controls, select Select Fields to Display.
- Move the fields you want to show to Visible Fields.
- Arrange the fields in their display order.
- Click Save.
Sort and edit records
- To sort records, click a column heading. The arrow shows the sort direction.
- To edit a supported field, click the pencil icon in its cell. A lock icon identifies fields you cannot edit inline.
- To change the layout, open Display As, and then select Table, Kanban, or Split View.
Salesforce Admins can configure list-view buttons and search layouts.
Use approvals for employee changes
Employee document uploads and profile changes use the Approval Framework. It supports flexible and multi-step approvals, with notifications through email, Slack, the Employee Hub, and the mobile app.
Track missing employee information on HR Home
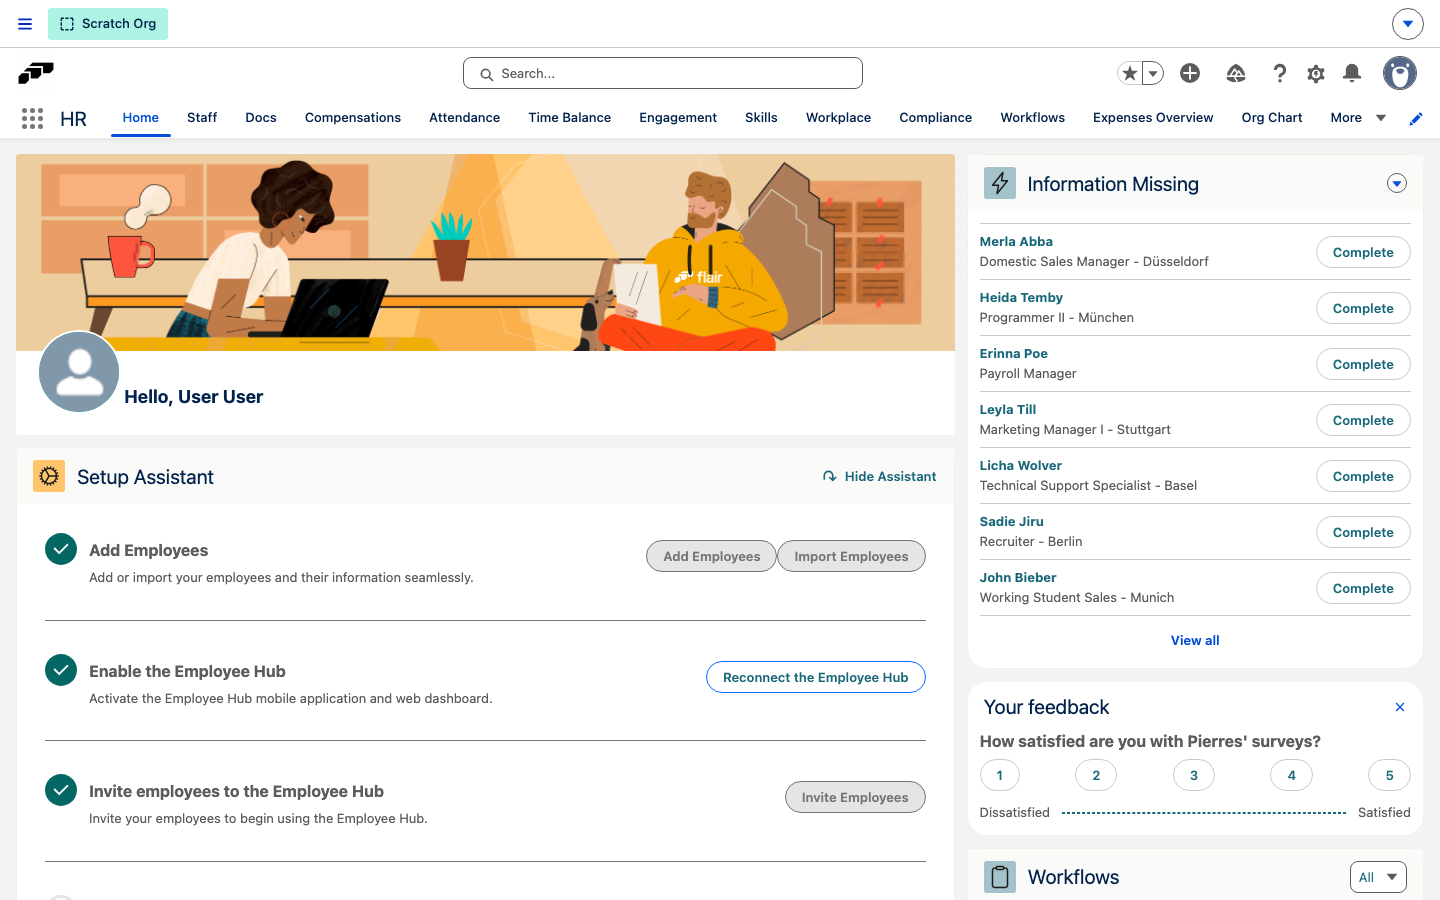
The Information Missing card on HR Home lists employees with gaps in the employee fields you choose to track, so you can follow up before missing details cause problems downstream. The card is always visible — including when no fields are configured yet, when it shows an empty-state message instead of an employee list.
- In Salesforce, open HR Home.
- On the Information Missing card, review the listed employees.
- Click Complete next to an employee to fill in their missing fields, or click View all if the list has more than seven employees.
Choose which fields the card tracks
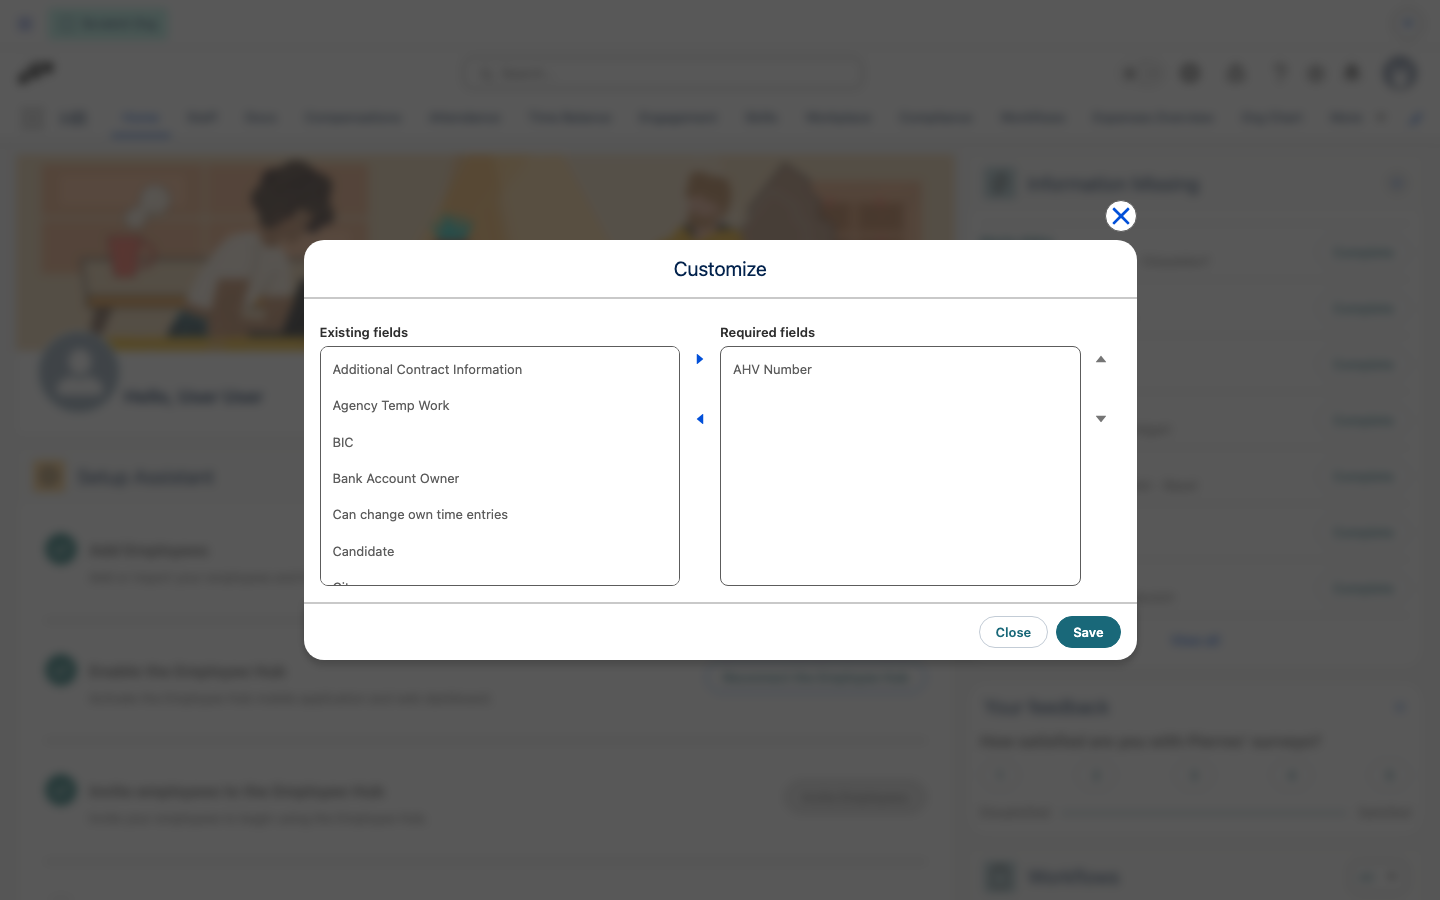
Use Customize on the Information Missing card to choose which custom employee fields flair checks for every employee.
- On the Information Missing card, click Customize.
- In the Existing fields list, select the fields you want to track and move them into Required fields.
- Click Save. flair updates the card for every employee.
Fields your Salesforce organization marks as required appear in Required fields by default and cannot be removed. To set tracked fields for one employee instead of your whole organization, open the employee's record and use the Fulfillment tab.