Configure flair table columns
Configure Flair Table Column custom metadata to show Salesforce fields in flair tables, such as the expense and candidate tables and the employee list on the Staff page. Each field must exist before you add it as a table column.
Salesforce Admins who manage custom metadata and fields in Salesforce Setup.
Before you begin
- Create the field on the relevant Salesforce object.
- Copy the exact field and object API names.
Add a column to the expense table
Create the metadata record
-
In Salesforce, click the setup gear.
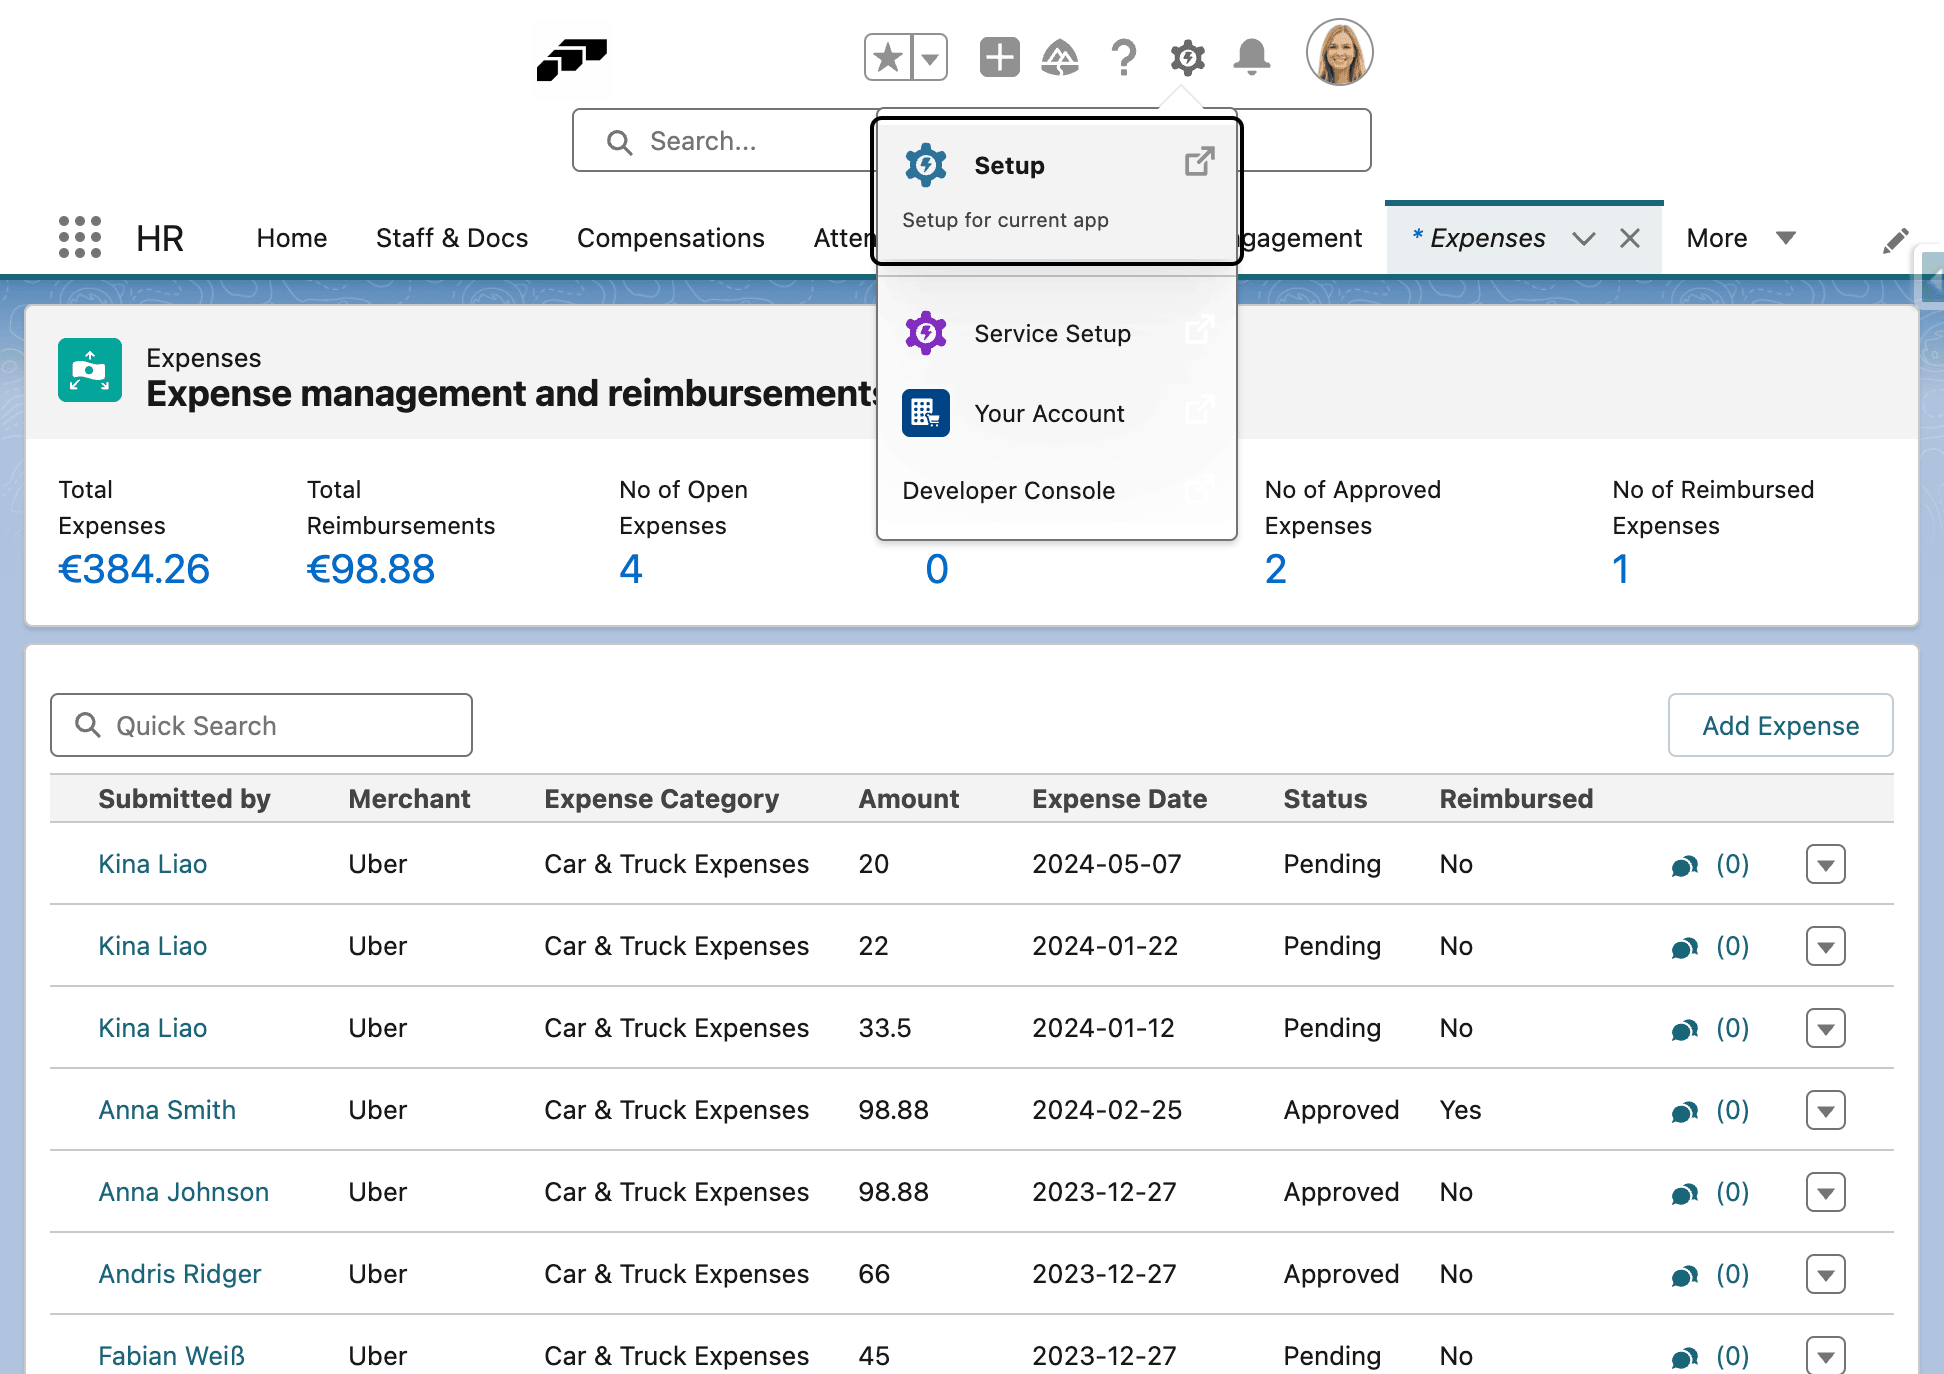
-
In Quick Find, enter
Custom Metadata Types.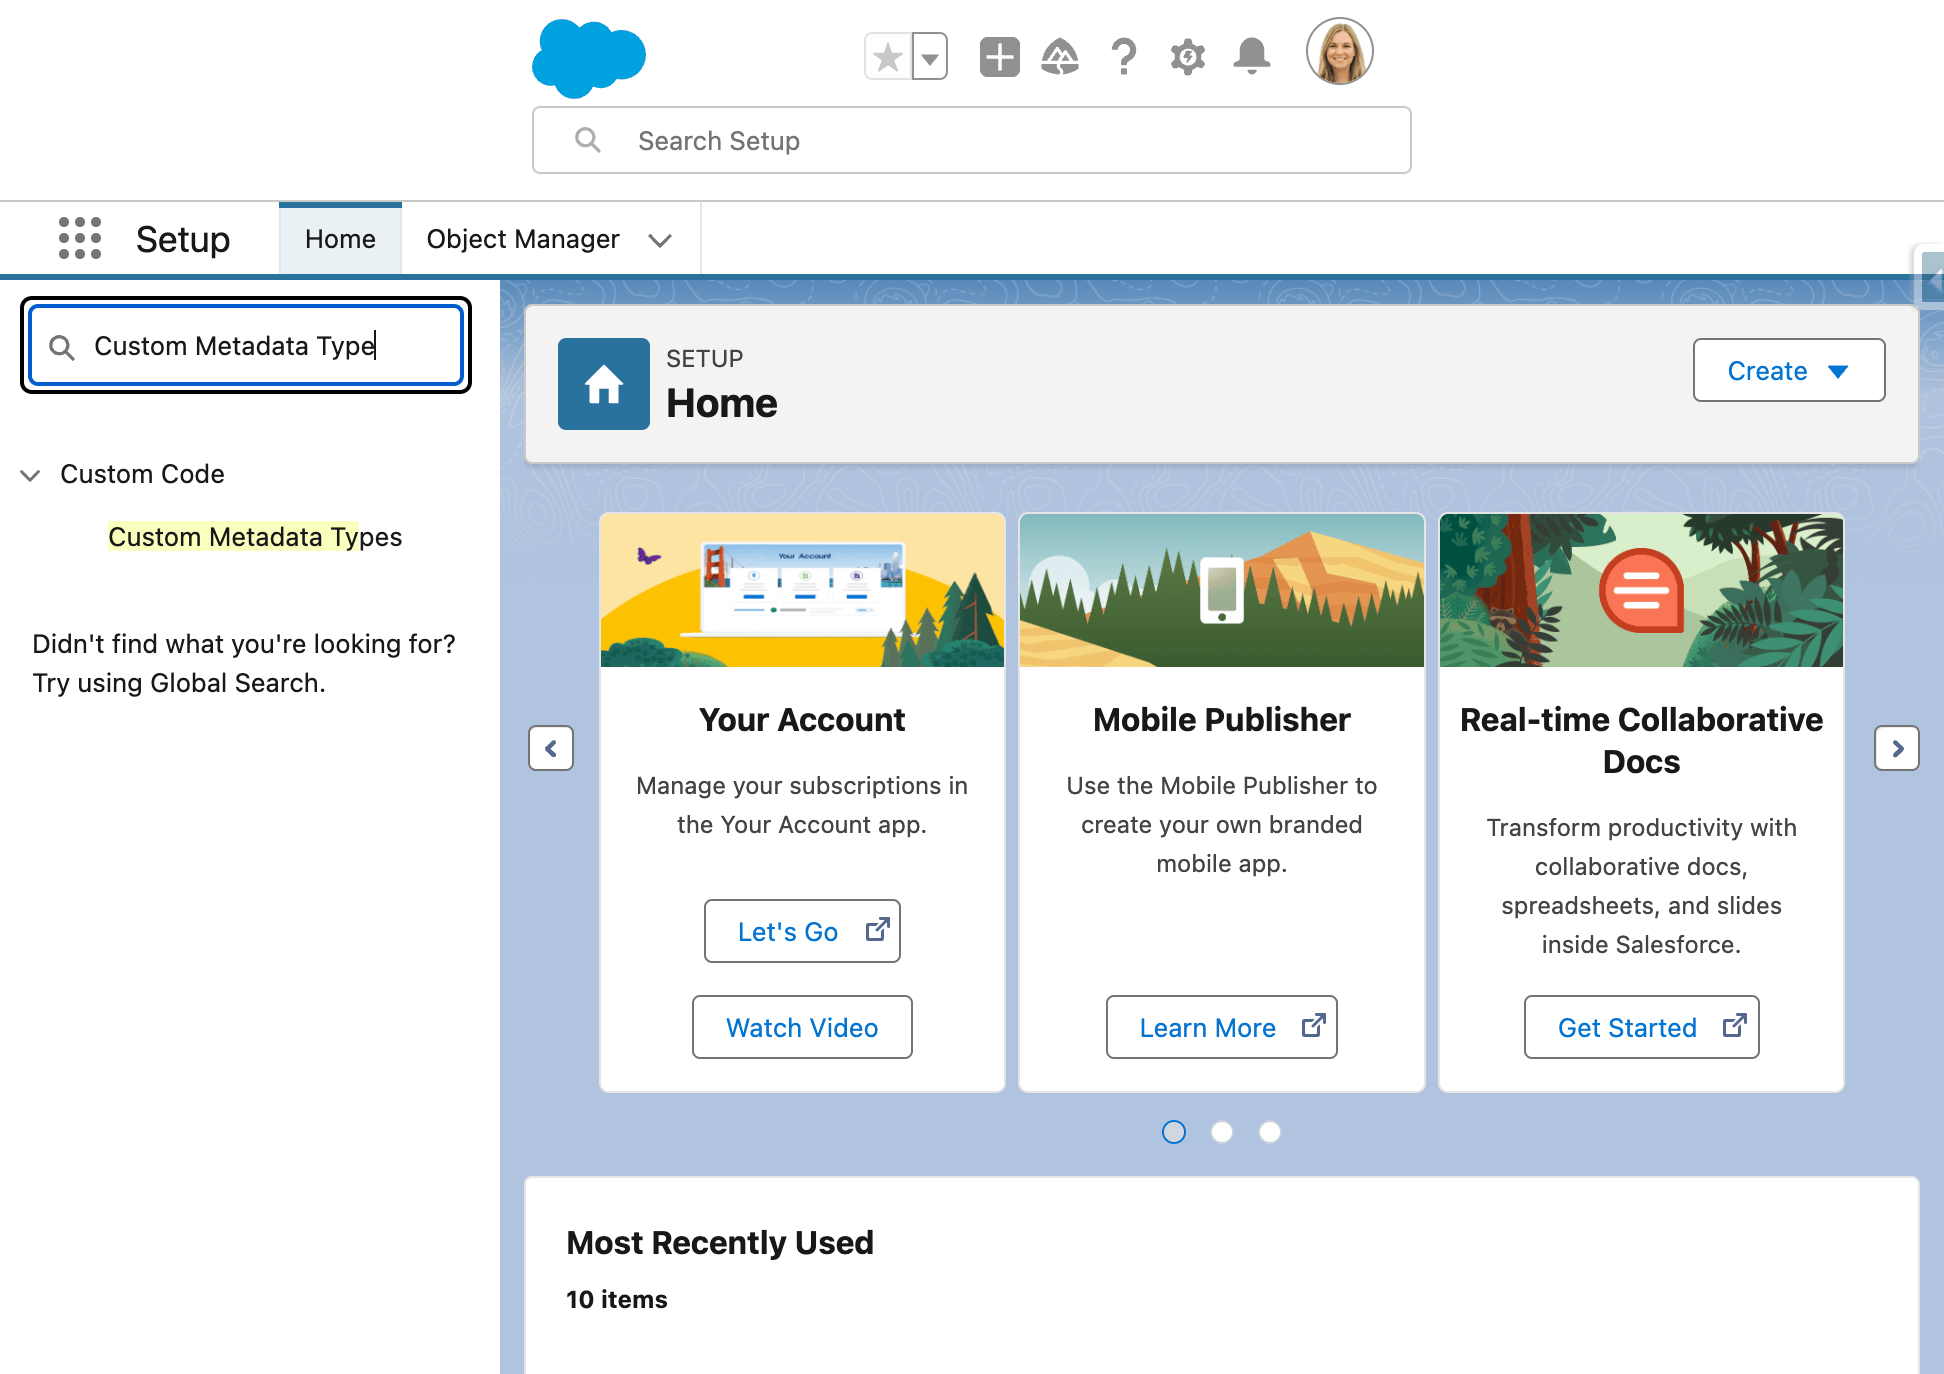
-
Open Custom Metadata Types.
-
Next to Flair Table Column, click Manage Records.
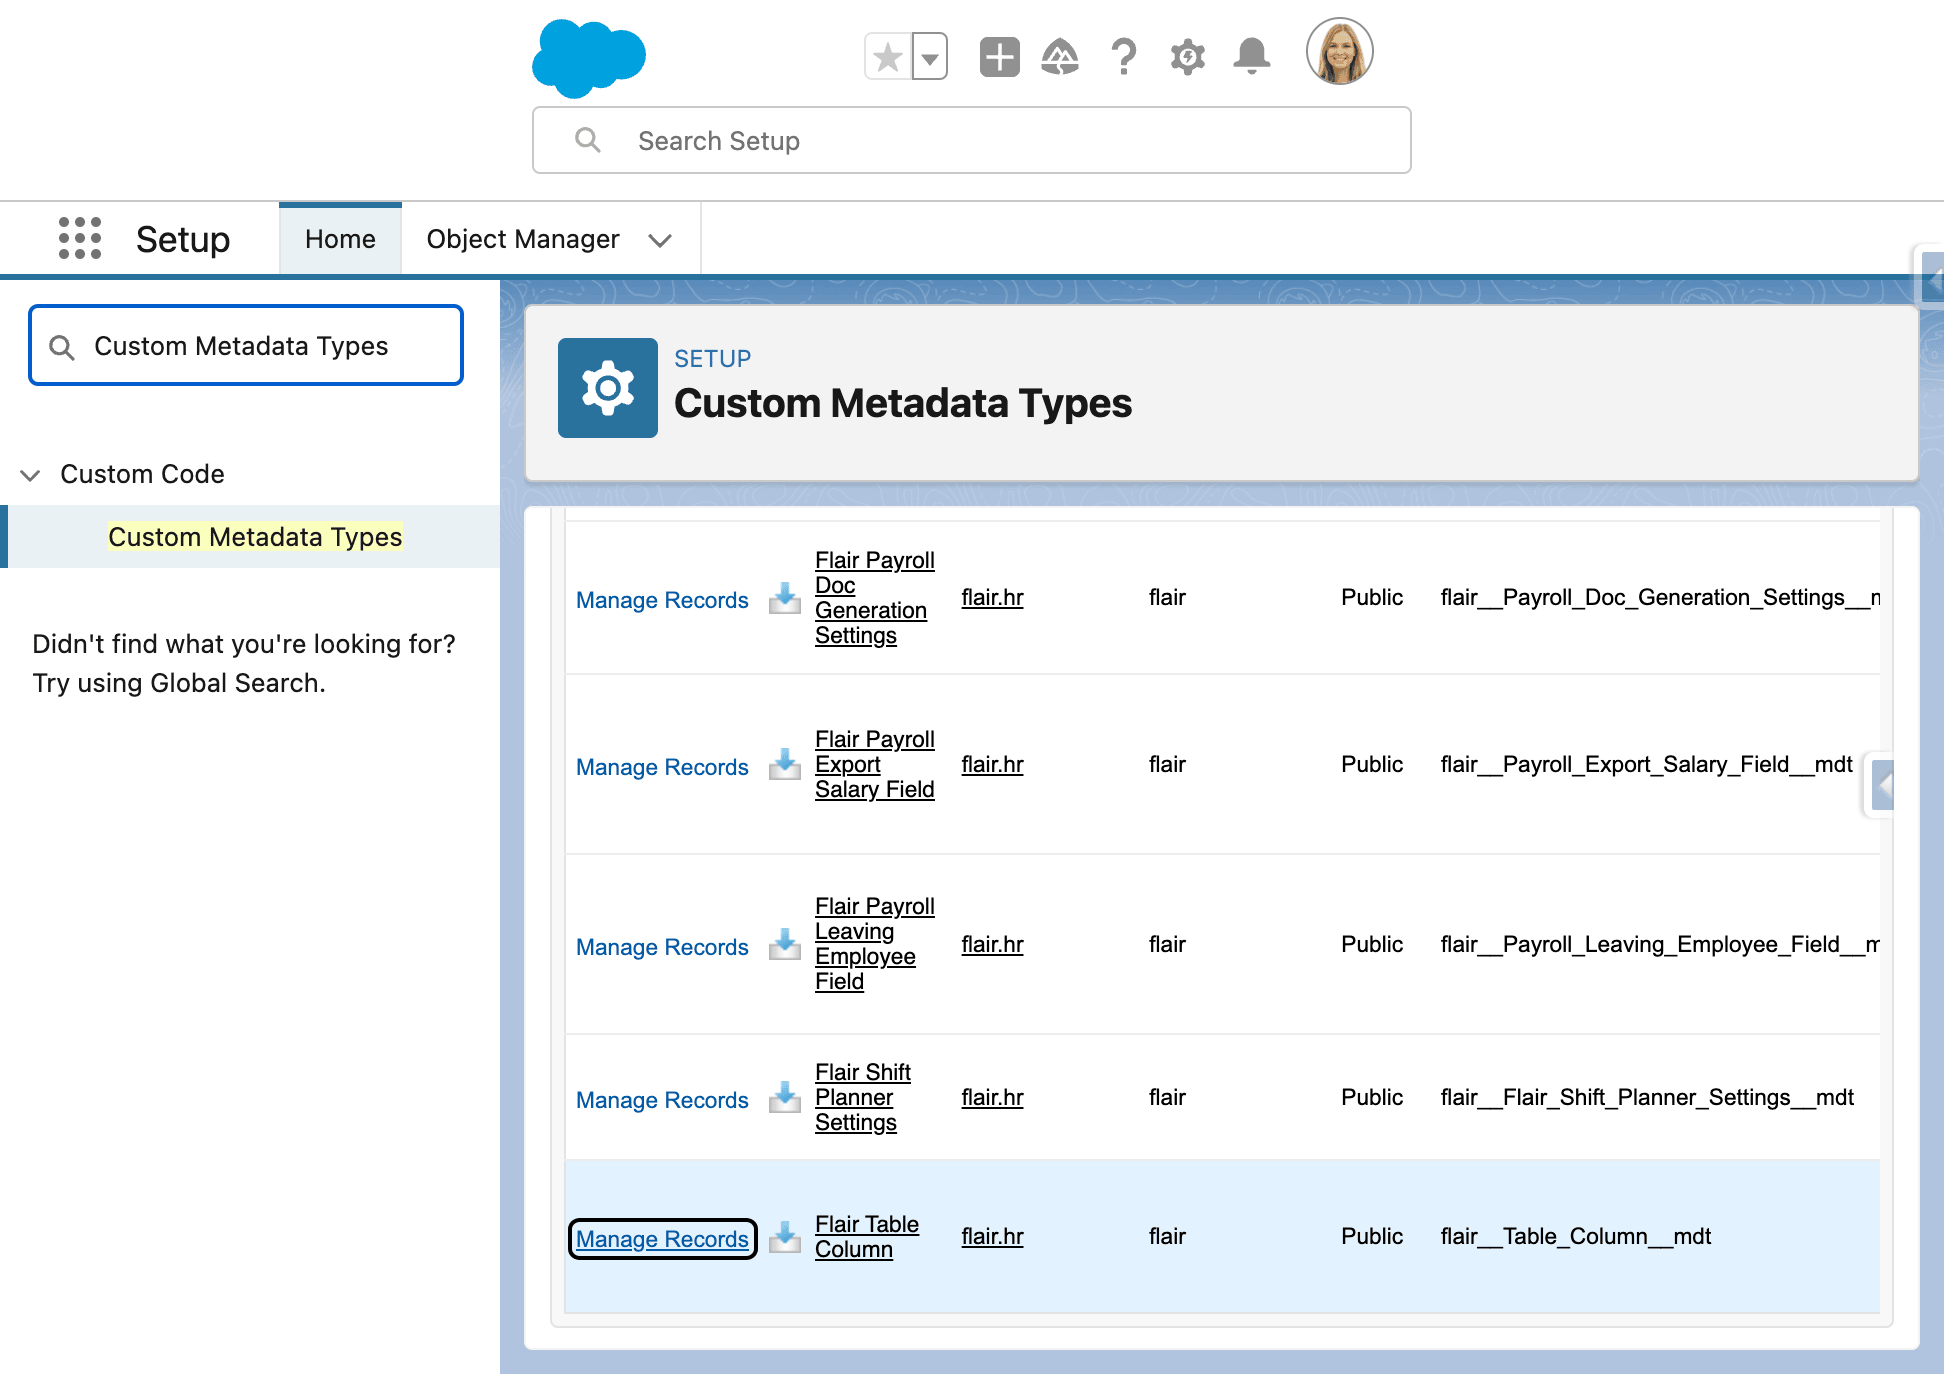
-
Click New.
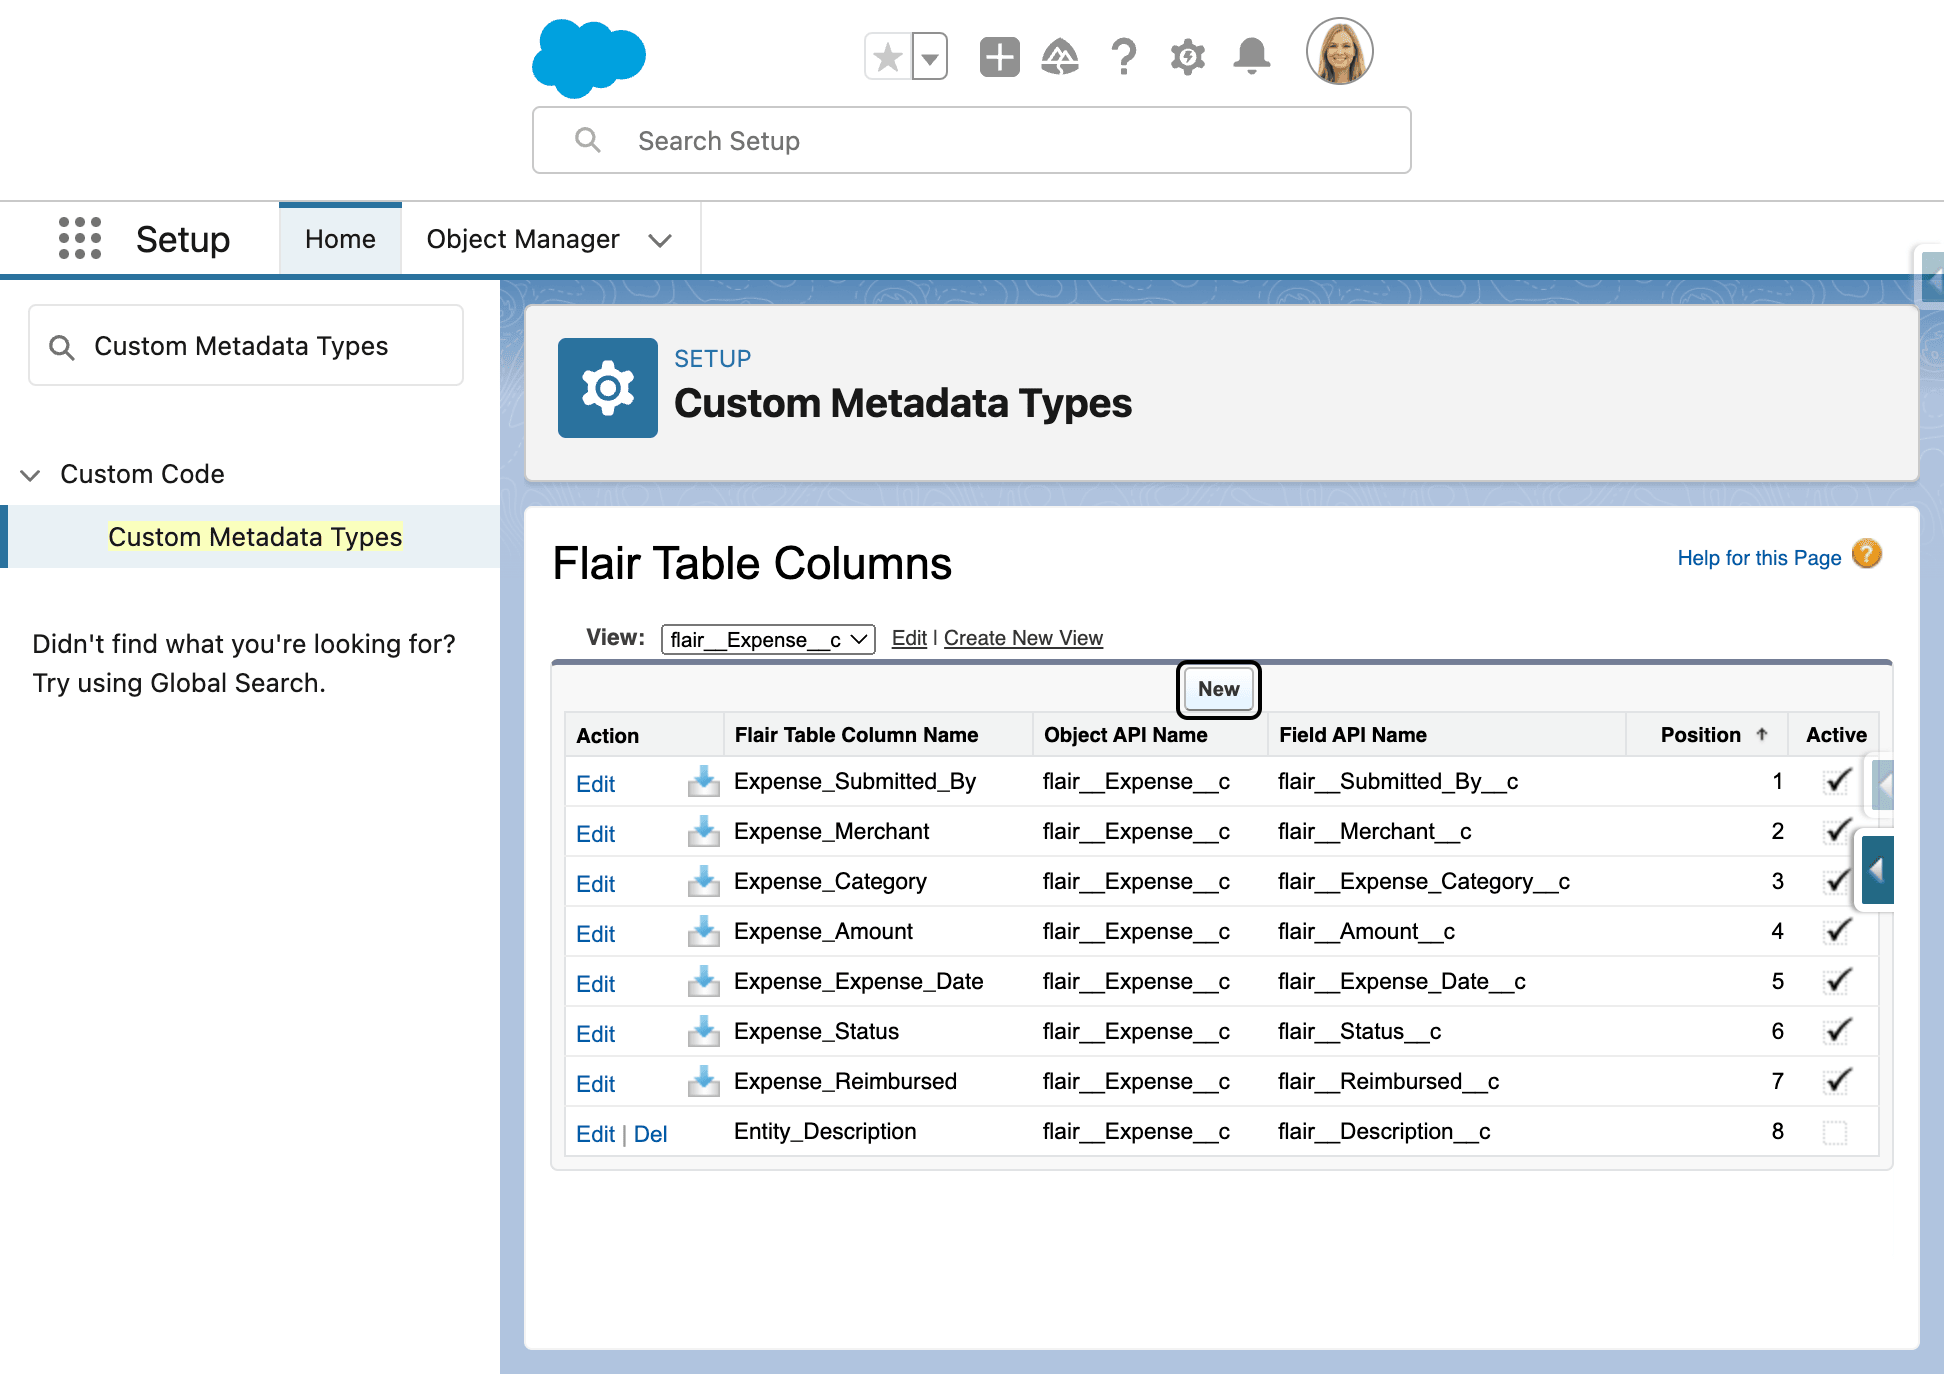
-
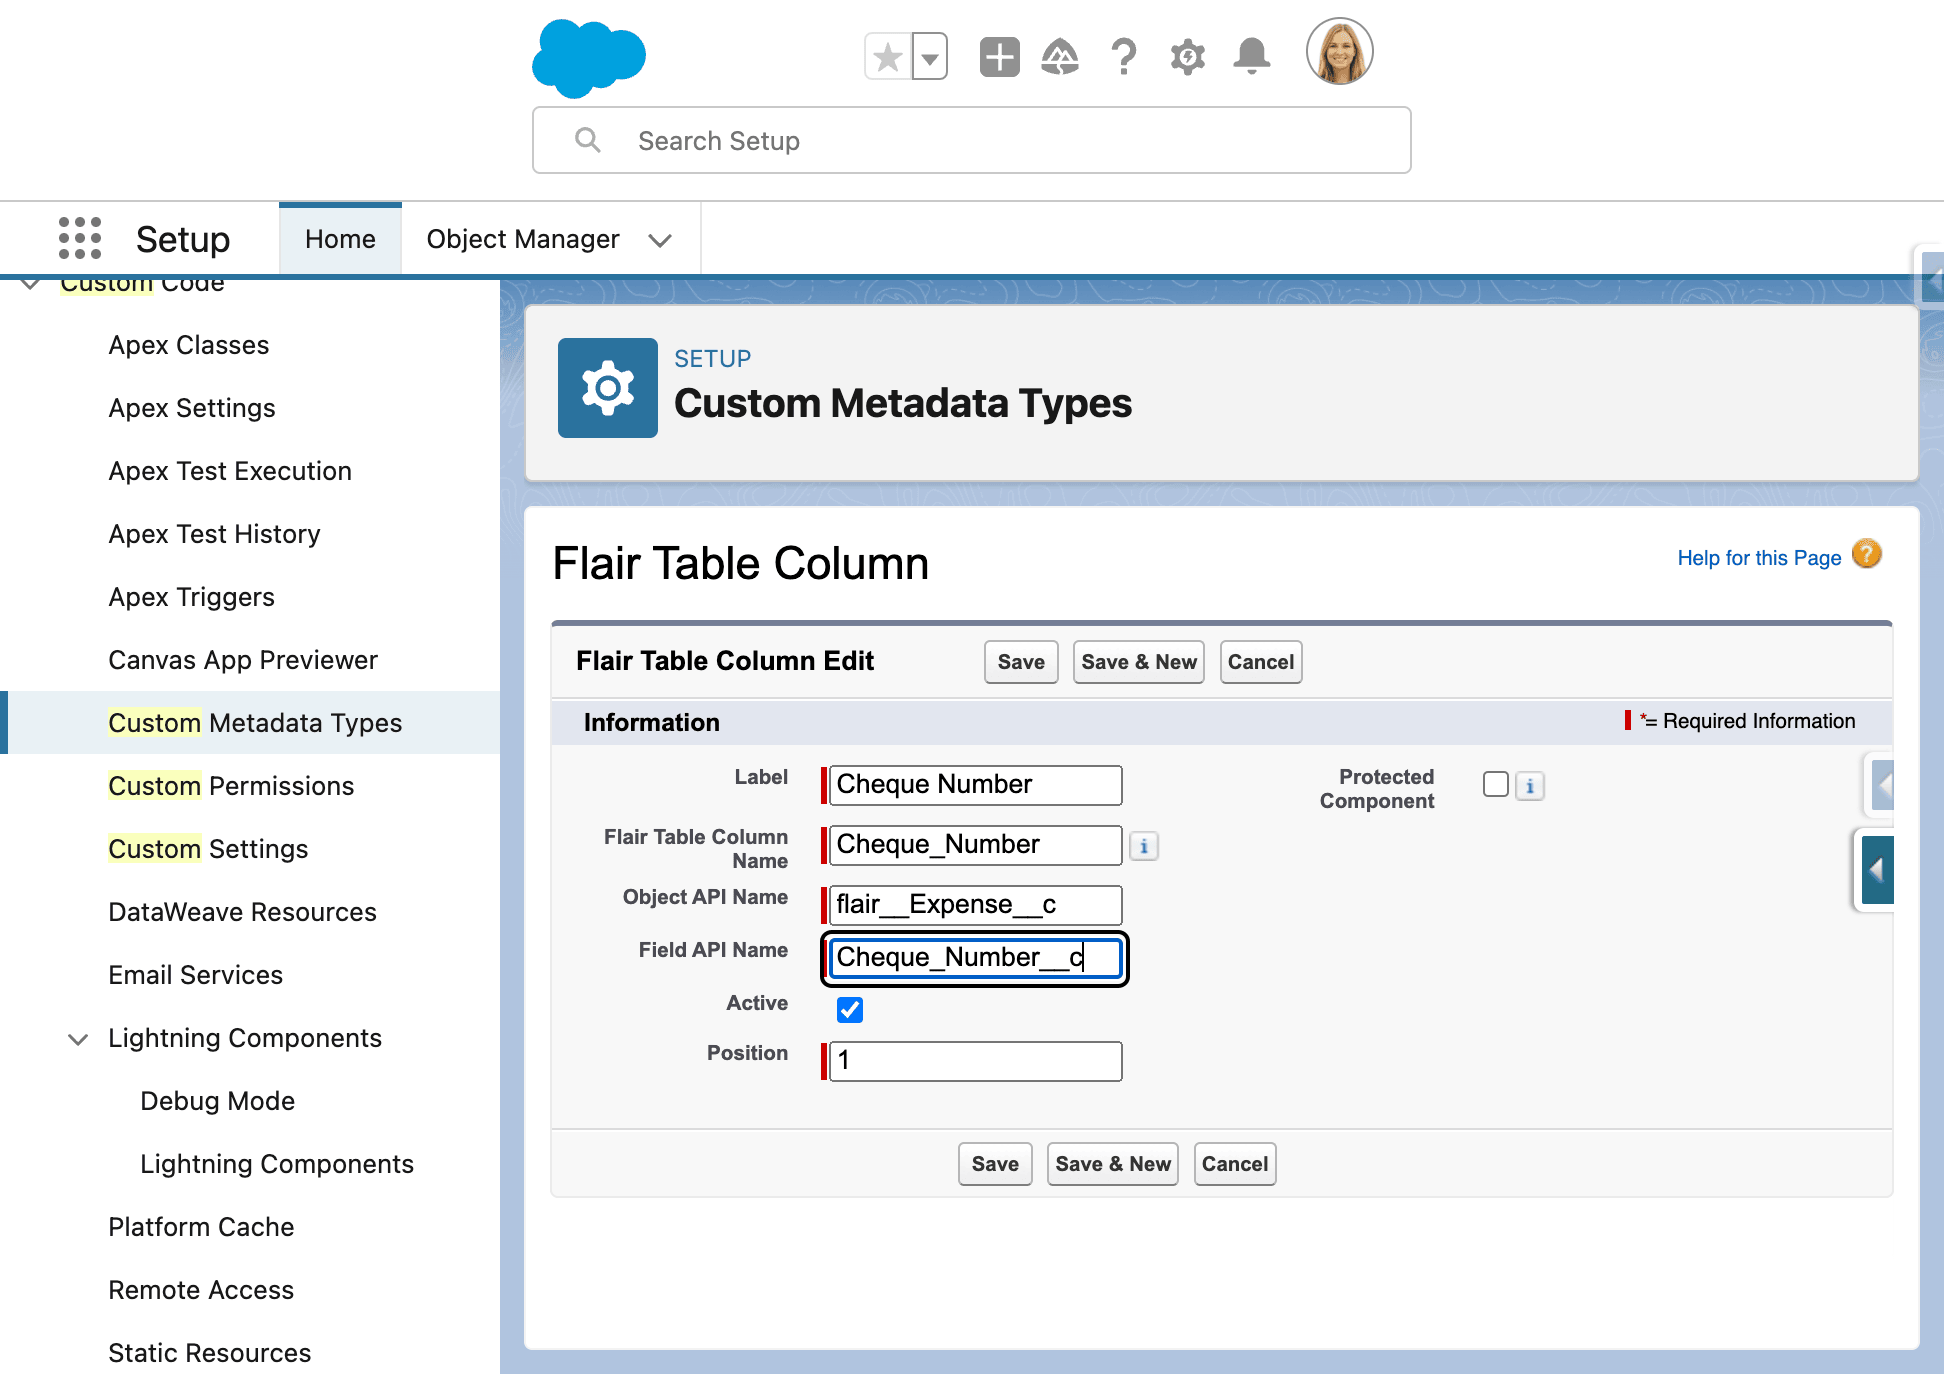
Enter the exact Object API Name and Field API Name.
-
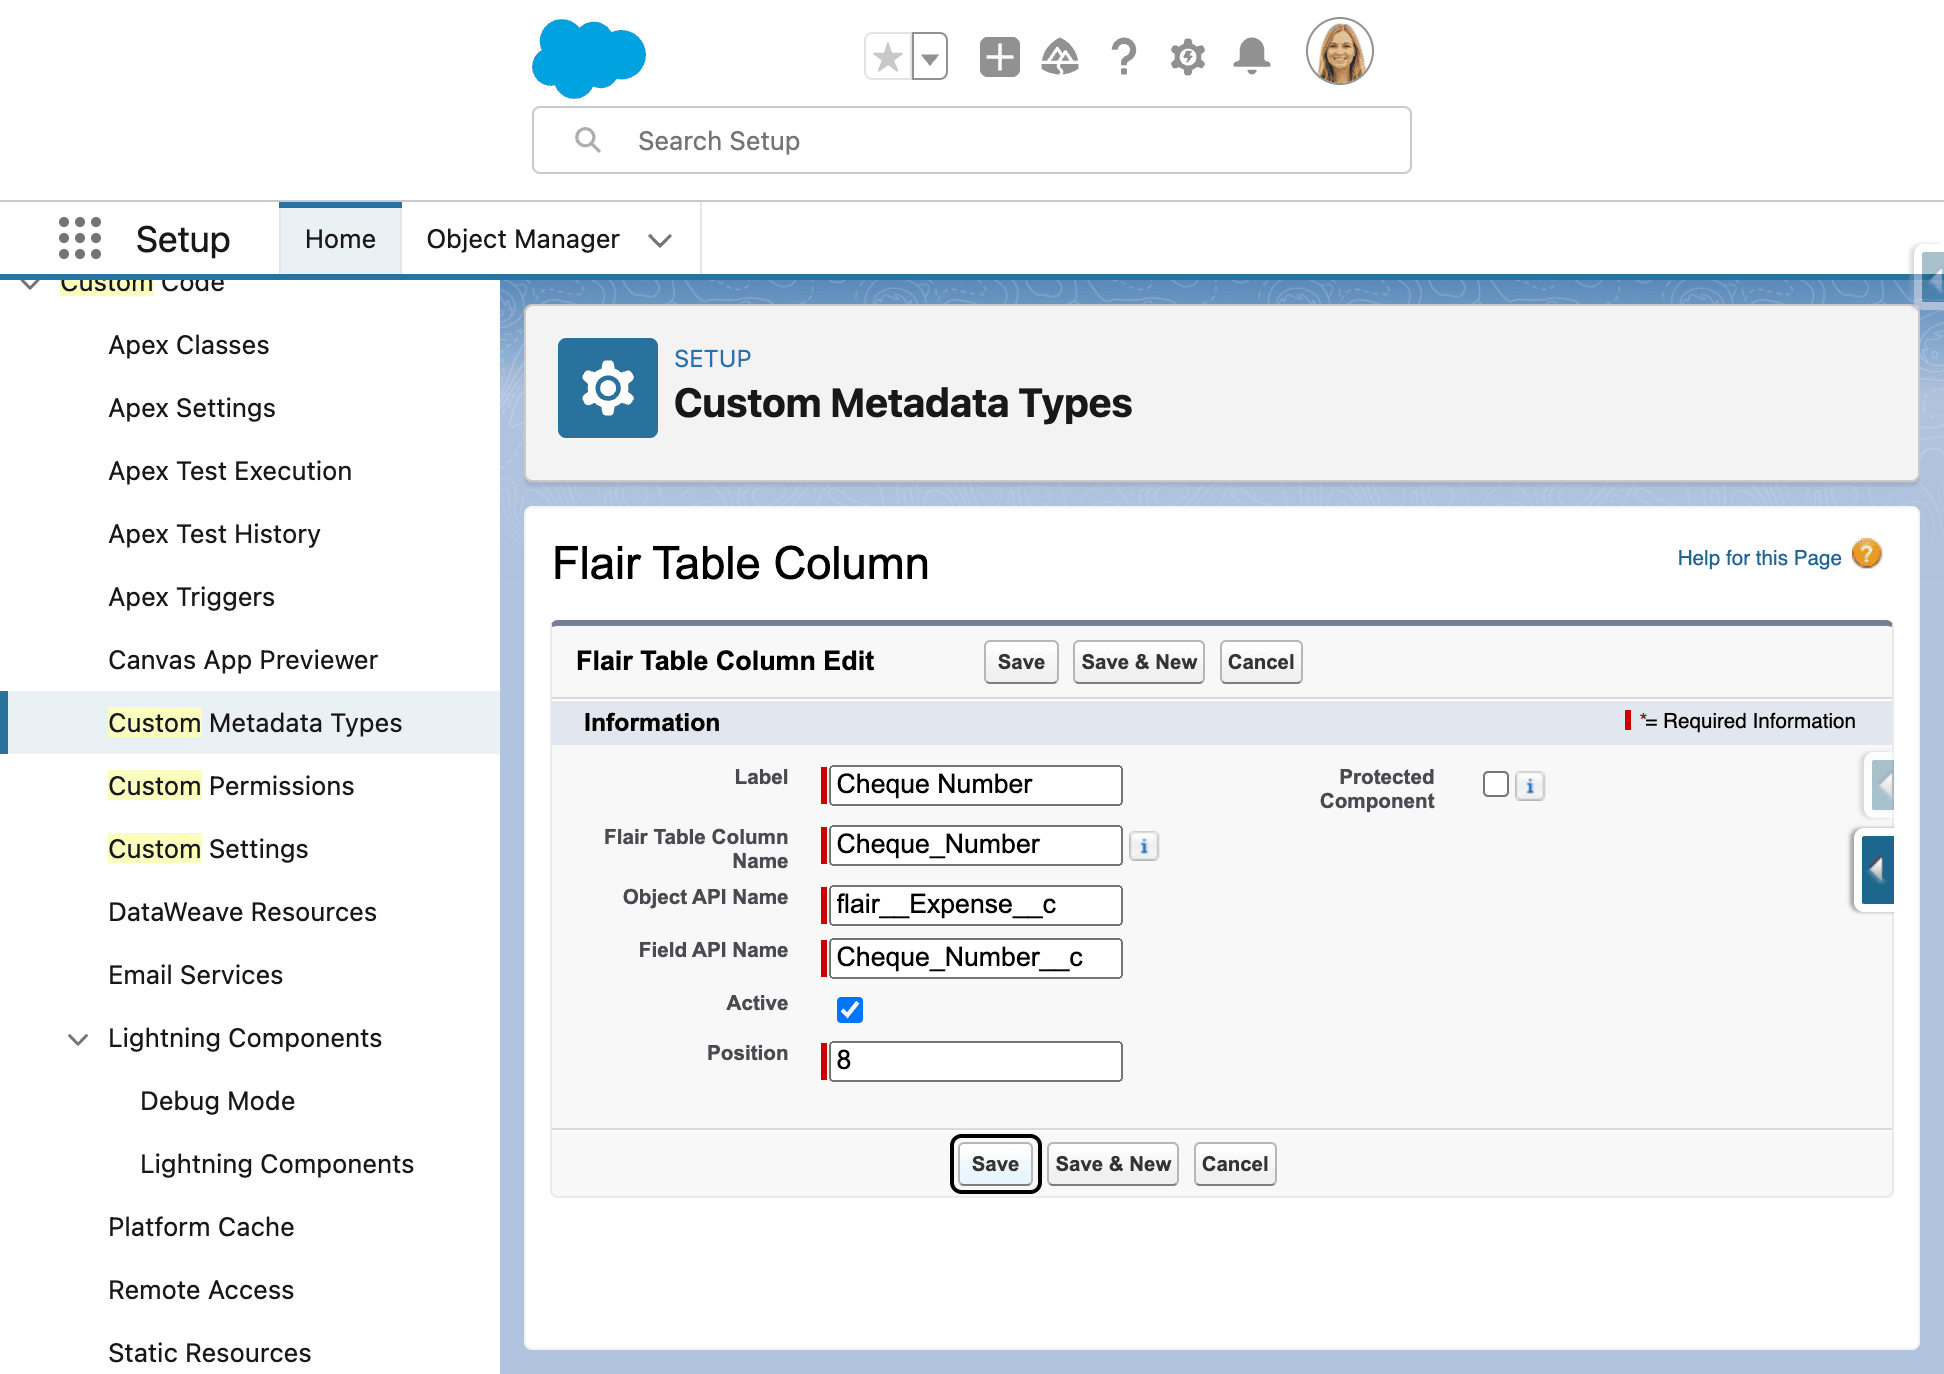
Set the table Position.
-
Select Active.
-
Click Save.
Verify the expense column
-
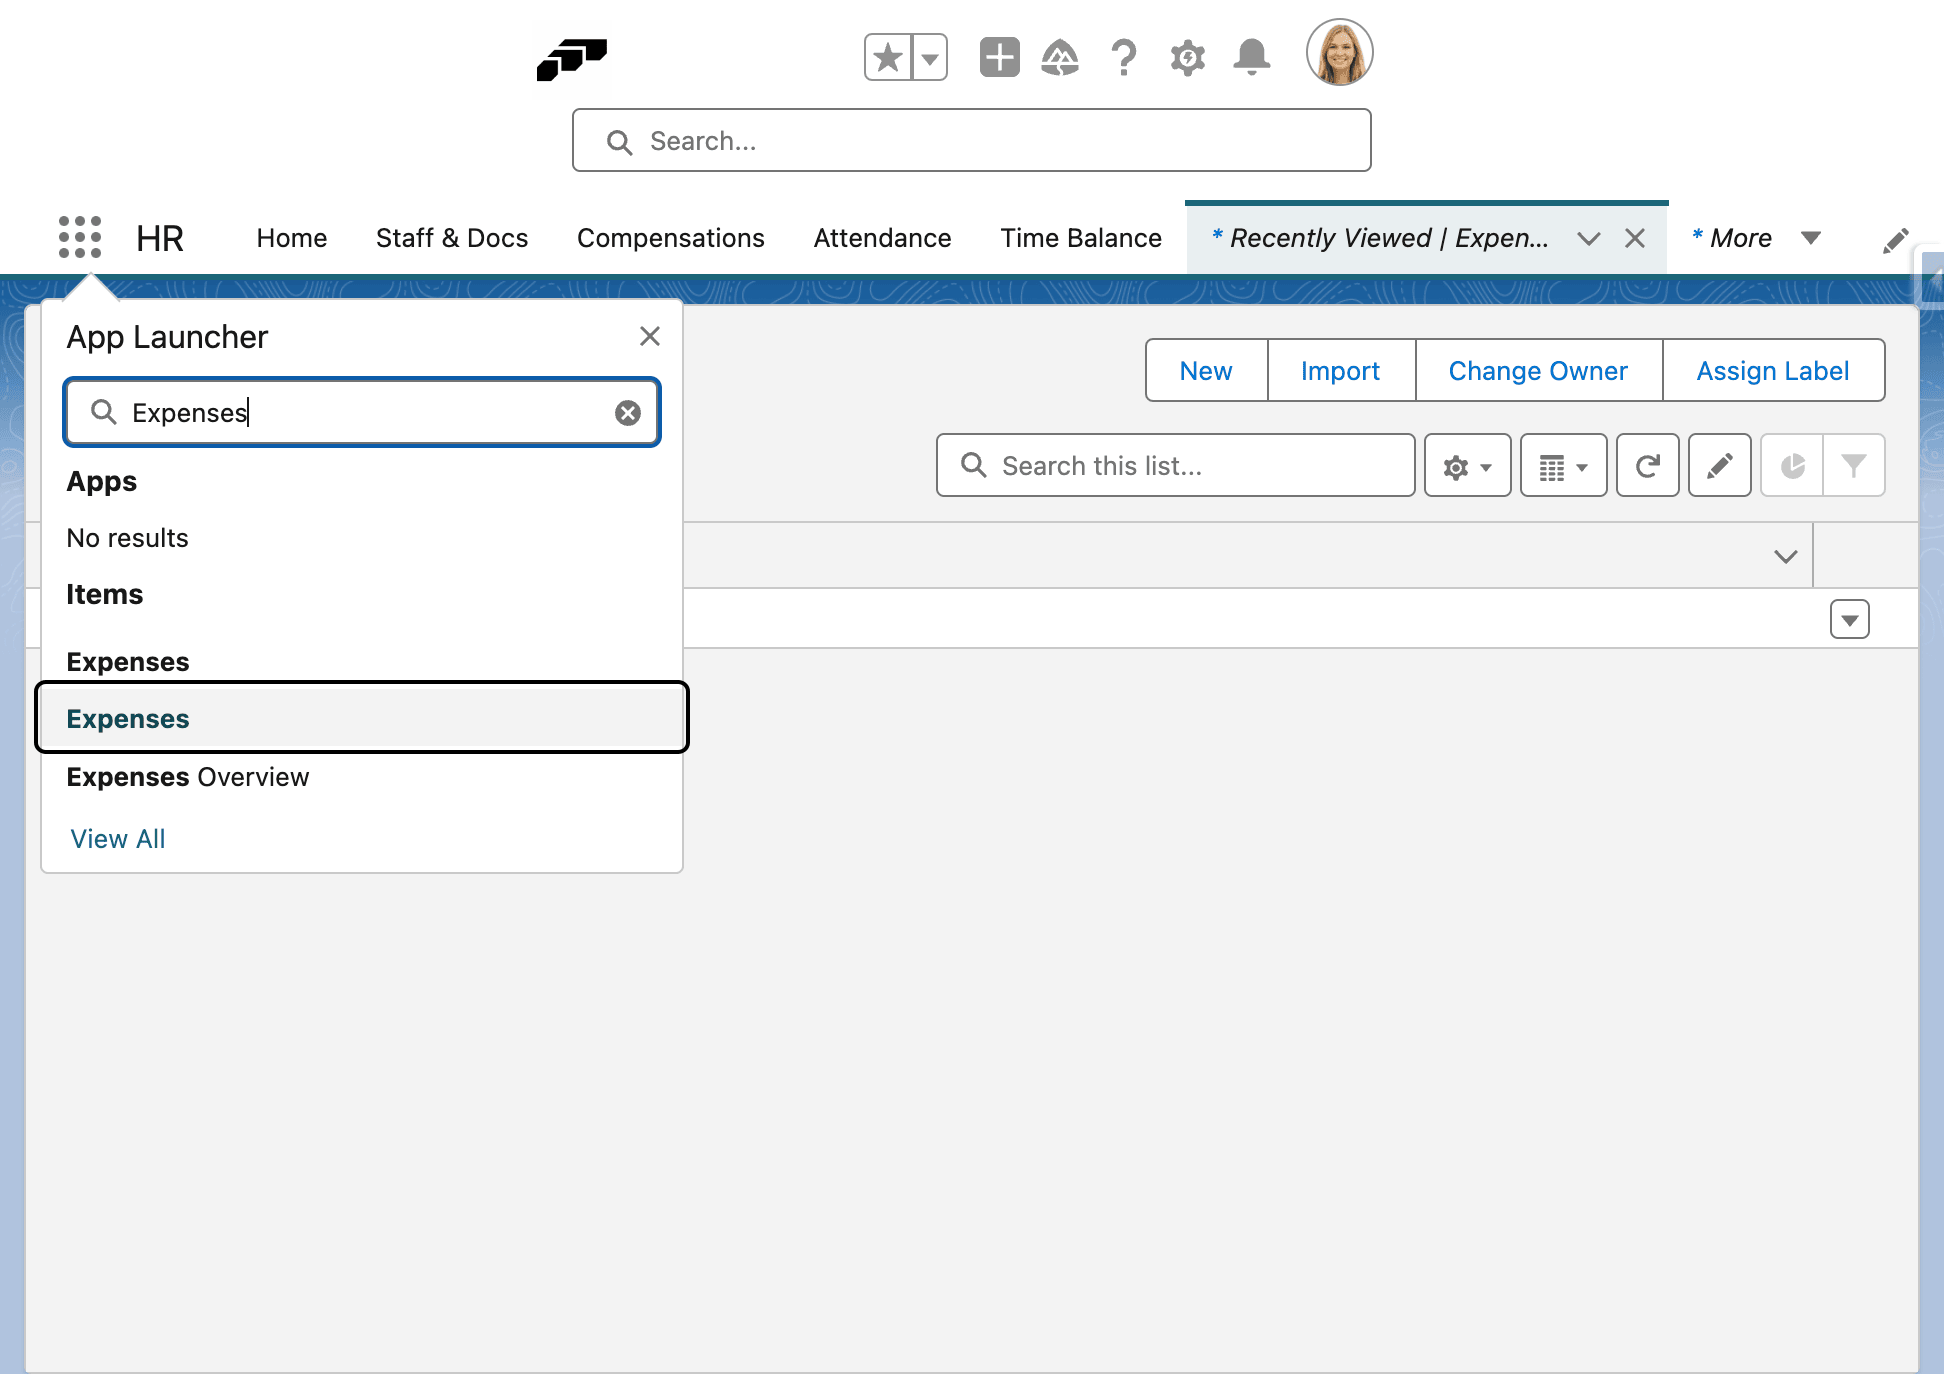
From the App Launcher (⋮⋮ grid icon), open the expense table.
-
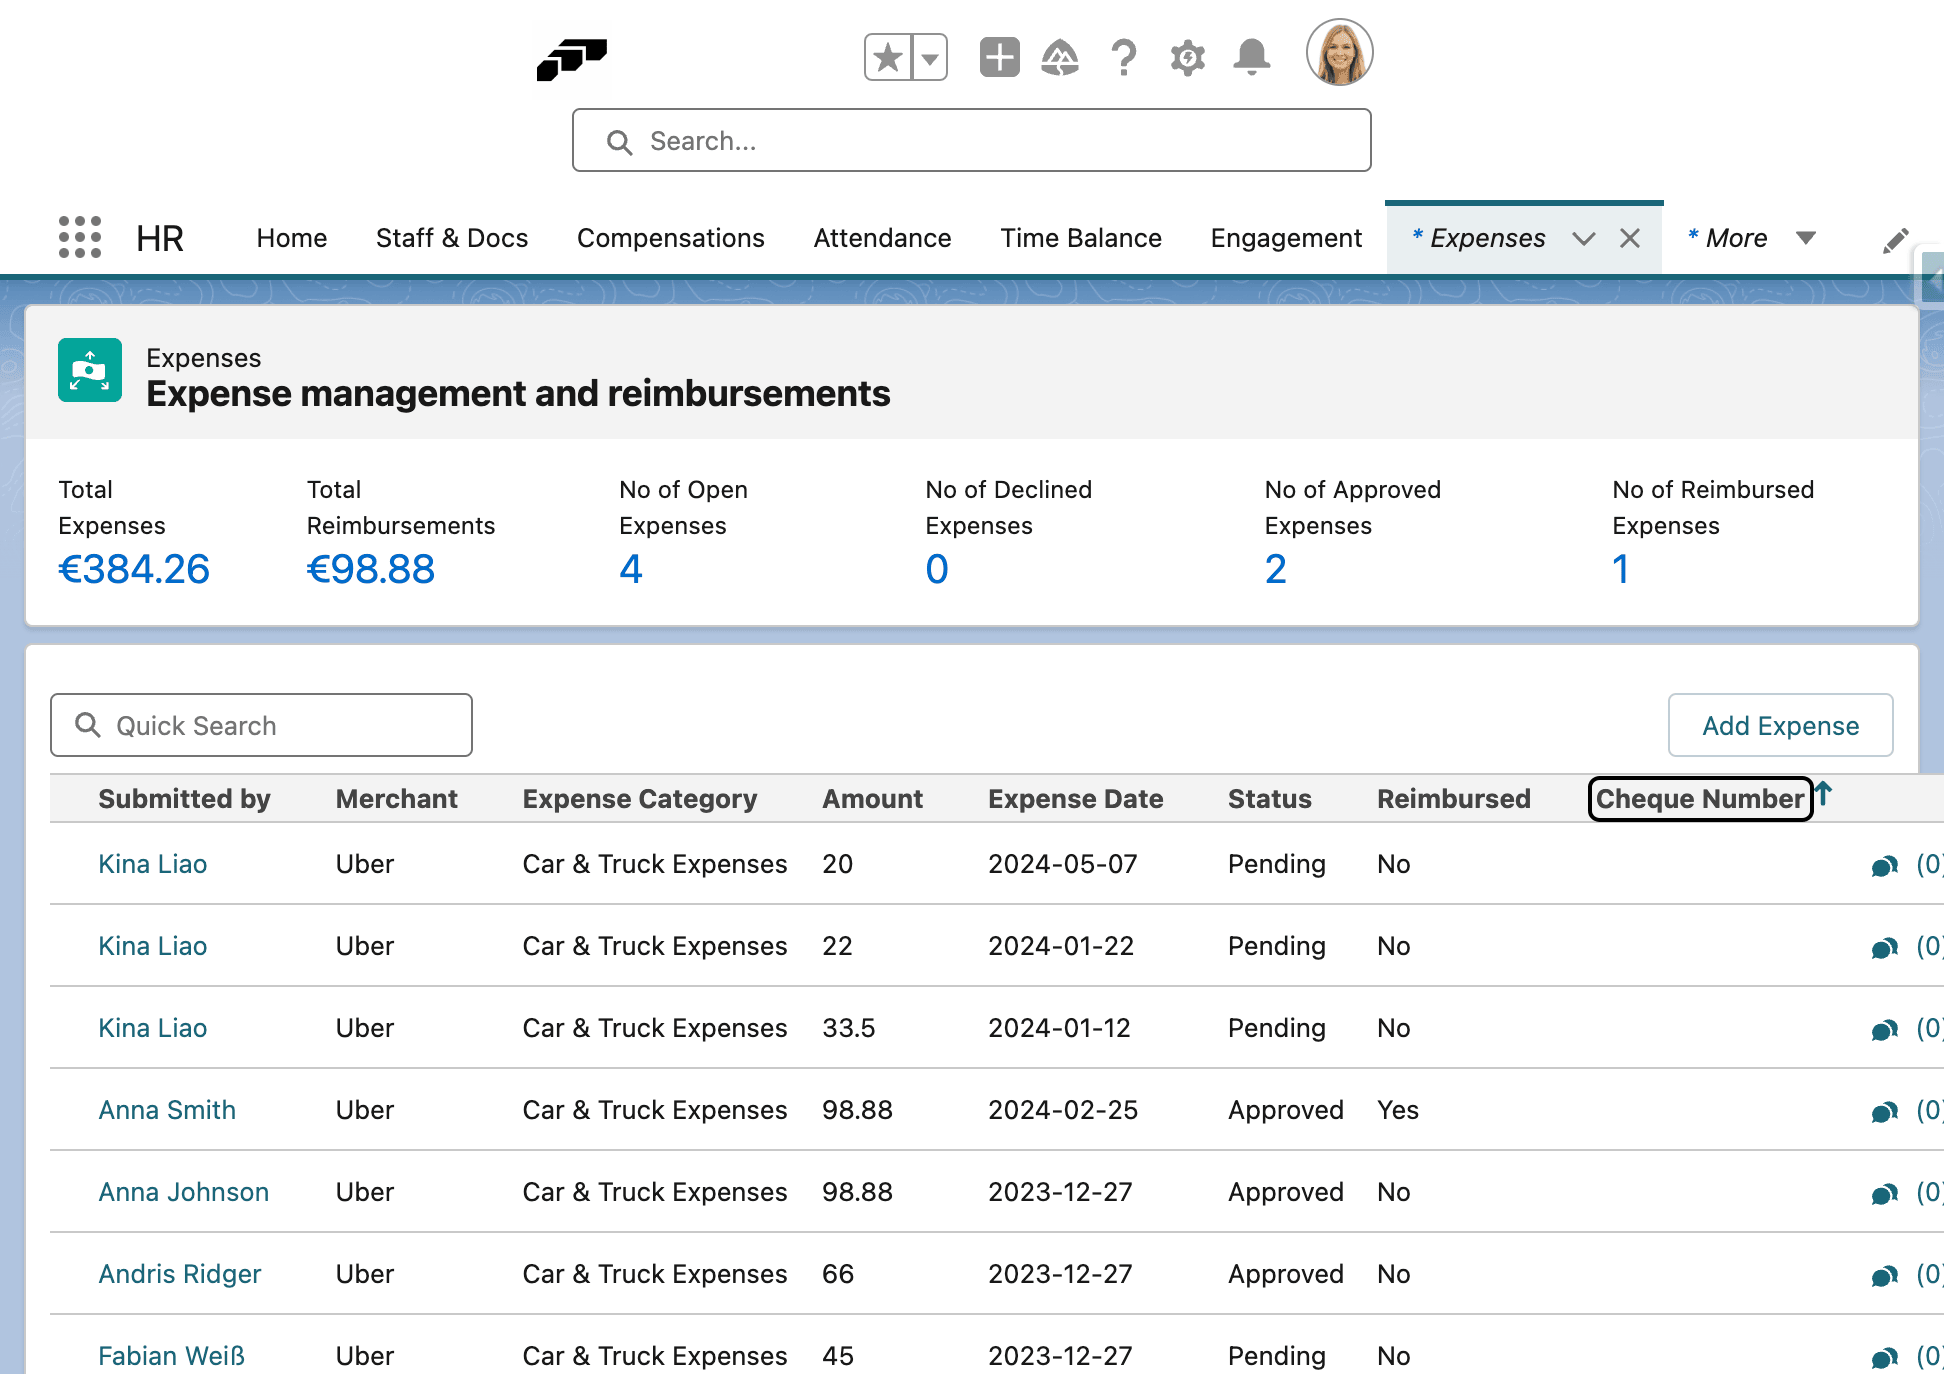
Confirm that the new field appears as a column.
Add a column to the candidates table
Create or activate the column
- In Salesforce Setup, open Custom Metadata Types.
- Next to flair Table Columns, click Manage Records.
- To reuse an existing inactive column, open the record and select Active.
- To create a column, click New.
- Set Object API Name to
Candidate. - In Field API Name, enter the field API name, such as
flair__LinkedIn__c. - Set the position.
- Select Active.
- Click Save.
Verify the candidate column
- Refresh the candidates page.
- If the column is missing, edit Columns to Display. Candidate column selections are saved per job in the browser.
The column appears after its candidate records contain data for the selected field.