Permissions & Access Control
Managing permissions and access control in flair ensures that users have the appropriate level of access to features and data. This guide covers permission sets, permission set groups, visibility scopes, and troubleshooting access issues.
Permission Sets Overview
We offer a number of ready-made permission sets for the flair HR and Recruiting apps in Salesforce. These relate to different roles within your HR and recruiting teams.
Each permission set grants permission to View or Modify certain objects in Salesforce.
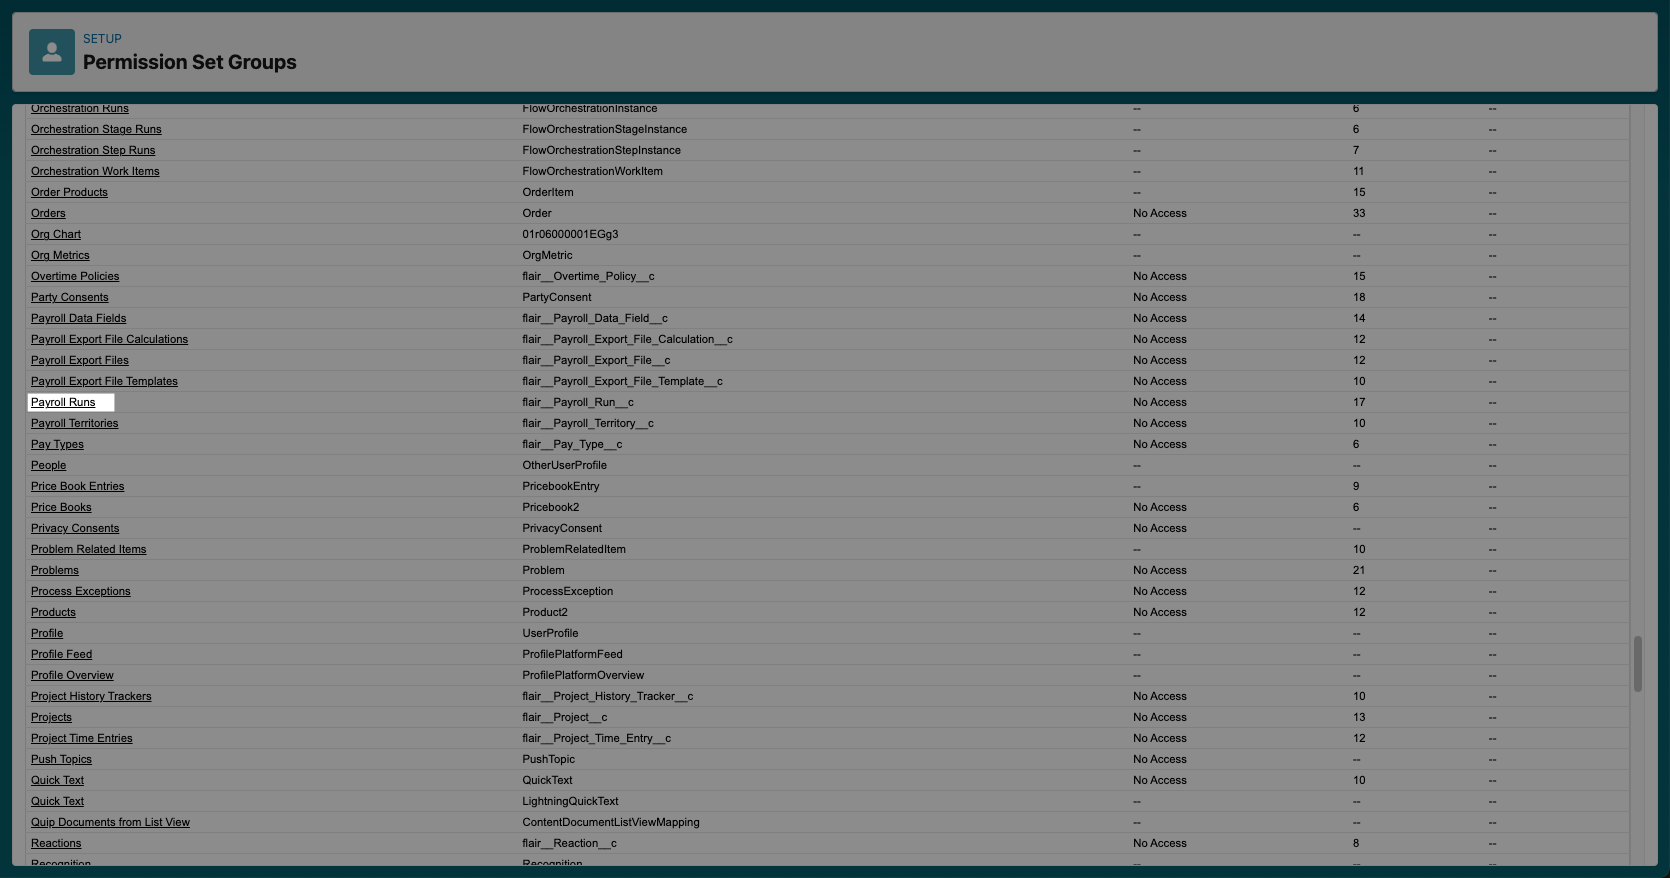
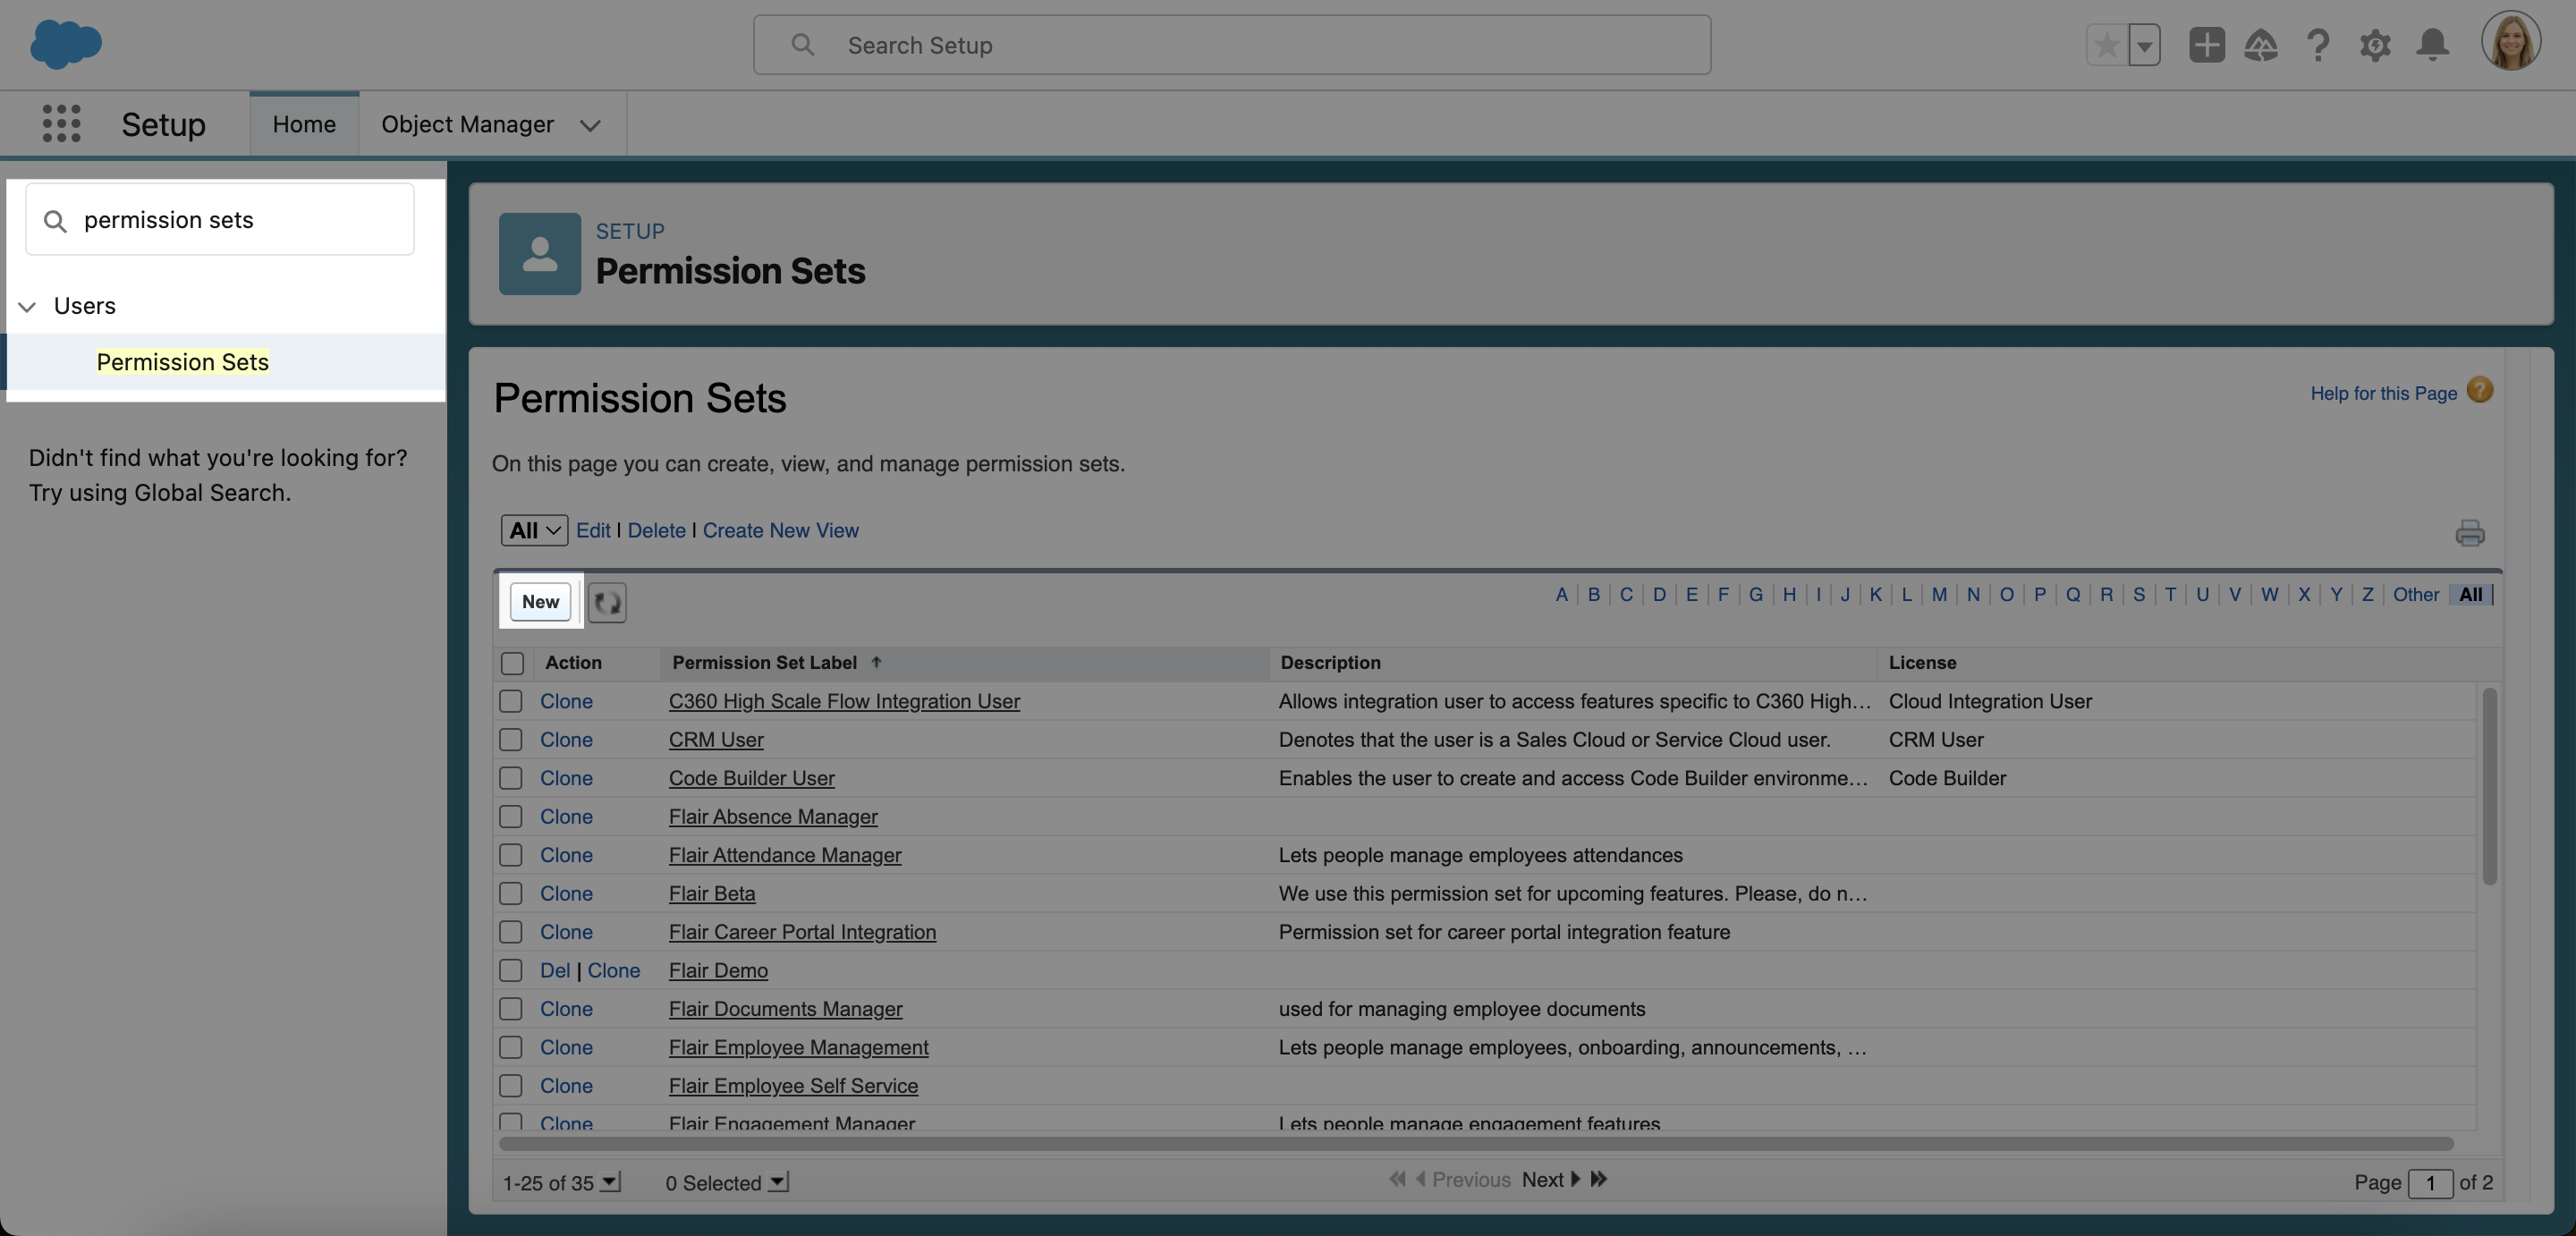
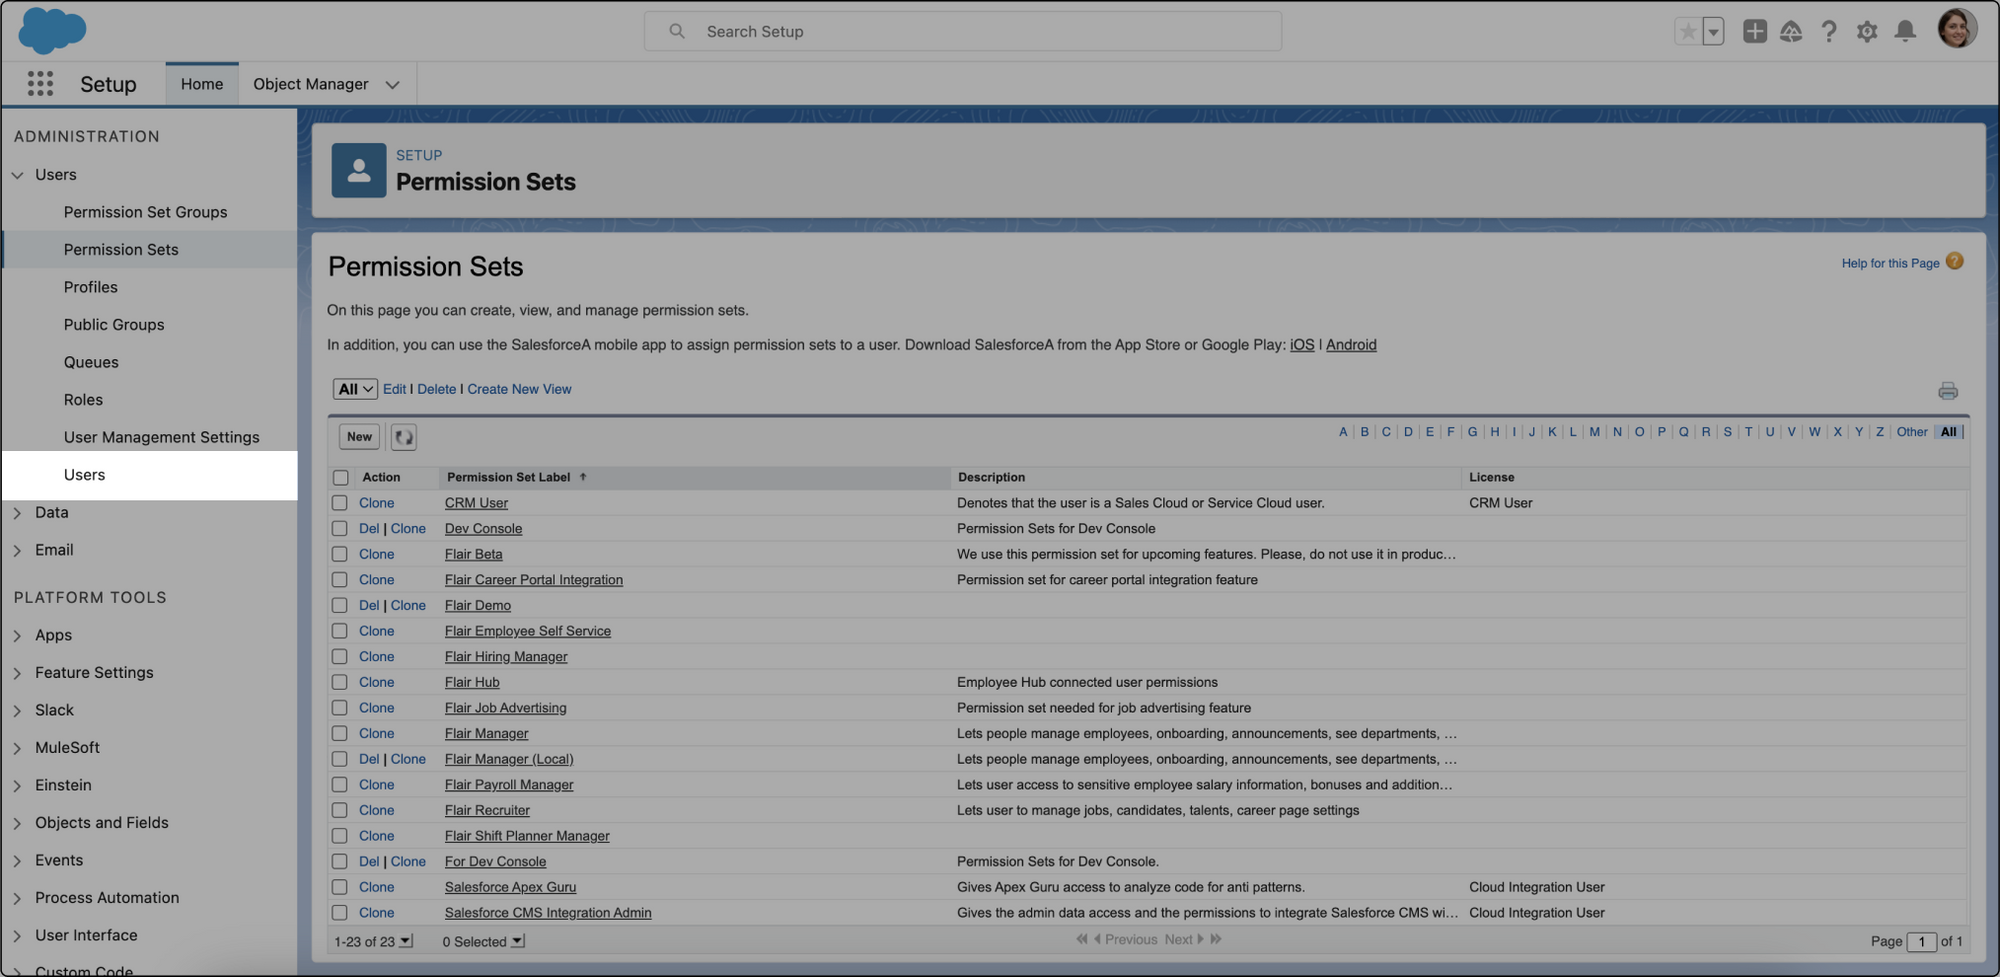
You can view the full list of permission sets and all included objects directly in your Salesforce org by navigating to Setup → Permission Sets. All flair permission sets have a "Flair" prefix and include a description explaining their purpose.
Permission Set Groups
In Salesforce, you can combine multiple permission sets to make a permission set group. This approach can save you time when assigning and managing permissions.
Why We're Switching to Permission Set Groups
At flair, we're transitioning to using Permission Set Groups as our primary method for managing user permissions. This approach offers several advantages over individual permission sets.
Advantages of Permission Set Groups
-
Simplified Management: Instead of assigning multiple individual permission sets to a user, you can assign the entire group, greatly simplifying the permission management process.
-
Modular Approach: With Permission Set Groups, we can create one (or more) permission sets related to a feature and add them to permission set groups (for personas who will use this feature). This modular approach is much better than updating a few giant permission sets, enhancing maintainability and scalability.
-
Greater Flexibility: Properly designed Permission Set Groups offer greater flexibility. For example, you can have one base permission set that includes permissions every user should have. If you later need to add some other common permission, you only update this one permission set (since it is included in all relevant permission set groups).
Our Approach
We recommend using the approach where each persona (typical group of users) has one Permission Set Group designed. Of course, it is possible to assign more PSGs to users which might be useful for smaller customers that only have a few HR employees.
The Transition Process
The transition from Permission Sets to Permission Set Groups is designed to be 100% backwards compatible - existing permission sets will not be changed. You should assign PSGs to users, and new features will only be added to new permission sets (and PSGs). Existing permission sets will not be updated.
Limitations
- ⚠️ To install or uninstall a package with permission set groups, a subscriber must have permission set groups enabled.
- ✅ Permission set groups installed from managed packages don't count against the maximum number of groups created. The limit on the number of created and installed permission set groups varies by edition.
- ⚠️ Certain Salesforce editions don't allow you to create or customize permission set groups. In these instances, permission set groups from managed packages can be installed and used.
- ✅ A permission set group installed from a managed package has the namespace of the package to avoid any naming collision with a local group that has the same name.
- ✅ To delete a permission set group from an installed managed package, first uninstall the package.
- ✅ You can add and delete local permission sets in permission set groups installed from a managed package.
When To Use a Permission Set Group?
While flair offers a wide range of ready-made permission sets, some users and roles may require access to multiple permission sets. In this case, the best approach is to create a permission set group. Users will then receive all the permissions from the permission sets included in the group.
For example, if your HR managers also handle payroll, you could create a permission set combining Flair Manager and Flair Payroll Manager.
The advantage of this approach is that any updates we make to the permission sets in a group are automatically applied.
⚠️ We advise against duplicating an existing permission set and modifying it. Doing so can lead to your newly created permission set becoming outdated as we apply updates to our permission sets.
For more information on permission set groups, visit Salesforce Help or watch the video below.
Creating a Permission Set Group in flair
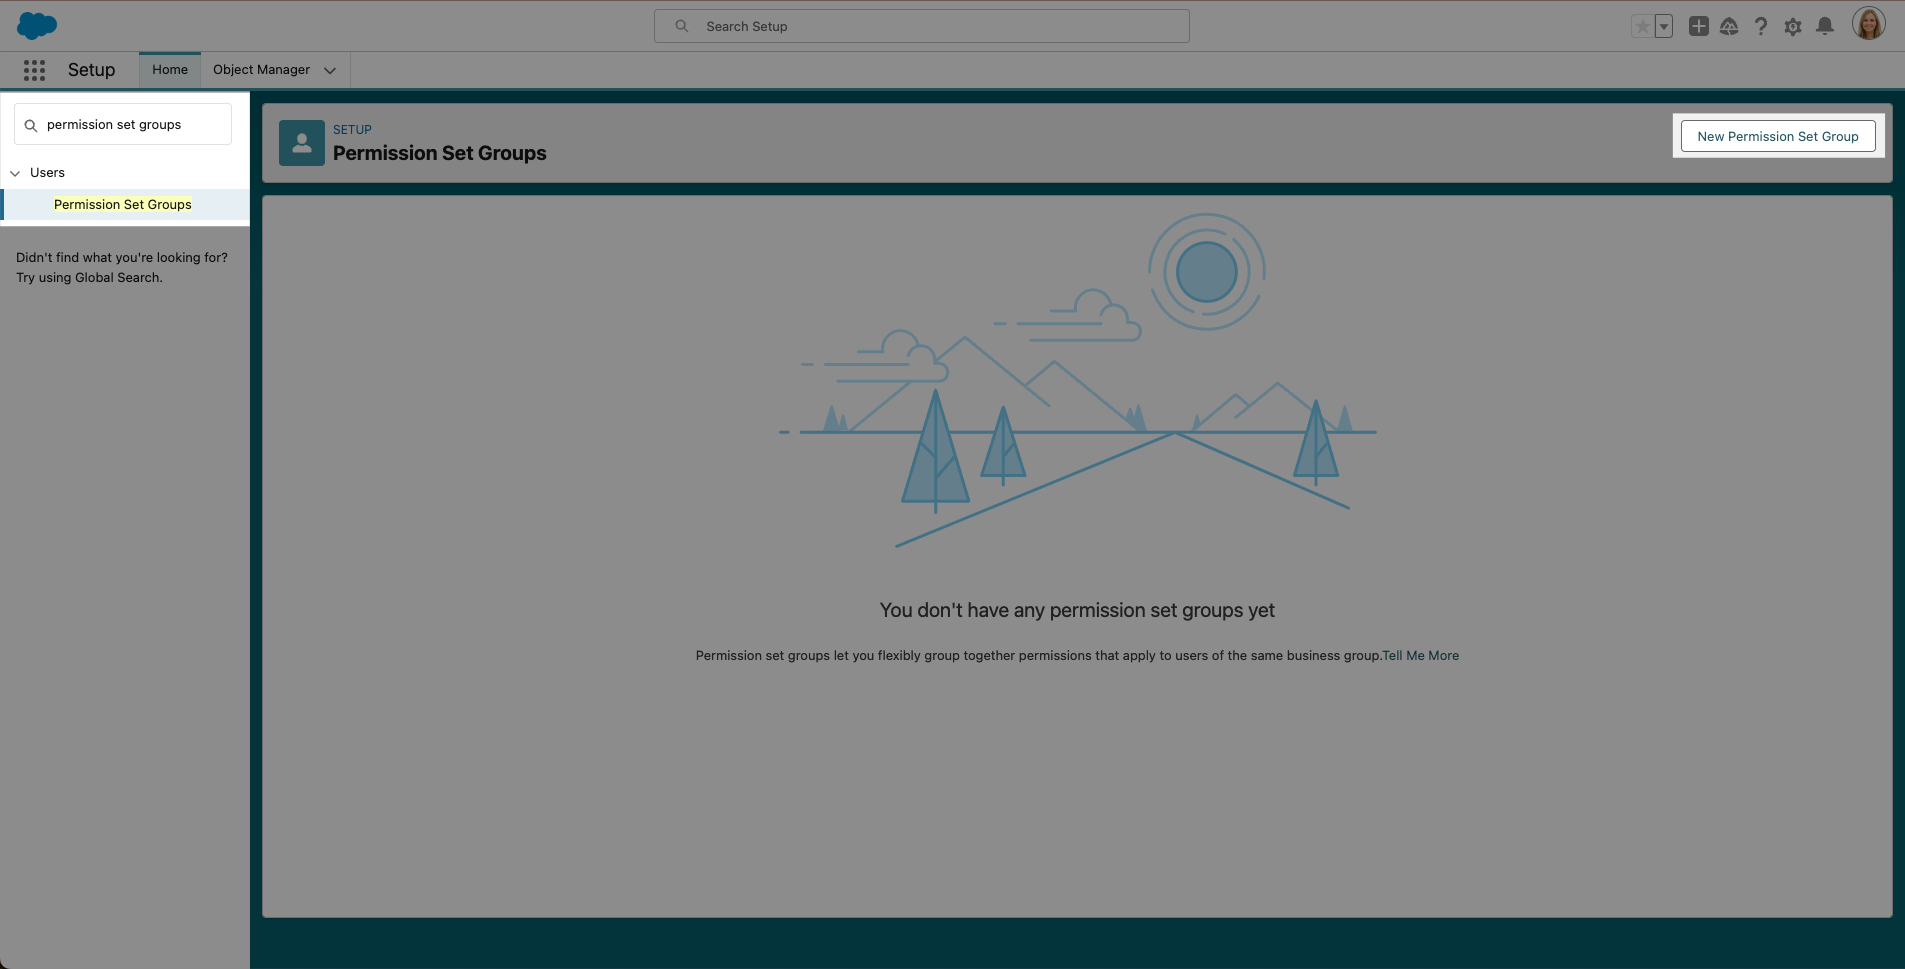
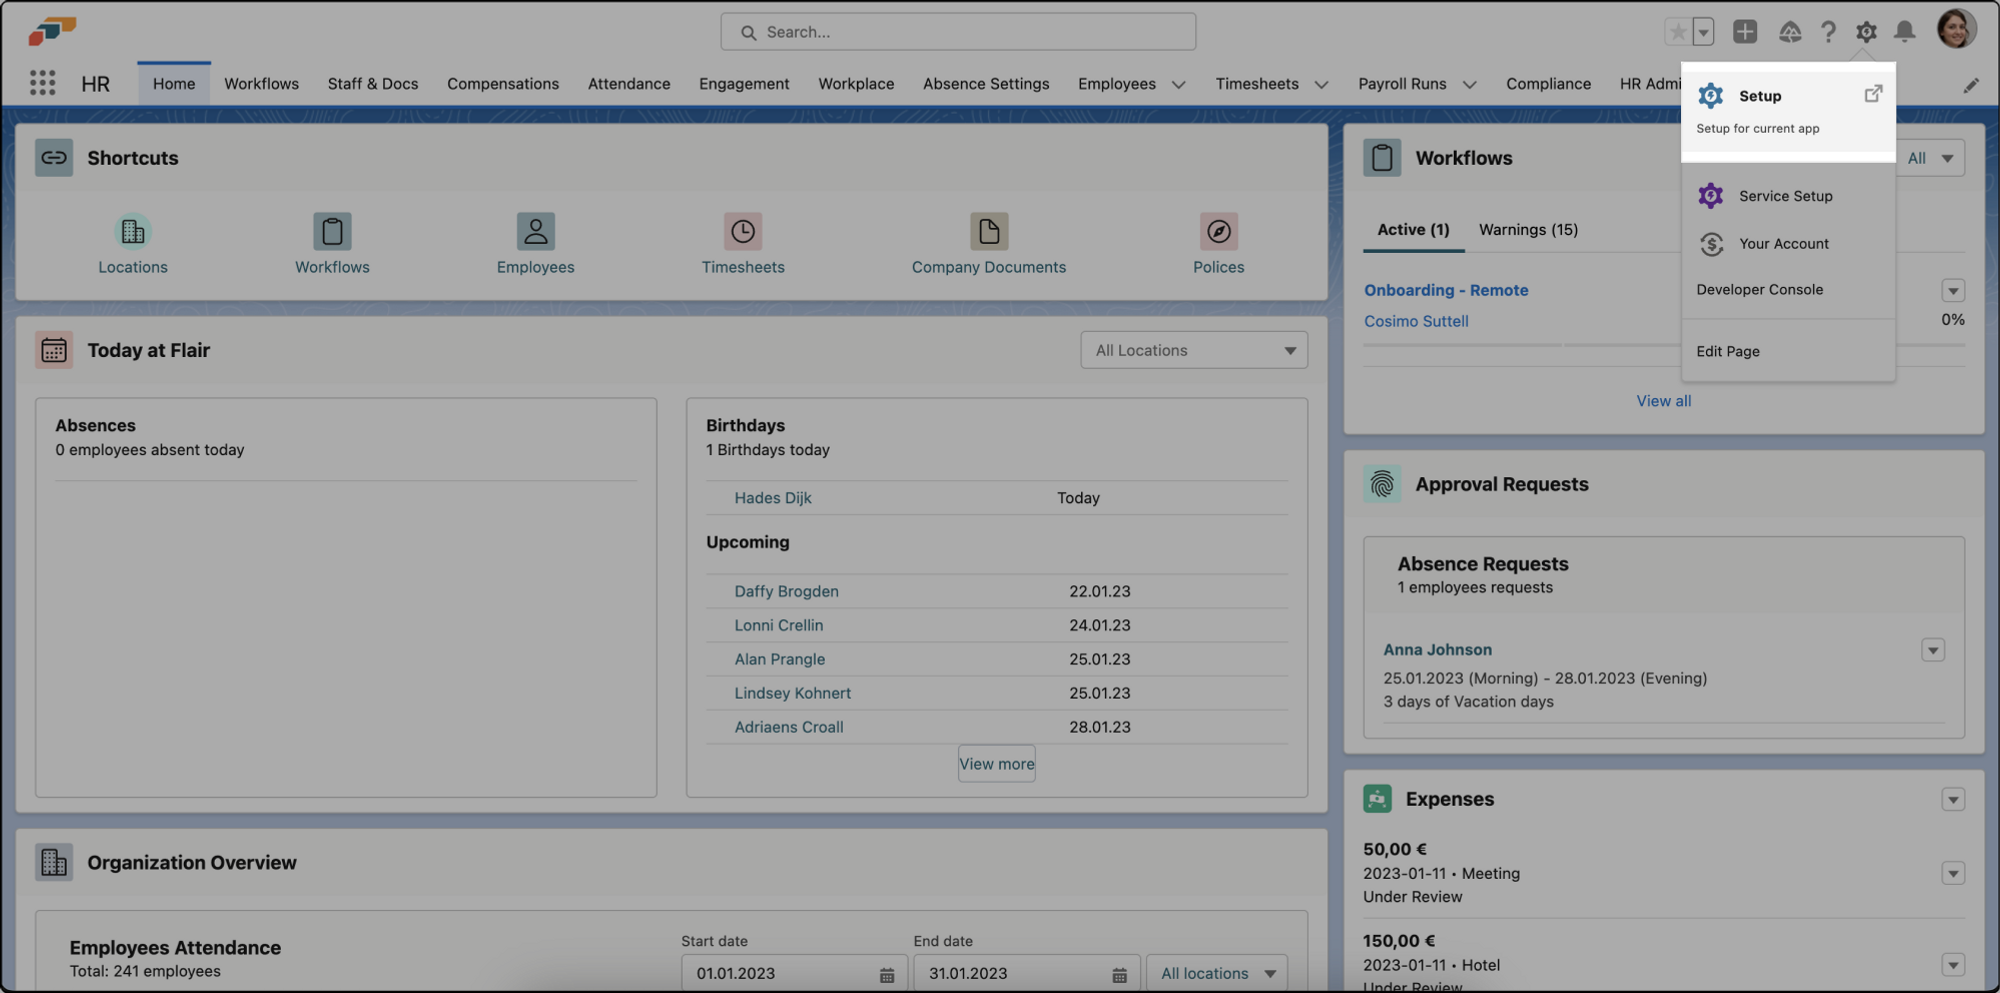
To create a permission set group, click the gear icon ⚙ to go to Salesforce Setup.
- Type permission set groups into the Quick Find search bar on the left. Then click New Permission Set Group.
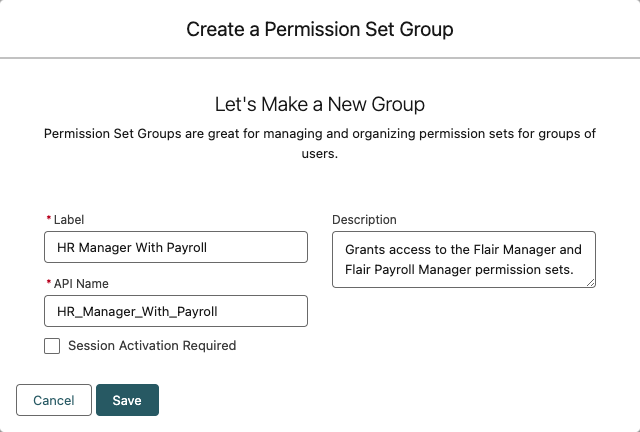
- Give your permission set group a Label and write a description. Then click Save.
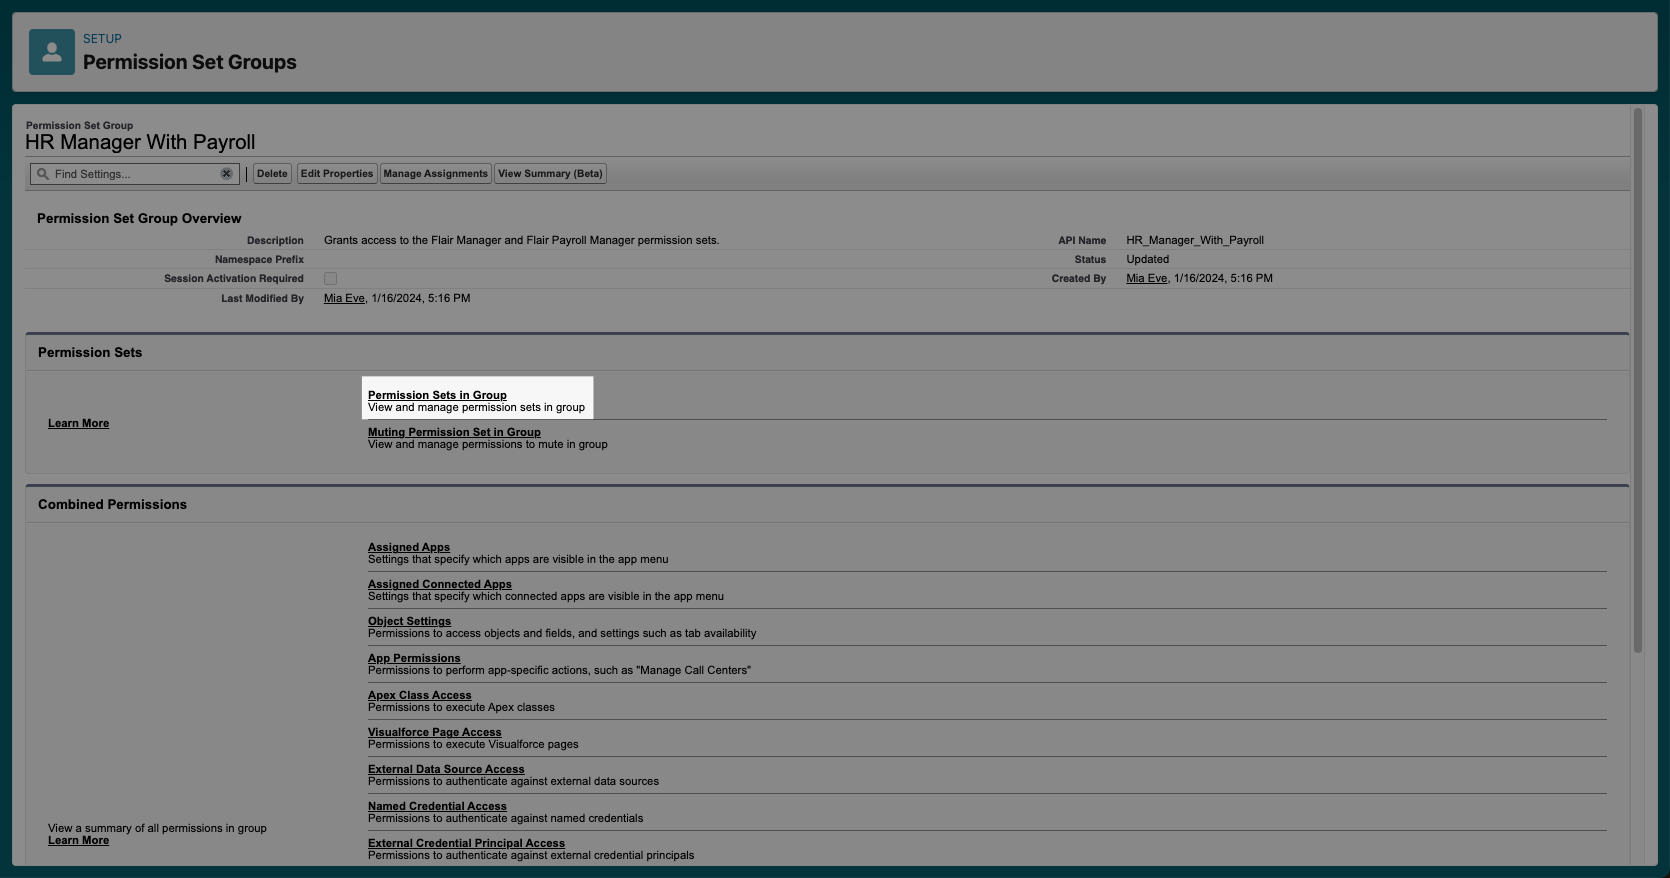
- In your new permission set group, click Permission Sets in Group. Then click Add Permission Set.
- Check the permission sets you want to include in your group, and then click Add.

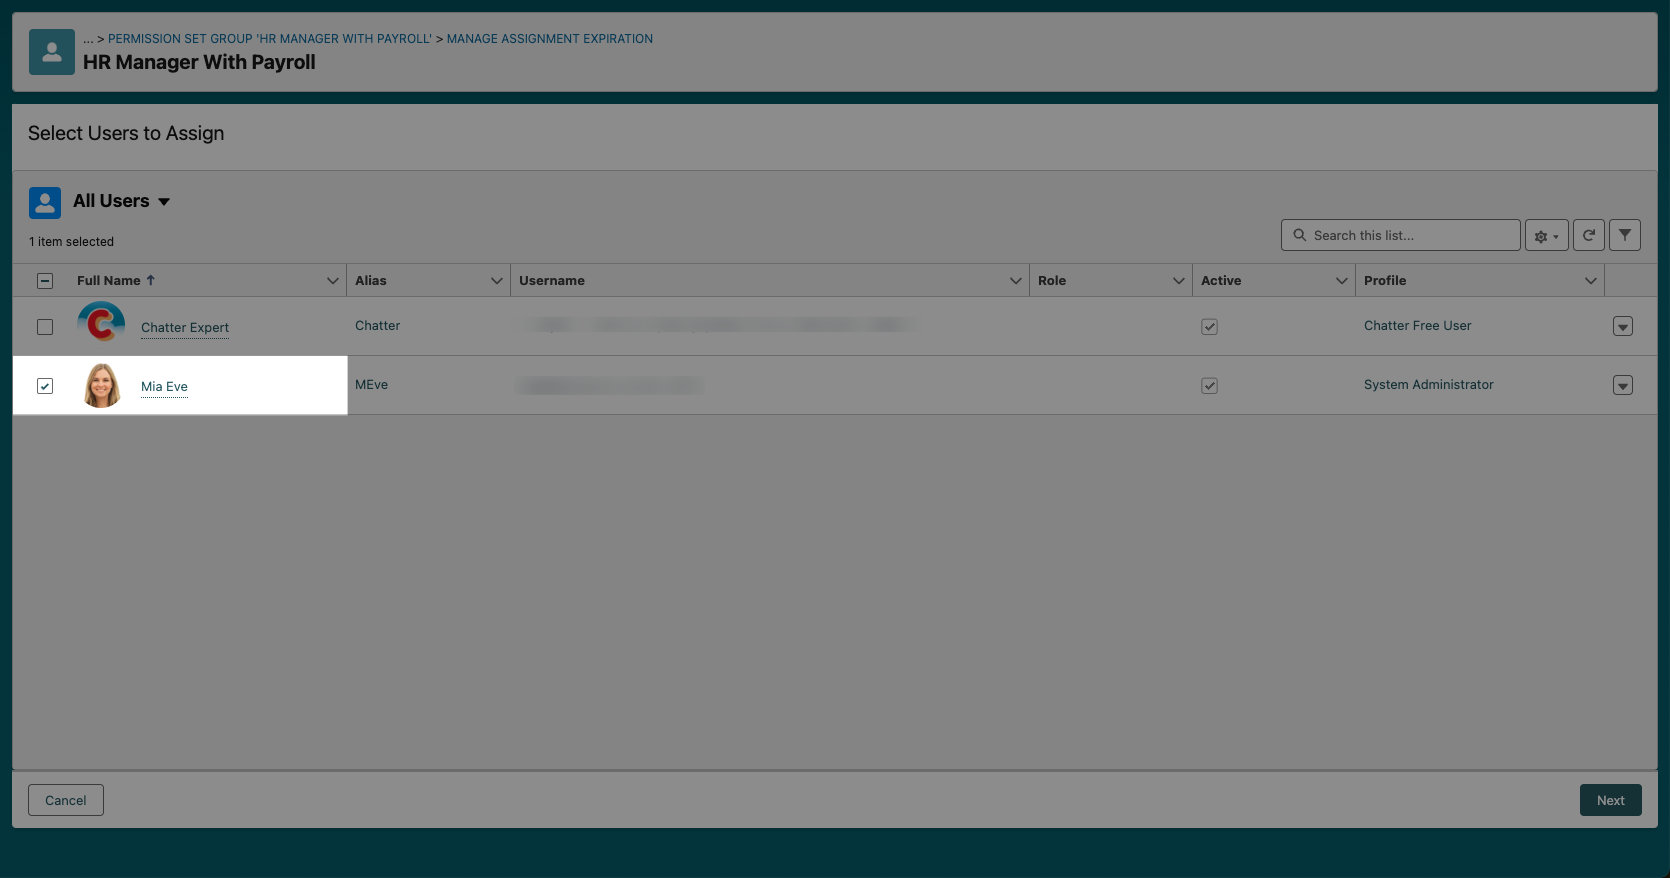
- You will now see a screen showing you an overview of the permission sets in your new group. To assign this permission set group to a user, go back to the Permission Set Groups page, select your new group, and click Manage Assignments.
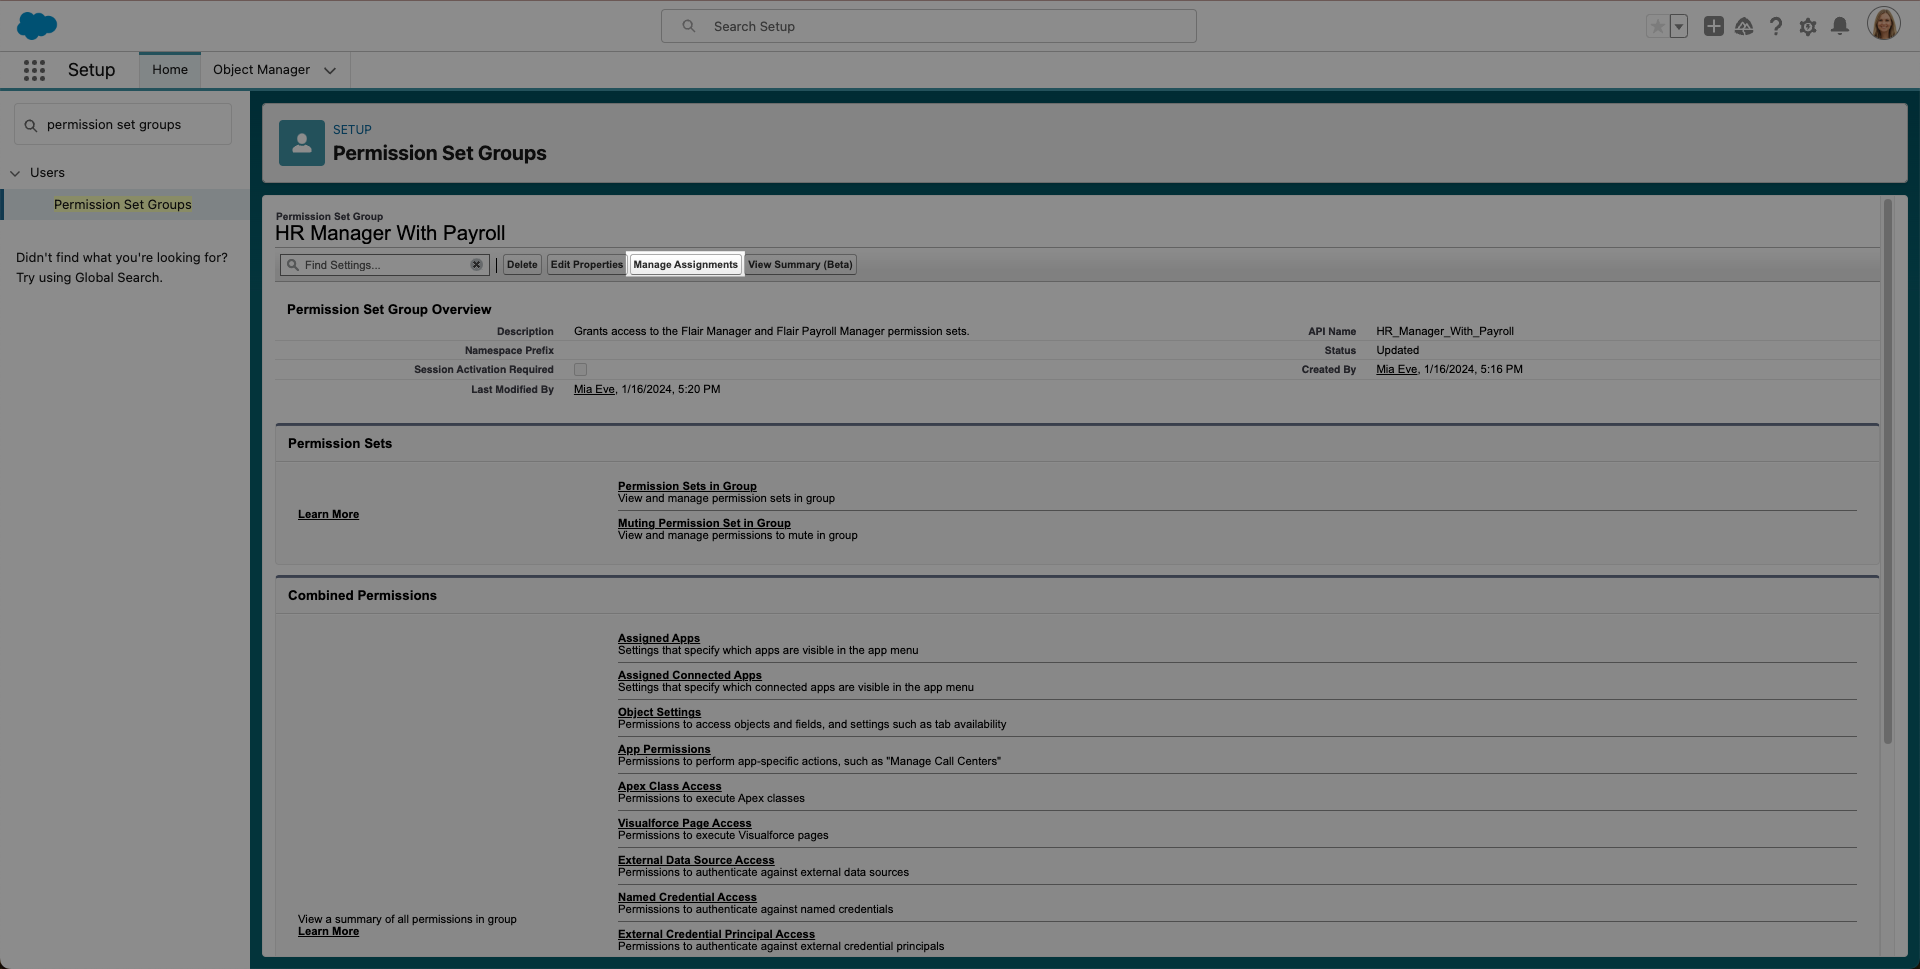
- Click Add Assignment and select the user you want to assign the permission set to. Then click Next. Choose whether the assignment should have an expiry date, and then click Assign.
Restricting Permissions in a Permission Set Group
Permission set groups not only allow you to assign additional permissions to a user, but also to disable some permissions within an existing permission set. For example, if you want your HR managers to be able to view payroll details but not delete them. To do this, you can create a muting permission set and add it to a permission set group to restrict certain permissions.
If you mute a permission in a permission set group, it will only apply to that specific group. It will not affect permissions in the individual sets.
- Open your permission set and click Muting Permission Sets in Group.
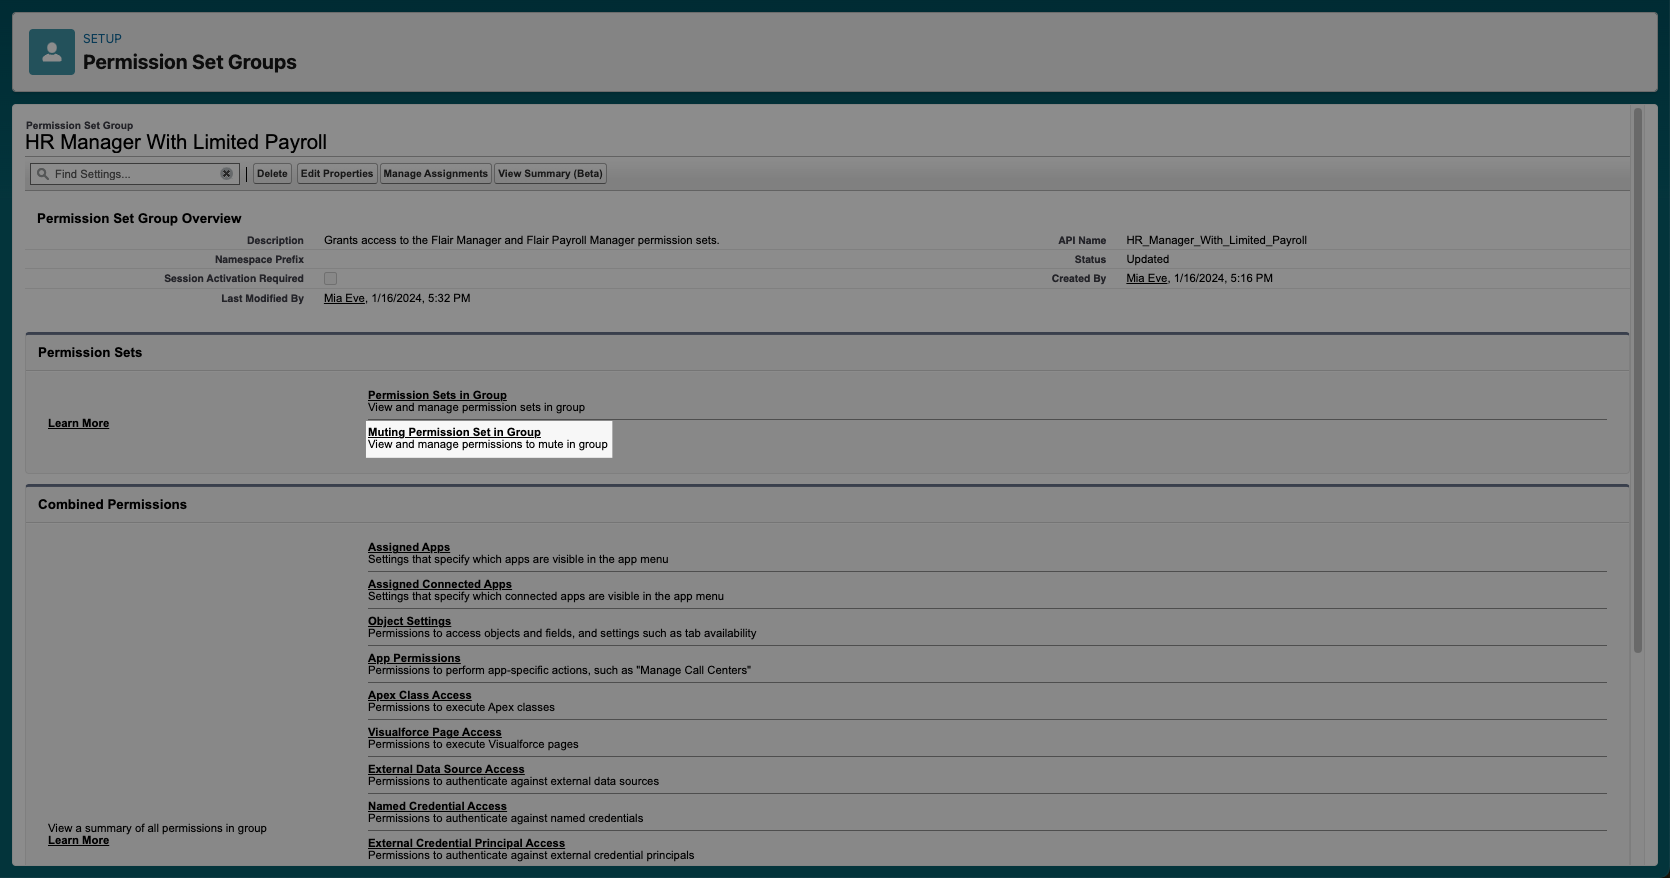
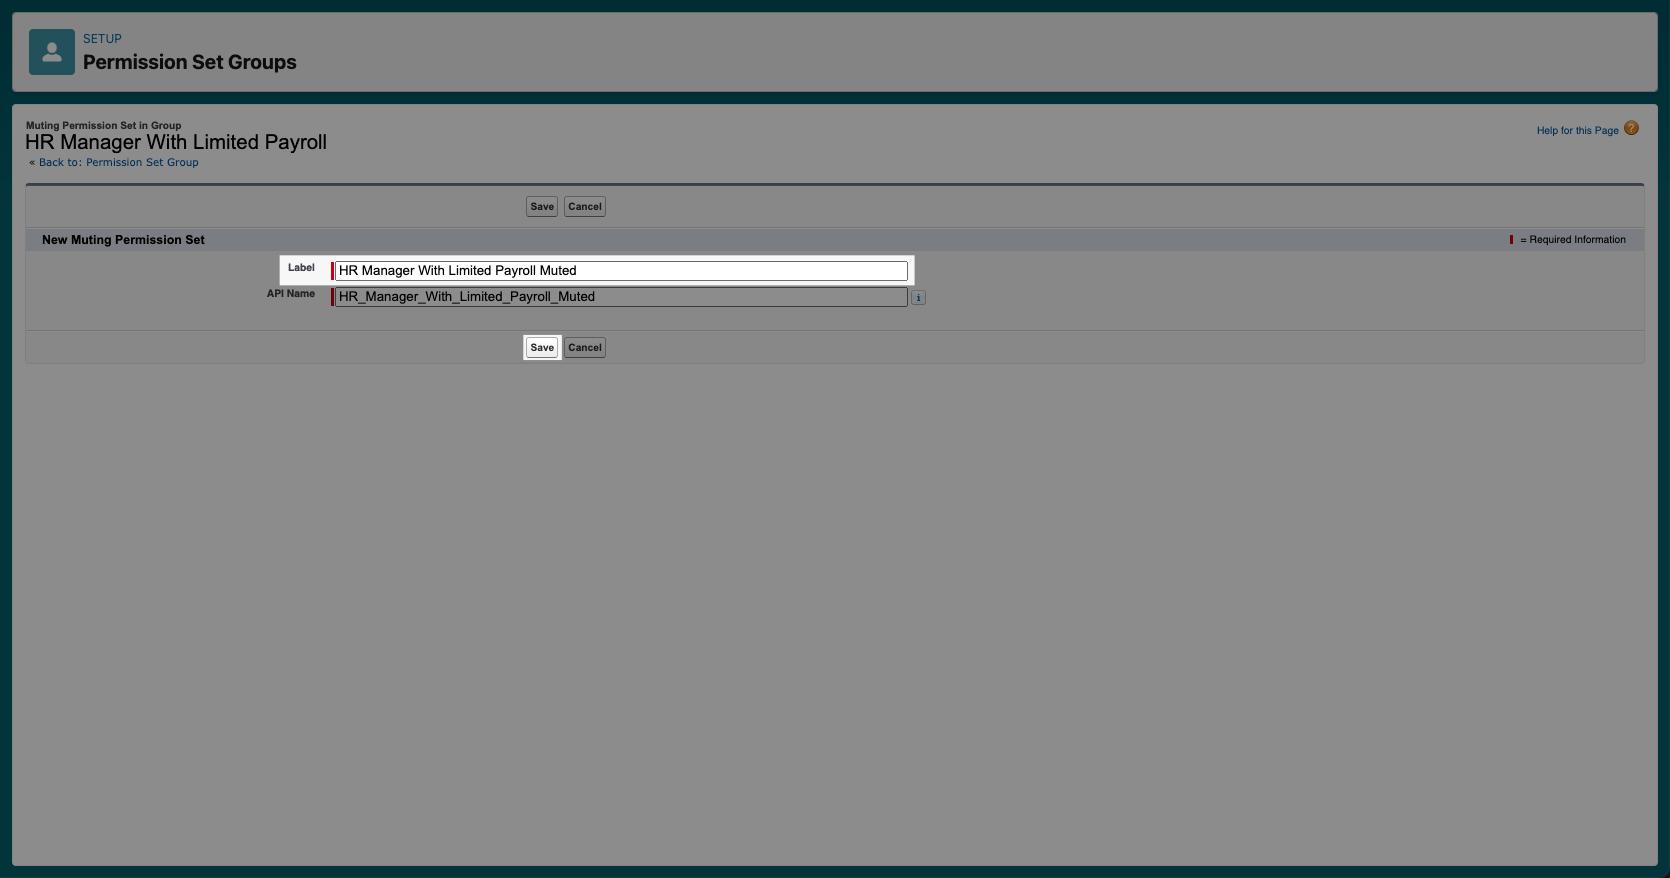
- Click New to create a new muting permission set. Give it a Label and click Save.
- Open your new muting permission set and click on Object Settings.
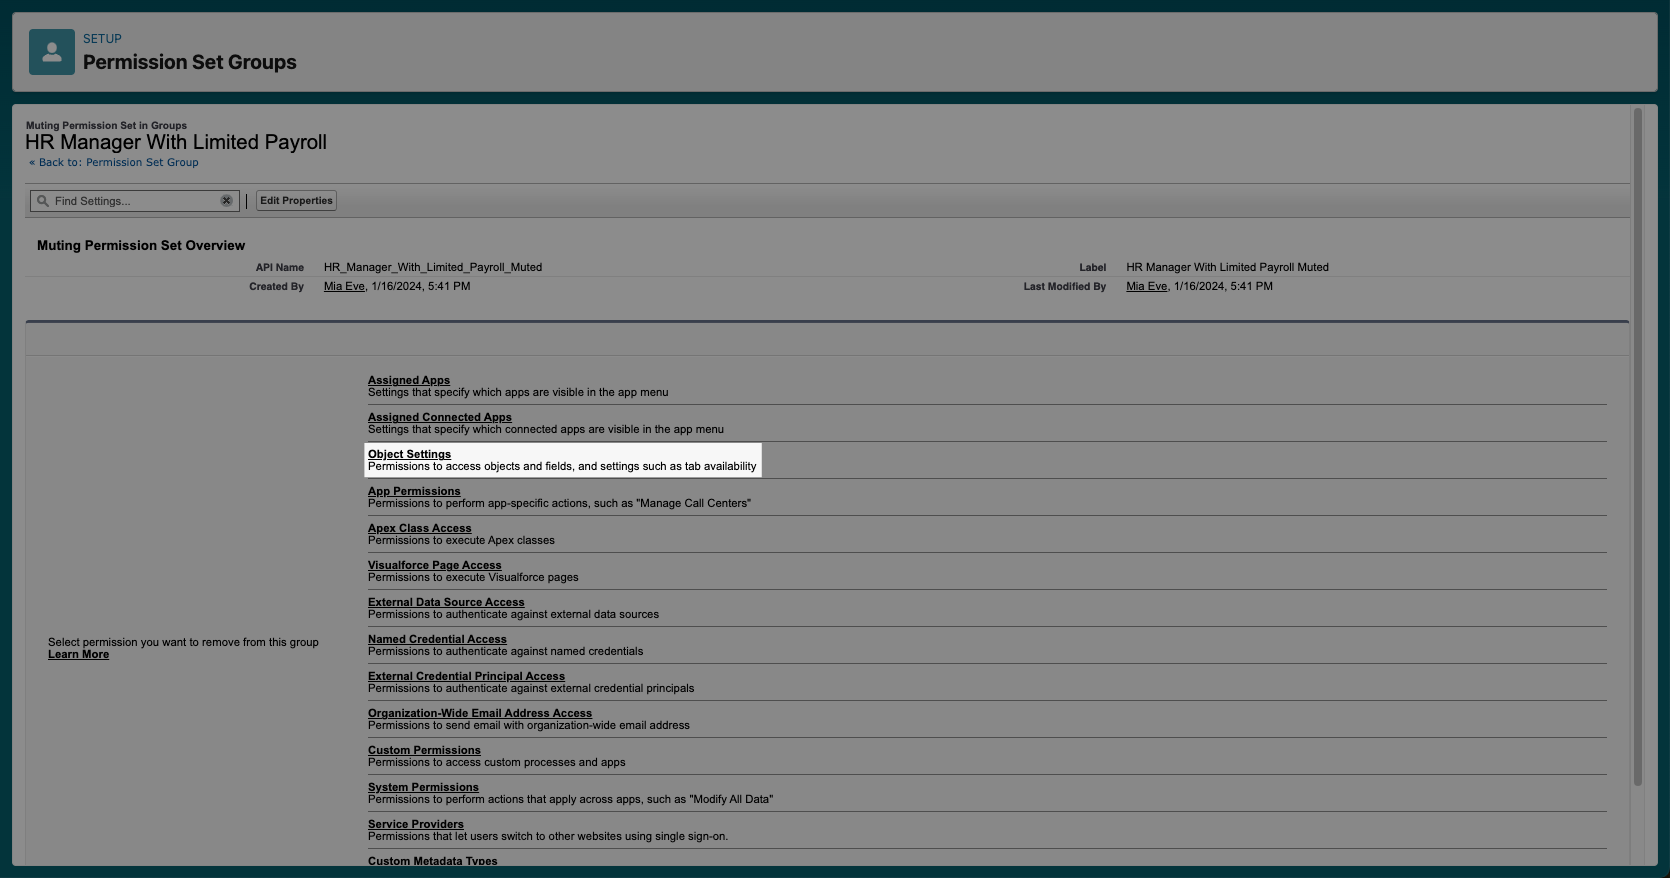
- Select the object to which you wish to limit permissions from the column on the left.
- You will now see an overview of Tab Settings, Object Permissions, and Field Permissions. In our example, you can see that the Flair Payroll Manager is granting full permissions to the Payroll Runs object, including Delete permission. To mute this permission, click Edit.
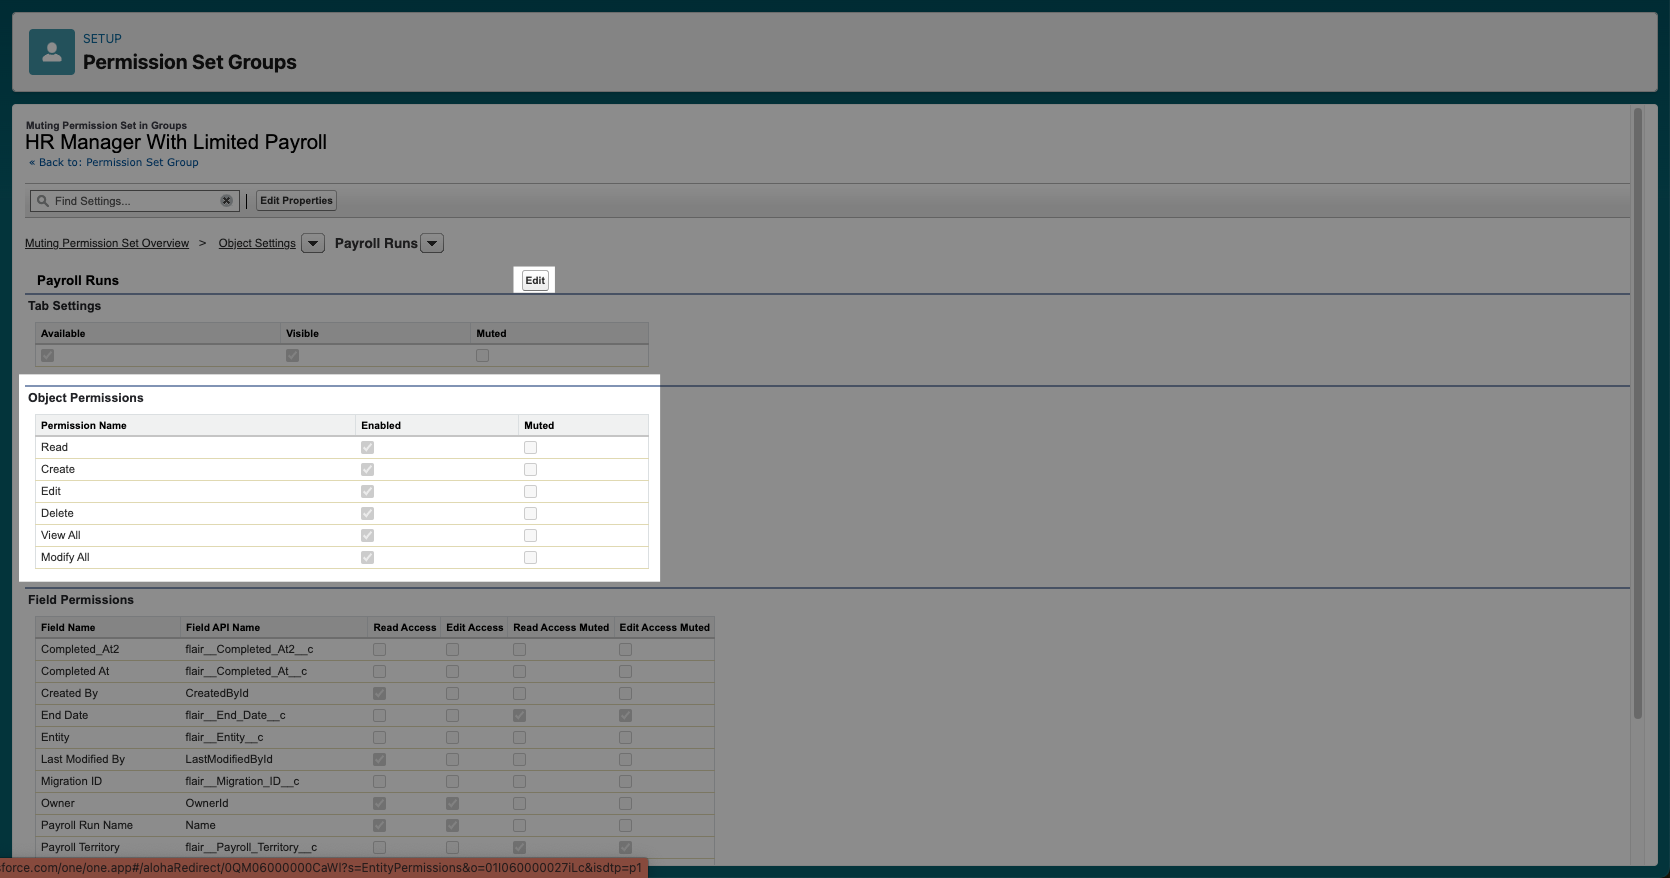
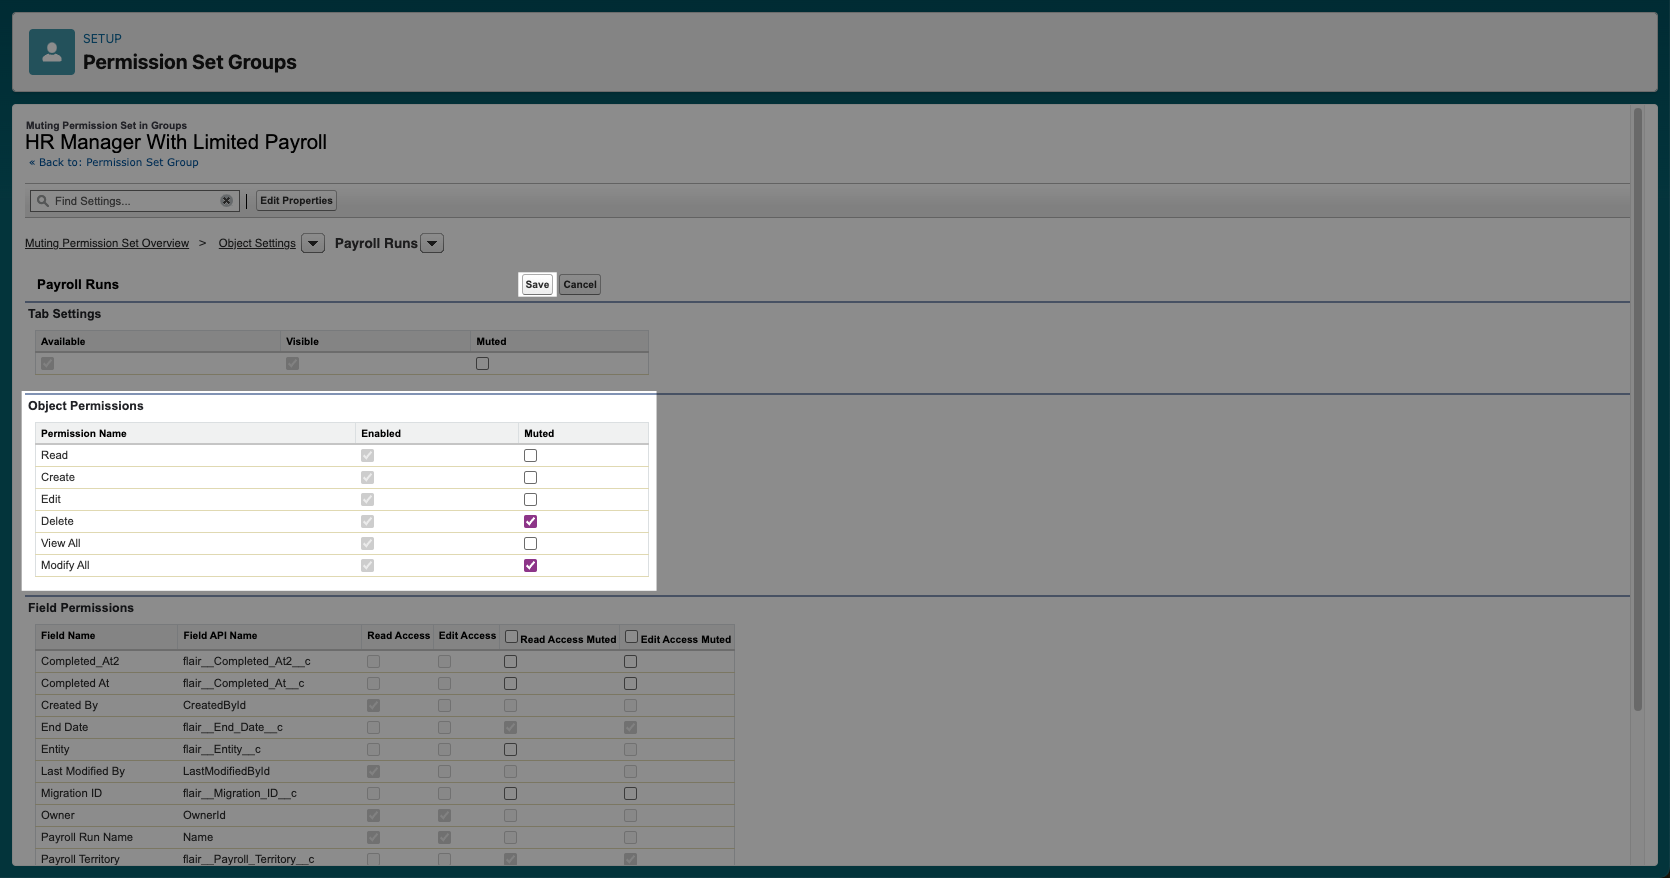
- Check the Muted box next to the object or field permissions that you wish to restrict, and then click Save.
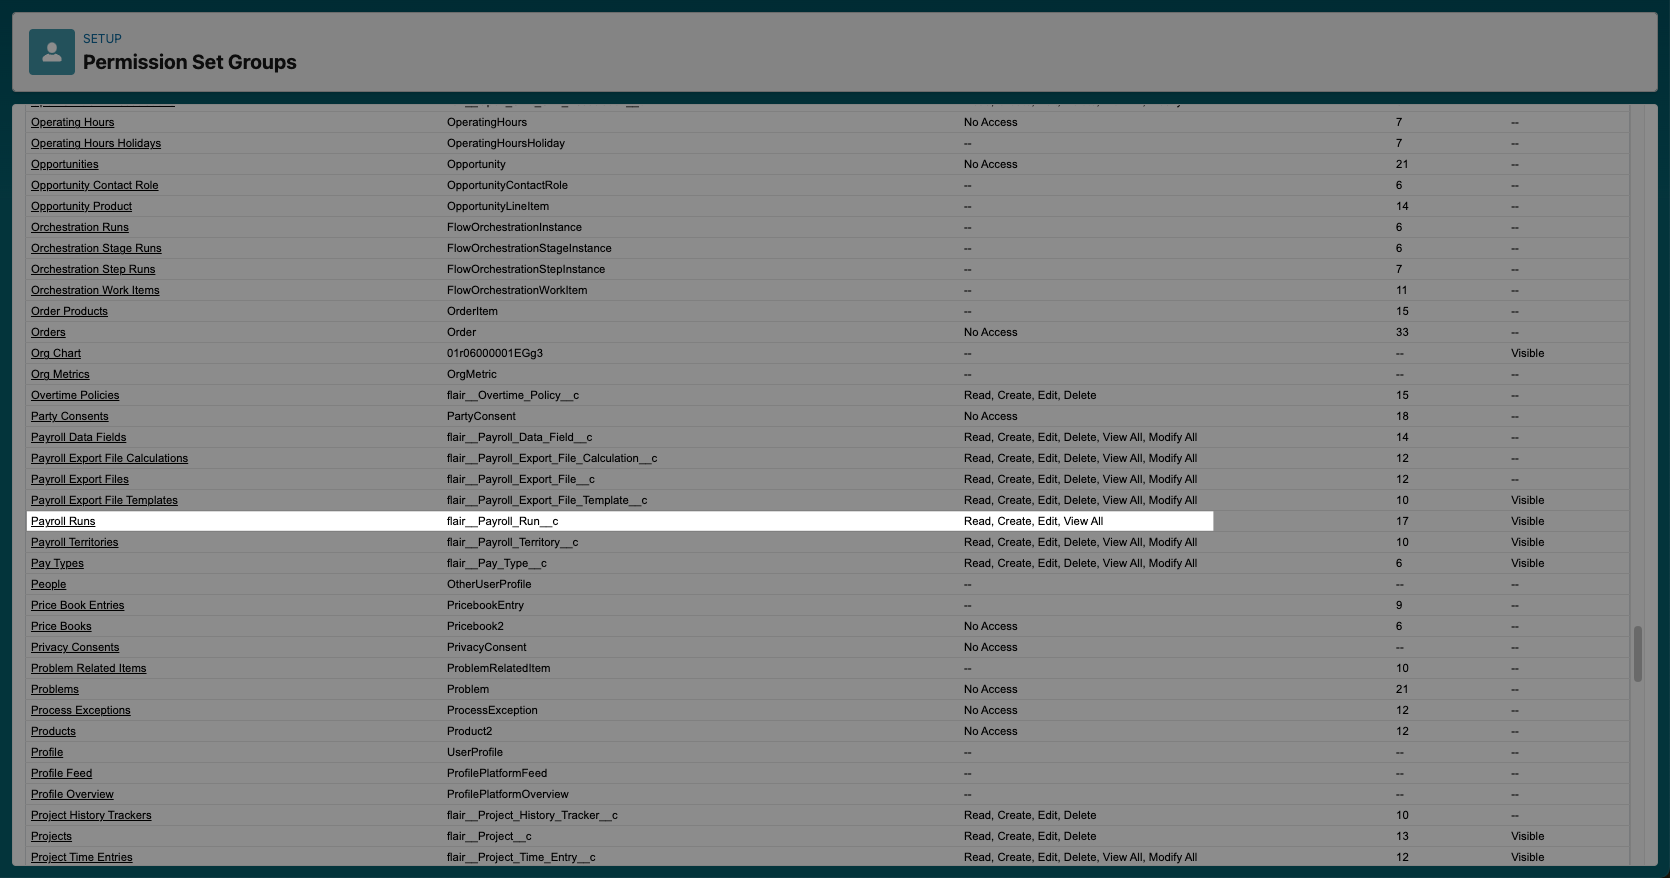
After following these steps, you can check whether the muting worked by opening the Object Settings for your permission set group. The limitations you added to the muting permission set will override the original permissions, meaning you have successfully restricted access within a permission set group without altering the permissions of an existing permission set.
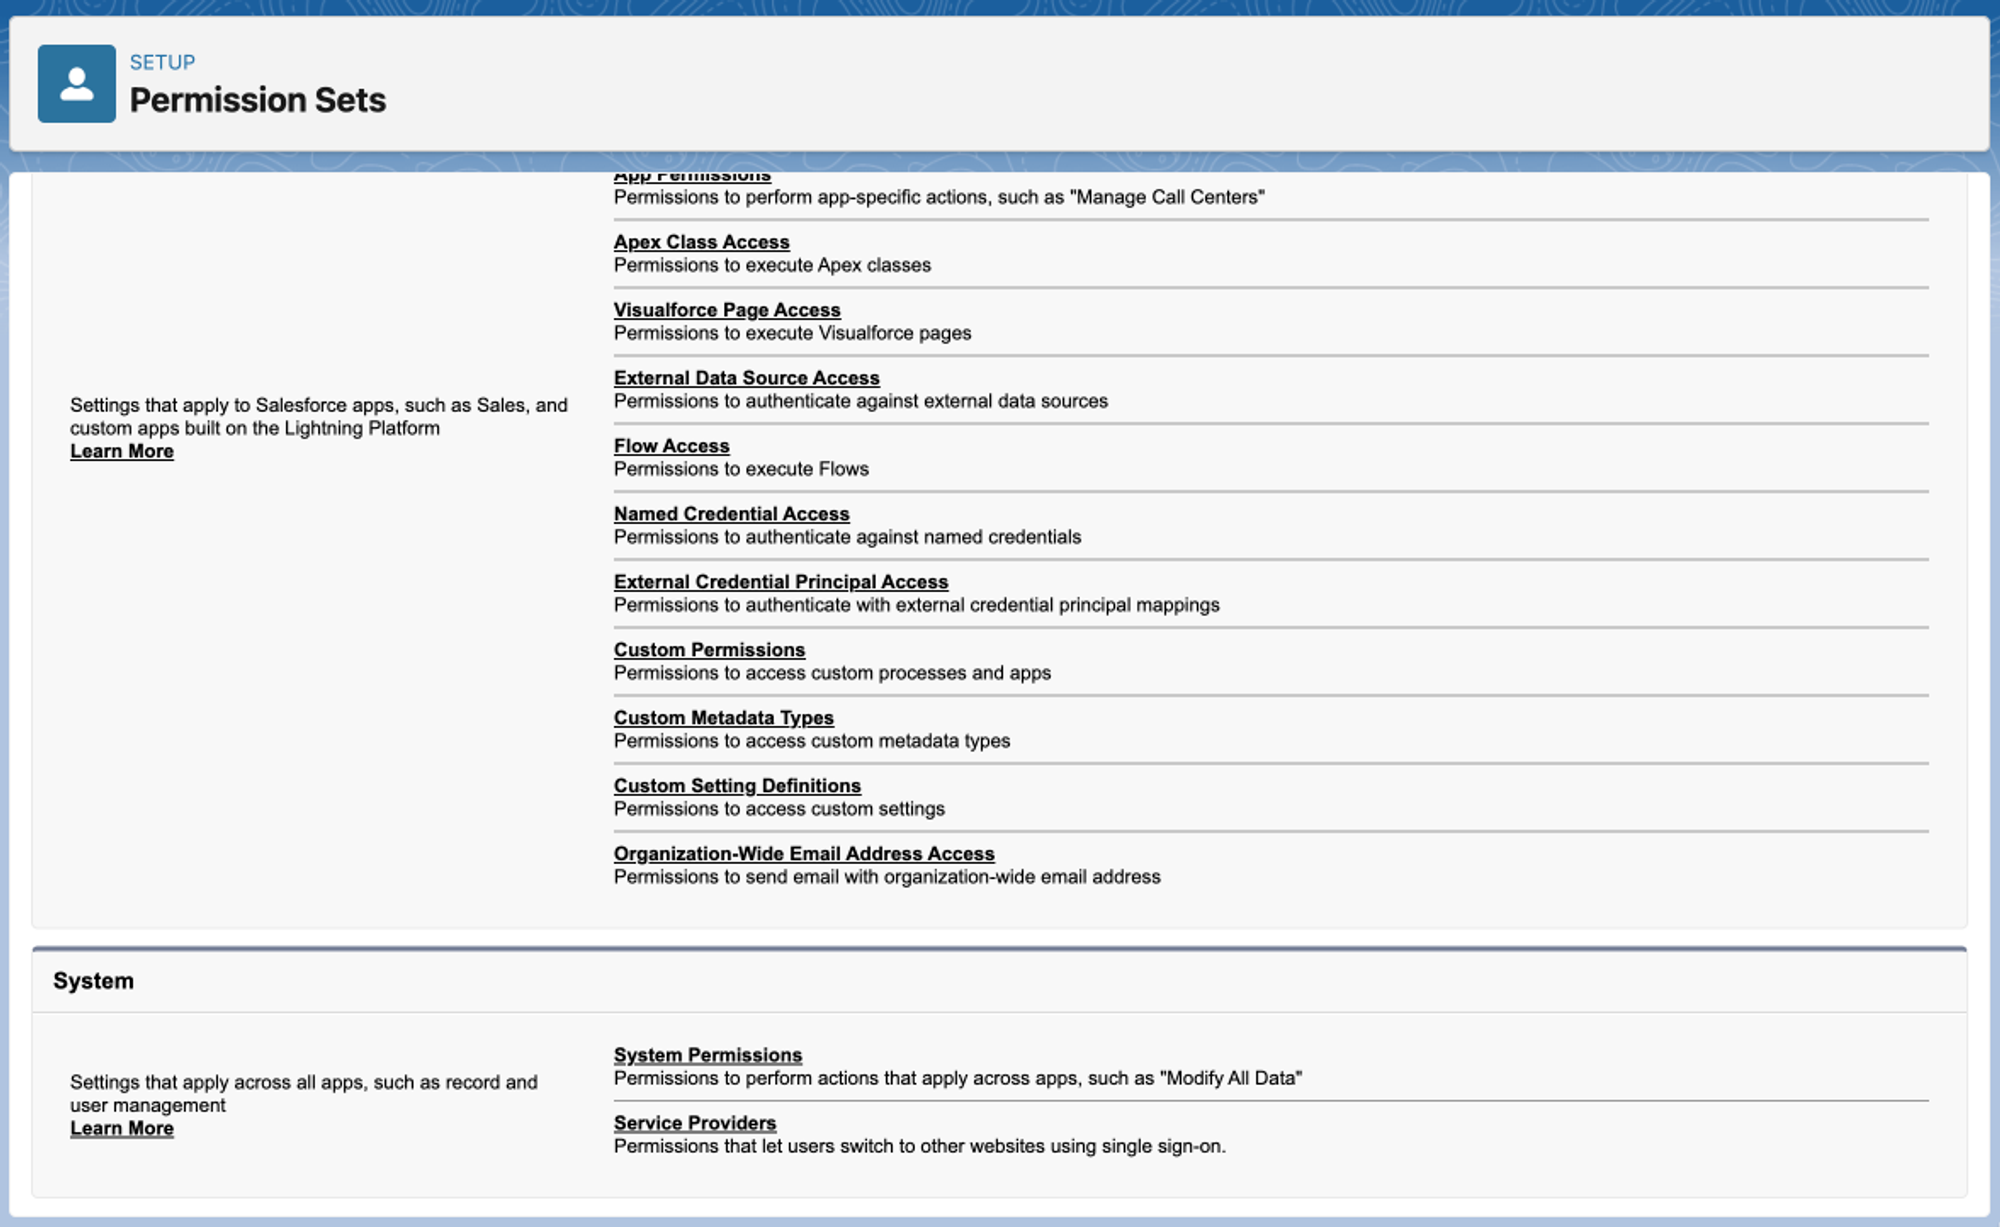
Finding Object Permissions in Permission Sets�
You can view a summary of object permissions included in a permission set to understand what access a user will have.
How to Get a Summary of Object Permissions in a Permission Set
- Click on Setup

- Click on Setup

- Type "Permission"

- Click on Permission Sets

- Click on a Permission Set Name (e.g., Flair Engagement Manager)

- Click on View Summary

- Click on Object Permissions

You can now see a summary of all object permissions included in the permission set. This view shows which objects users with this permission set can access and what level of access they have (Read, Create, Edit, Delete, View All, Modify All).
This is useful for:
- Understanding what access a permission set grants
- Troubleshooting permission issues
- Planning permission set assignments
- Documenting security configurations
Visibility Scopes
Visibility scopes provide you with a way to restrict record visibility for Salesforce users. For example, if you want to ensure that a user should see only employees from the same department, location, or company entity, you would use a visibility scope.
Before you create a visibility scope, you should make sure that you have assigned users the appropriate permission sets for their roles.
🚧 Please note, the visibility scope logic will not work if you have assigned a user a permission set with View All/Modify All permissions. This includes the Flair Manager, Flair Payroll Manager, and Flair Recruiter permission sets. In addition, users with the System Administrator profile will be able to see all records, even if you apply a visibility scope.
Setting Up and Assigning a Visibility Scope
To set up a visibility scope, there are several steps to follow.
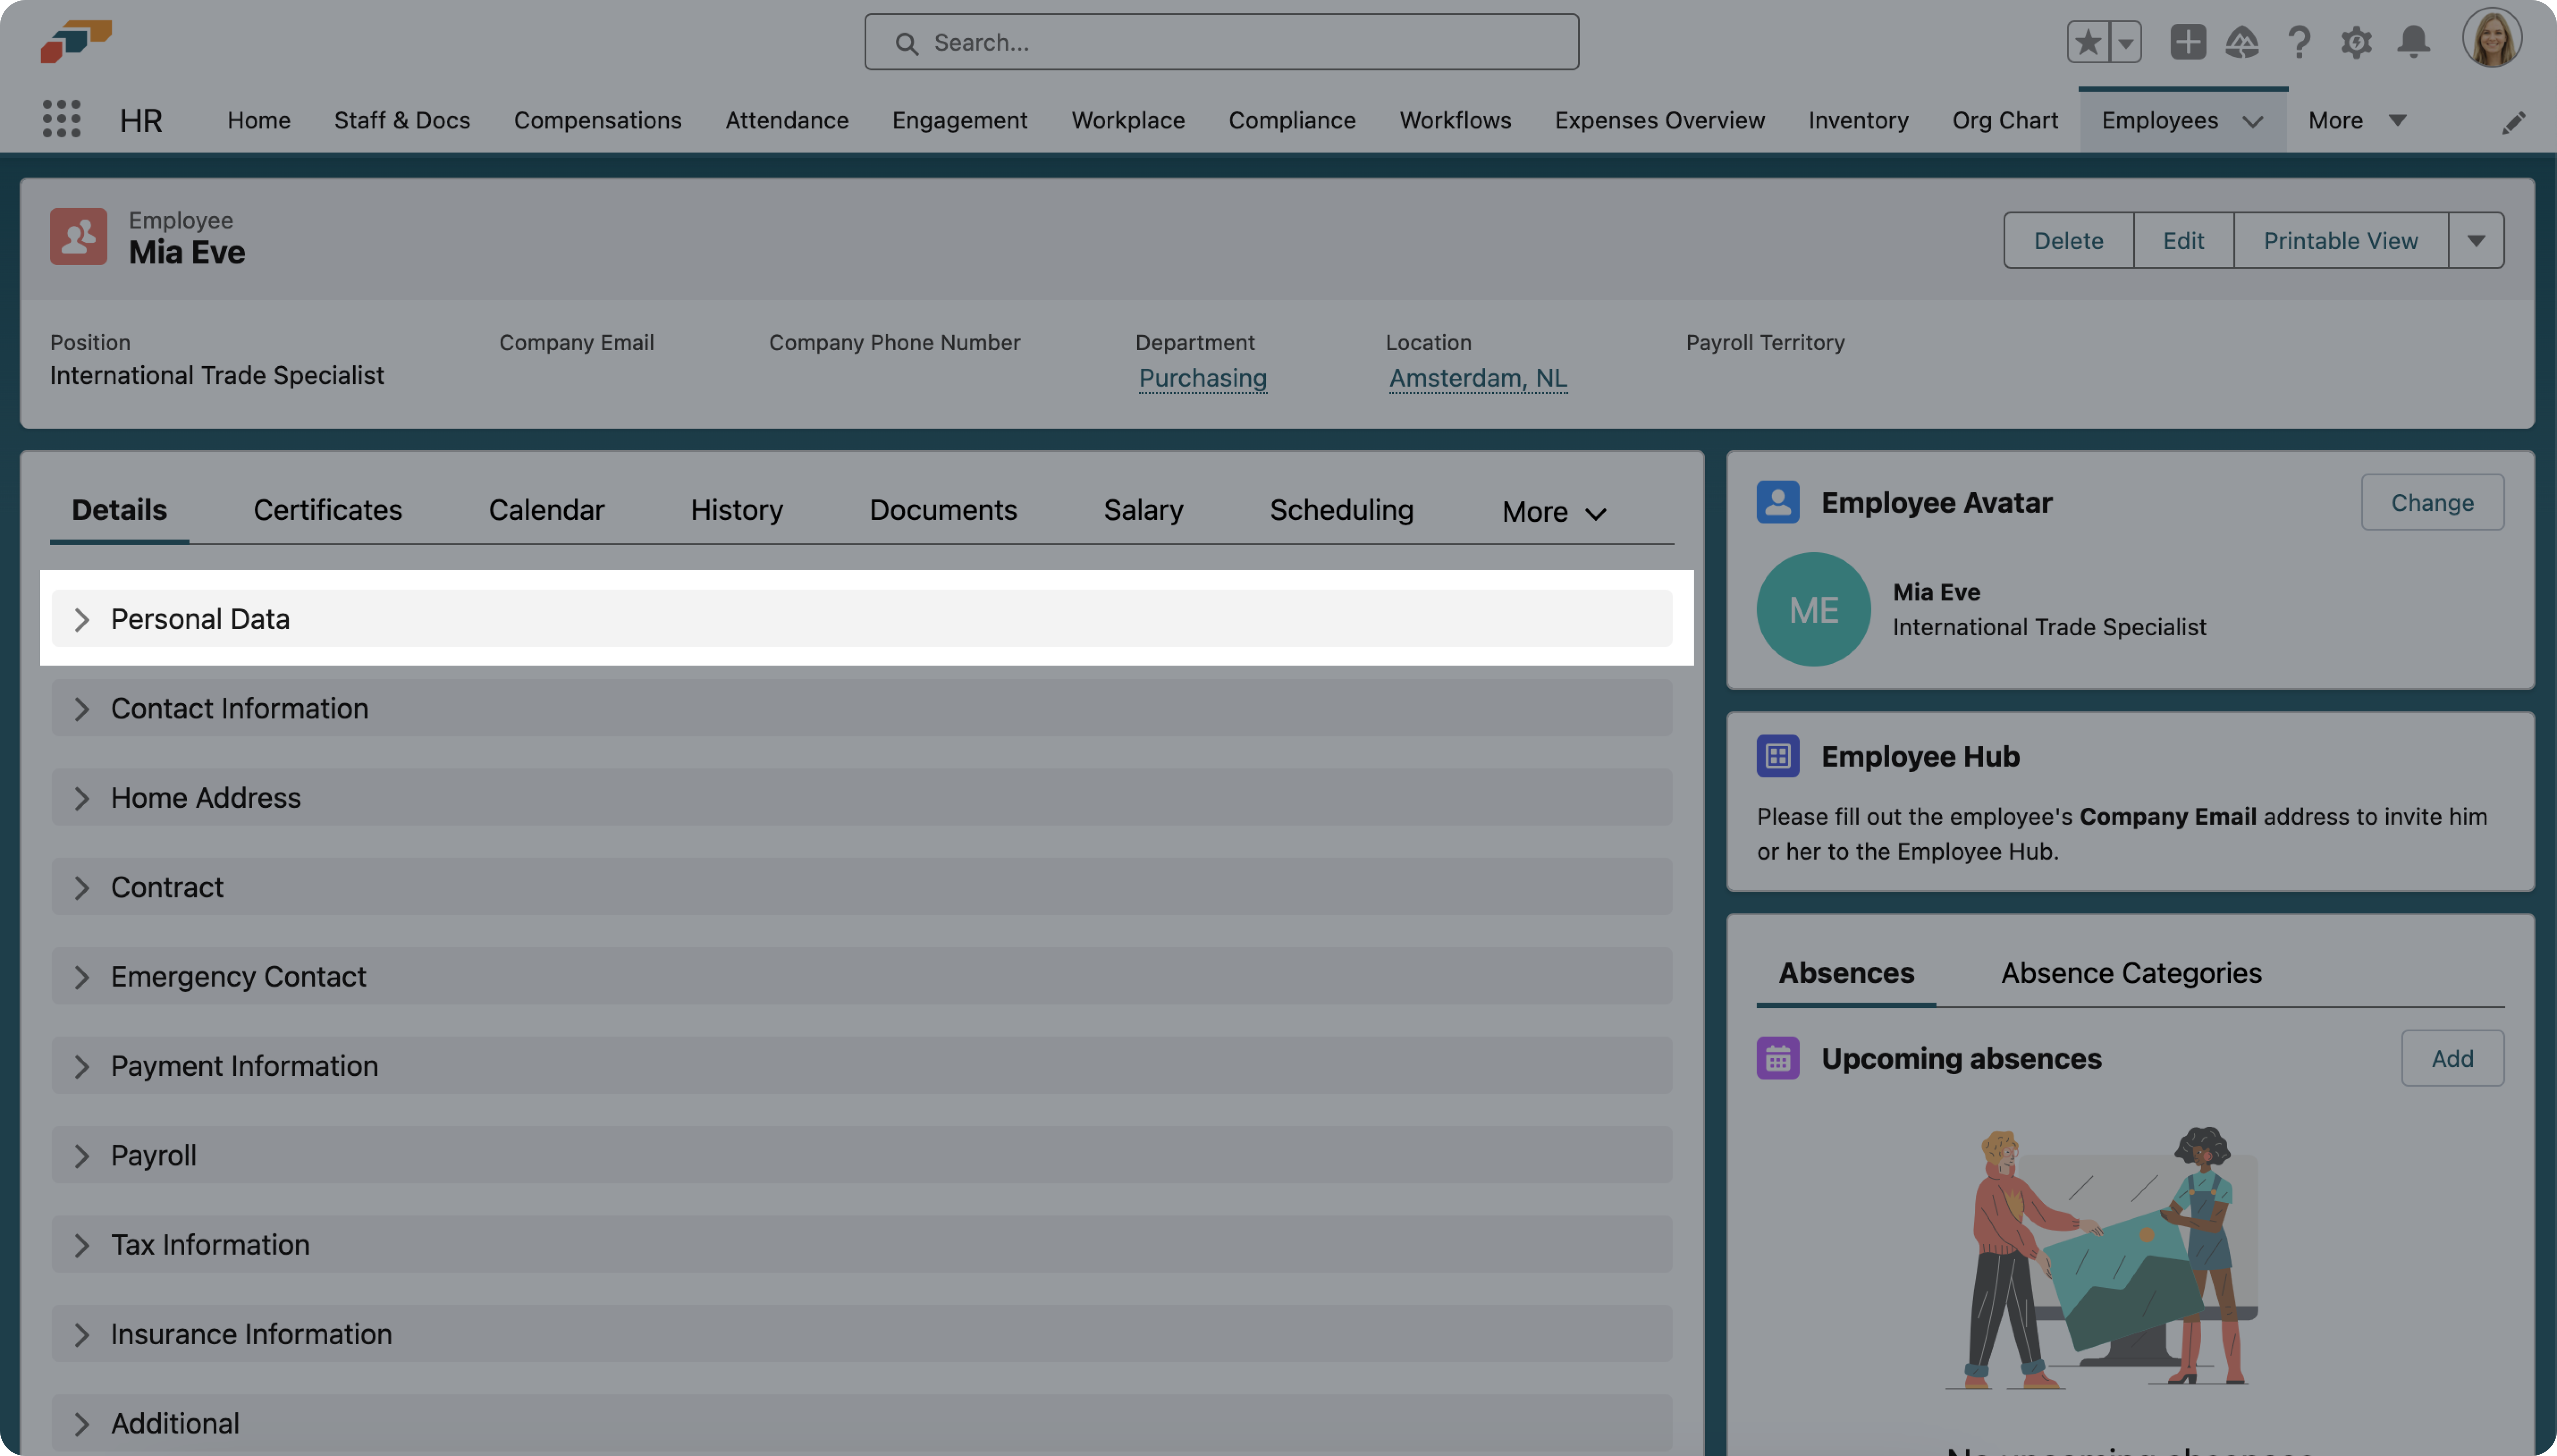
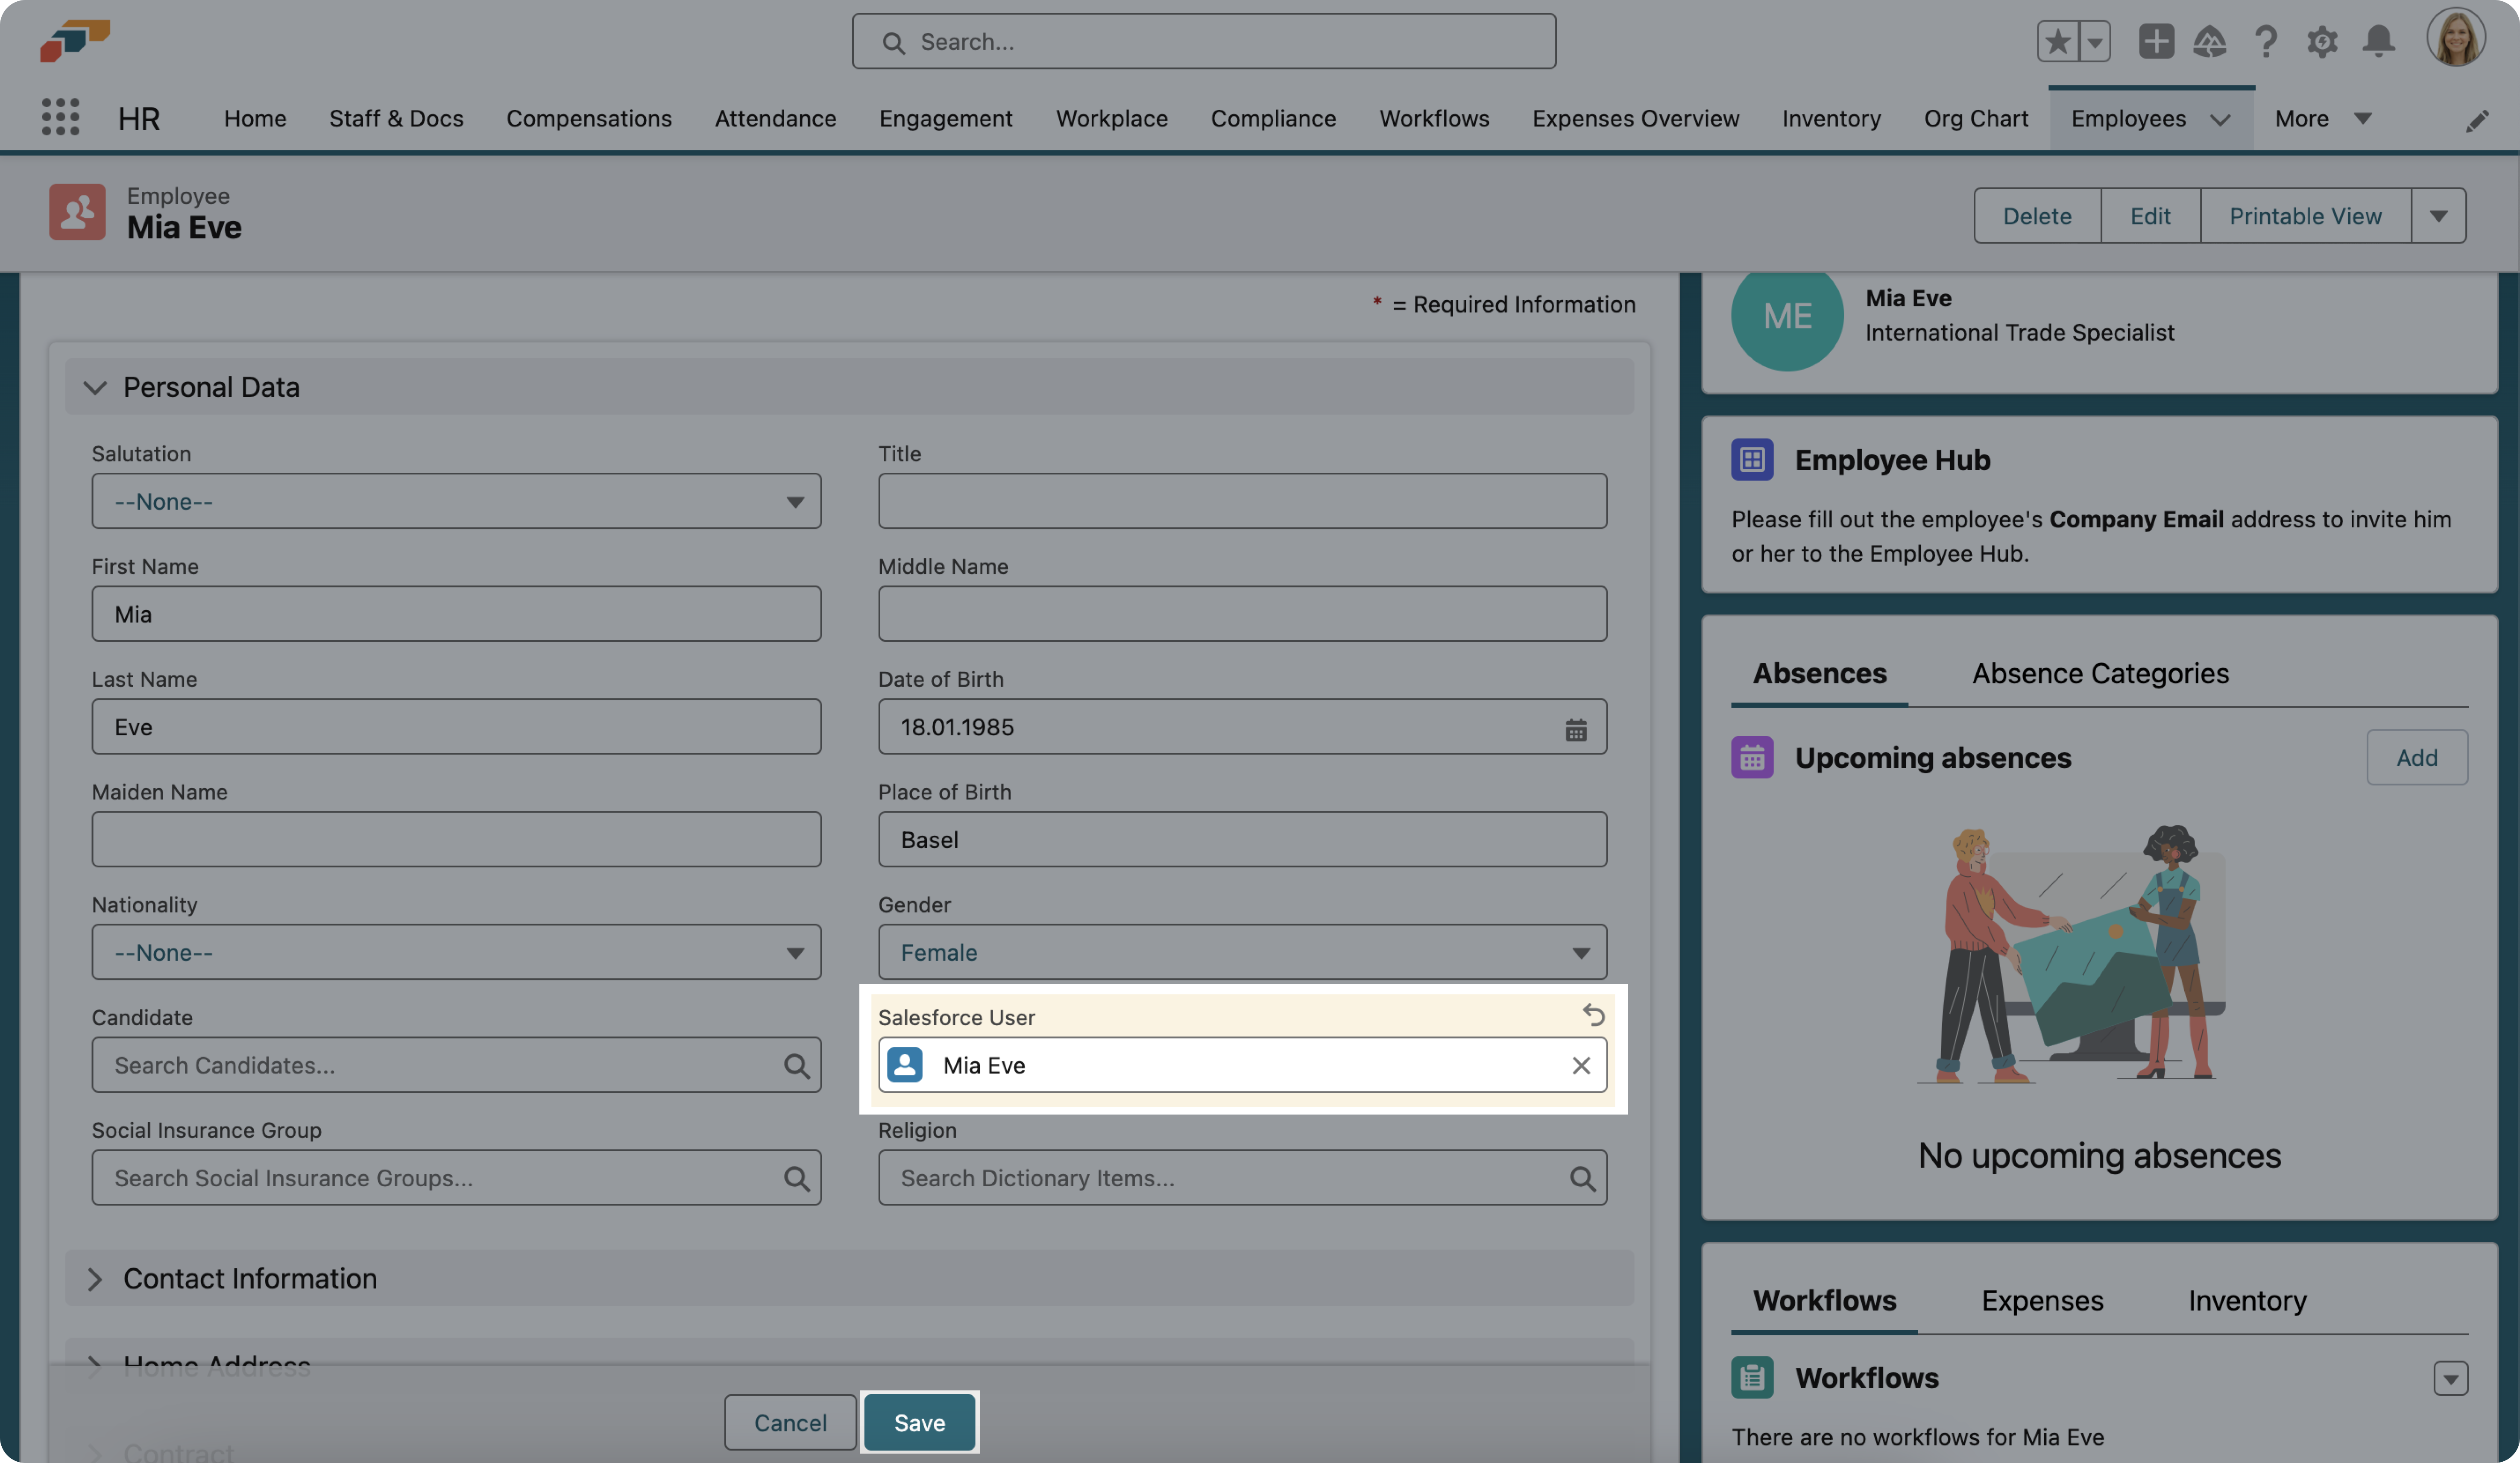
1. Connect the Salesforce user with their employee record
- To do this, find the relevant employee record in the flair app via the Staff & Docs or Employees page.
- Select the appropriate Salesforce user in the Salesforce User field and click Save.
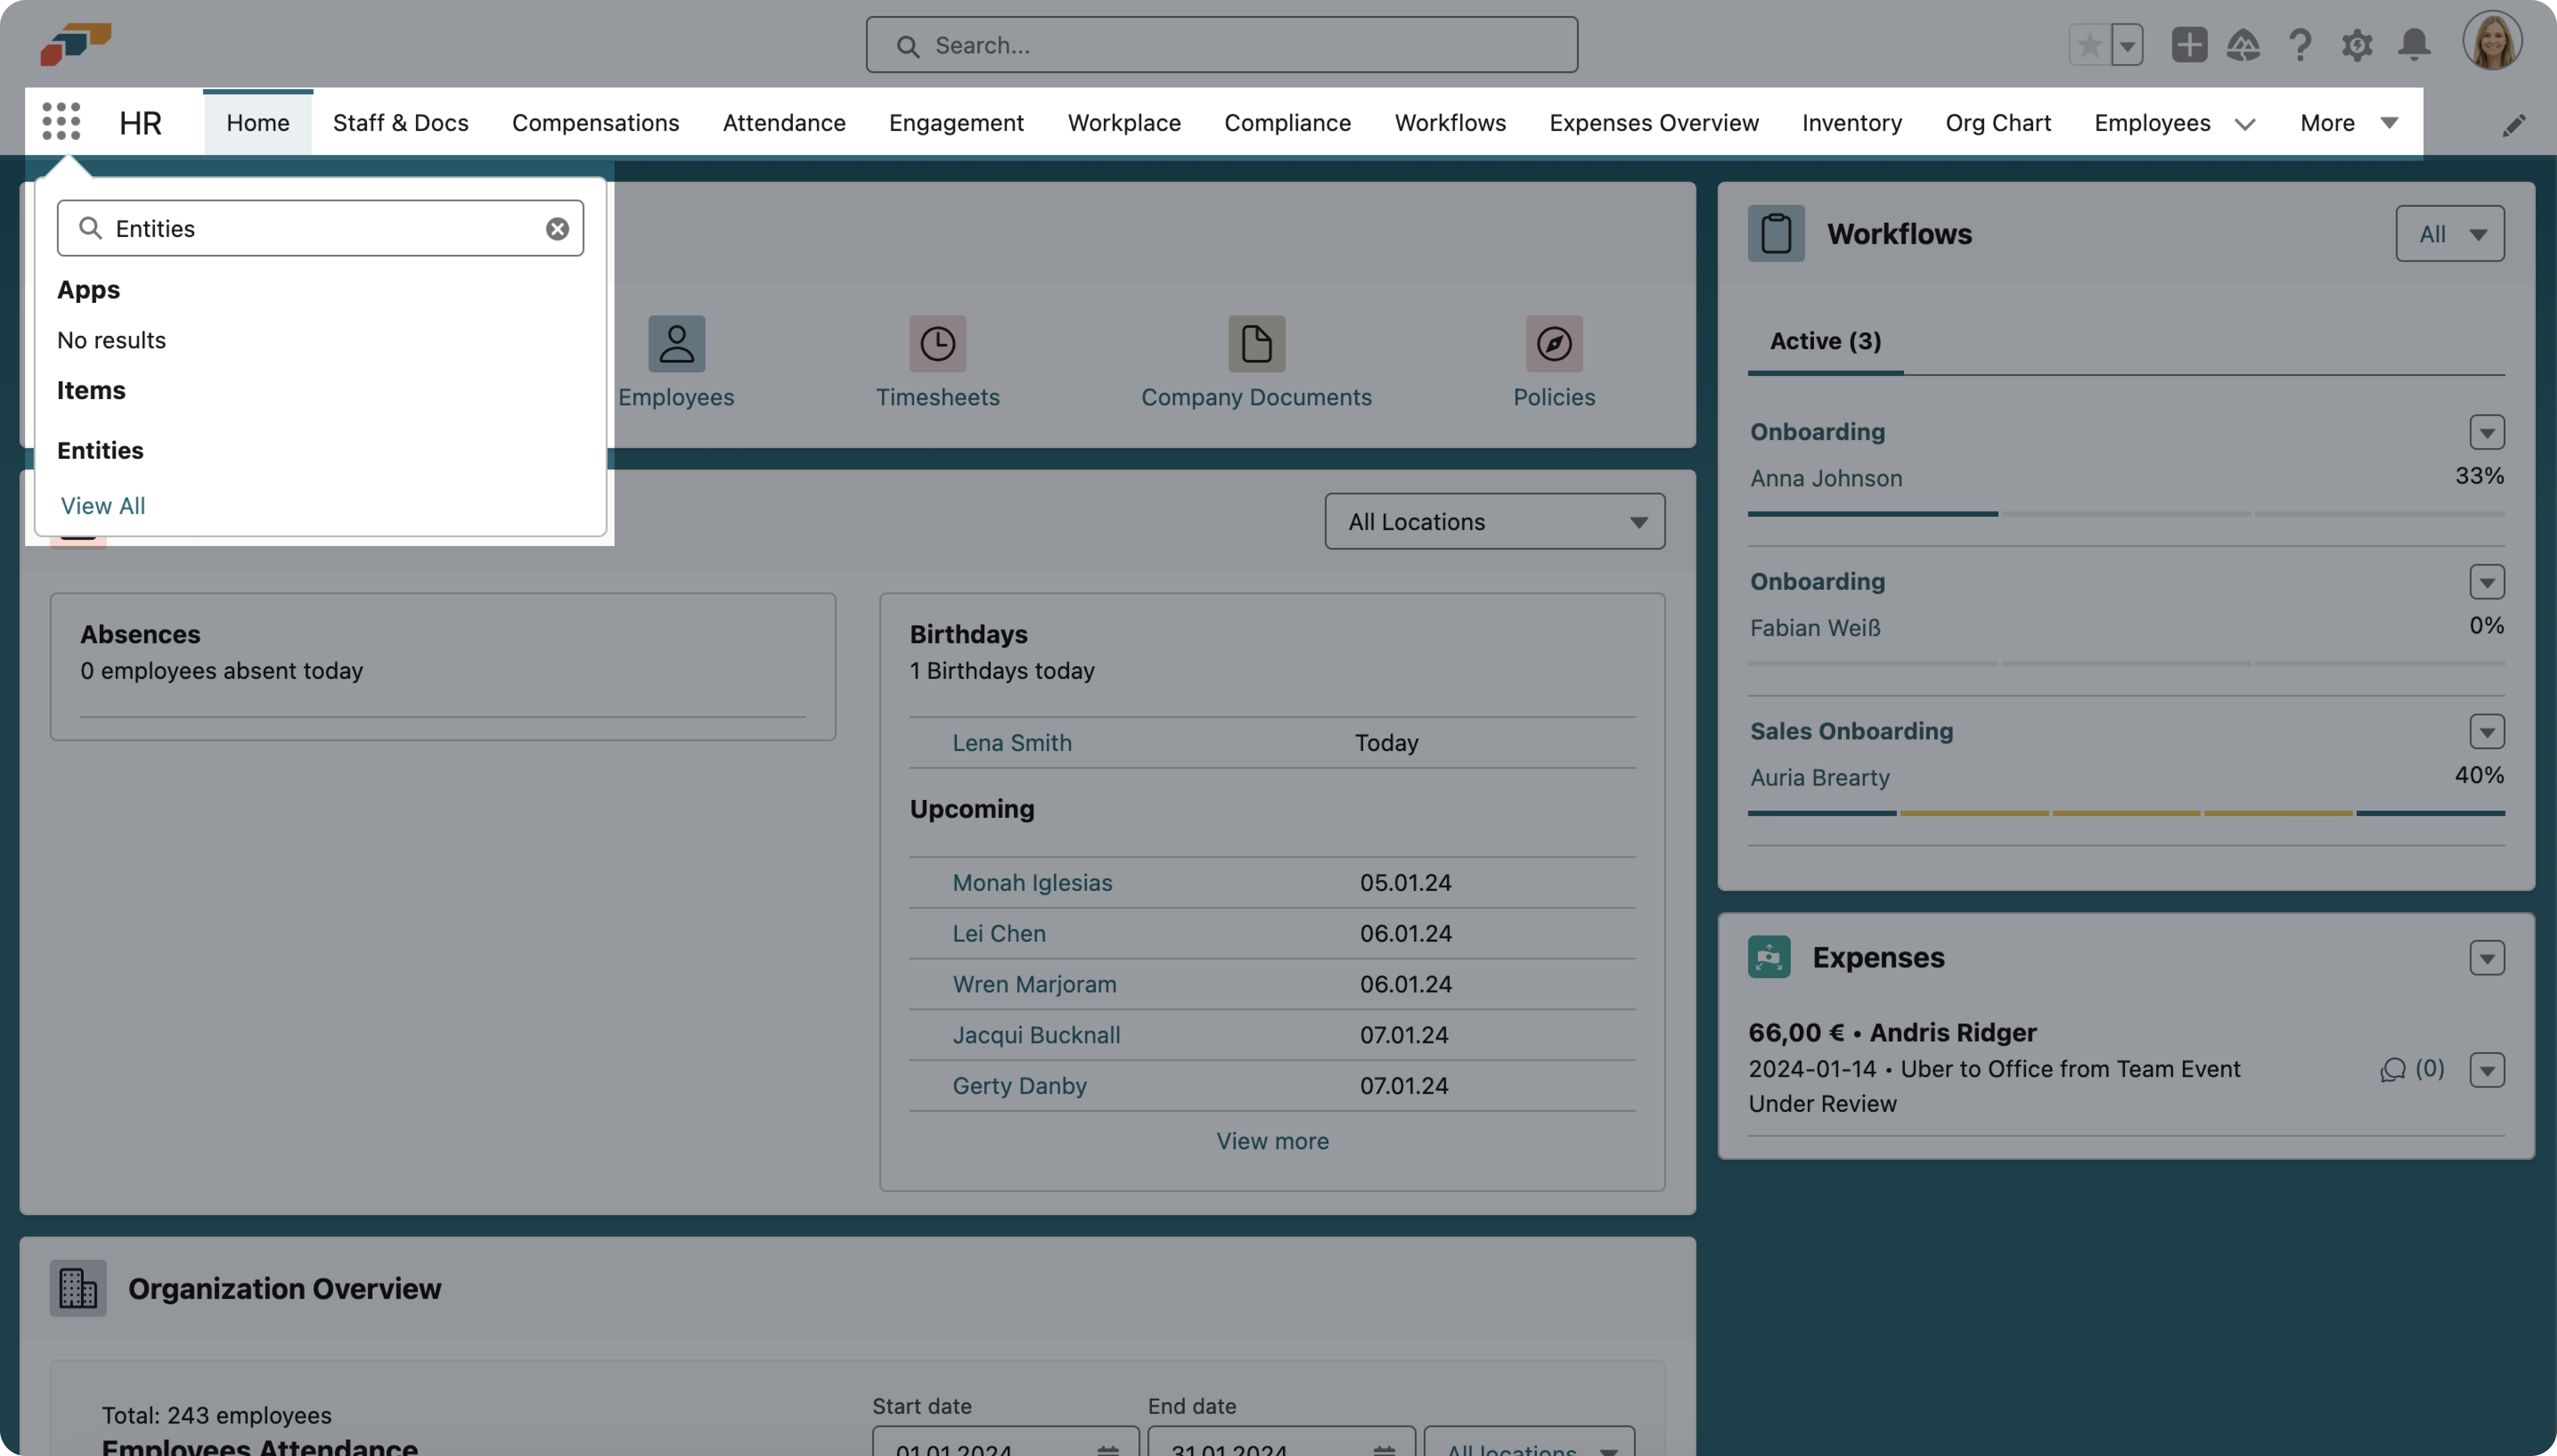
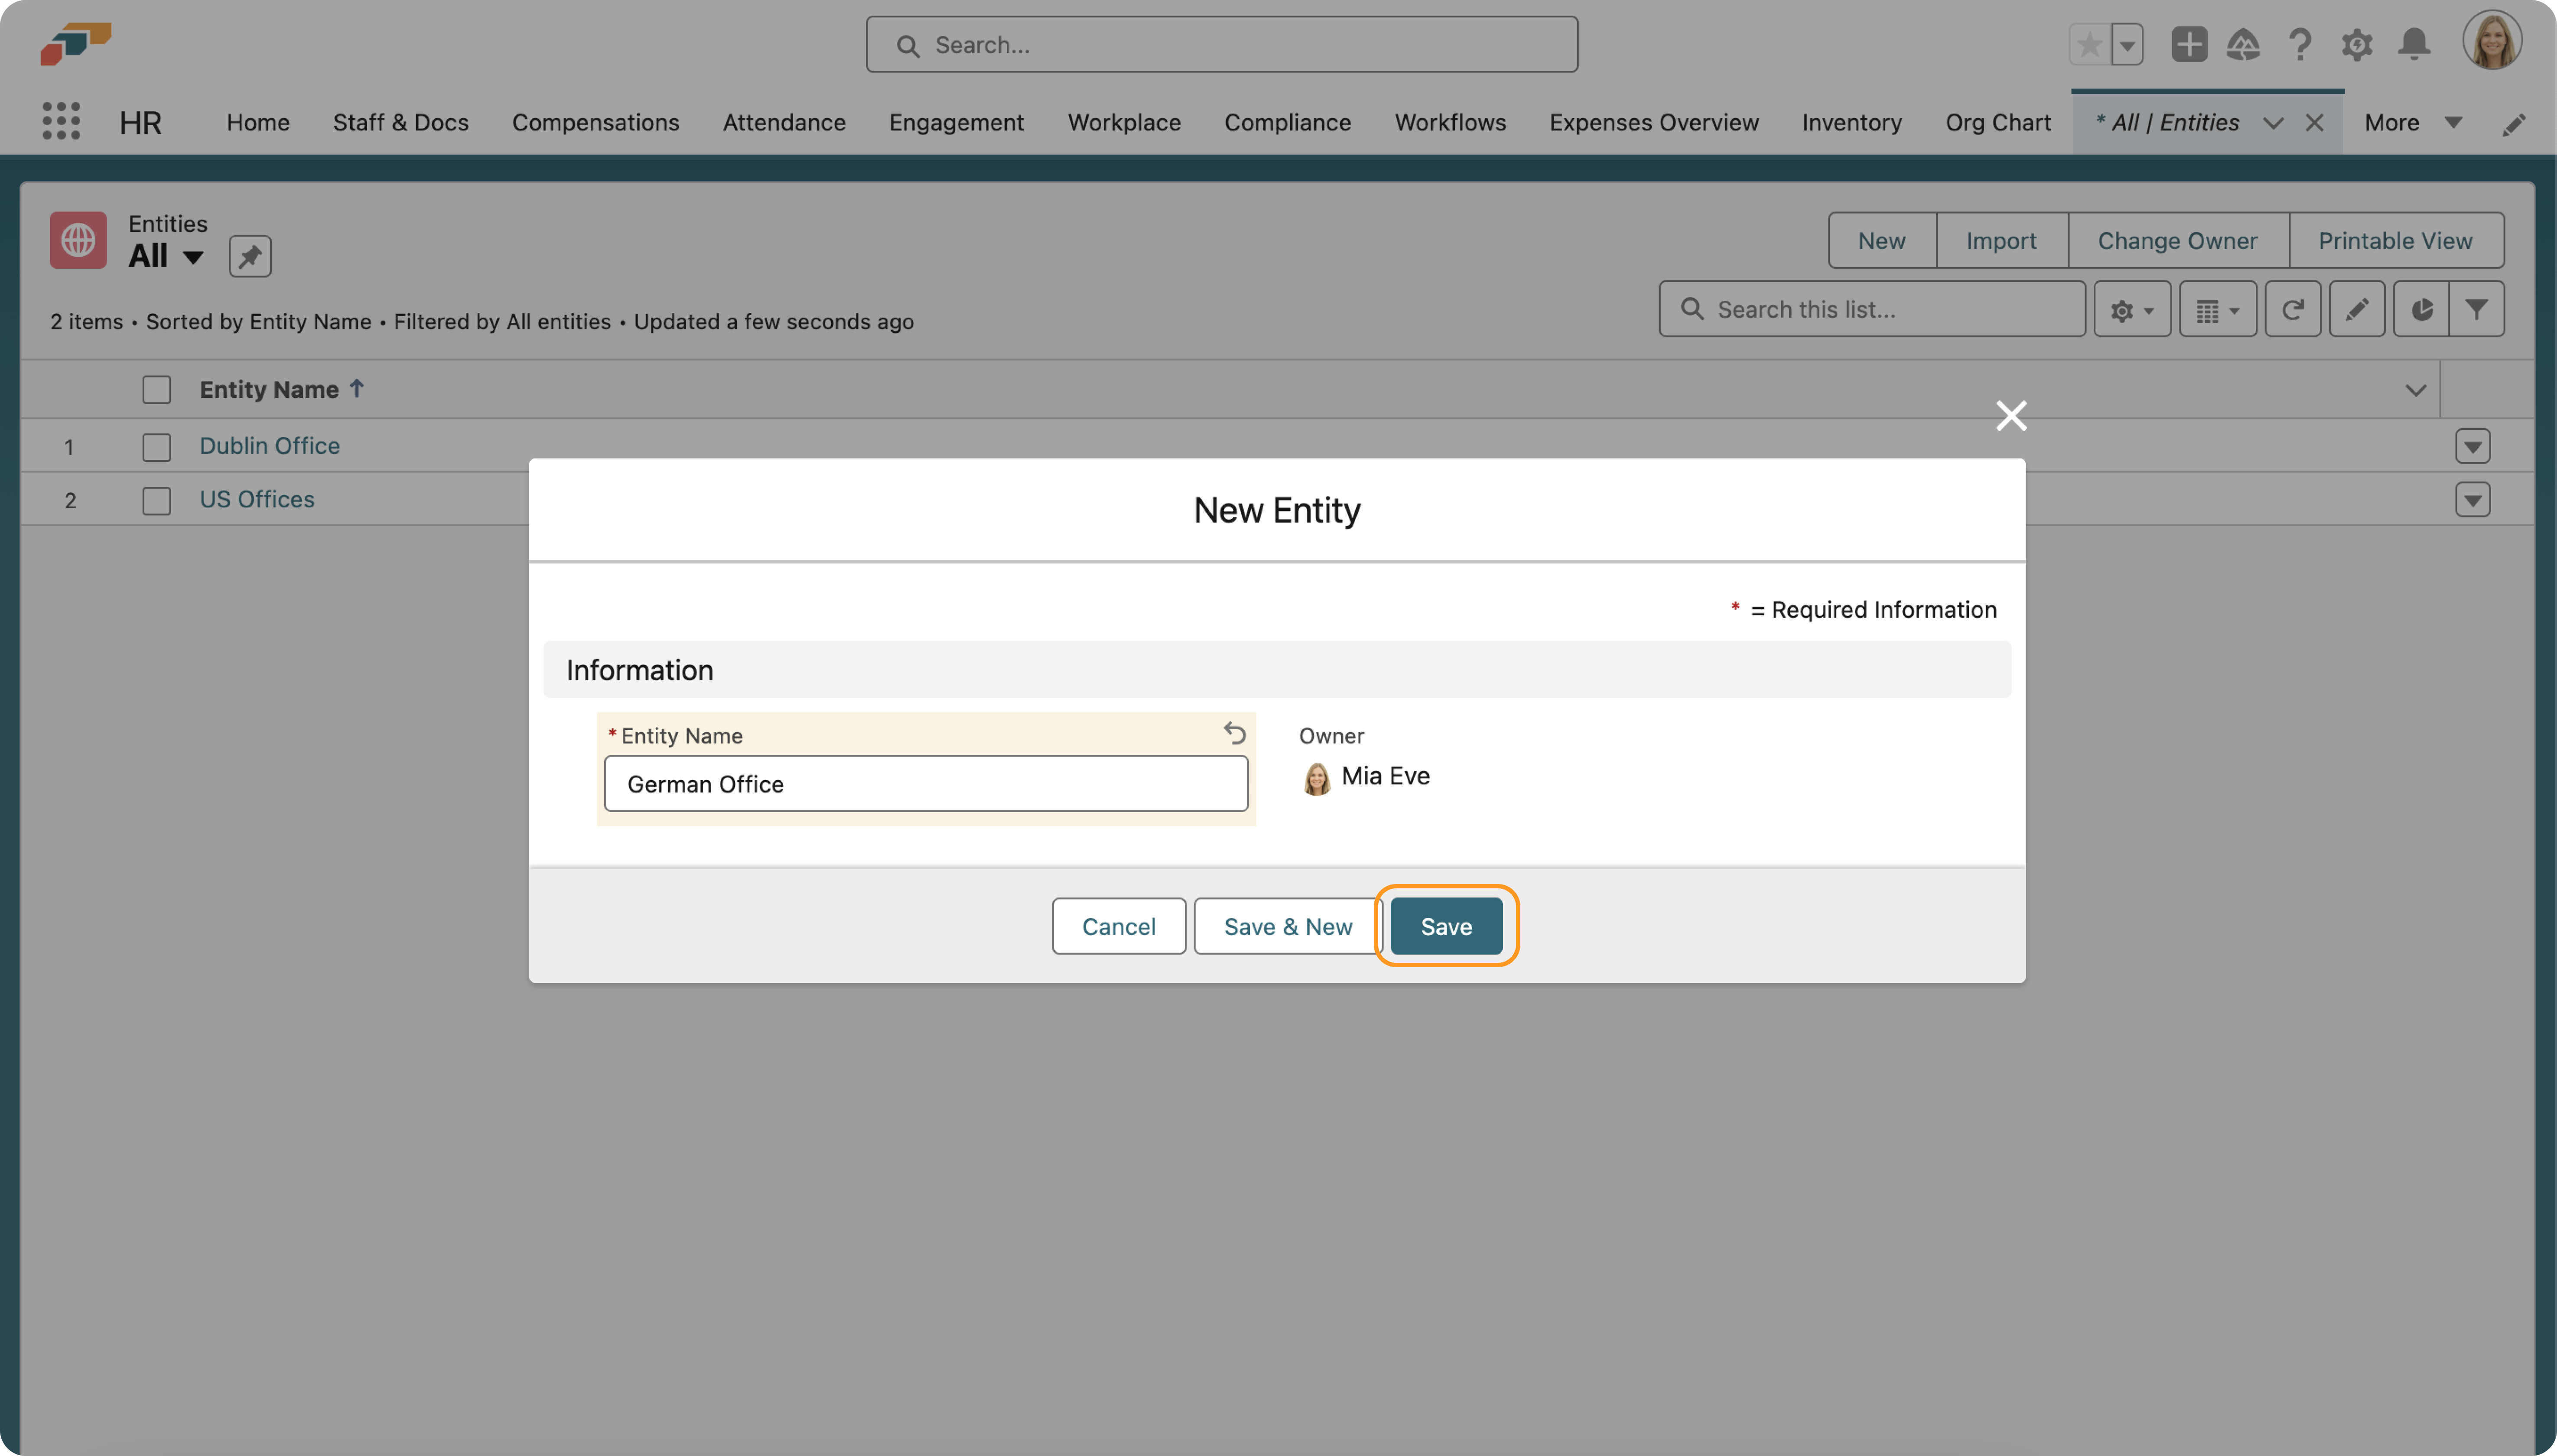
2. Create an entity for a specific group of employees
For example, an entity could be a division of your organization.
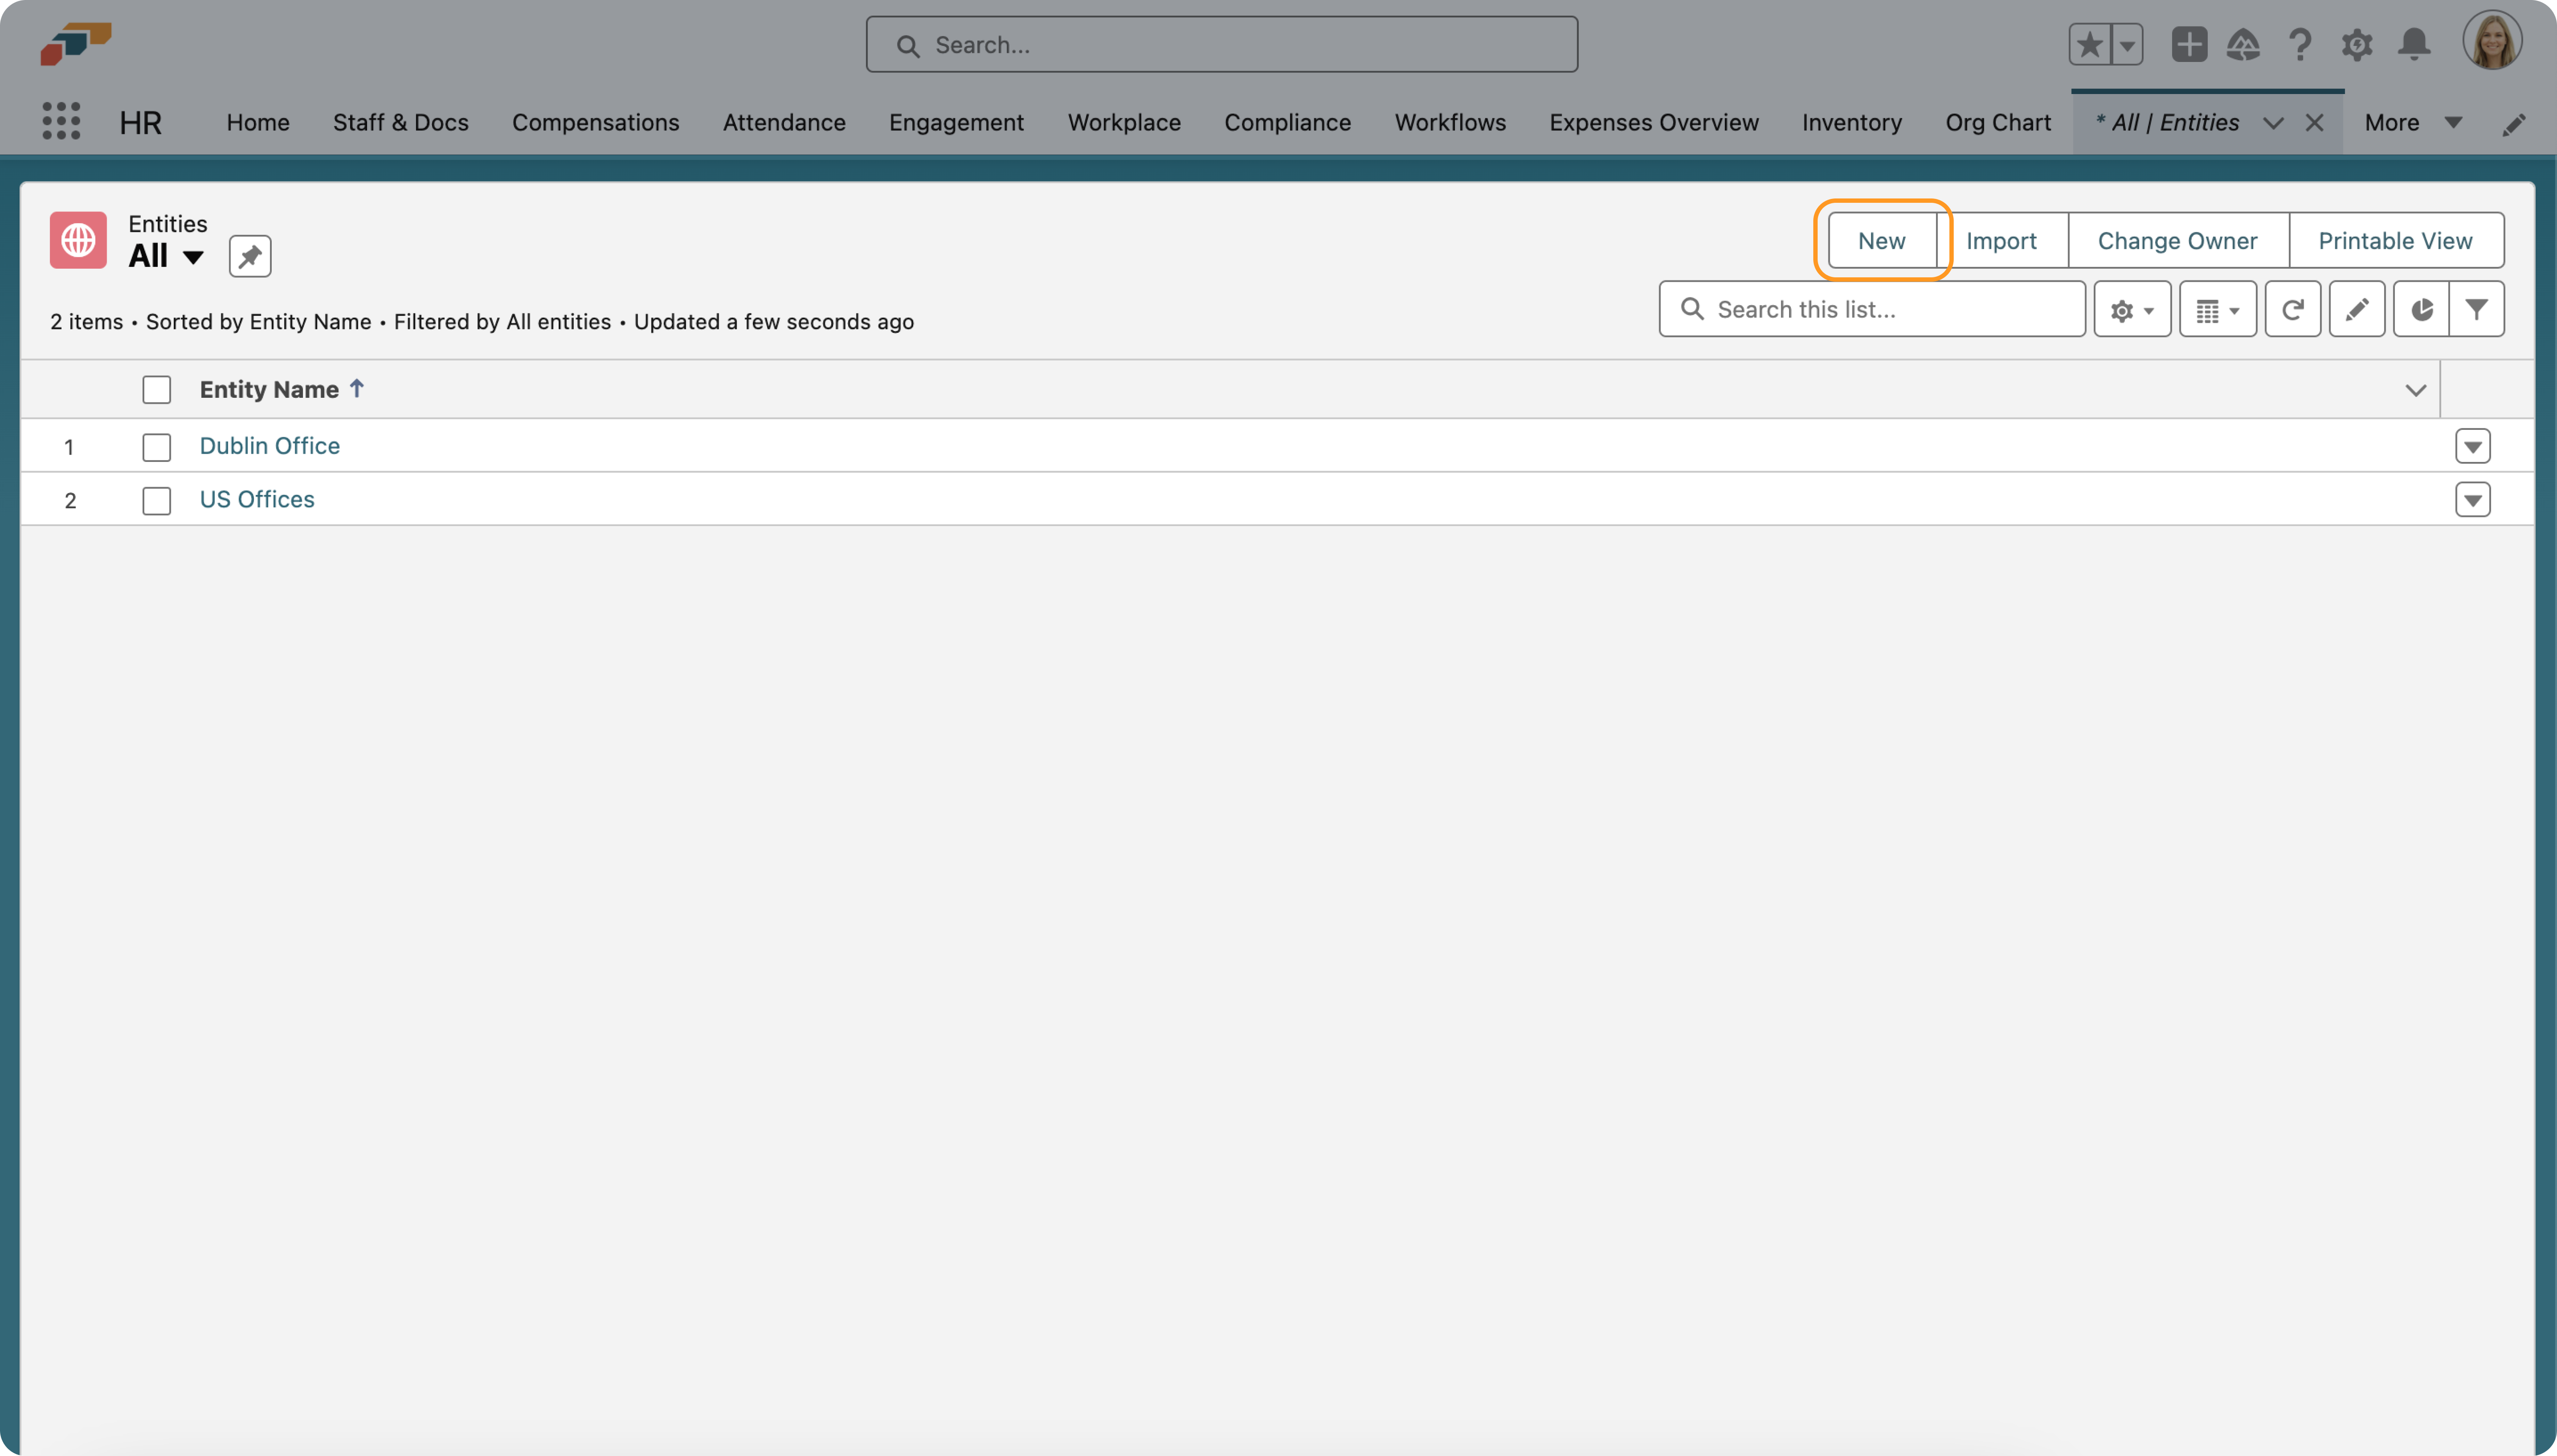
- Open the App Launcher by clicking the nine-dot icon 𓃑 in the top-left corner of the screen and search for Entities.
- Click the New button and give your entity a name. Then click Save.
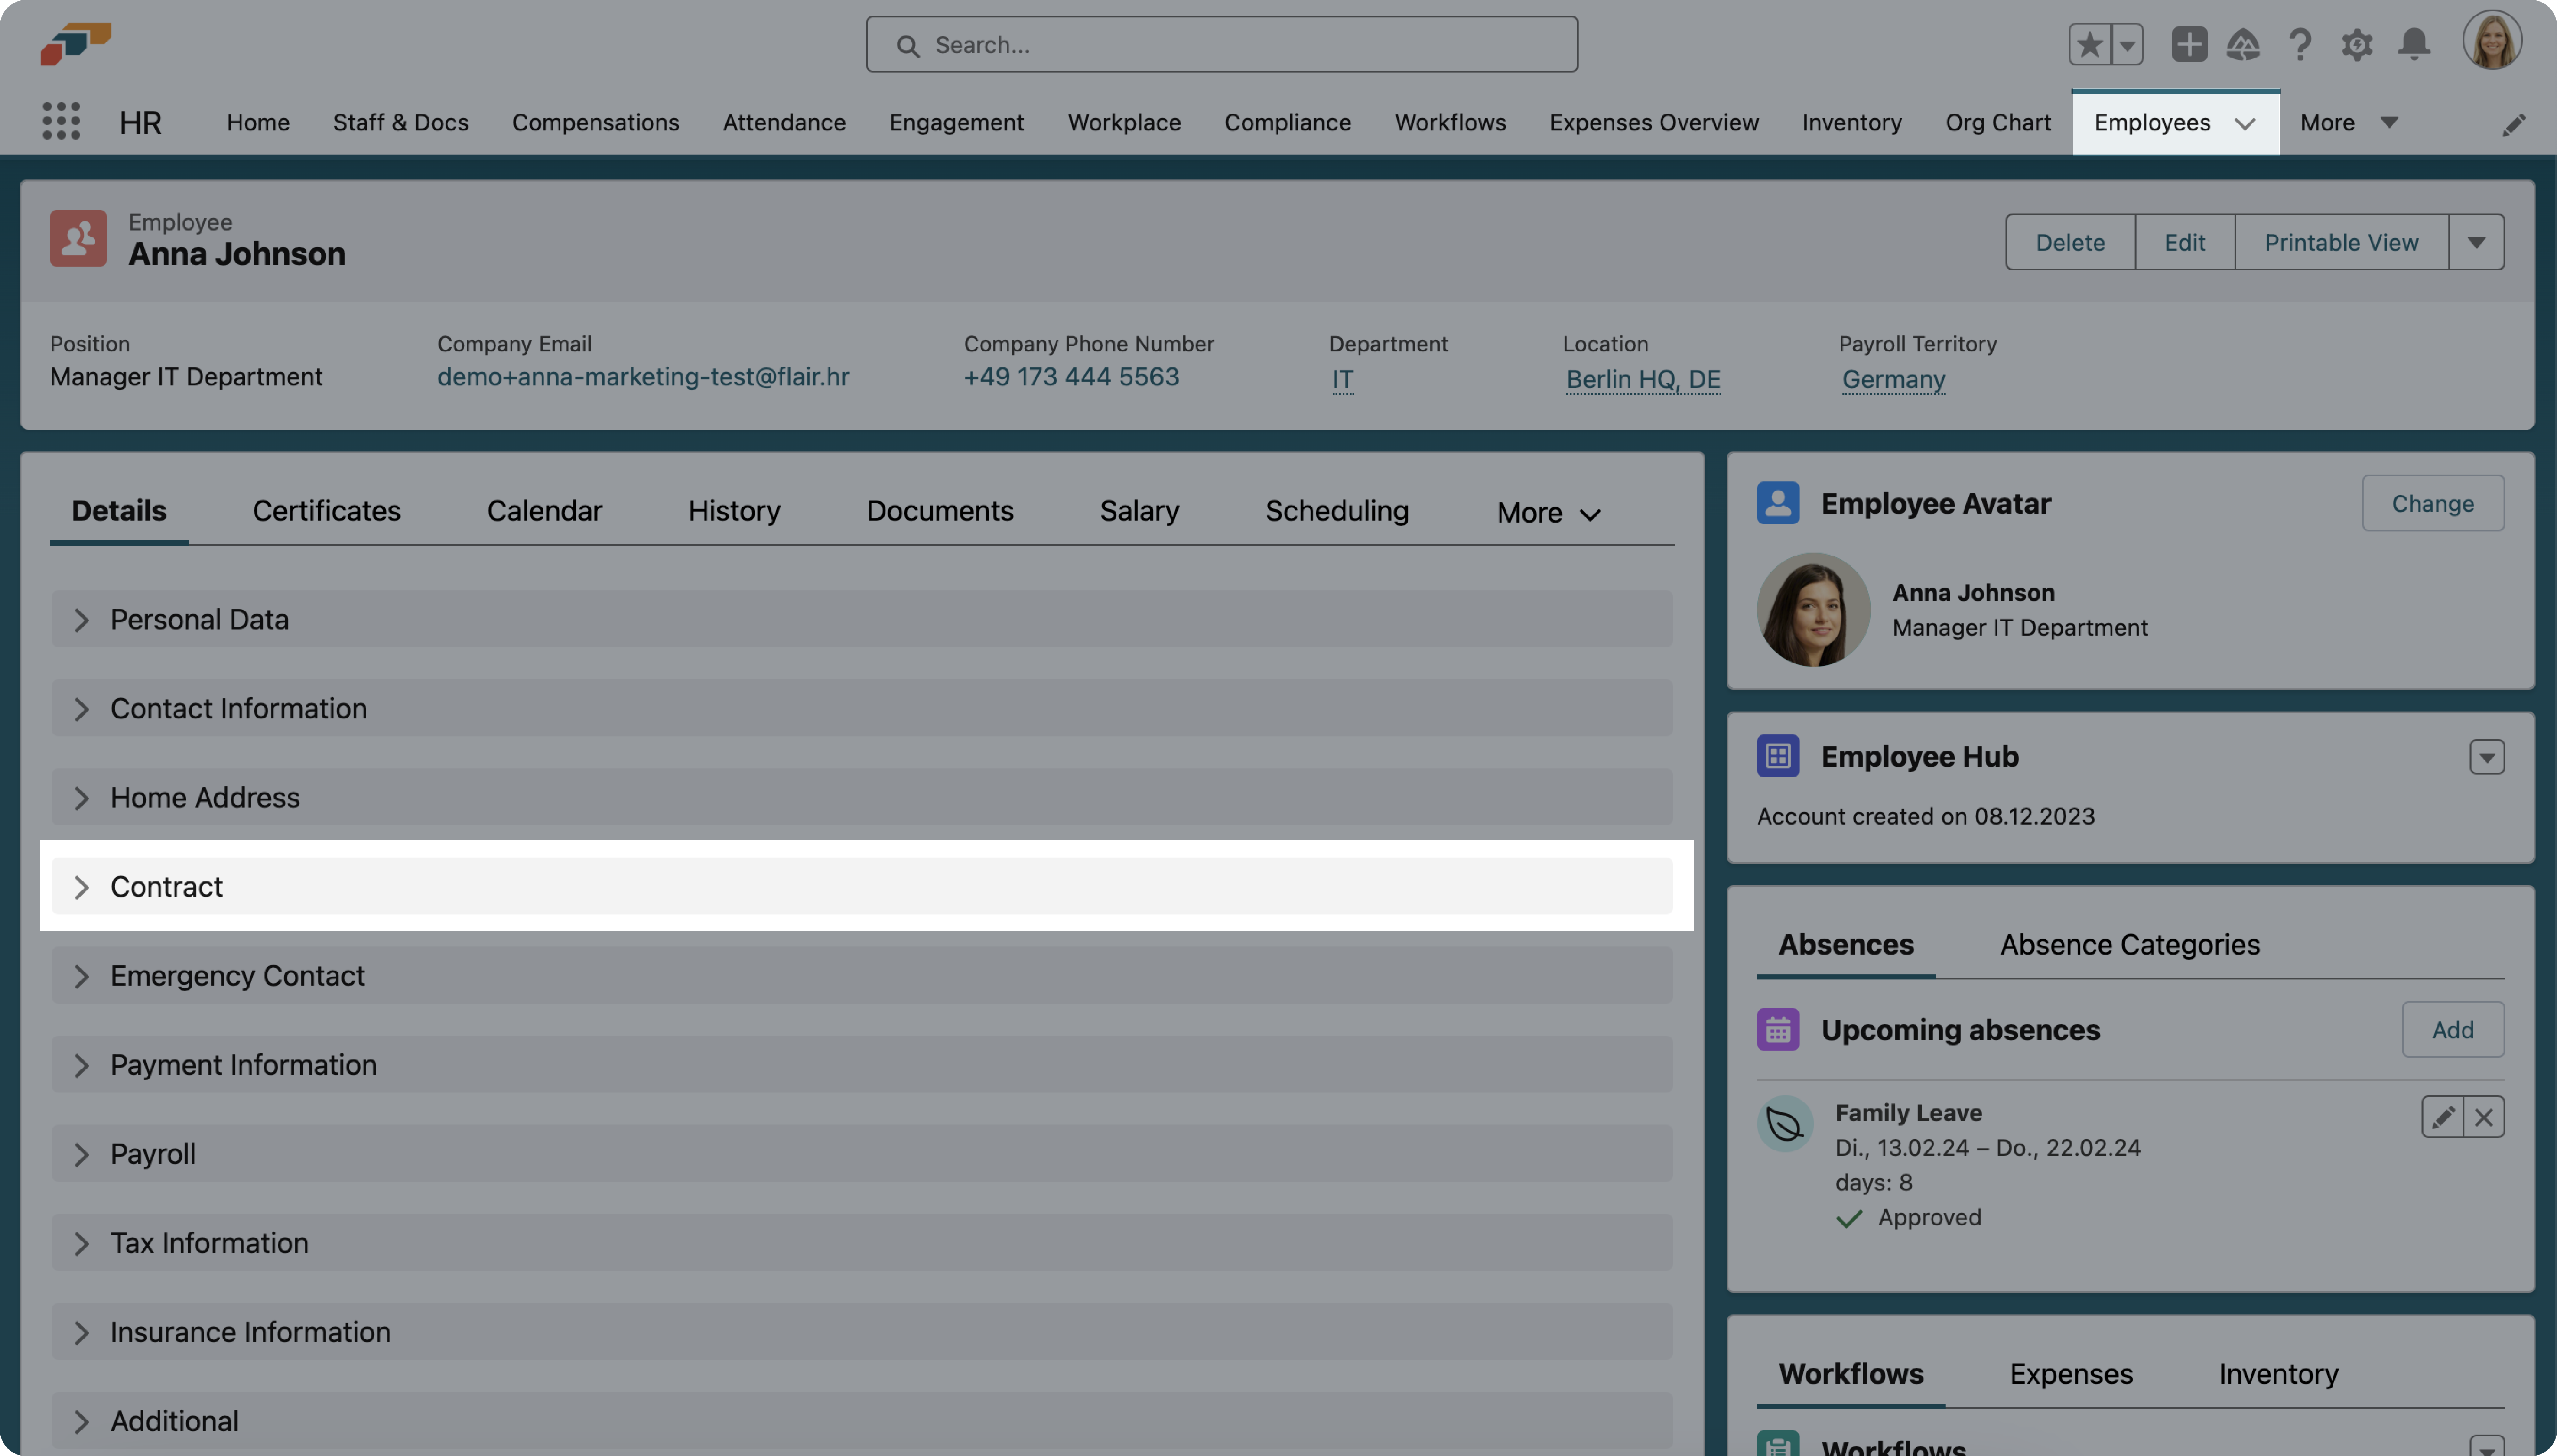
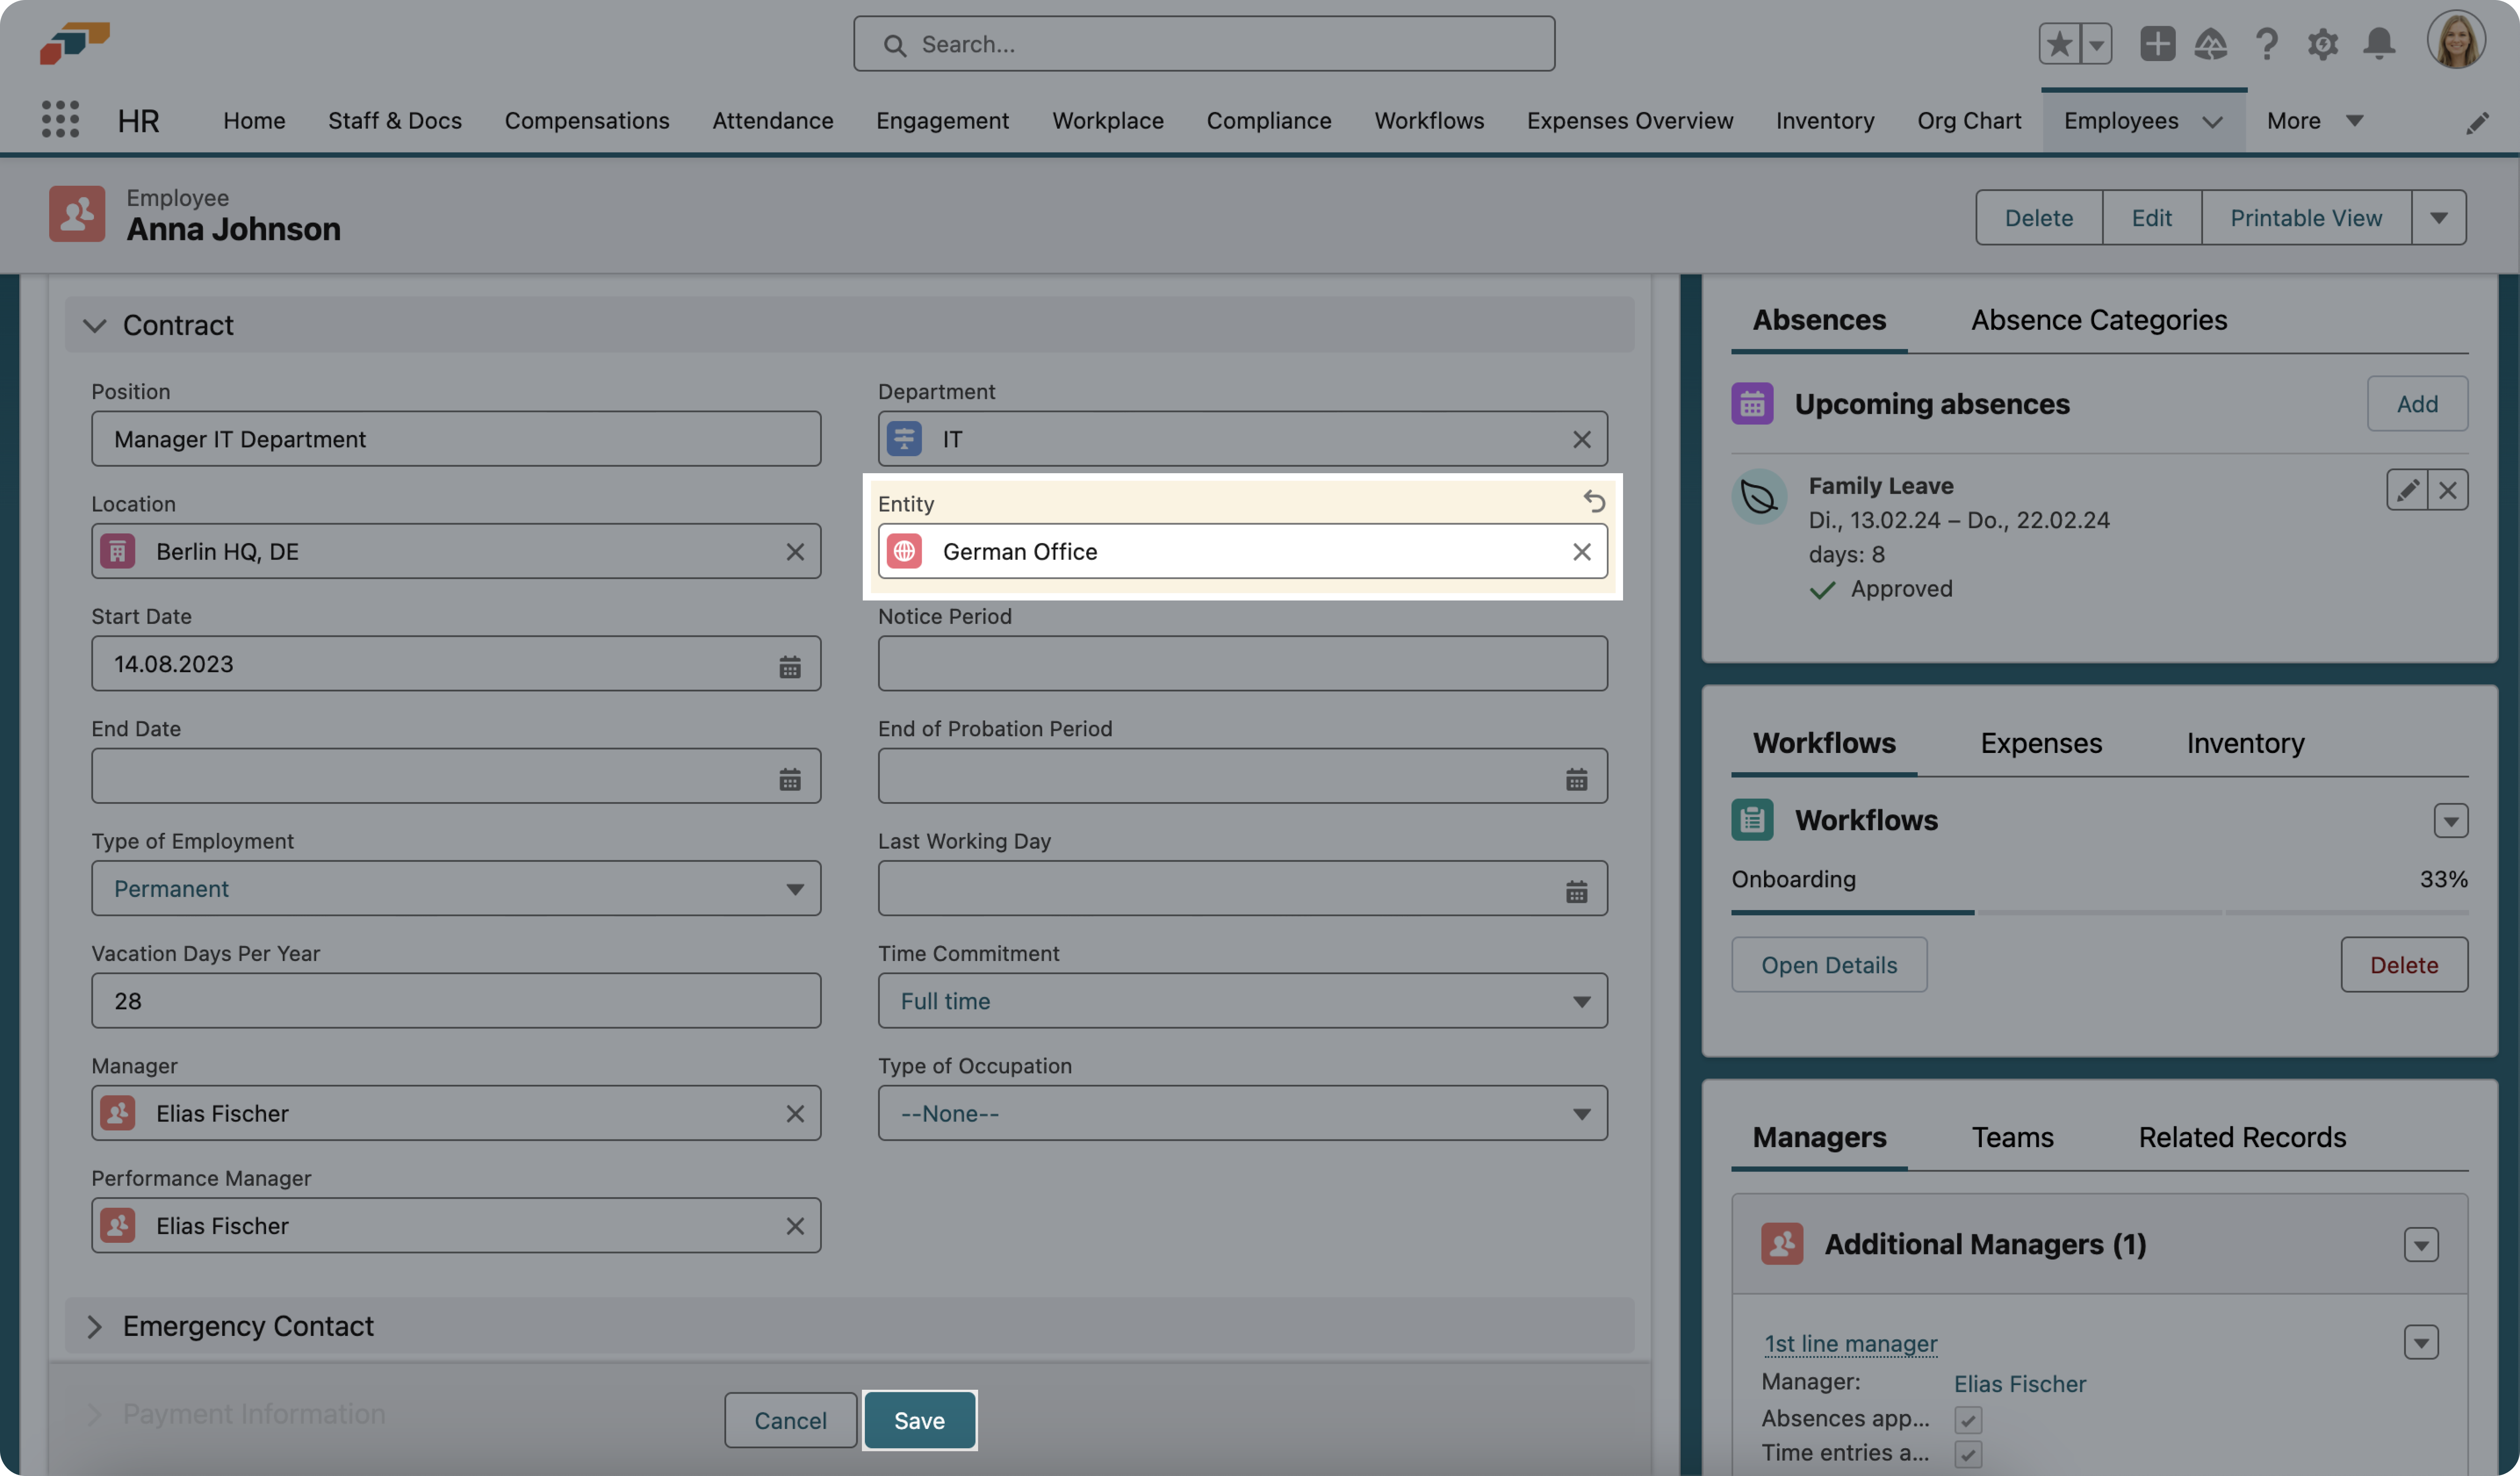
- You can then assign employees to this new entity by opening their employee record and selecting the entity in the Entity field of the Contract section.
- In the same way, you can also assign specific jobs and candidates to an entity, if needed.
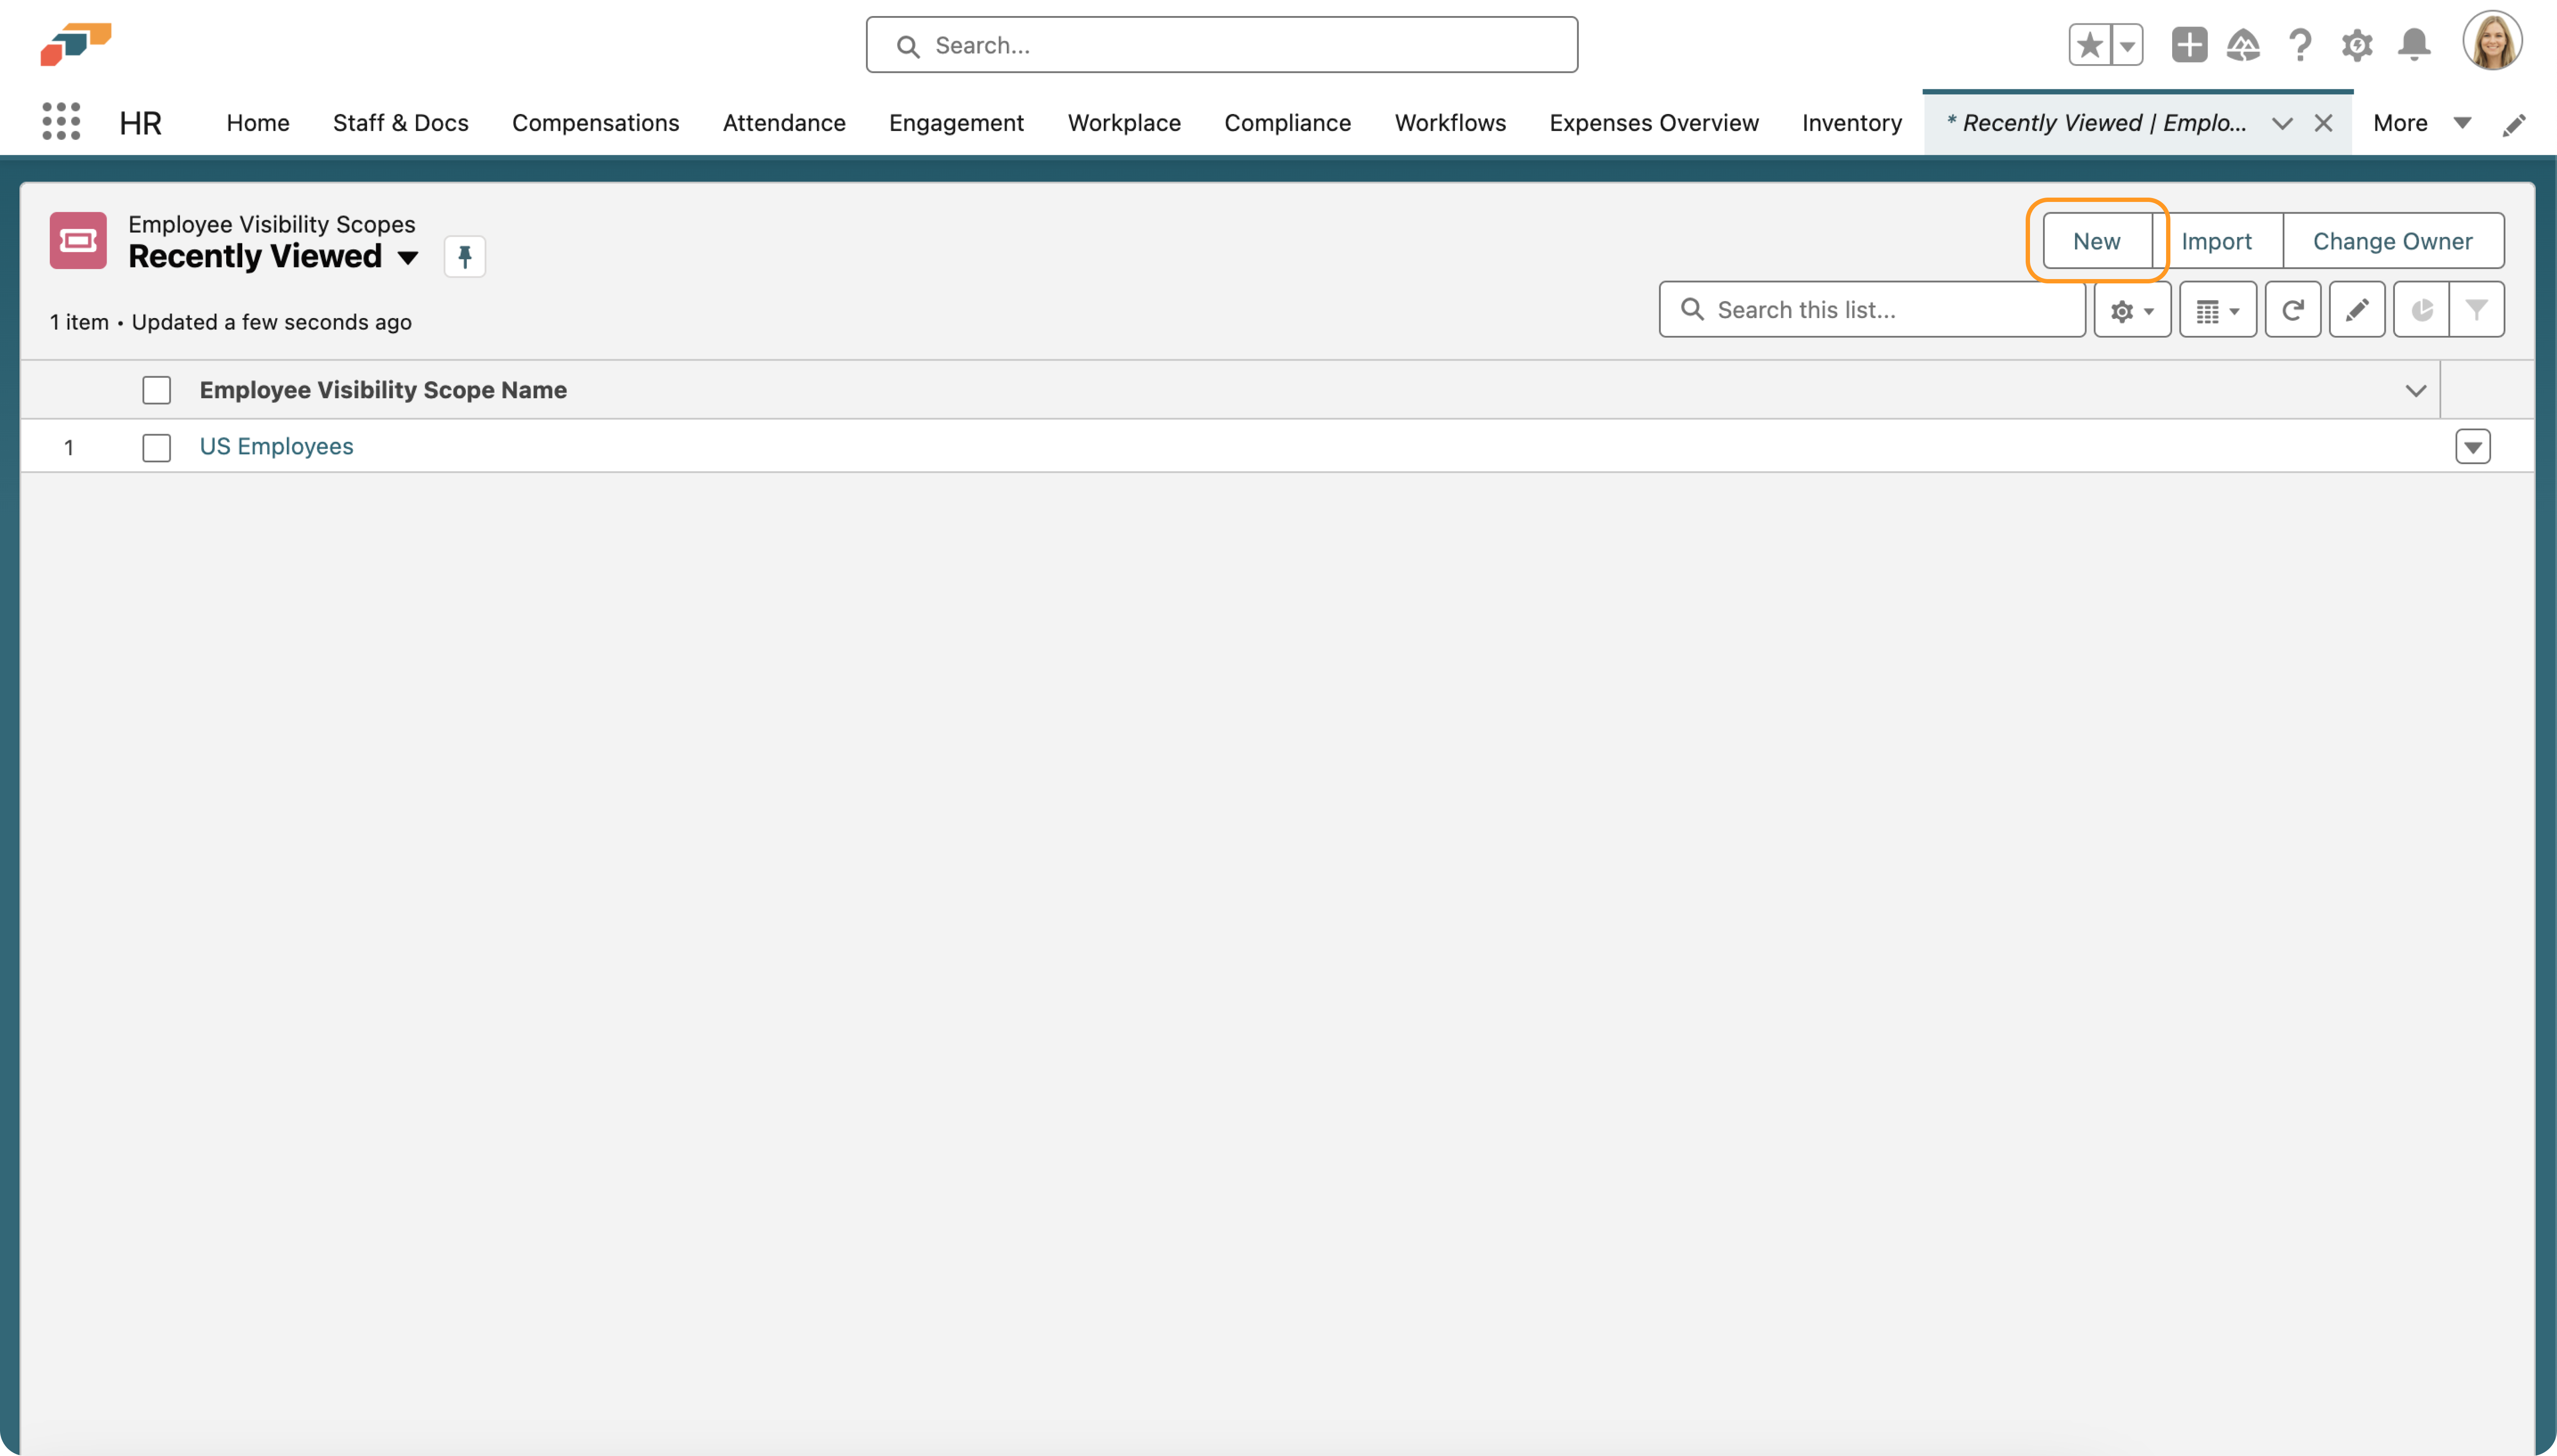
3. Create a visibility scope and select which objects should be shared
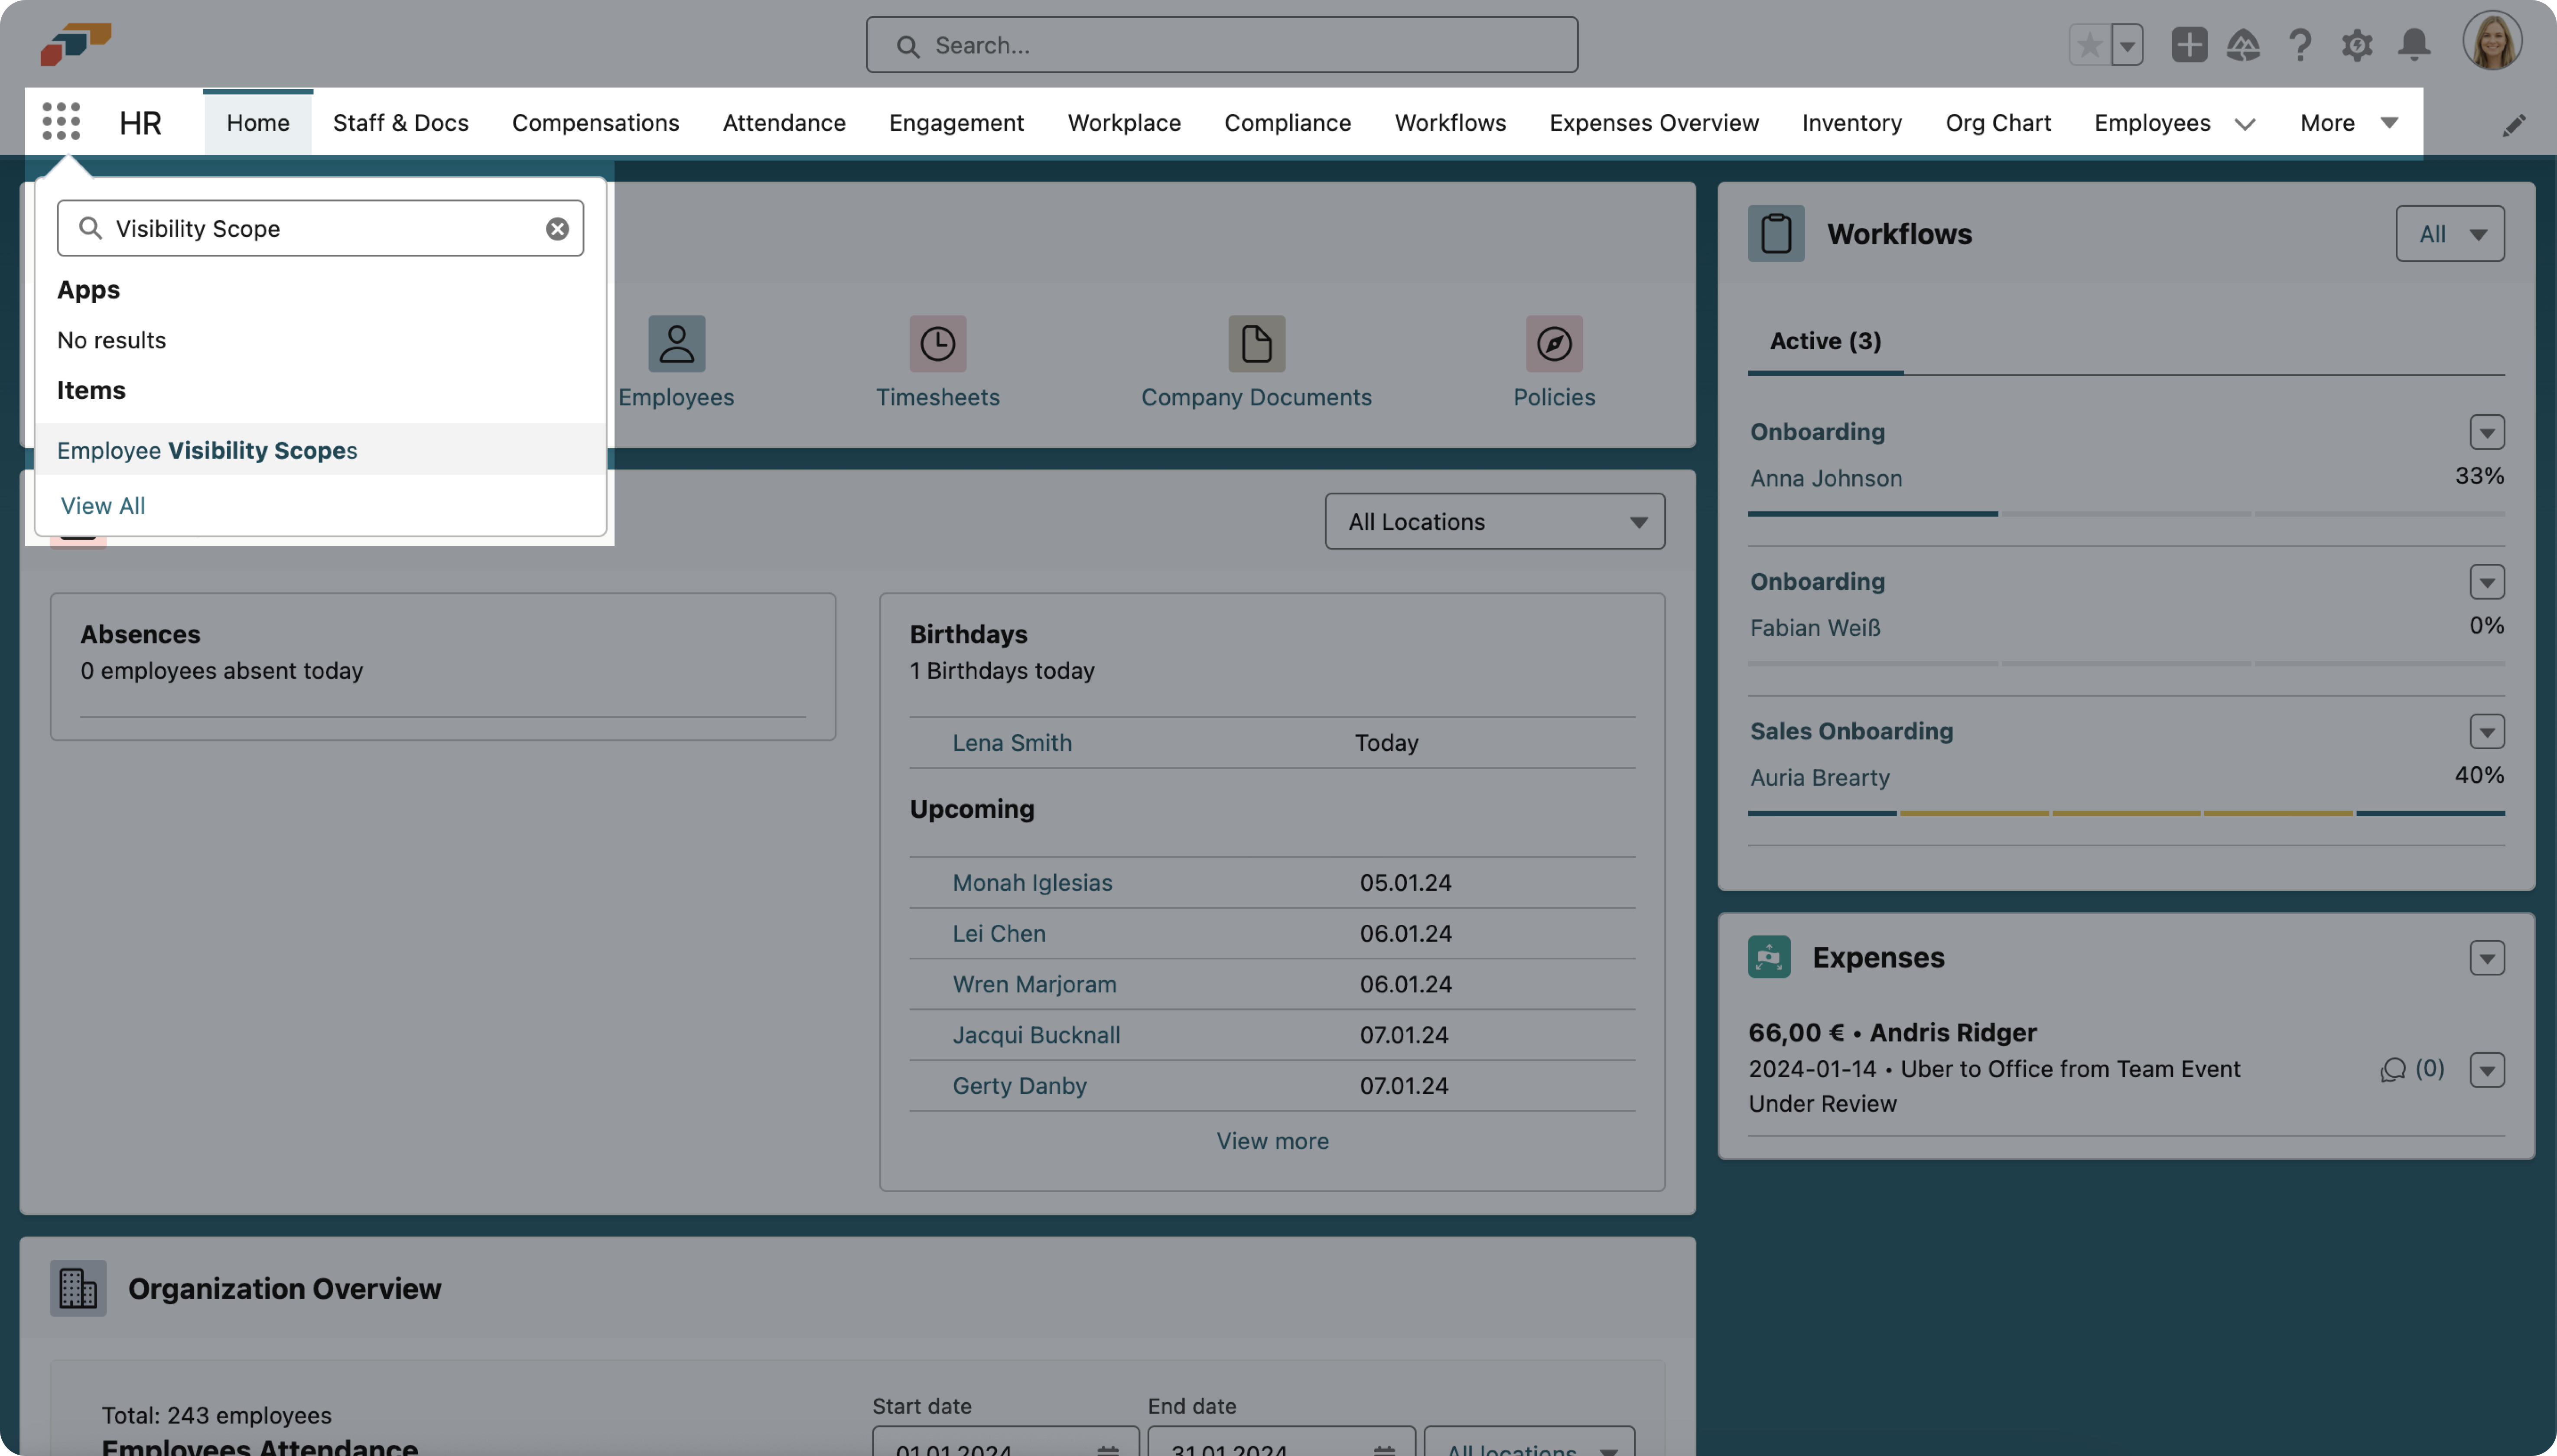
- To create a visibility scope, open the App Launcher and search for visibility scope. Select the page named Employee Visibility Scopes. Click the New button.
- Give your visibility scope a name and select an employee or group of employees you want to assign it to.
- In the Scopes section, you can select the entity that your visibility scope will apply to. Checking the "Can See Own Entity" box allows you to create a visibility scope for a user in another entity, while still allowing them to see their own entity too.
- For example, you may want to assign a manager a visibility scope for your company HQ, while also allowing that manager to view and modify records relating to the location in which they work.
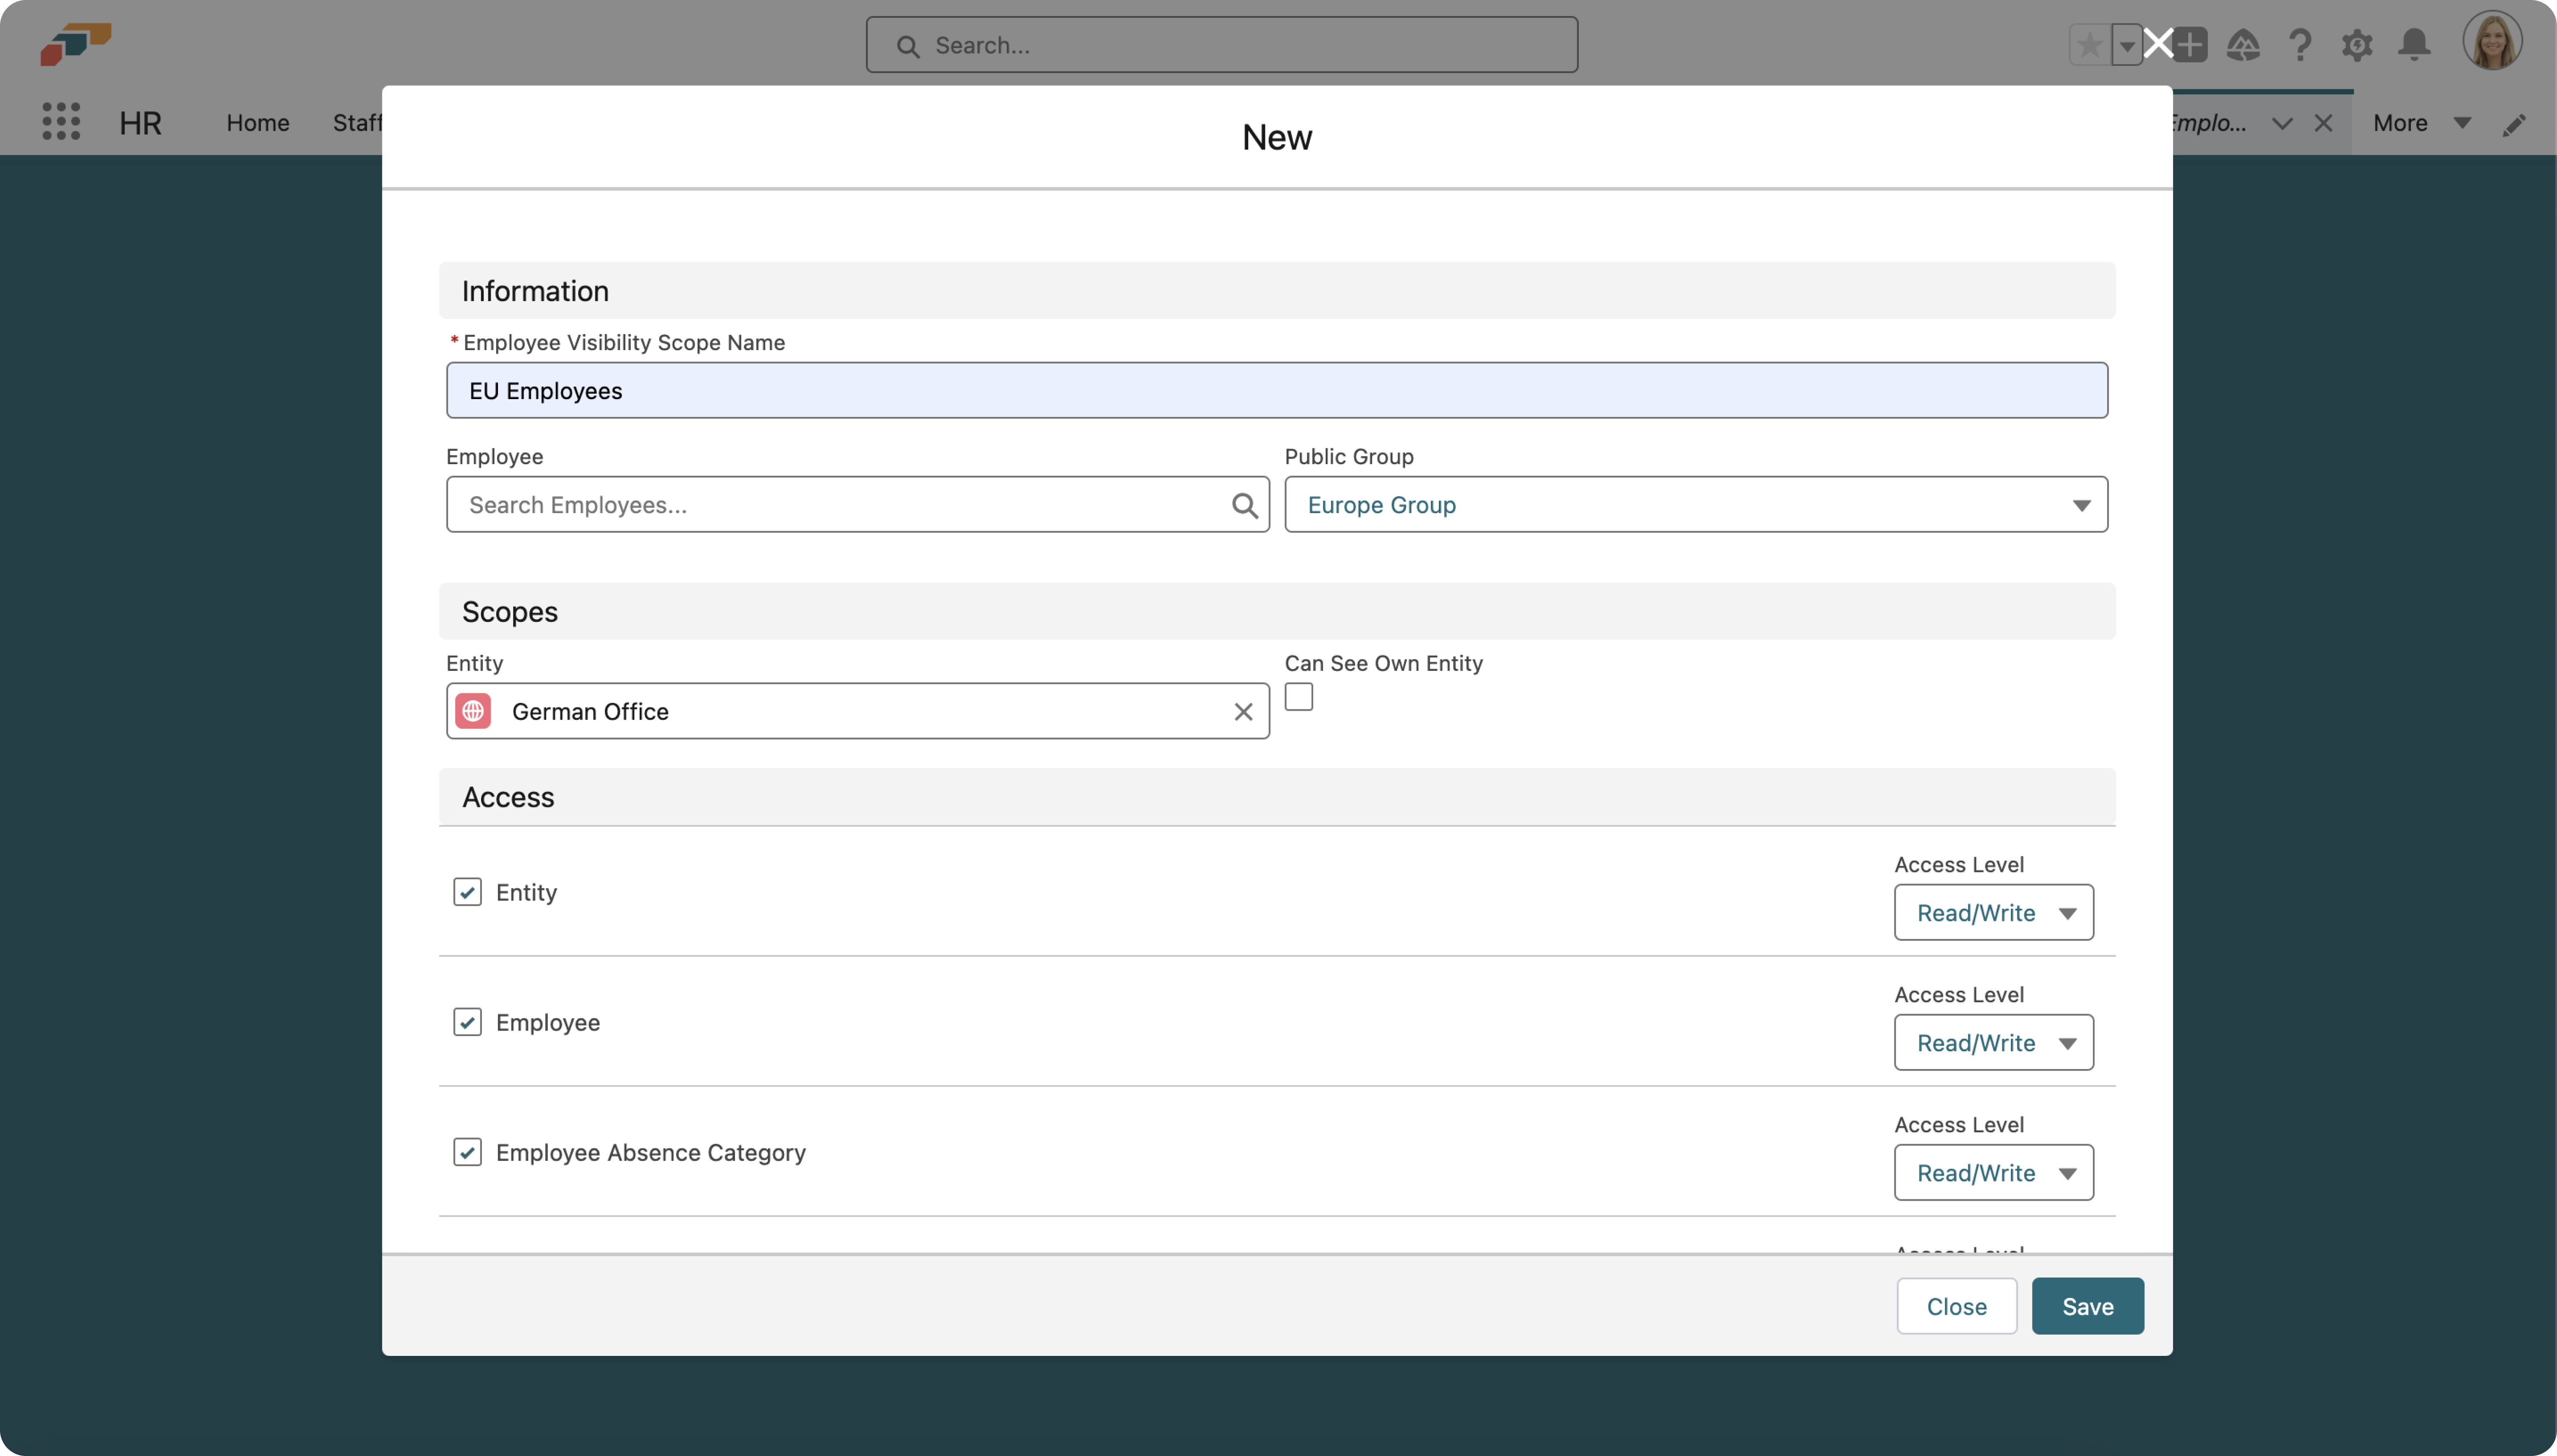
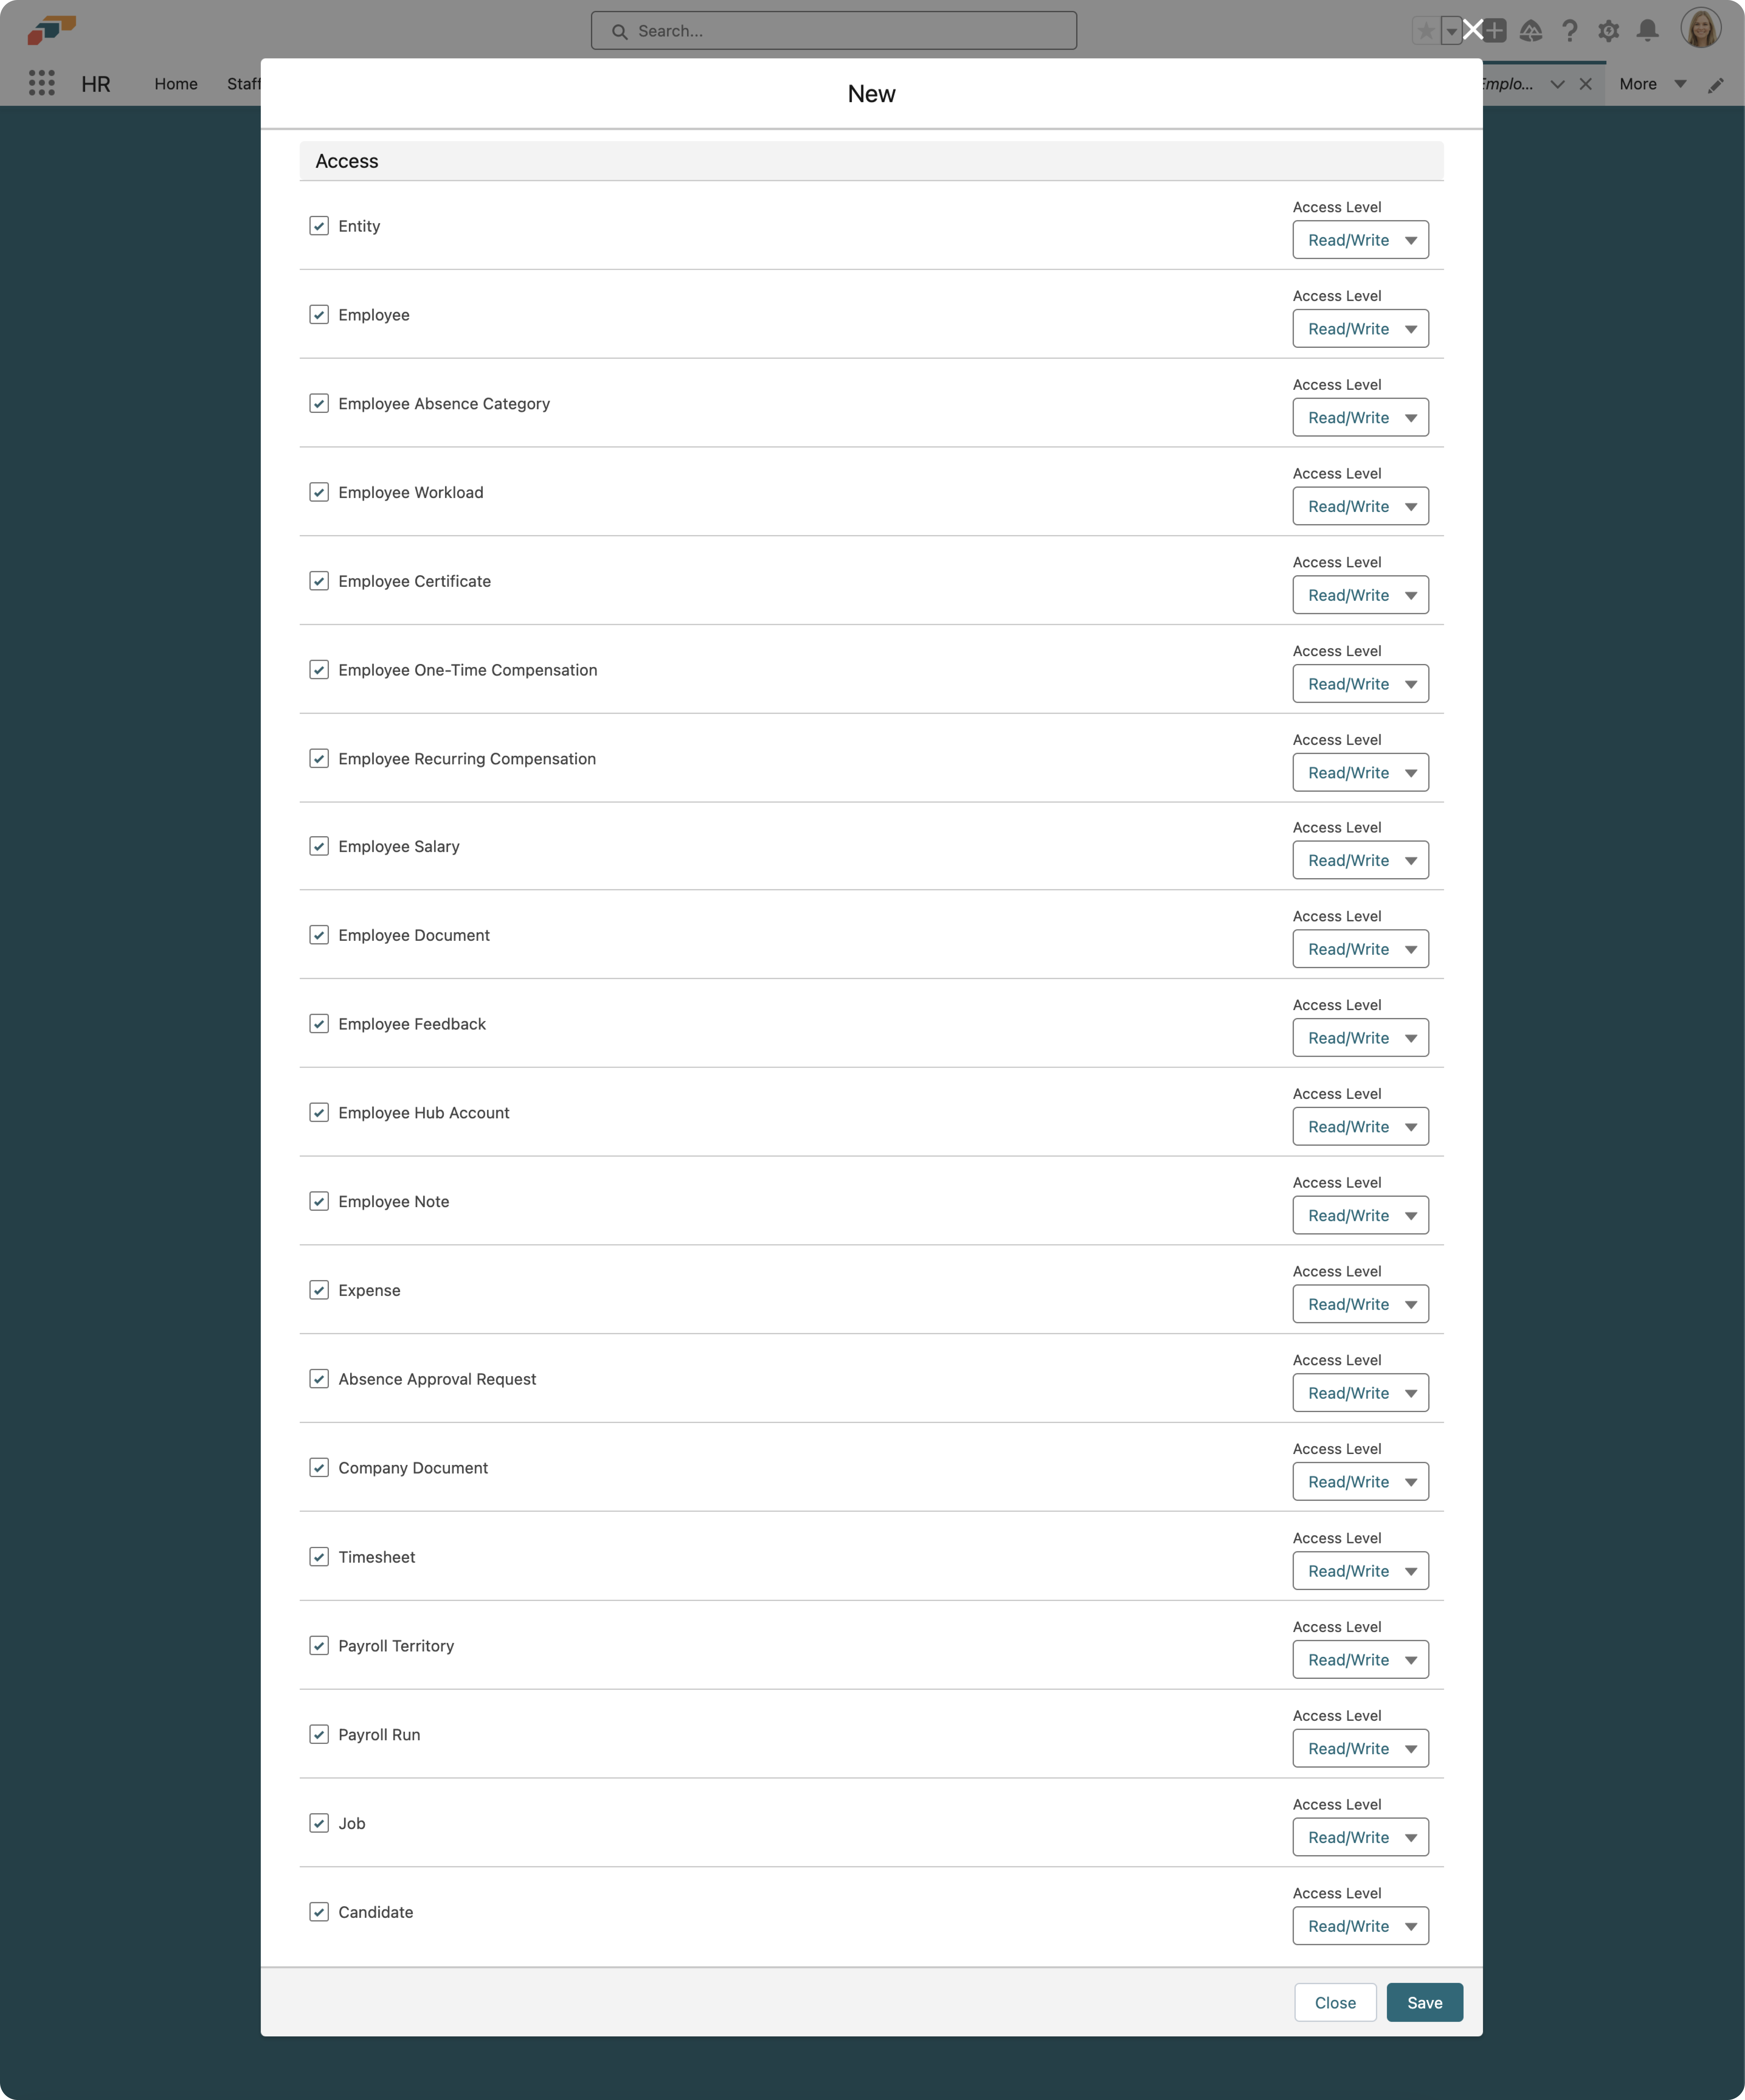
- In the Access section, you can choose which objects are included in your visibility scope. For each object, you can toggle between Read/Write access (ability to view and modify the object) or Read Only access. To restrict visibility entirely, uncheck the checkbox to the left of the object.
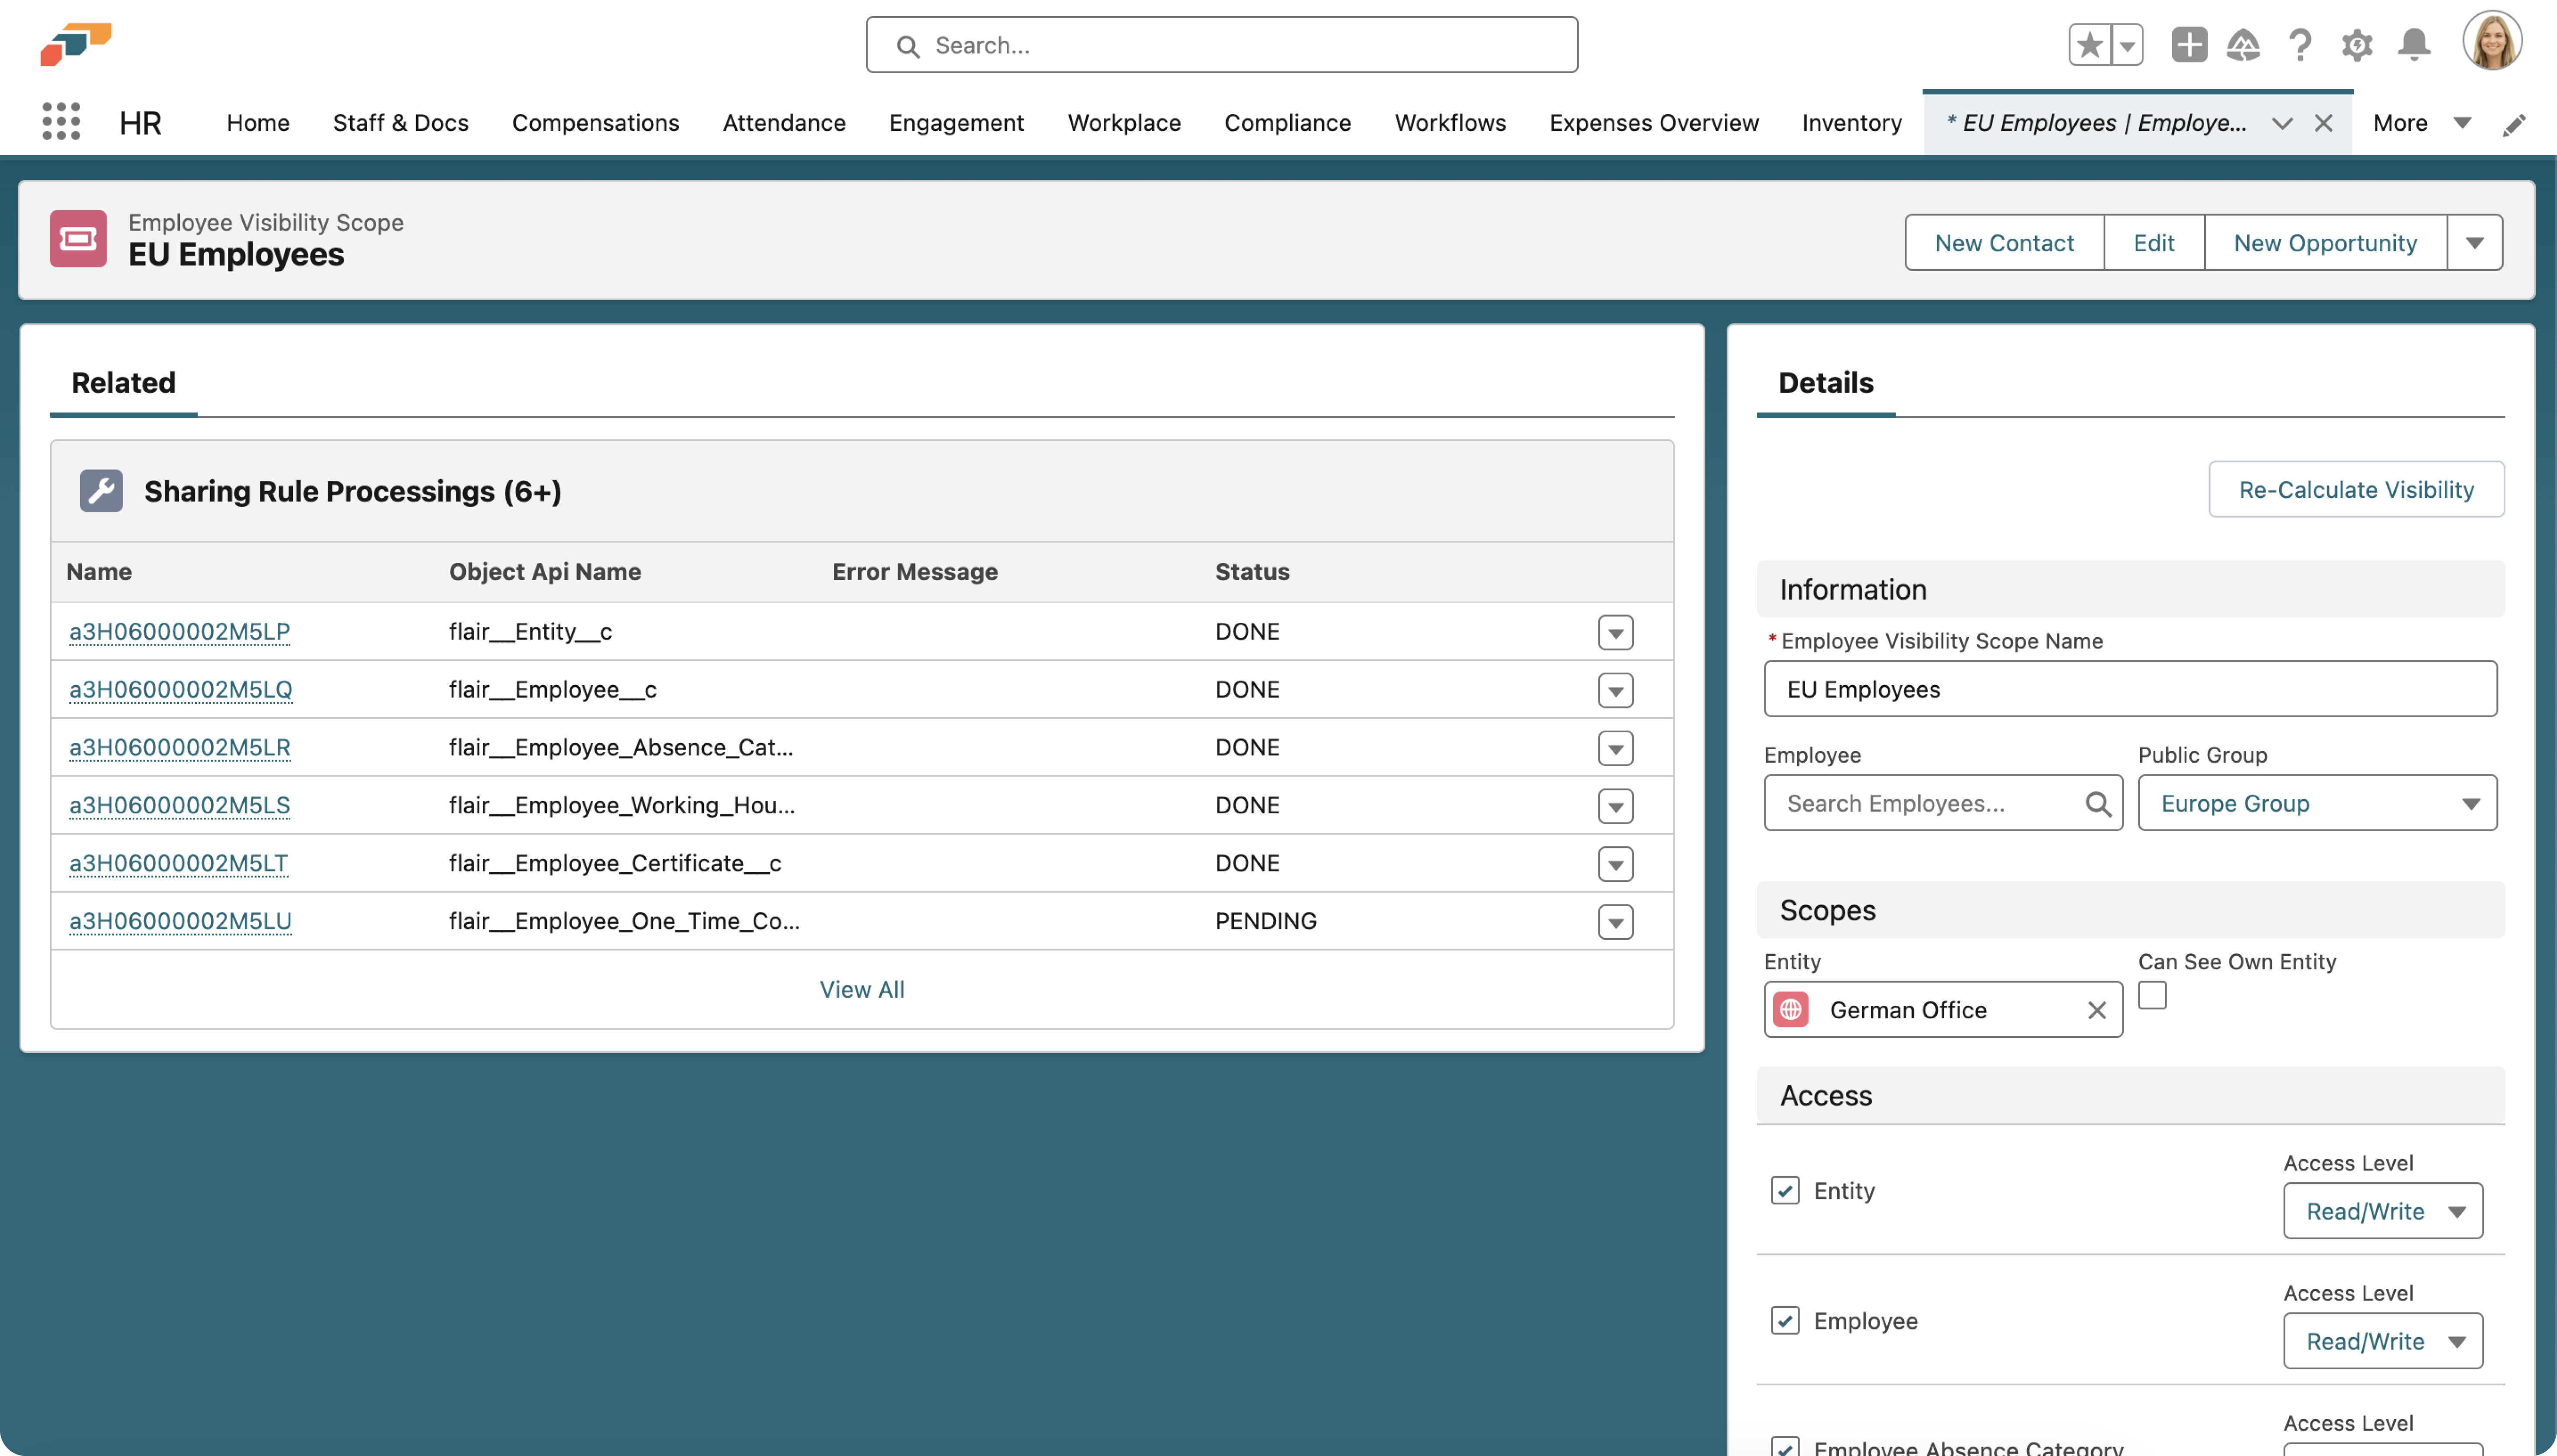
- When you are finished, click Save. Now, Apex will run a batch job to create the sharing records.
- To edit your visibility scope, click on its name. You will see all the details of the visibility scope, as well as the processing status of the sharing rules.
Combining Visibility Scopes with Permission Sets for Company Documents
If you want to grant an employee access to view company documents only (without access to other HR data), you can combine a visibility scope with a permission set:
- Assign the Flair Employee Management permission set to the user.
- Create a new visibility scope or edit an existing one.
- In the Access section of the visibility scope, uncheck all objects except Company Document.
- Save the visibility scope.
This ensures the employee can only see company documents within their assigned scope, without having visibility into other employee records or HR data.
Inventory Permission Set
To grant an employee access to Inventory only, you should create a dedicated Inventory Management Permission Set including the following objects:
- Inventory
- Inventory Attachments
- Inventory Items
- Inventory Templates
- Inventory Template Associations
Create Inventory Manager Permission Set in Salesforce
Steps
- Click on Setup

- Click on Setup

- Use Quick Find in the left pane and search for 'permission'

- Click on Permission Sets

- Click on New

- Type "Inventory Manager"

- Click on API Name to autopopulate this field

- Click on Save

Add Permissions to Permission Set
- Click on Object Settings

- Type Inventory and click on Inventory

- Click on Edit

- Check Visible on Tab Settings

- Click on Save
Repeat this process for each inventory-related object (Inventory Attachments, Inventory Items, Inventory Templates, and Inventory Template Associations). For each object, you'll need to:
- Set Object Permissions (Read, Create, Edit, Delete, View All, Modify All)
- Configure Field Permissions as needed
- For Inventory Items, make the tab available and configure Record Type Assignments if needed
Assign the Permission Set to Users
- Click on Manage Assignments

- Click on Add Assignment

- Select Users to Assign

-
Click on Next
-
Click on Assign
-
Click on Done
You've successfully created the Inventory Manager Permission Set and assigned it to users. Users with this permission set will have access only to inventory-related objects and functionality.
Enabling Developer Console Using Permission Sets
Enabling and giving permission to the Developer Console in Salesforce provides users with a powerful tool for debugging, testing, and developing custom code or applications.
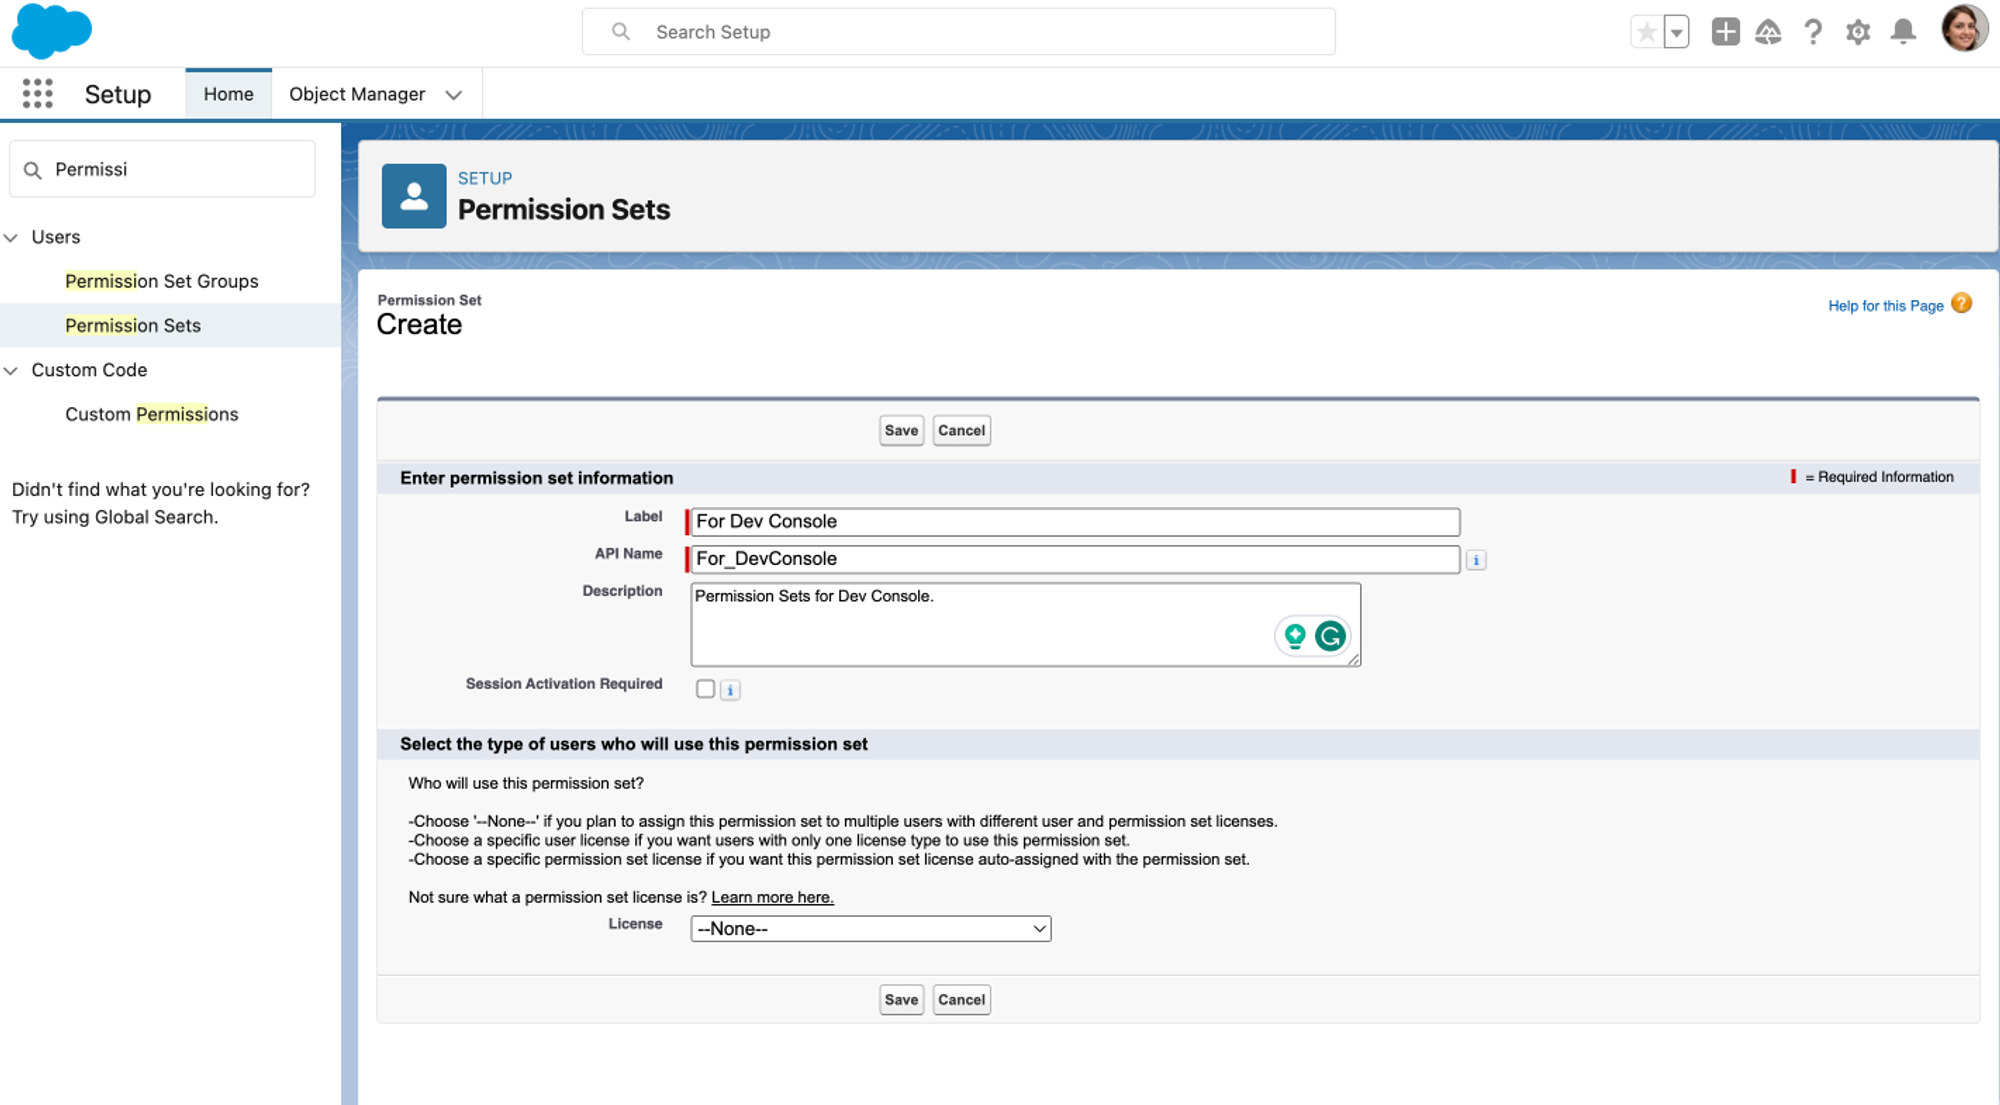
- First, visit the Salesforce Setup portal
- Next, visit the Permission Sets page within the Users section and Create a new permission set. Click New on the Permission Sets dashboard. Give it a Label, API Name, and Description. Then click Save.
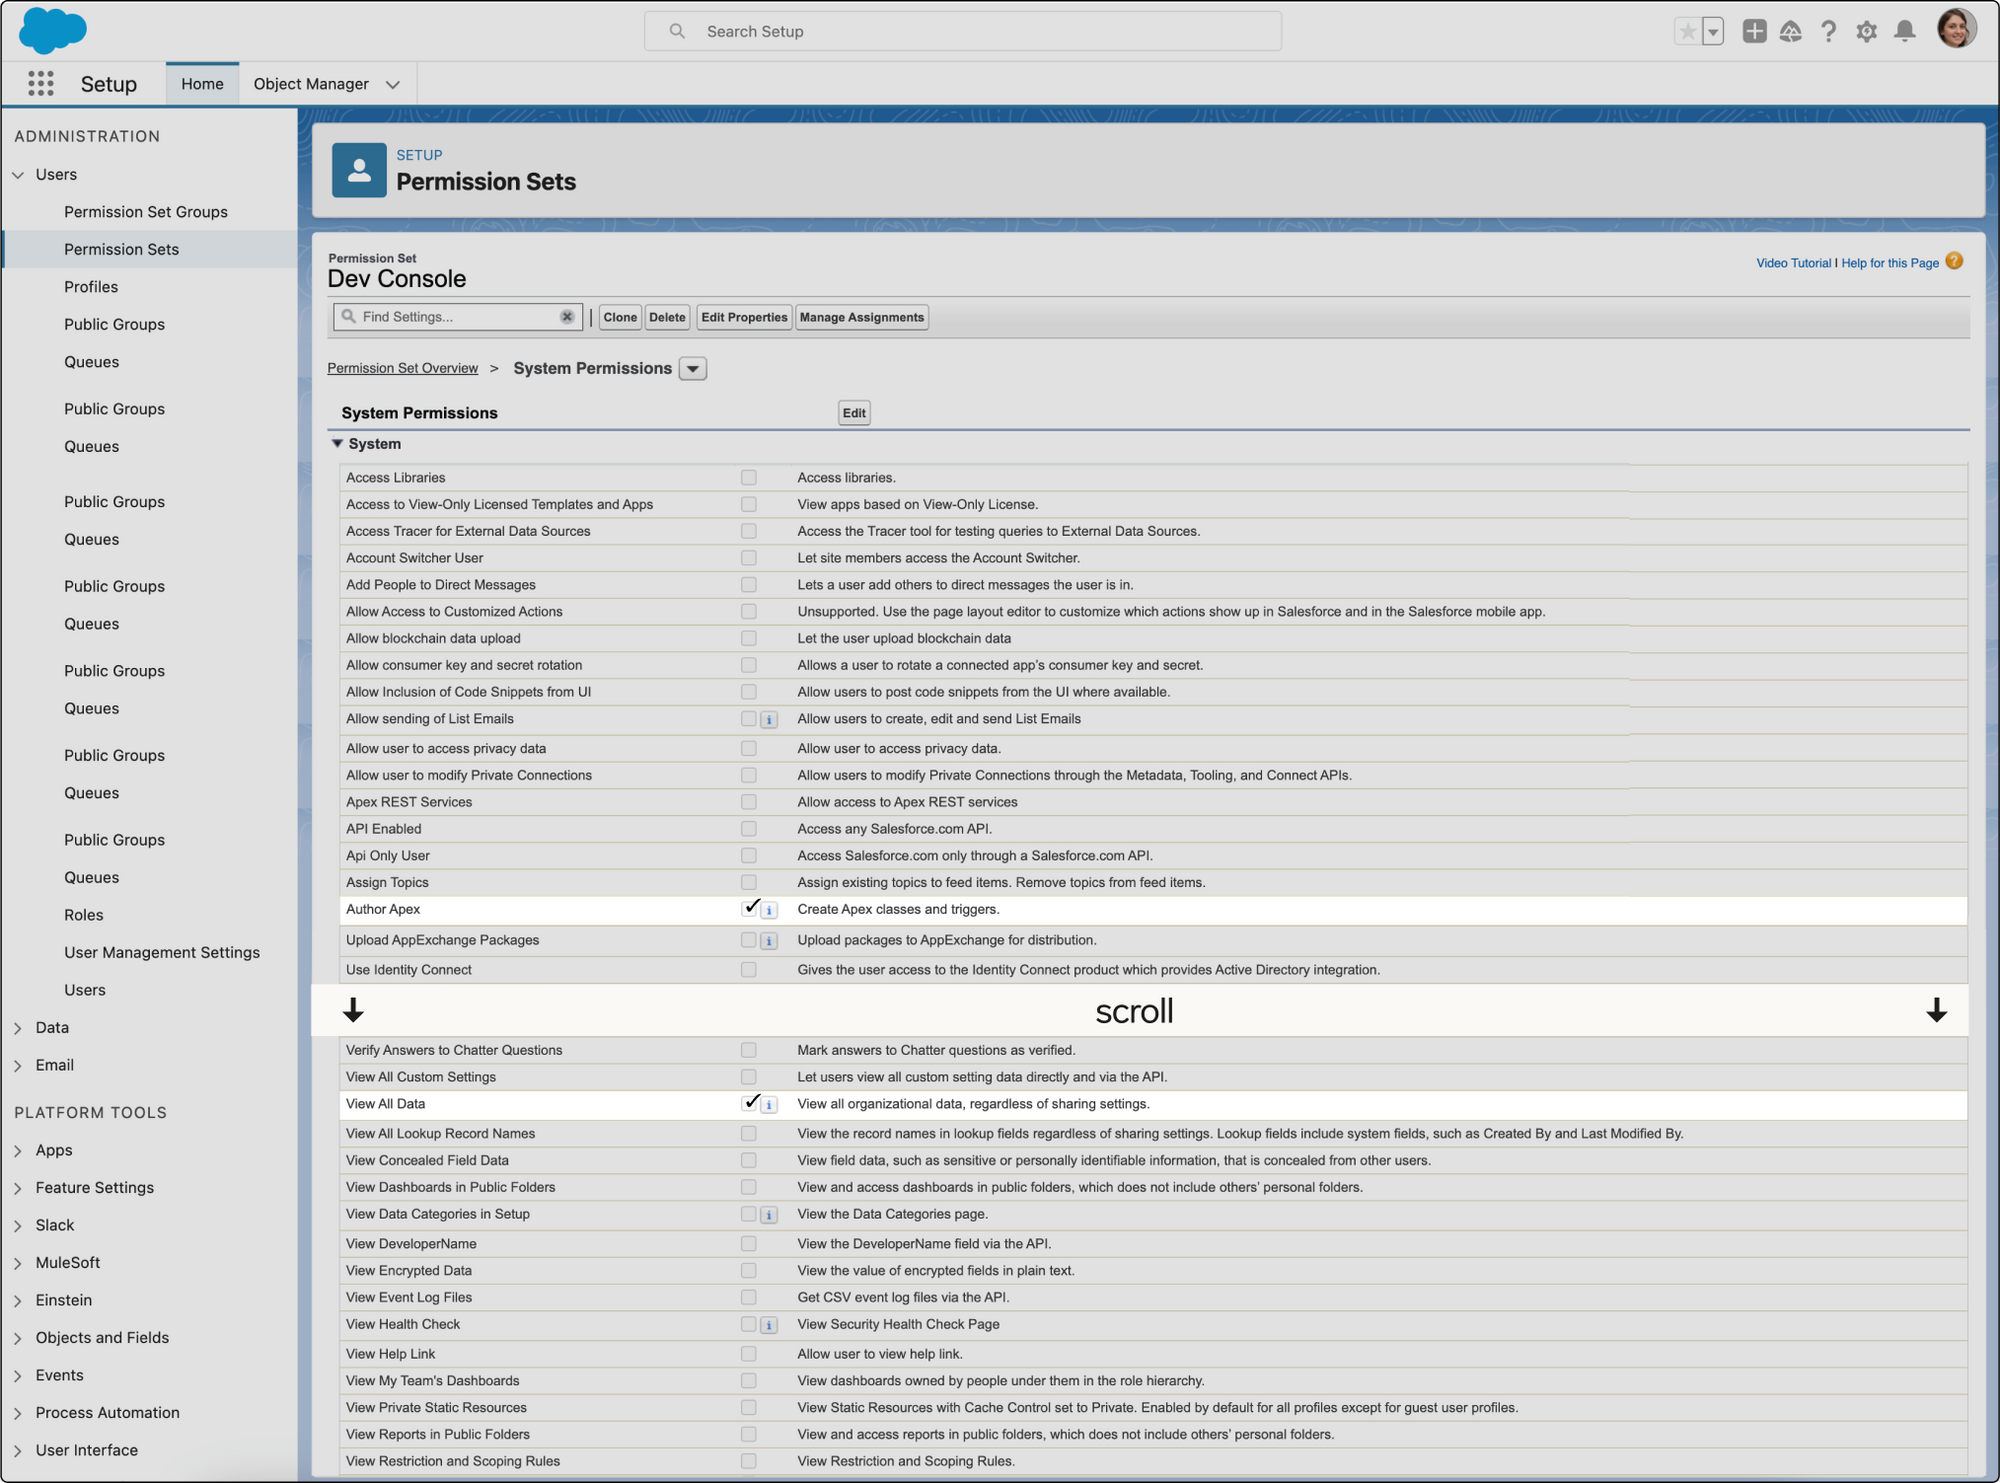
- Within the newly created permission set, click on the System Permission tab underneath the System heading. Here you will be able to edit types of permissions that are applicable across multiple applications.
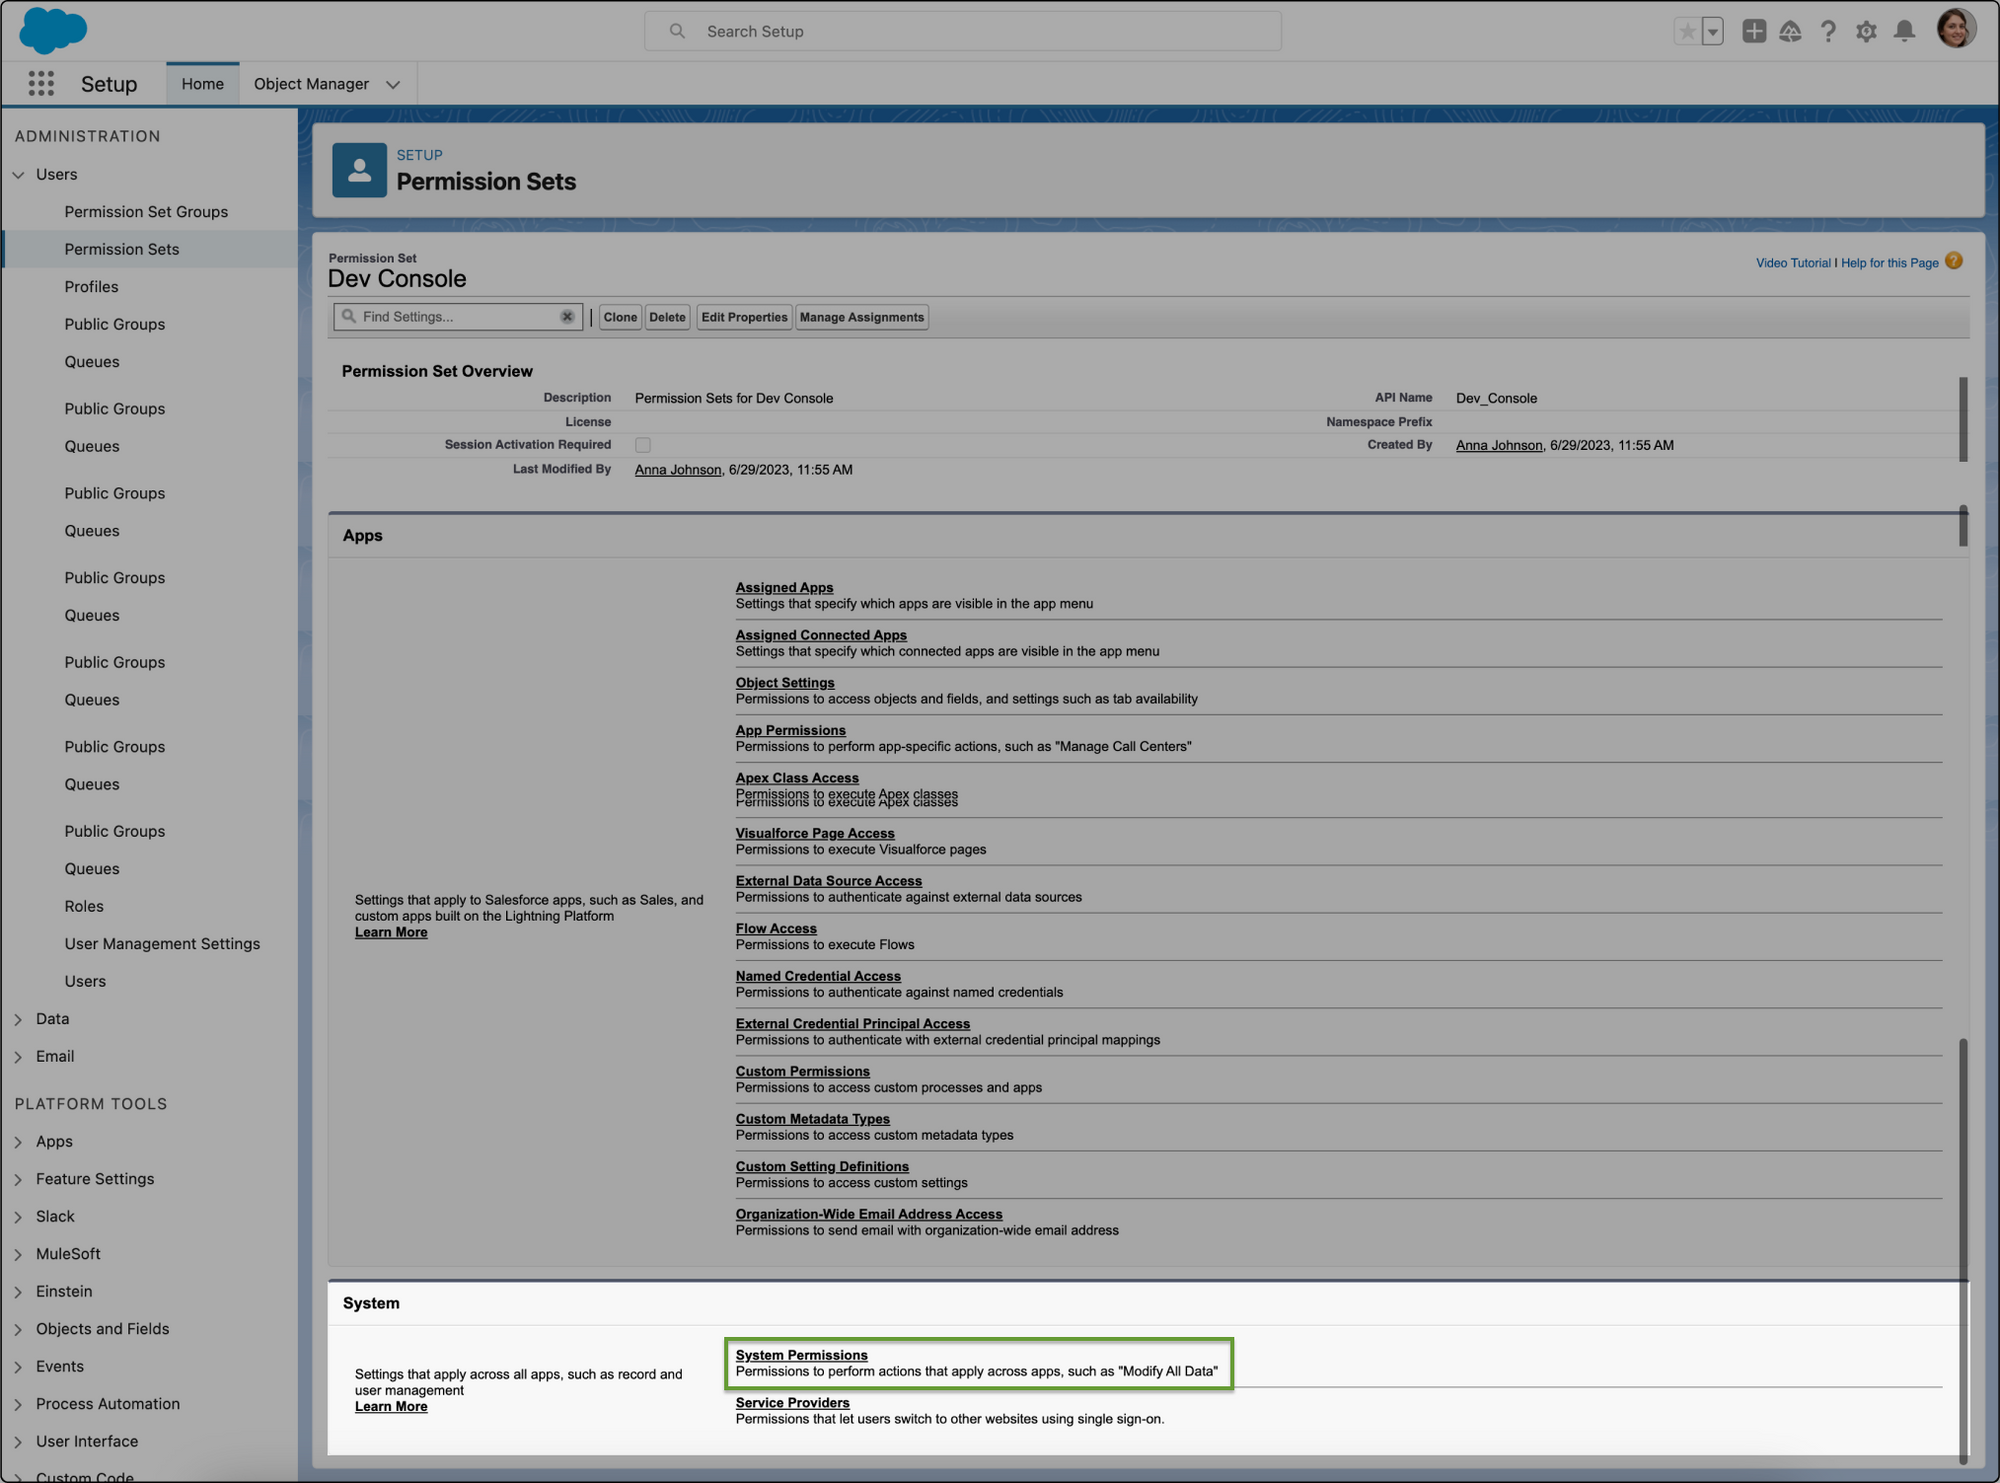
- Checkmark and enable the permission for Author Apex and View All Data. Then click Save.
- The next step is to assign your new permissions to a specific user on the Users page within the Salesforce Setup portal
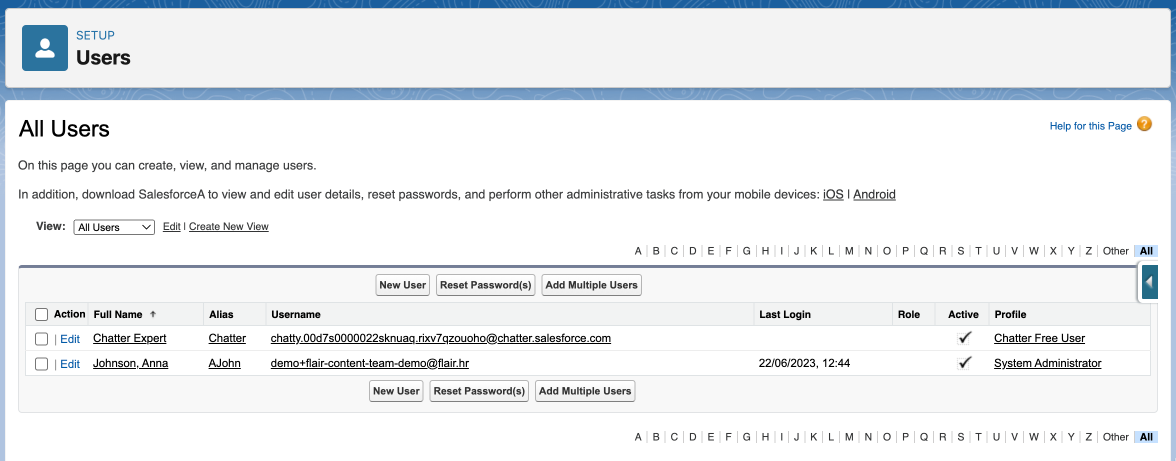
- Click on the profile name of a user you need to give permission to and then select Edit Assignments
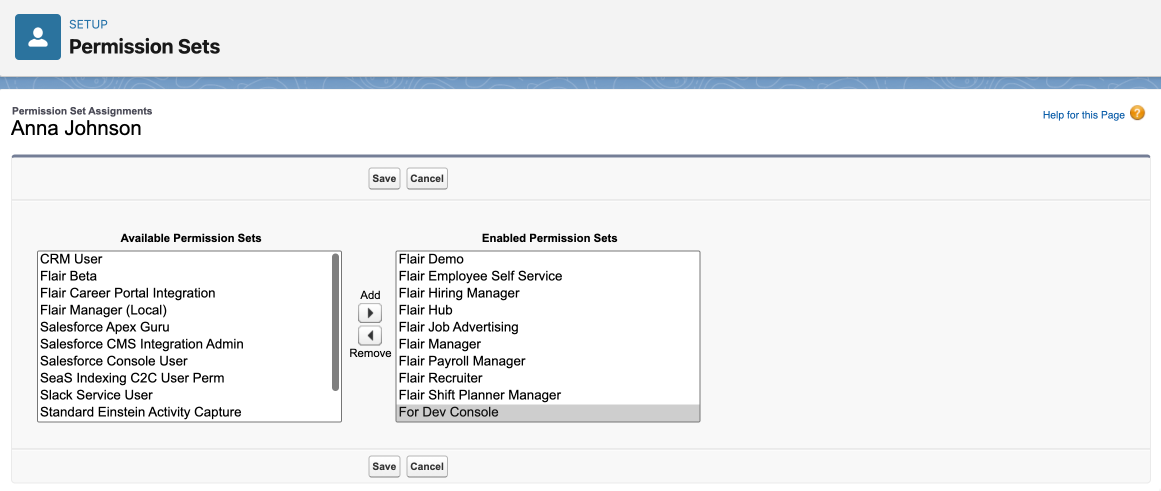
- Add your newly created permission set using the Available Permission Sets section. In this example, we will add the permission set we created, For Dev Console.
- The user will now have access to the Developer Console
Troubleshooting Employee Documents Visibility Issues
If a customer cannot see employee documents in the backend or cannot find Employee Visibility Scope in the App Launcher, this is most likely a permission issue.
Troubleshooting Steps
Go to Setup and look for the user, then check:
- Check if a flair license is assigned to the user
- Check the profile of the user and verify how the user's default permissions in the org are defined
Permission Sets Reference
All flair permission sets and related objects are available directly in your Salesforce org. Navigate to Setup → Permission Sets to view them. All flair permission sets have a "Flair" prefix and include a description explaining their purpose.
Common Issues
- Missing License: Users need a flair license to access flair features
- Insufficient Permissions: The user's profile or permission sets may not include access to Employee Documents or Visibility Scopes
- Object Permissions: Verify that the user has read access to the Employee Documents object
- Visibility Scope Access: Ensure the user has permission to view and manage Employee Visibility Scopes
If issues persist after checking these settings, verify that the Employee Visibility Scope object is enabled and accessible in your Salesforce org.