Career Portals
The career portal is the most important tool for advertising your open positions and hiring people for your organization. In this comprehensive guide, you'll find out how to set up and customize your careers page in the flair Recruiting app on Salesforce.
How To Set Up Your Career Portal
To get started, open the flair Recruiting app in Salesforce. From the Home page, you can either:
- Use the shortcut in your Setup Assistant by clicking Go to Settings
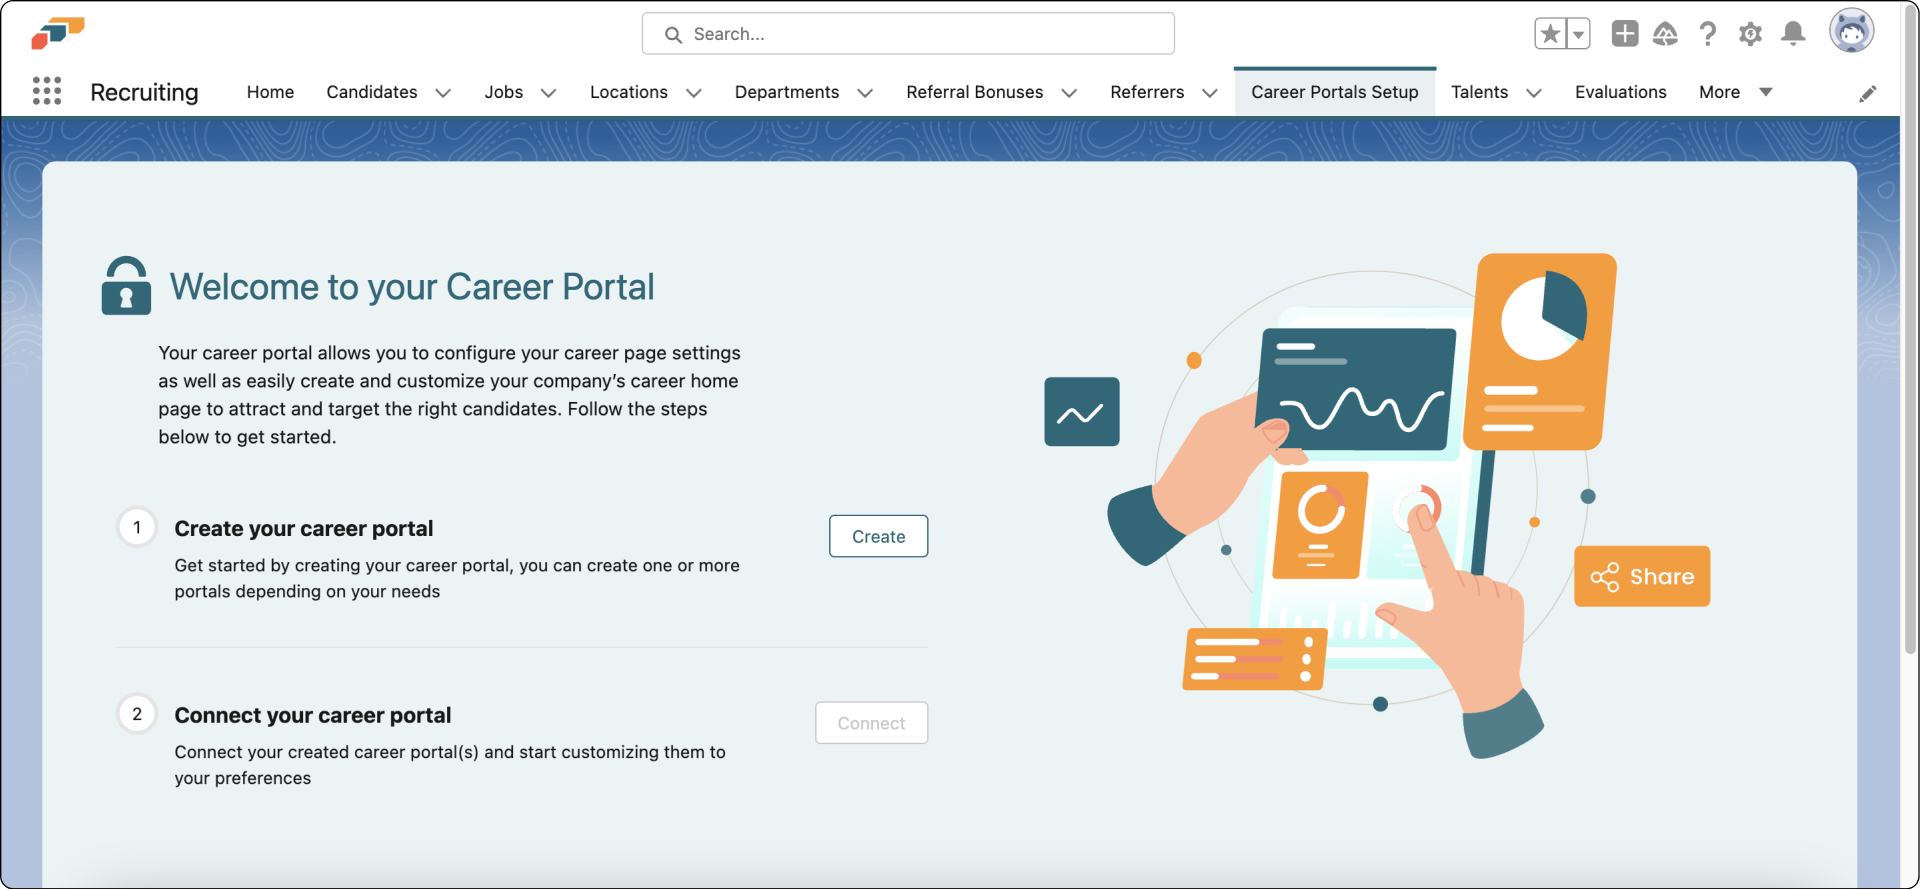
- Click on the Career Portals Setup tab in the top navigation bar
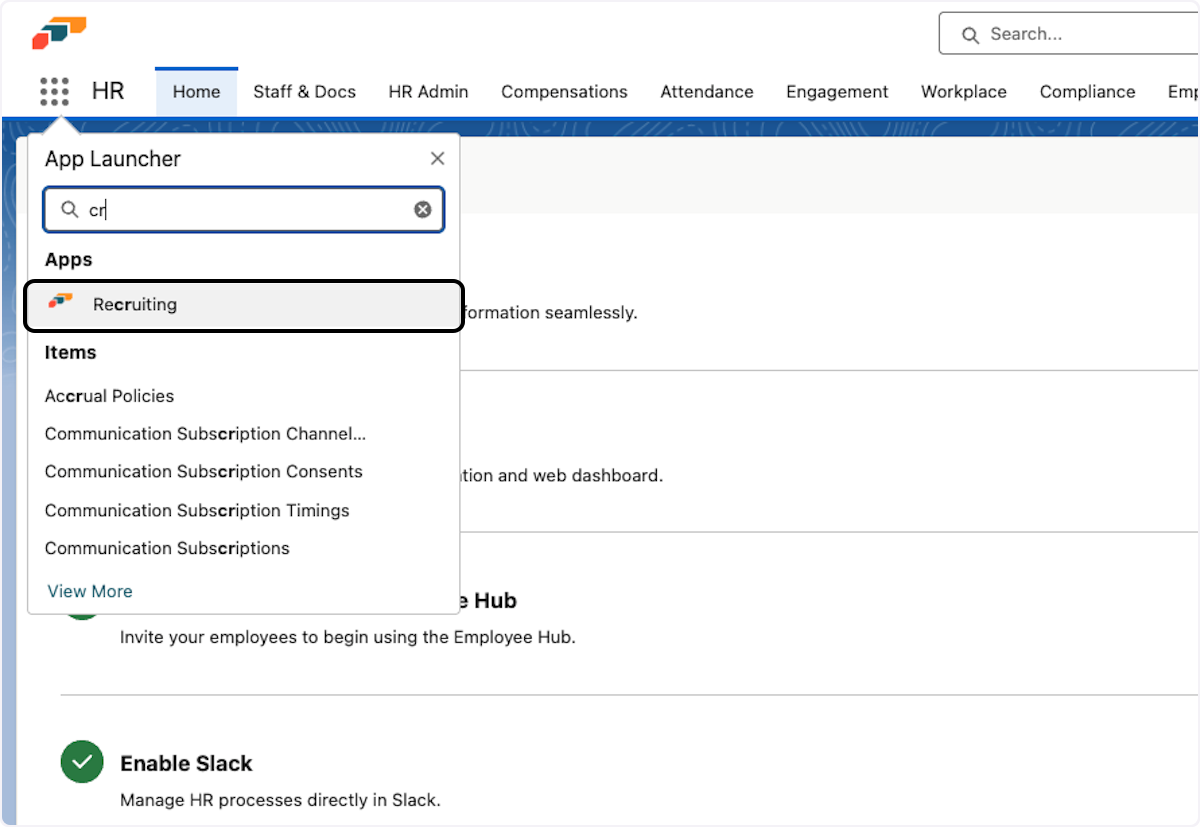
- Type Career Portals Setup in the Salesforce App Launcher
Once you're on the Career Portals Setup, click Create. If you already have a career portal, then click New.
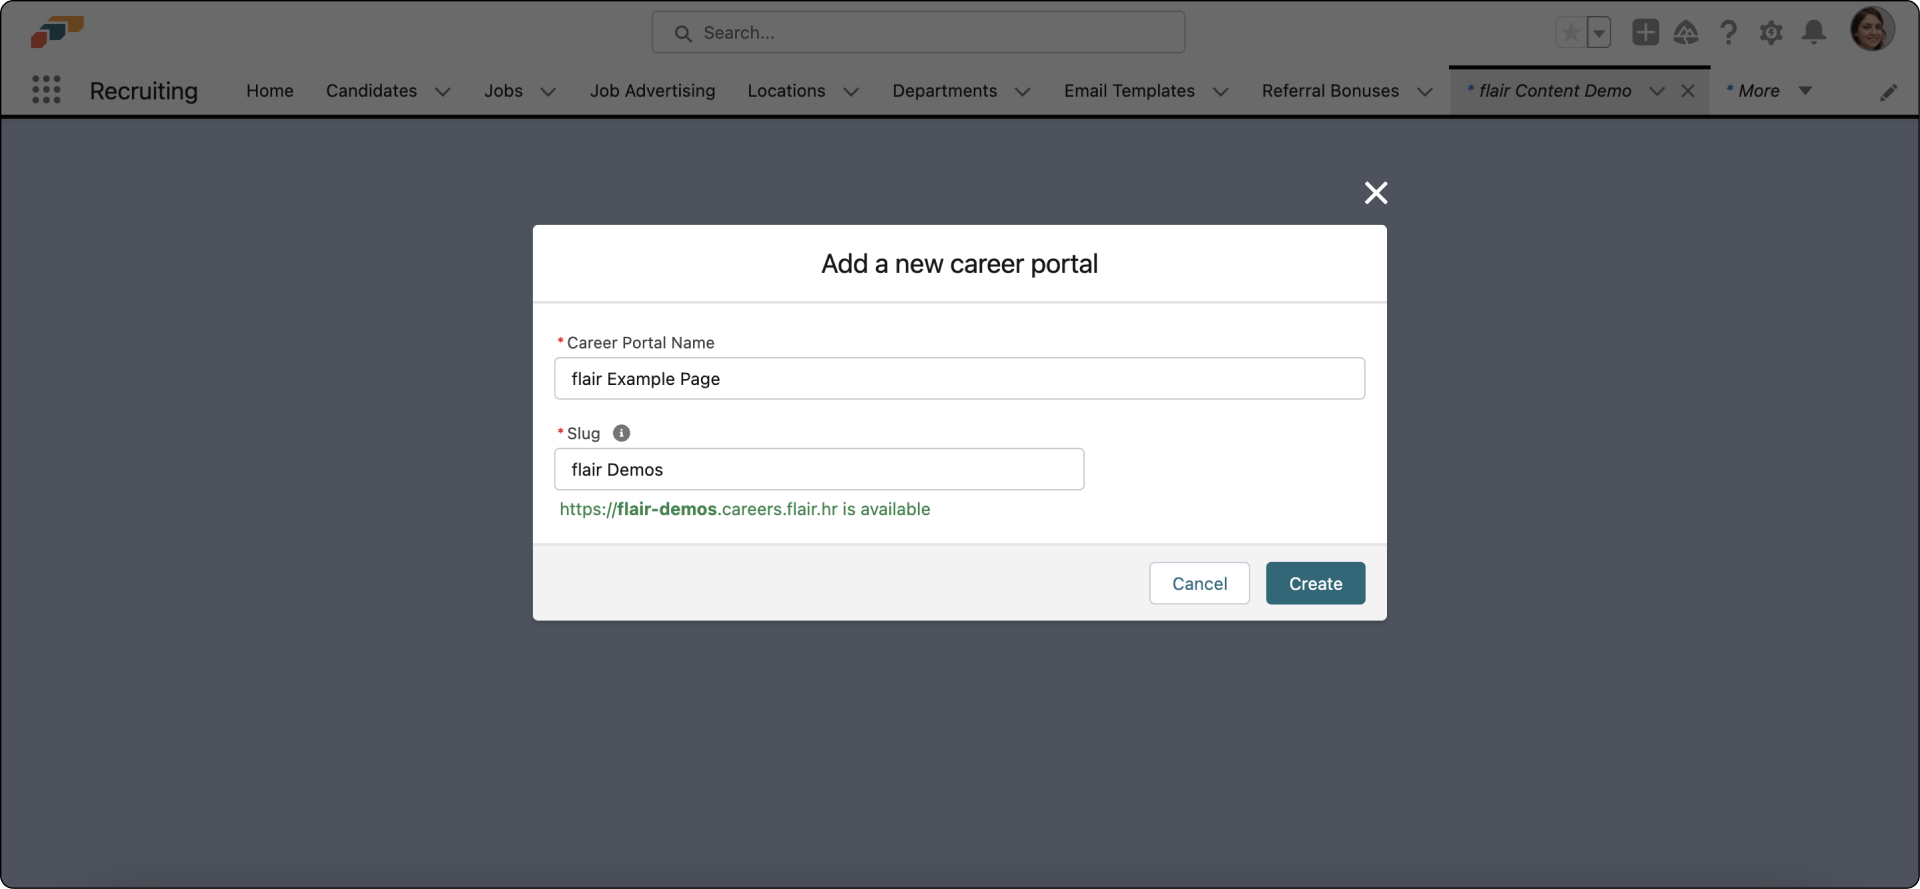
To get started, you'll need to pick a name and a slug for your career portal. The slug is a unique identifier that will appear in the URL of your new career portal.
It must be all lowercase and contain no special characters or spaces. Spaces will automatically be replaced by a hyphen.
For example, if you give your career portal the slug "flair Demos", your URL will be https://flair-demos.careers.flair.hr. When you enter your slug, our app will check whether the URL is available.
Click Create to reserve the URL and open the career portal builder.
Now you will see the career portal builder. There are four tabs on this page. We'll take you through each of them.
Layout and Appearance
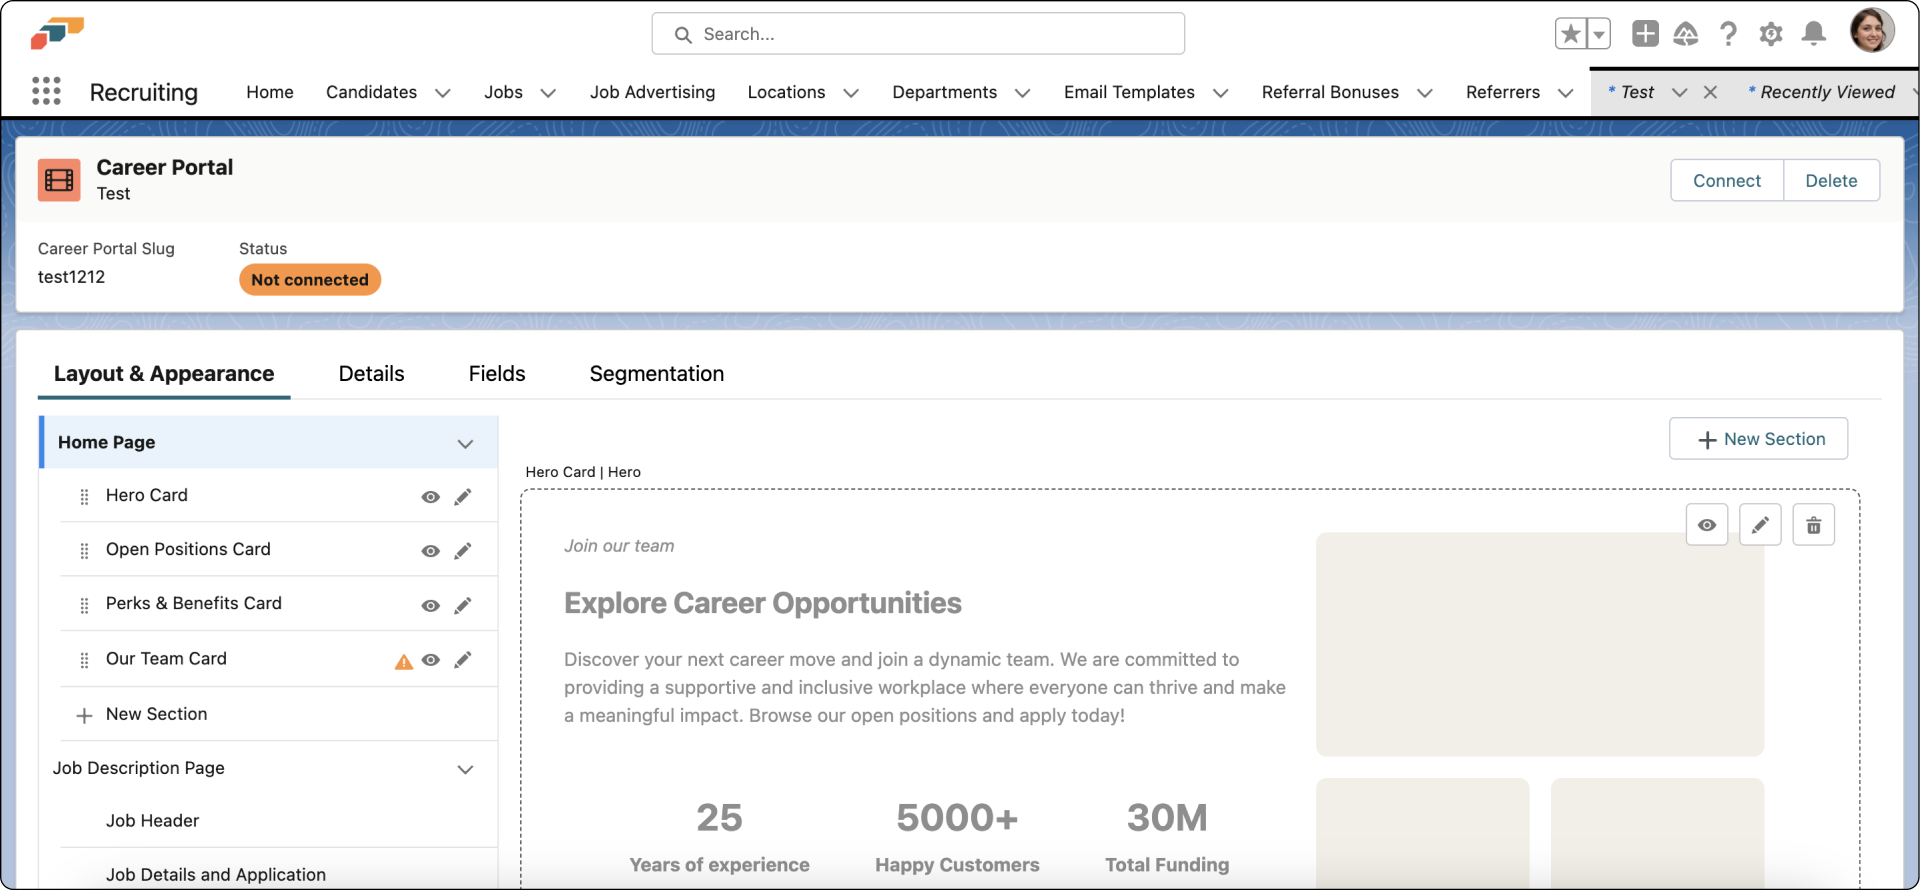
The Layout & Appearance tab is where you create the design and content of your page. In the middle of the page, you will see a preview of your career portal's design. On the left, each card or component of your careers page will be listed. You can hide components by clicking the eye symbol or edit them by clicking the pencil icon.
To remove a card entirely, click the trashcan icon. You can also rearrange the components by clicking and dragging the dots to the left of the card name.
By default, your career page will have four cards:
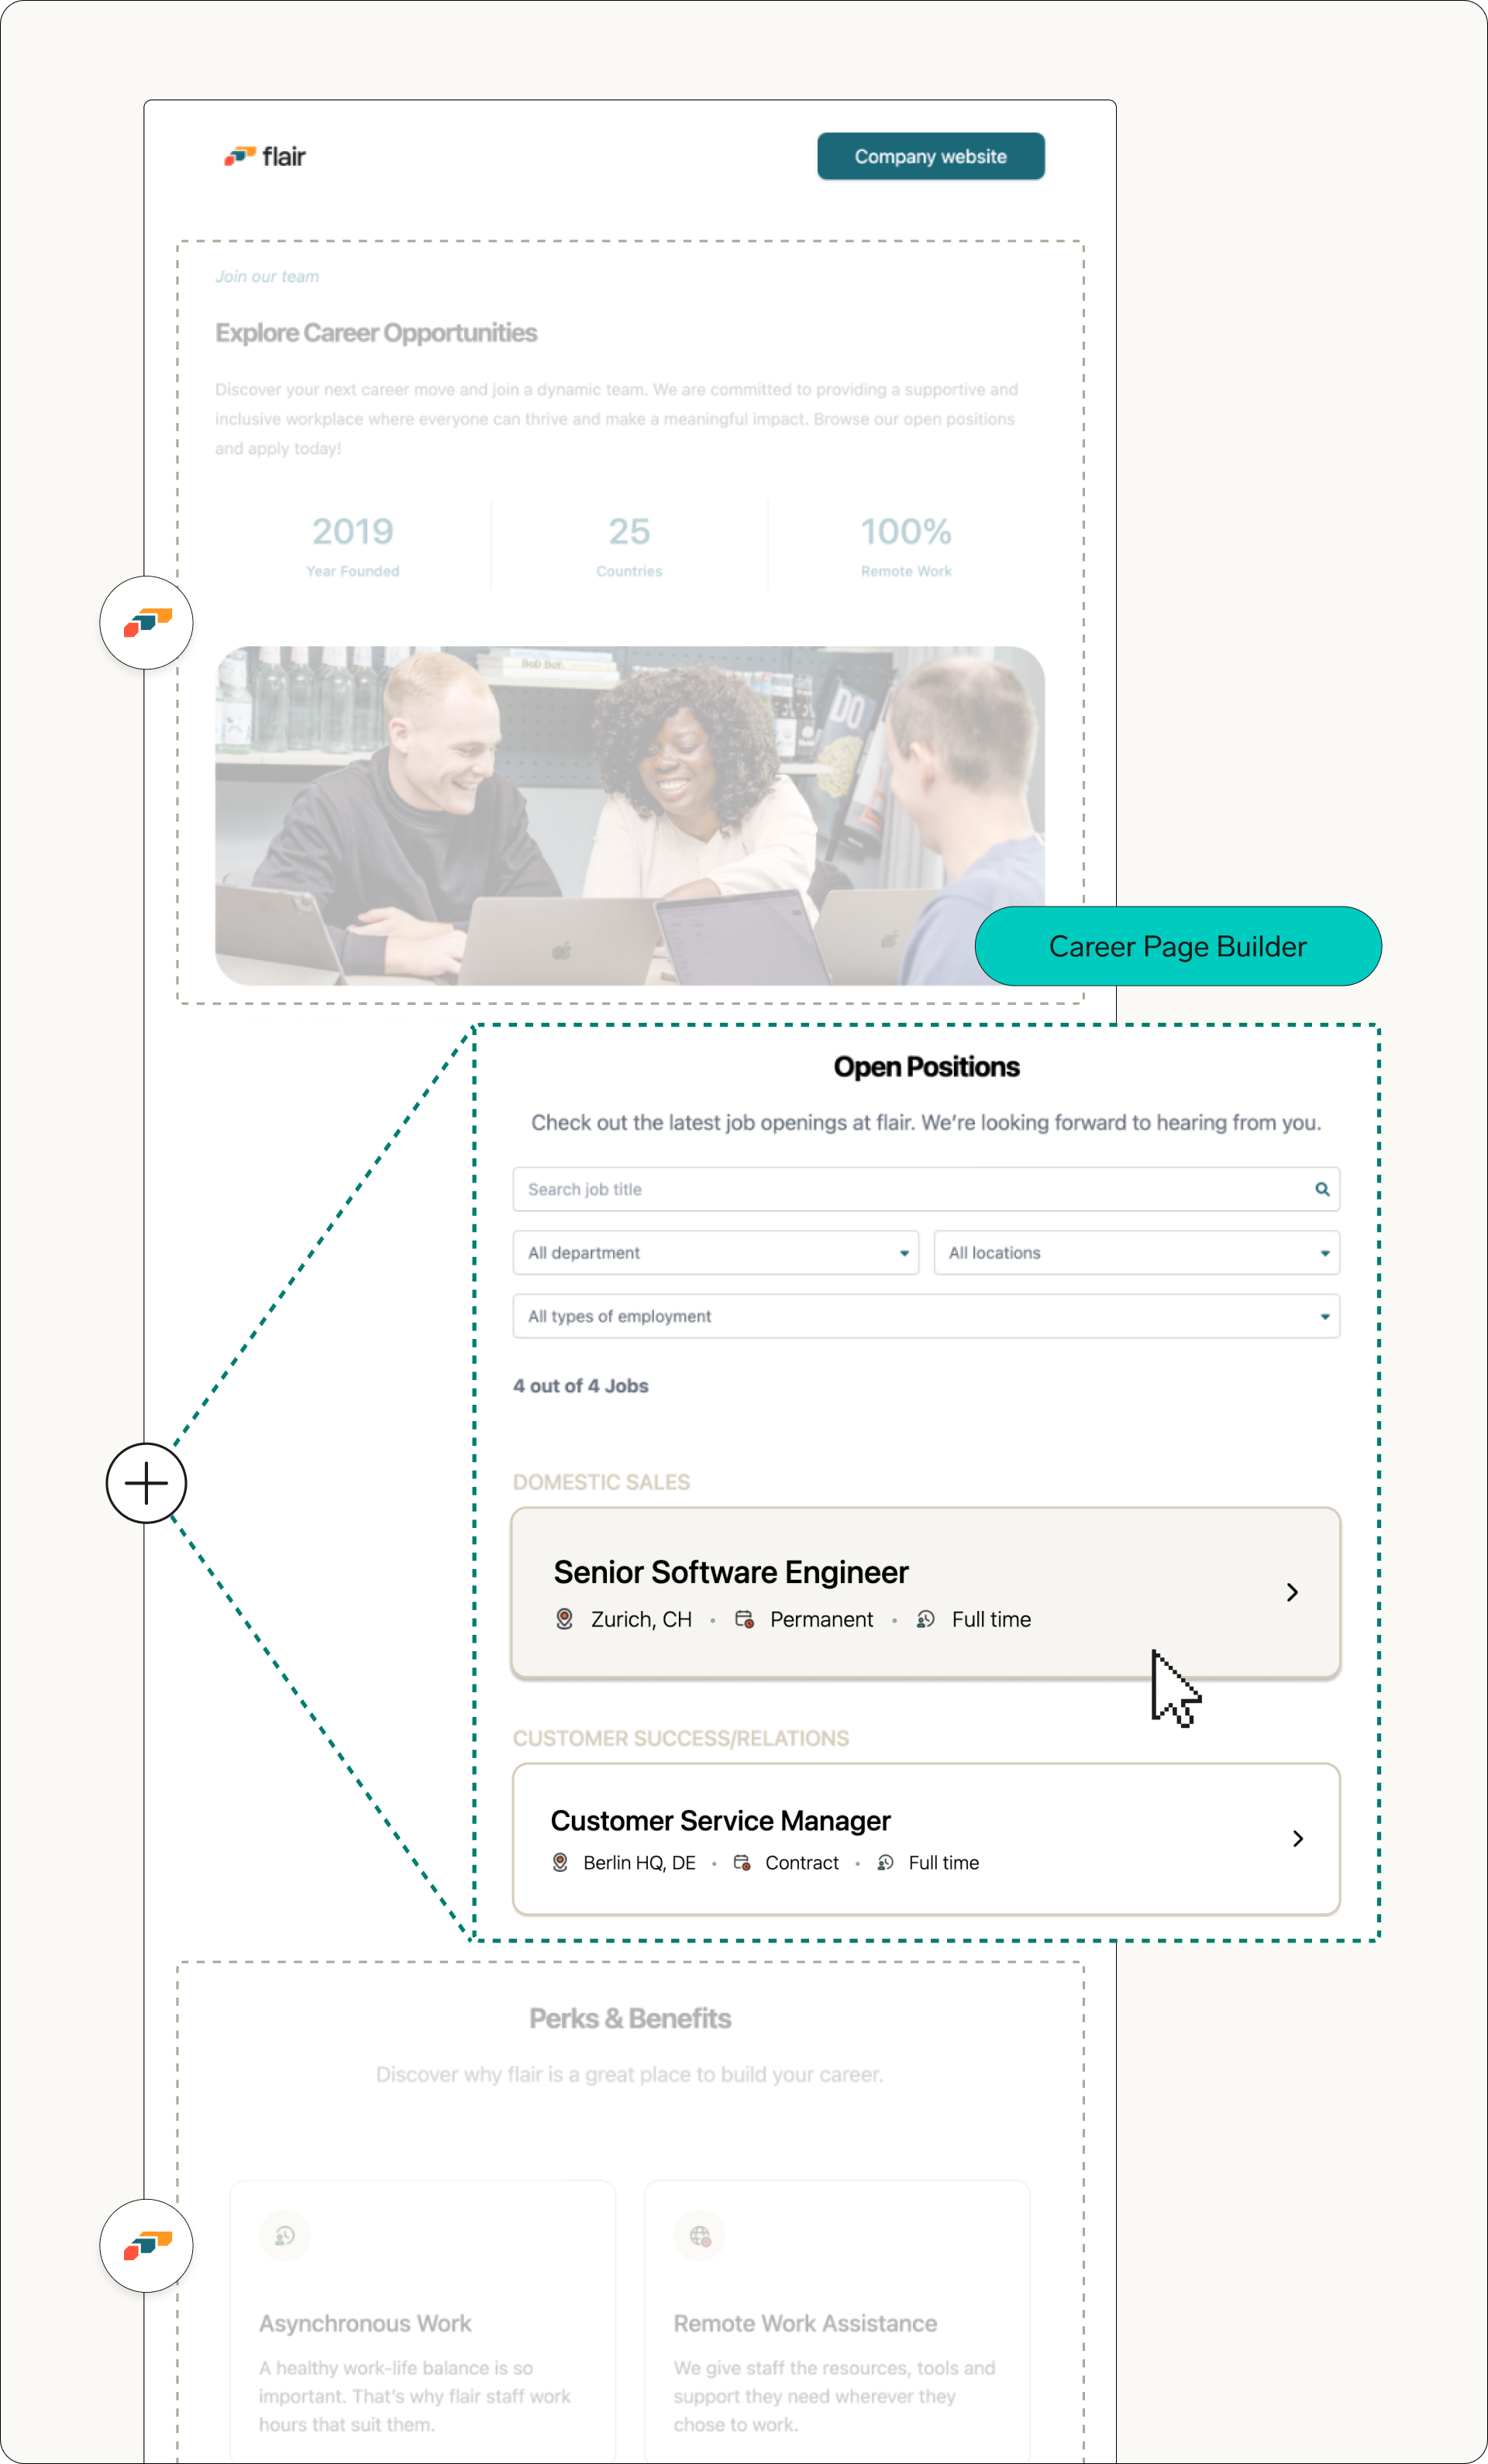
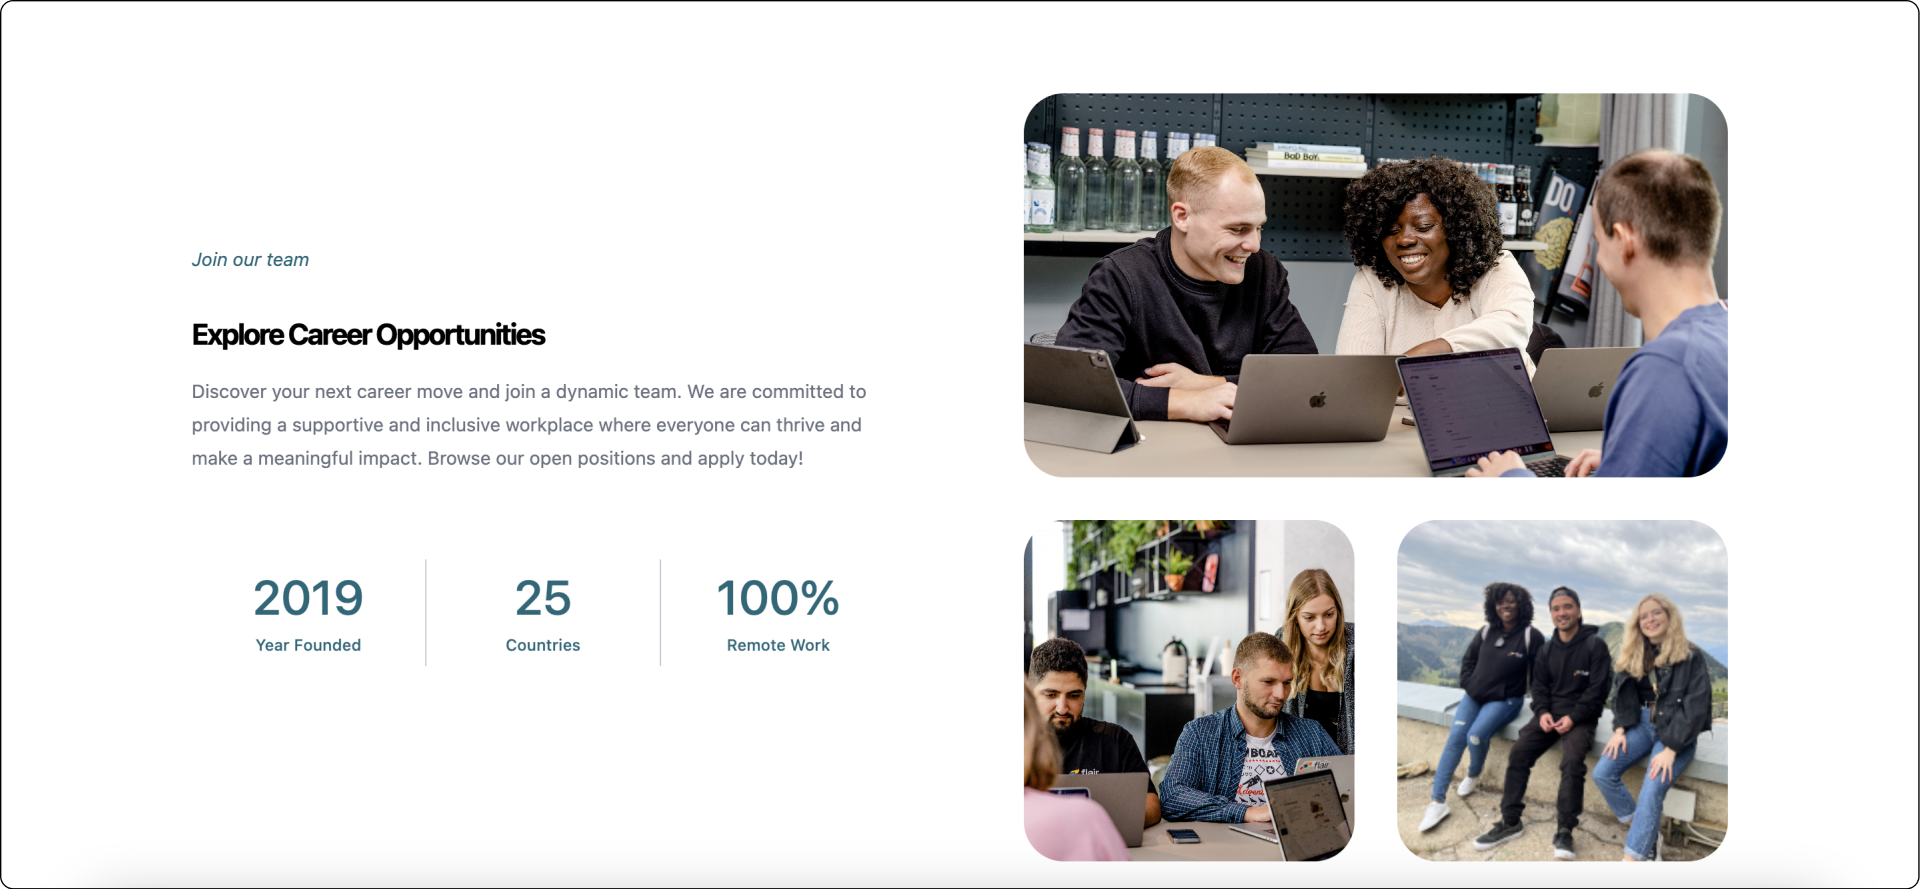
- Hero Card: This is the eye-catcher of your careers page. The card contains a title, subheading, description text, three images, and a Company Highlights section for quick facts and figures.
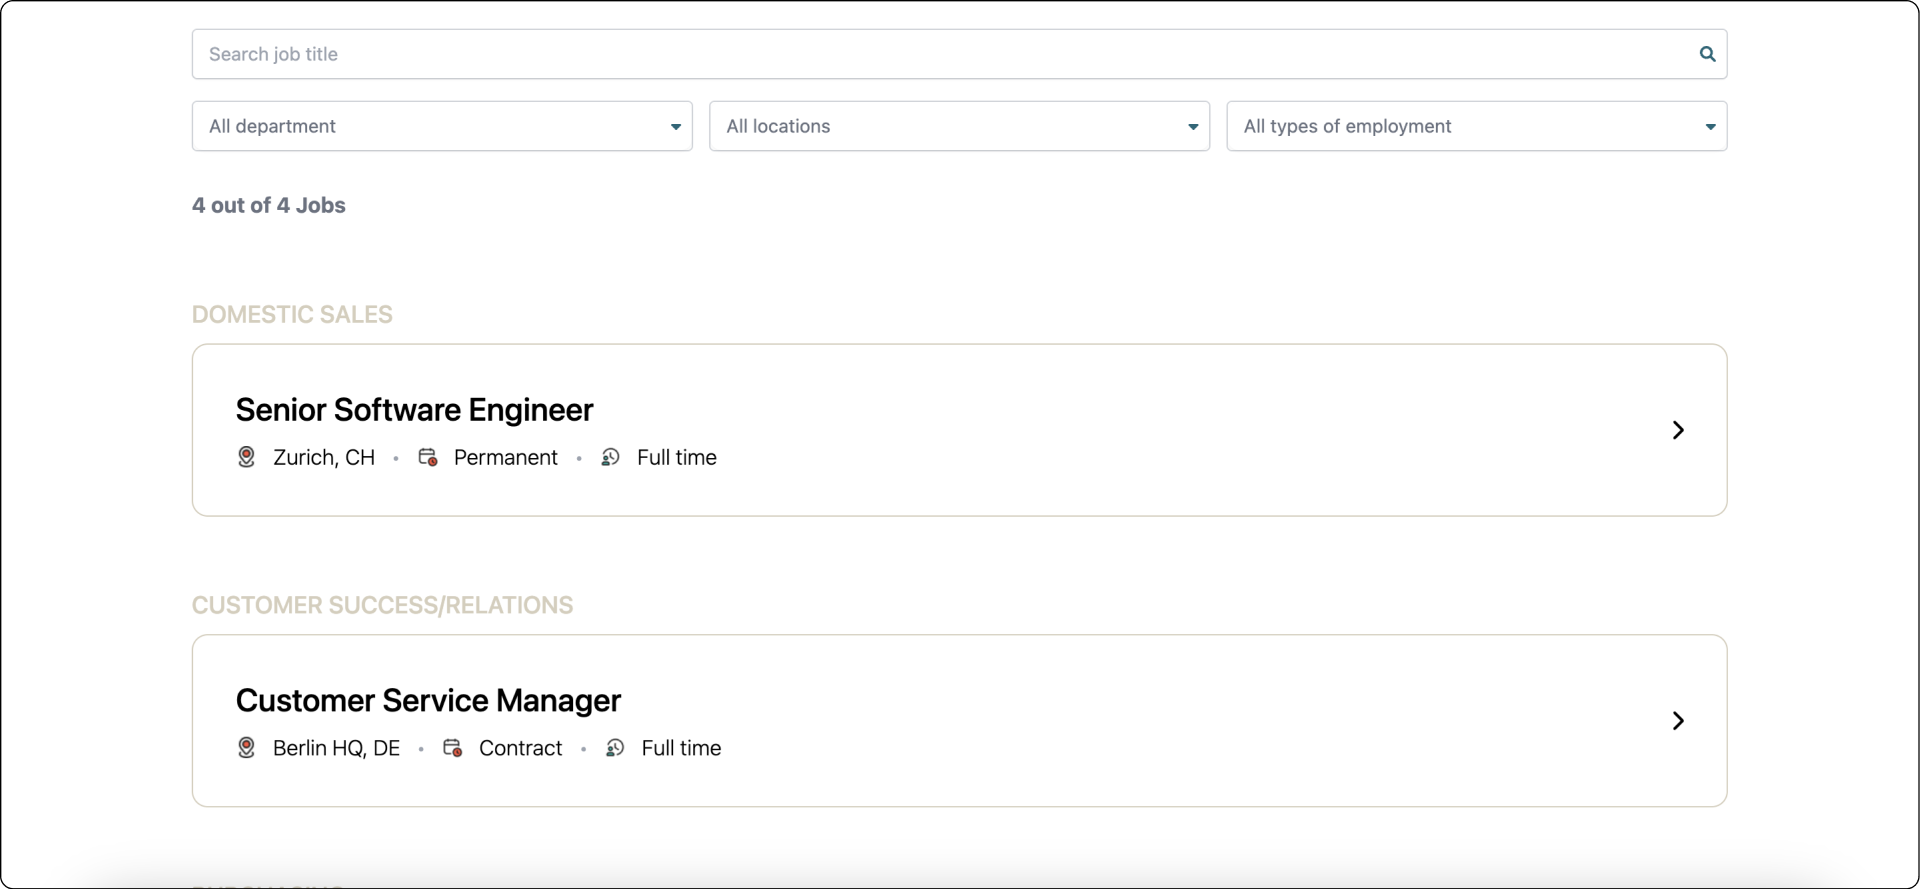
Open Positions Card: This card displays the open positions from the Jobs section of your flair Recruiting app. You can add a title and description to the card, choose to group the jobs by department or location, and decide how many positions appear per page. To select which jobs appear here, use the Segmentation tab.
You can also choose which filters appear at the top of the job listing: pick any job field (such as department, location, or employment type), give it a custom label, reorder the filters, or remove them entirely so candidates just see the search box. By default, the listing shows three fixed filters — Department, Location, and Type of Employment.
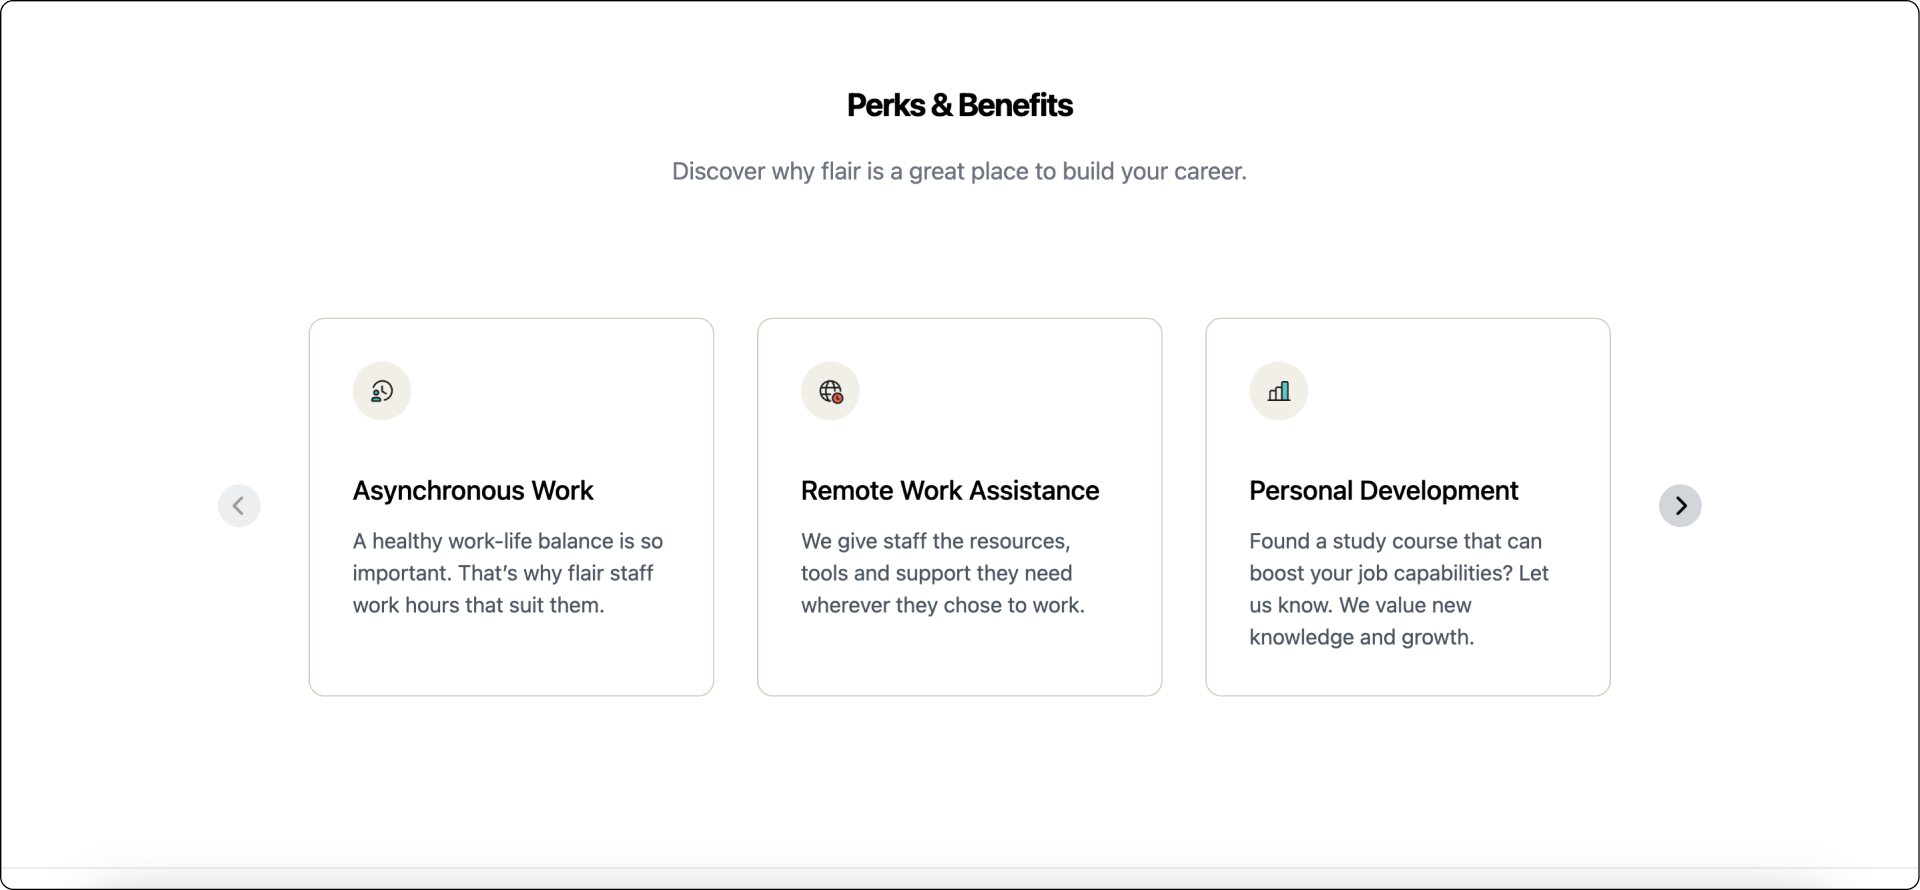
Perks & Benefits Card: Show potential applicants what they can look forward to. With this card, you add as many company benefits as you like. Choose an icon, give the perk a name, and write a short description.
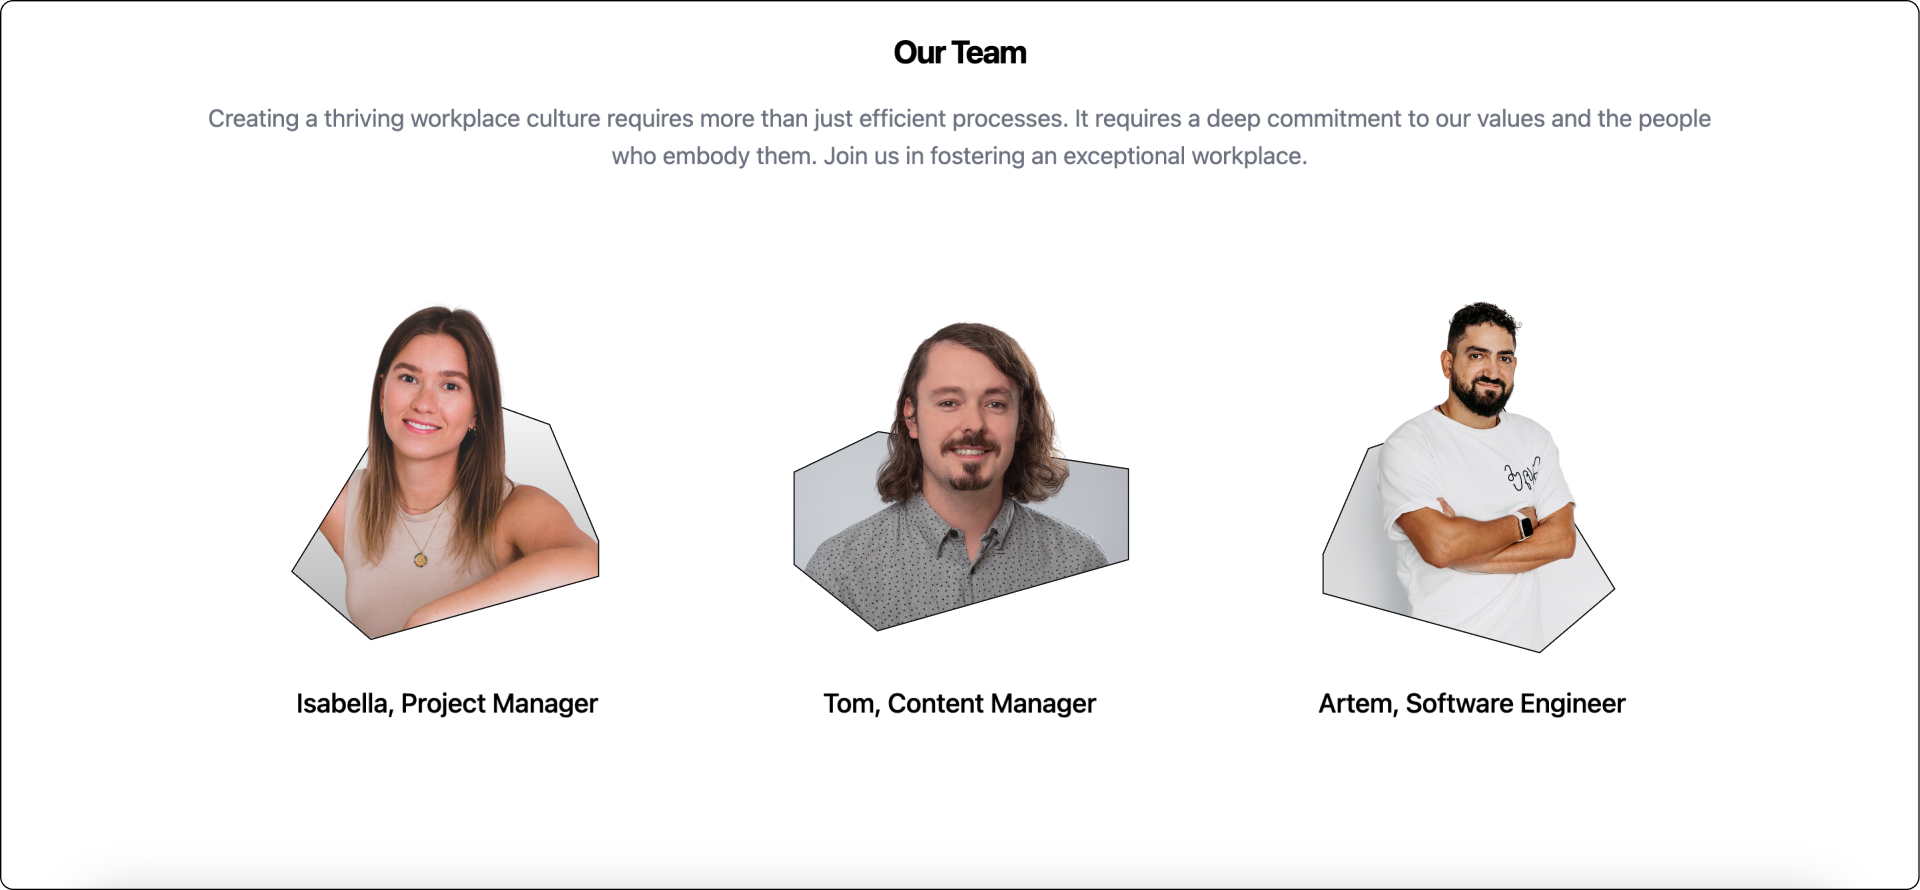
Our Team Card: Give your company a face. Using the Our Team card, you can add photos of team members with a short caption, so candidates know who their future colleagues might be.
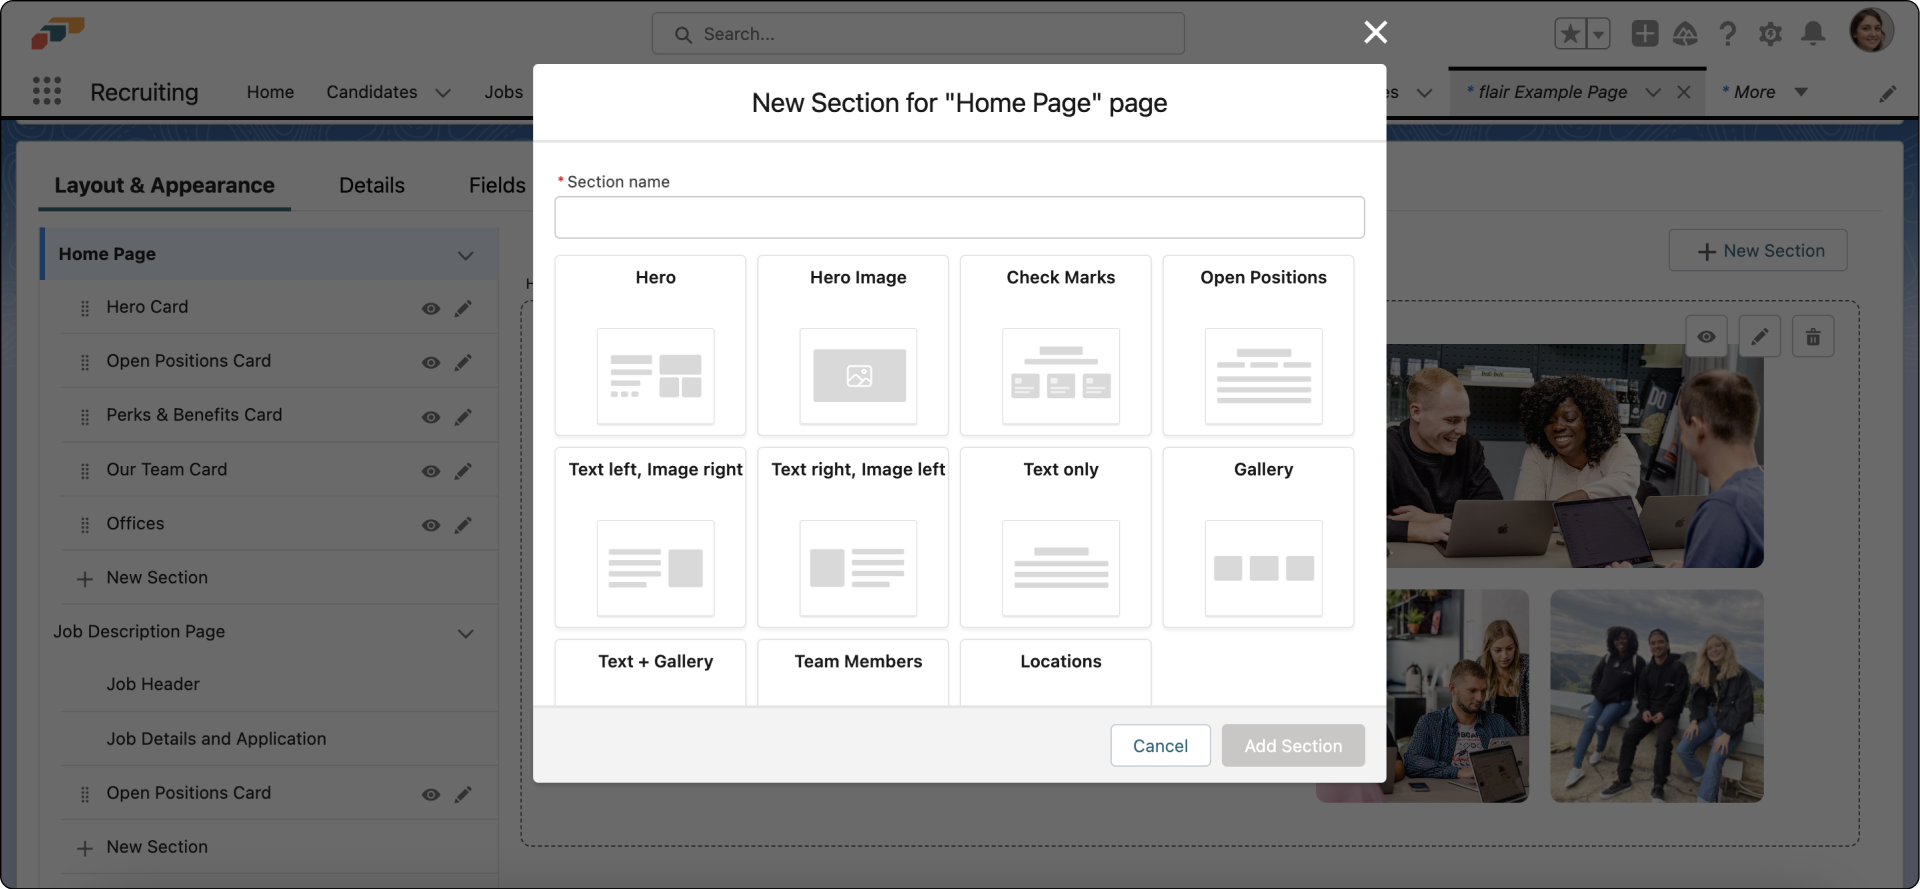
These four cards are just an example to help you get started. By clicking Add New Section, you can choose from a variety of other cards. Get creative and make your career portal your own!
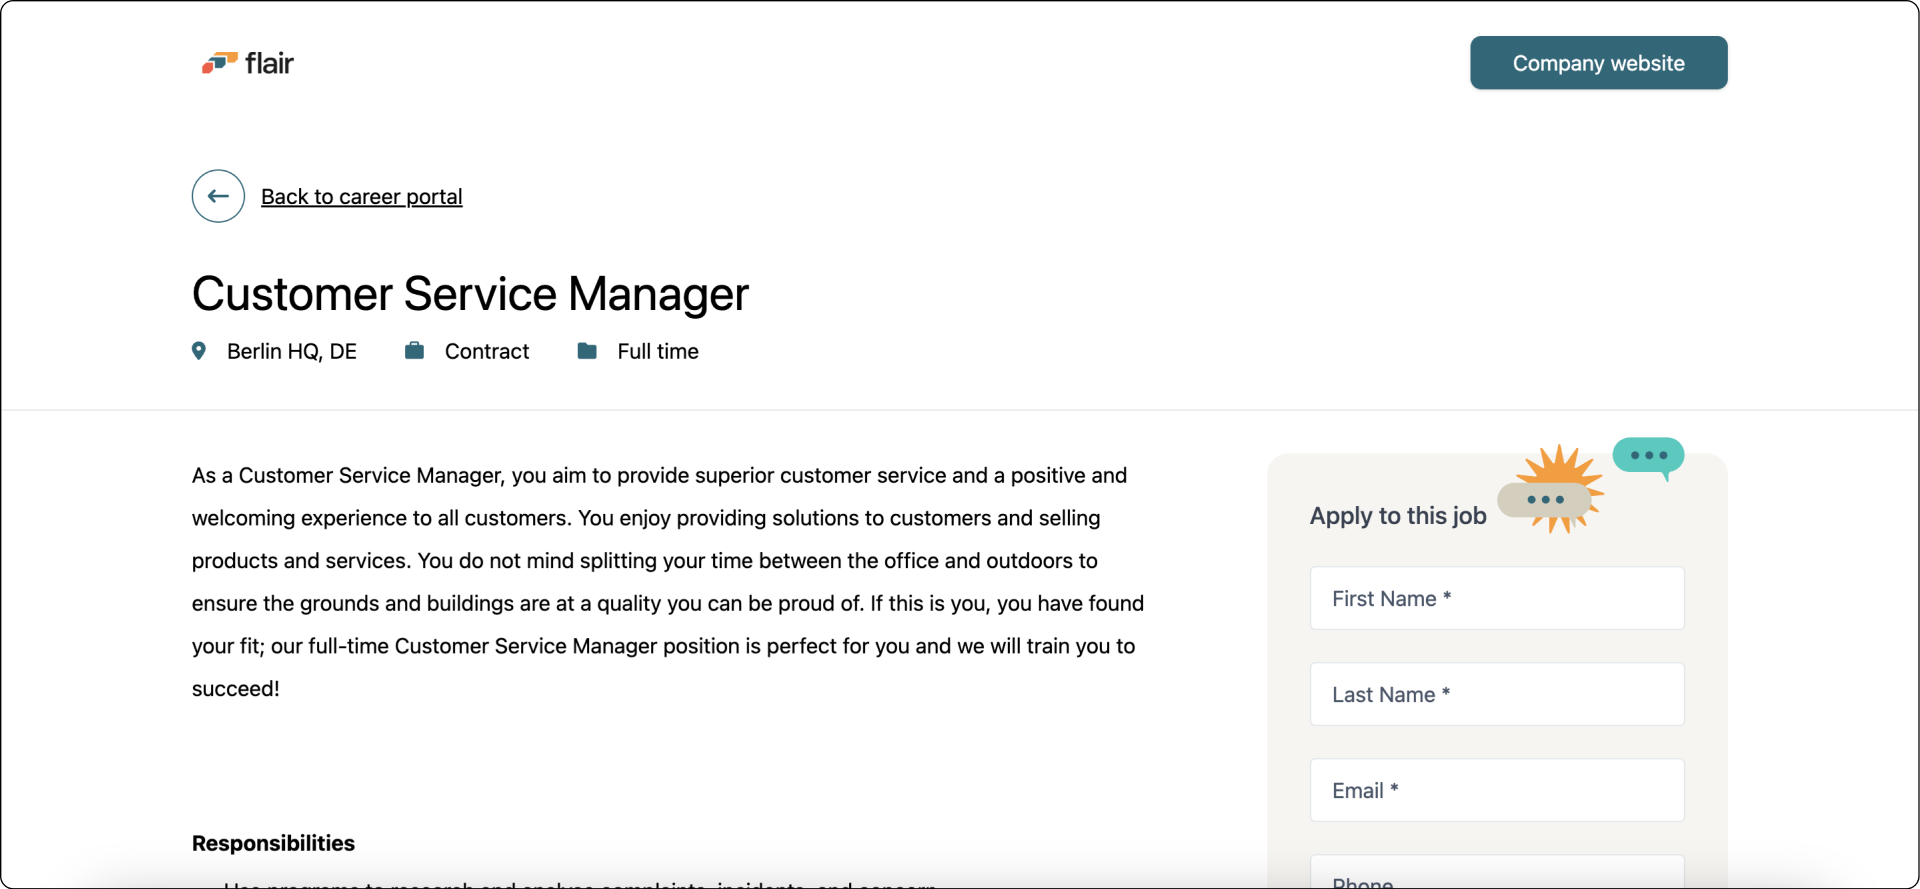
Customizing Job Description Pages
In addition to your career portal home page, you can also customize what job pages look like. From the menu on the left, click on Job Description Page to see a preview of how your open positions will look. There are two default cards: "Job Header" and "Job Details and Application". These cards are mandatory and will always appear at the top of your job description. However, you can add whichever new sections you need below.
Career Portal Details
The second tab in Career Portals Setup is called Details, and this is where can define the core features of your career page, including:
- Basic company information
- Company logo
- Brand color
- Default language
- Your About Us text
- Links to your company's website, social media, and privacy policy
- The message that applicants receive when submitted their application
Defining Fields for Your Career Portal
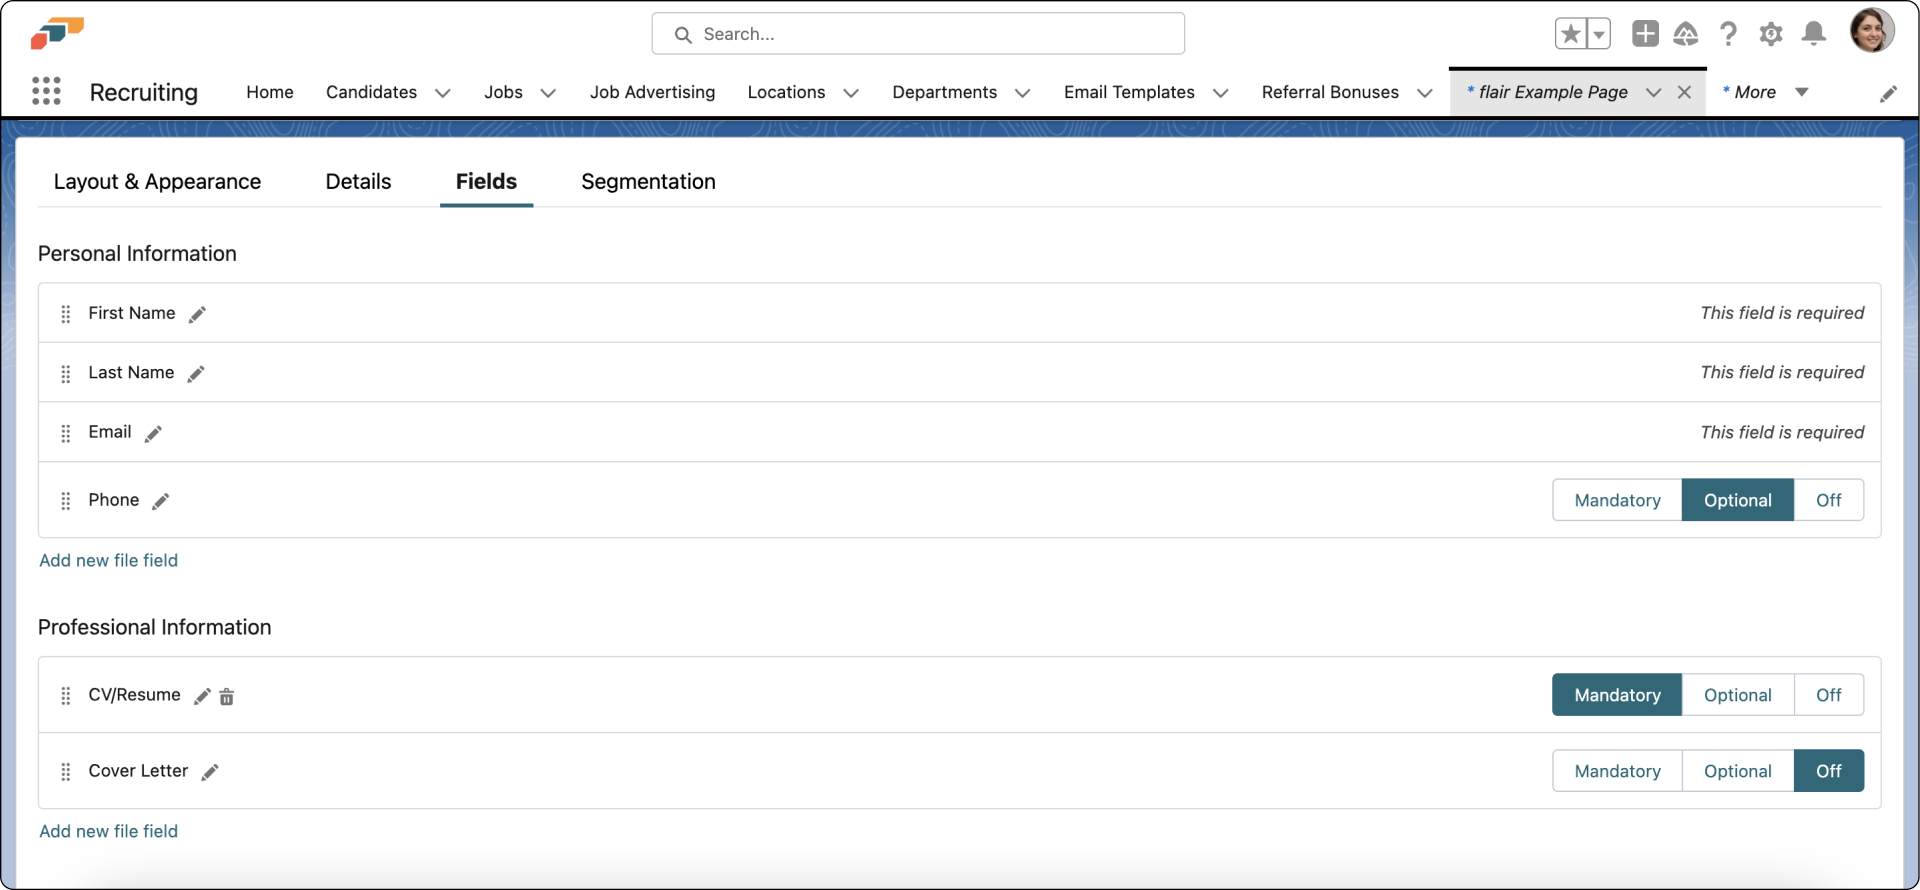
To define which information you would like your applicants to share when applying for a job, open the Fields tab in Career Portal Setup. Here you'll find the different fields you can use on your career page to collect info on your applicants. This includes cover letters, earliest start date, and salary expectations.
You can choose whether a field is mandatory or optional, and turn off any fields that you don't want to display. You can also rearrange the fields.
If you want to add a new file upload field:
- Click on Add New File Field
- Define its label
- Add a description
- Select whether you want it to be mandatory or optional
The maximum payload for uploading files is 4MB. This is a Salesforce limitation and applies to all file types. If candidates need to upload multiple files, they should ensure each file is under 4MB.
If you require candidate information that is not covered by any of these fields, you can create custom fields and picklists in Salesforce Setup. Visit our Developer Hub for a how-to guide.
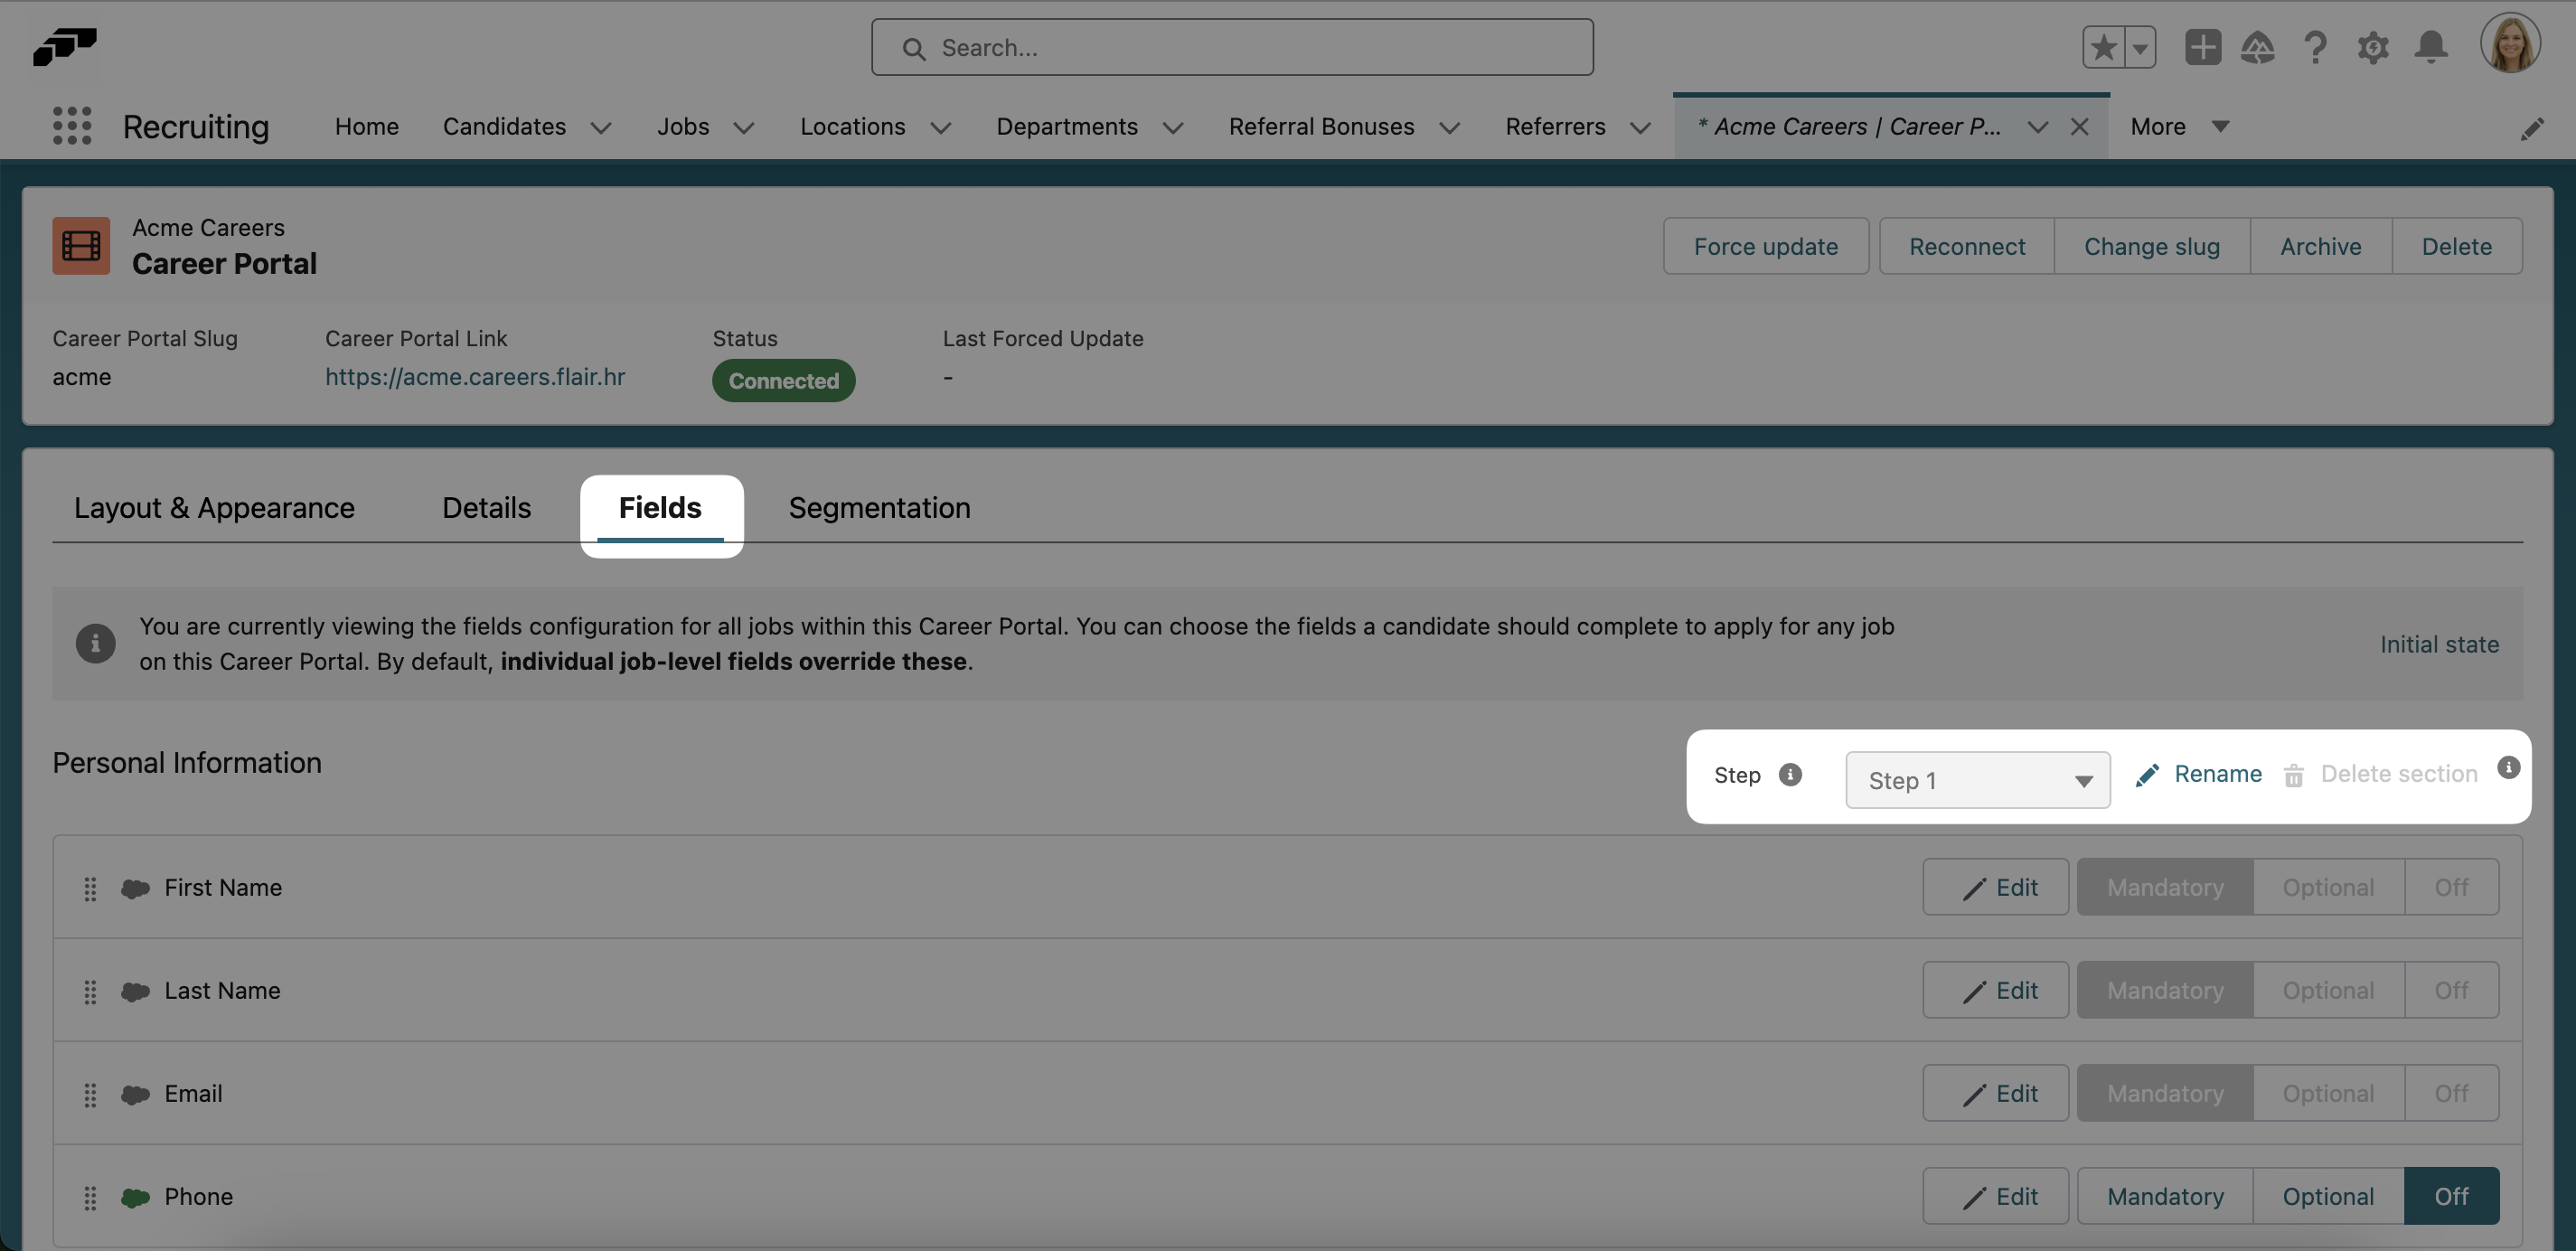
Multi-Step Application
You can configure your career portal to divide the application process into two steps. This can be useful if you require a lot of information from your candidates.
In the first step, for example, you could ask for basic, necessary information, such as name, contact details, and resume. The application will then be submitted, while the candidate is prompted to fill in additional details in a second step.
The advantage is that candidates are no longer overwhelmed by lengthy application forms. They have the chance to fill in the basics first and continue with their application at a later time. This reduces the number of candidates that drop off midway through the application, helping you to avoid missing out on any promising talent.
To add an application step to your career portal, open the Fields tab on the Career Portal Setup page.
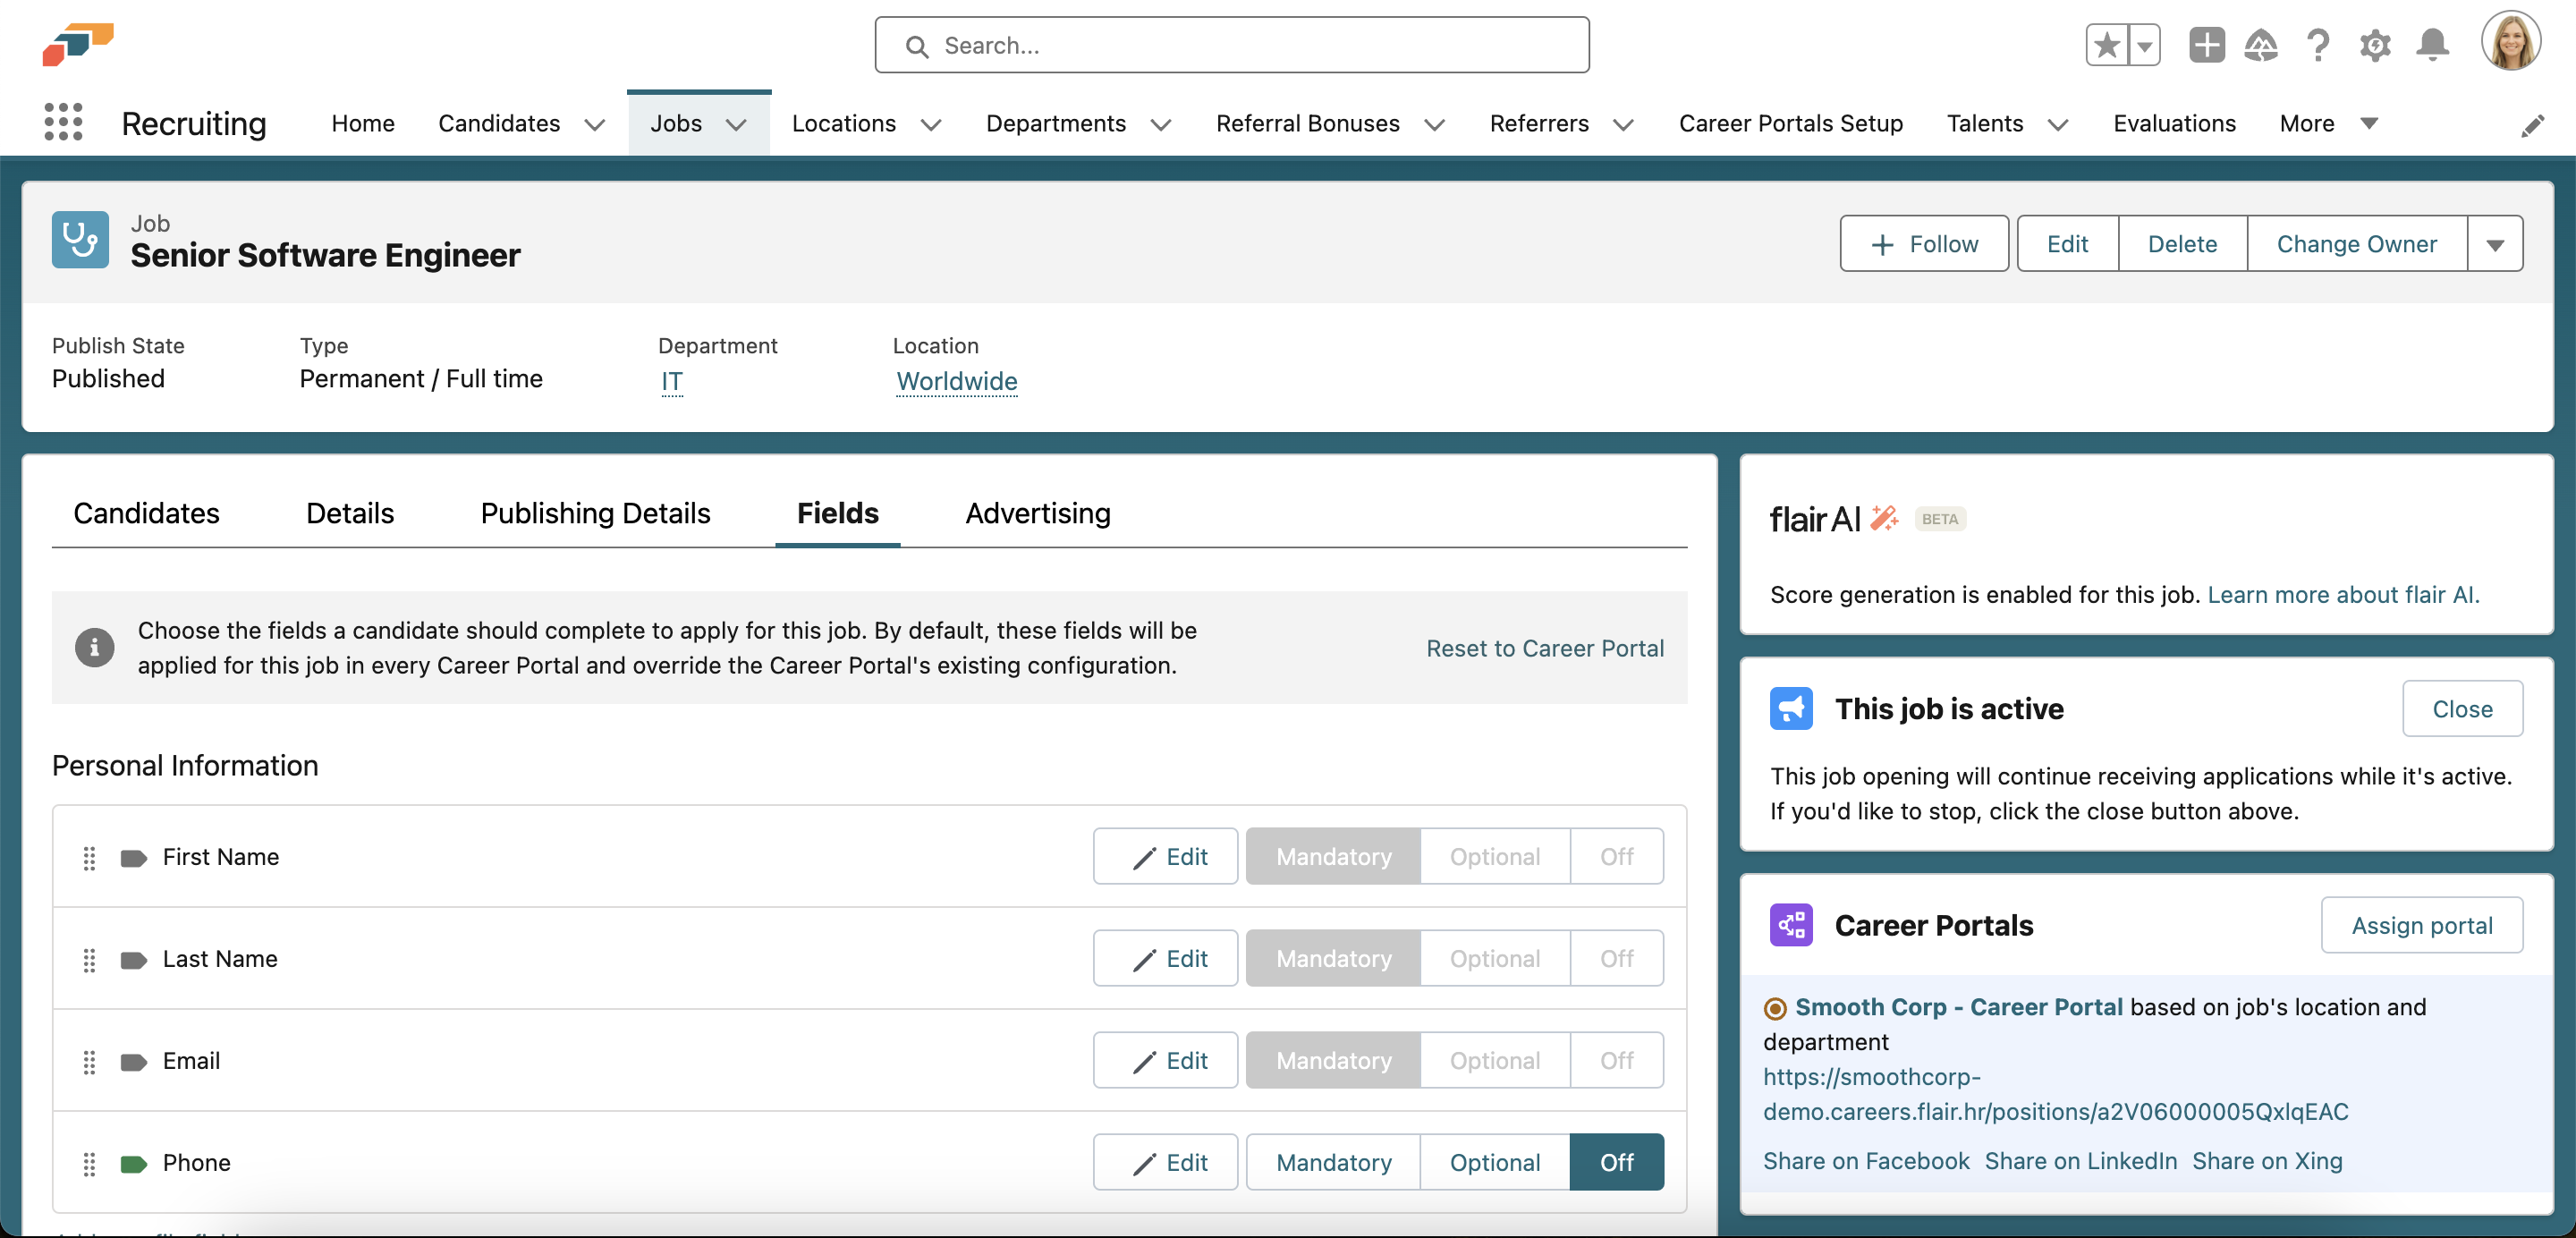
Editing Fields for a Specific Job
For some job roles, you might require a different set of information from your applicants. In this case, you can change the fields shown at the job level.
To do this, open the Jobs page in flair Recruiting and select the job you wish to edit. Then, select the Fields tab. Click the Override button and you will see the default job fields as defined in Career Portal Setup. Now you can add, remove, and edit fields for this specific job vacancy.
Please note, the changes you make here may not be visible immediately. To apply the changes, use the Force Update button in Career Portal Setup then refresh the job page.
If you wish to return the fields to the default settings, simply click Reset To Career Portal in the Fields tab of the job.
Choosing Which Jobs To Display
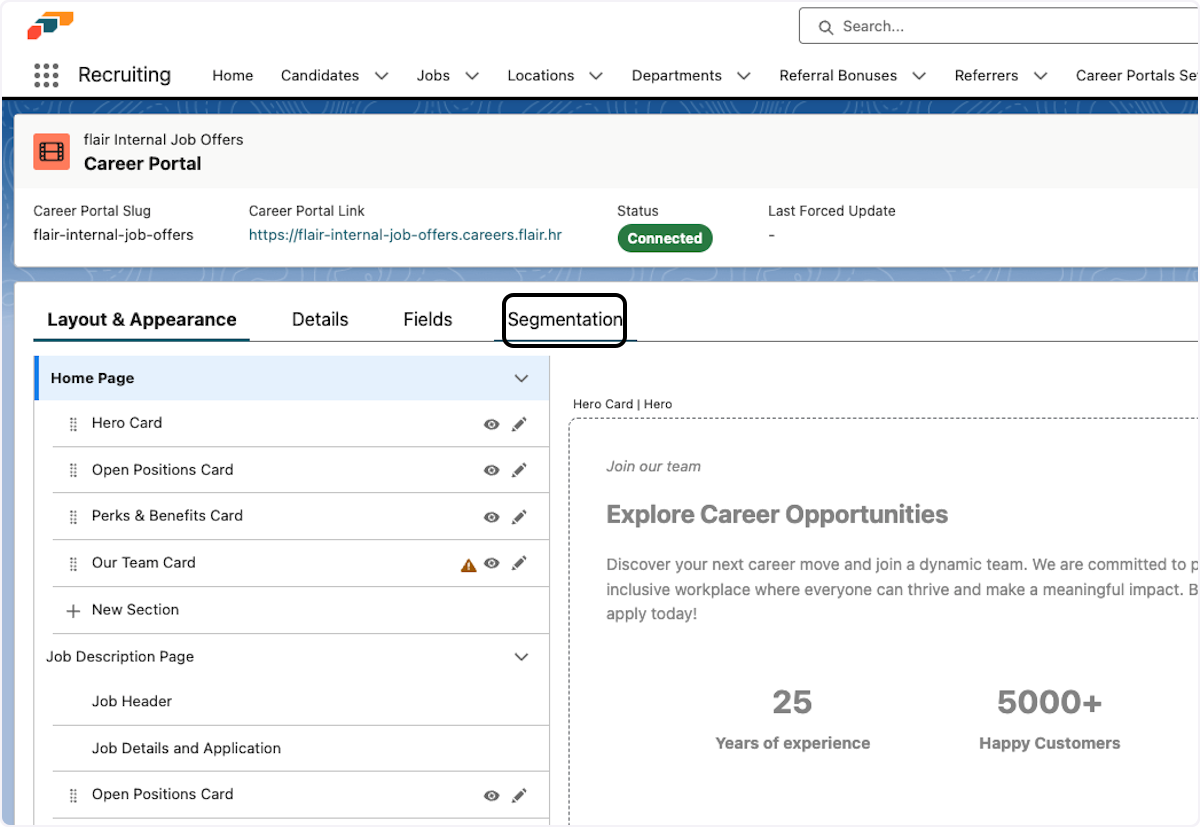
If you want to adjust which jobs appear in the Open Positions card on your career portal, open the Segmentation tab in Career Portals Setup.
Accessing the Segmentation Tab
- Click on Recruiting in Salesforce.
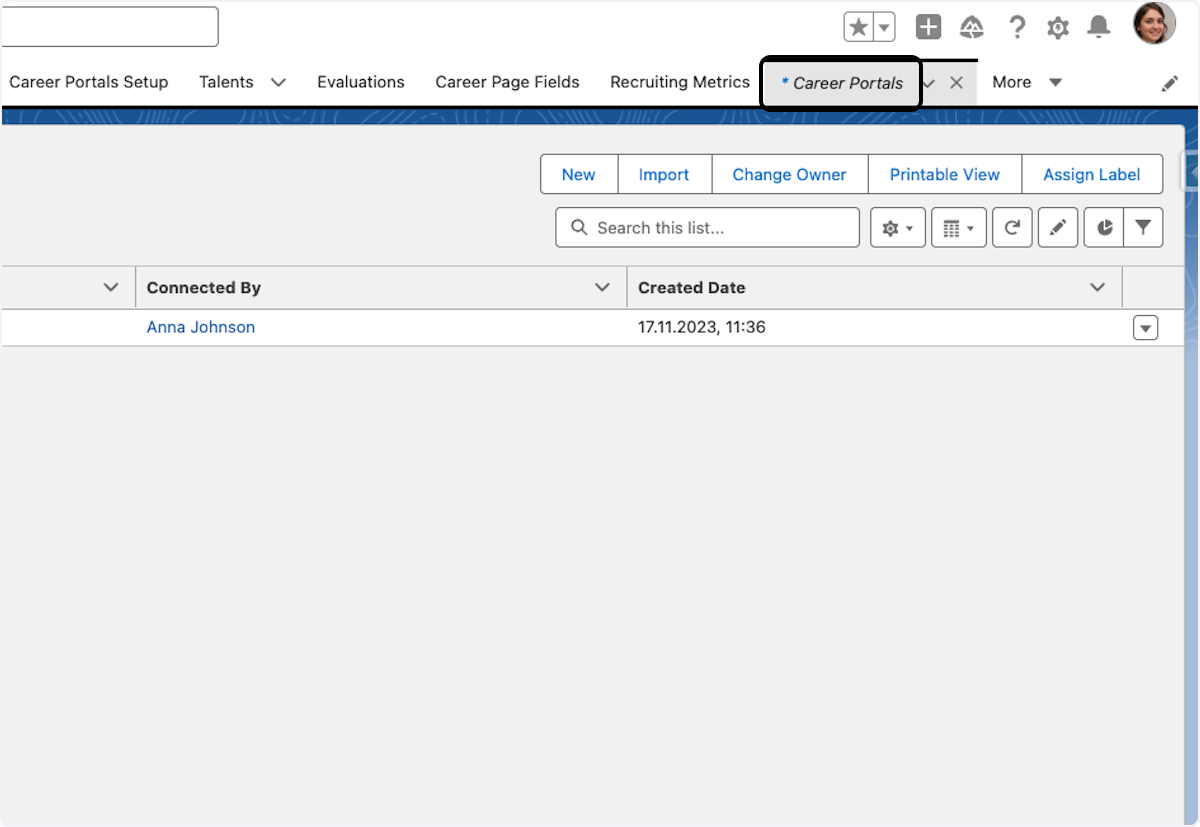
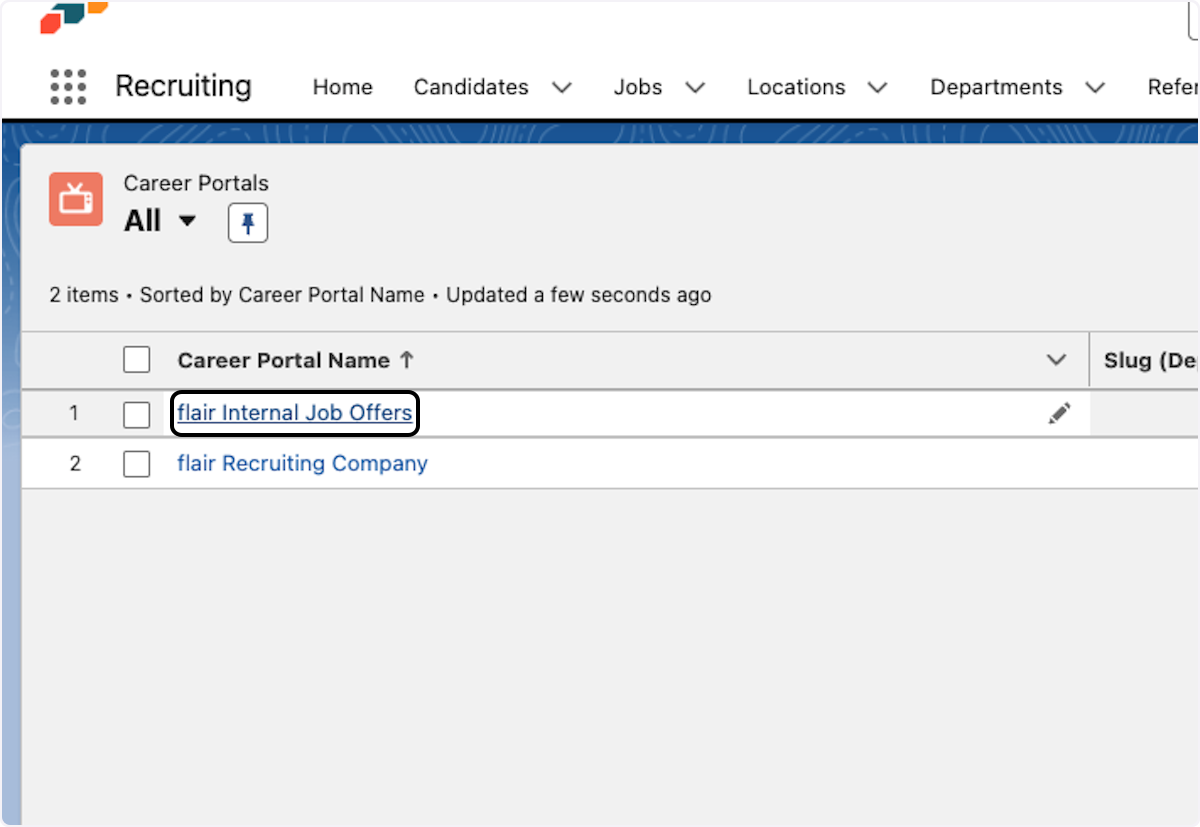
- Click on Career Portals.
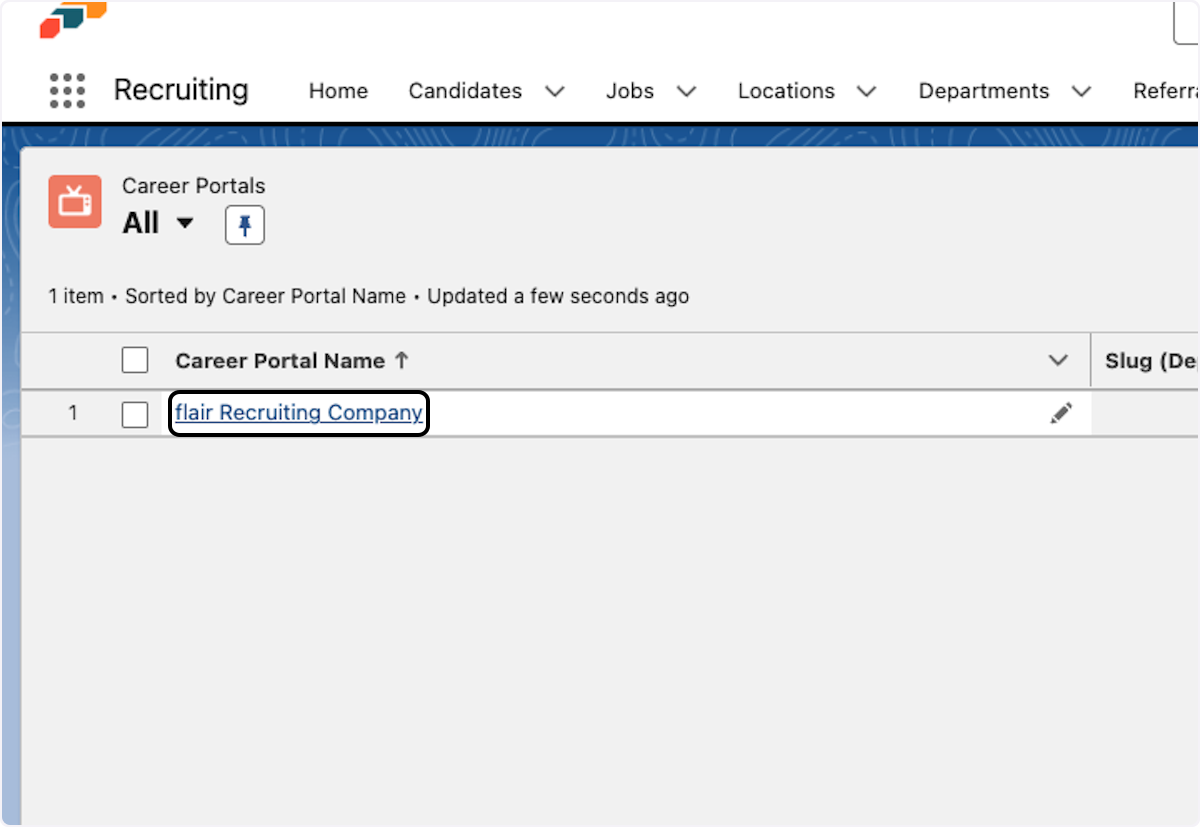
- Click on your Career Portal.
- Click on Segmentation.

Adding Segments for All Locations and Departments
To show all jobs on your career portal, you can add segments that include all locations and departments:
- Click on Add segment.
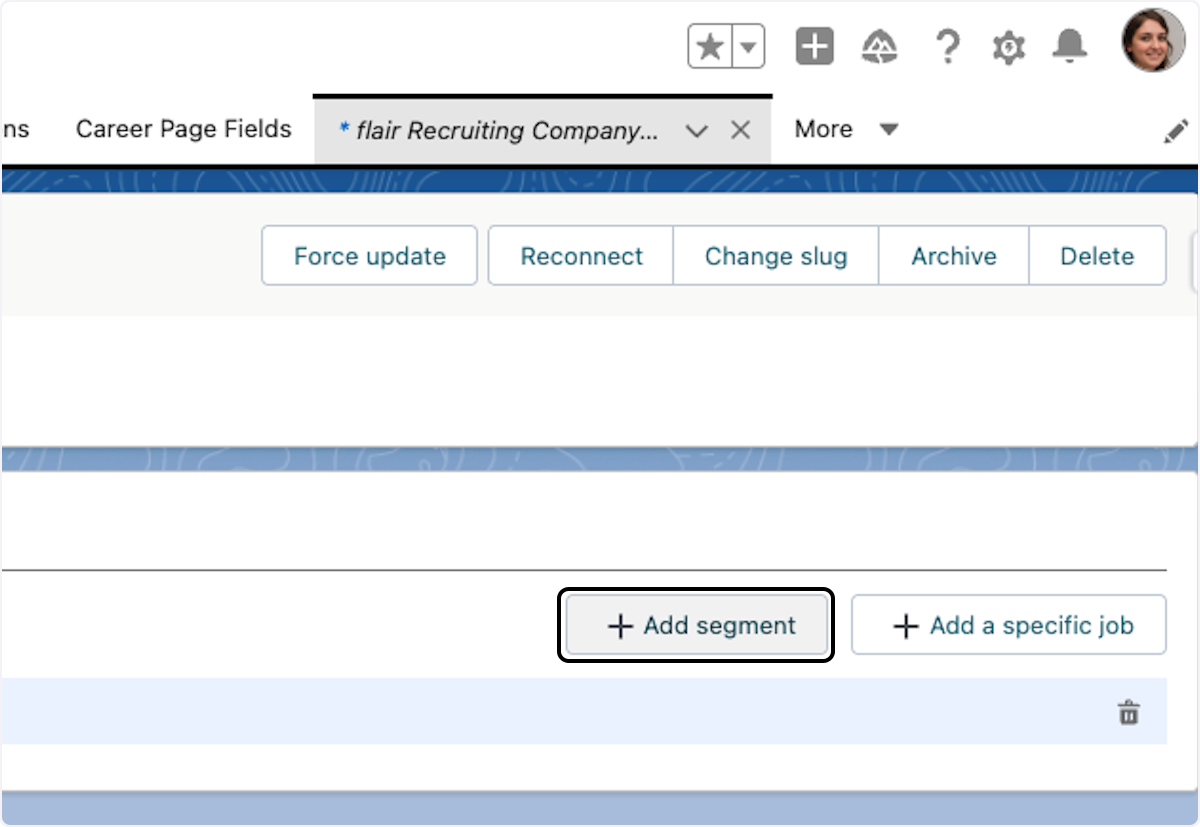
- Select All Locations and All Departments, then click Add segment.
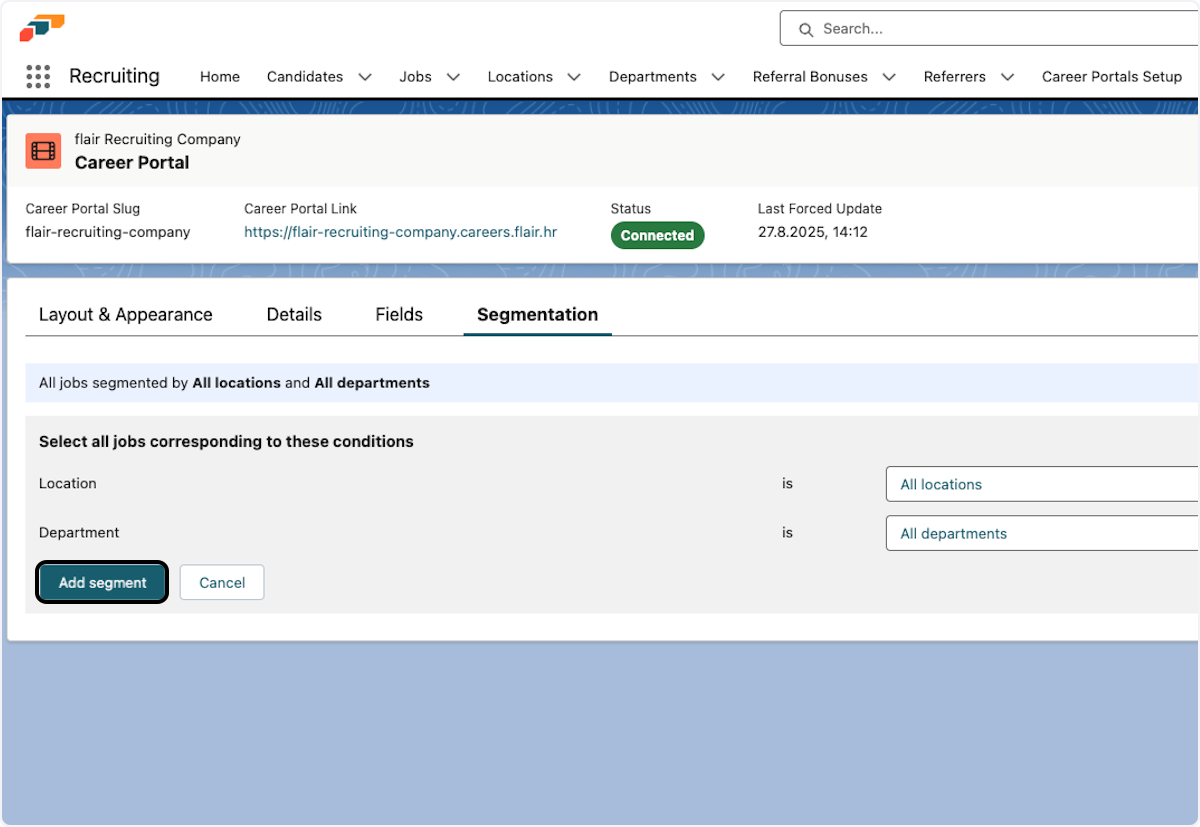
The segmentation can be expanded to include all locations and departments. As a result, all new job postings will appear in your career portal.
Adding Specific Jobs to a Career Portal
If you have more than one career portal, you can add particular jobs to just one of them (for example, internal job postings). It operates as follows:
- Click on one of your career portals.
- Click on Segmentation.
- Click on Add a specific job.
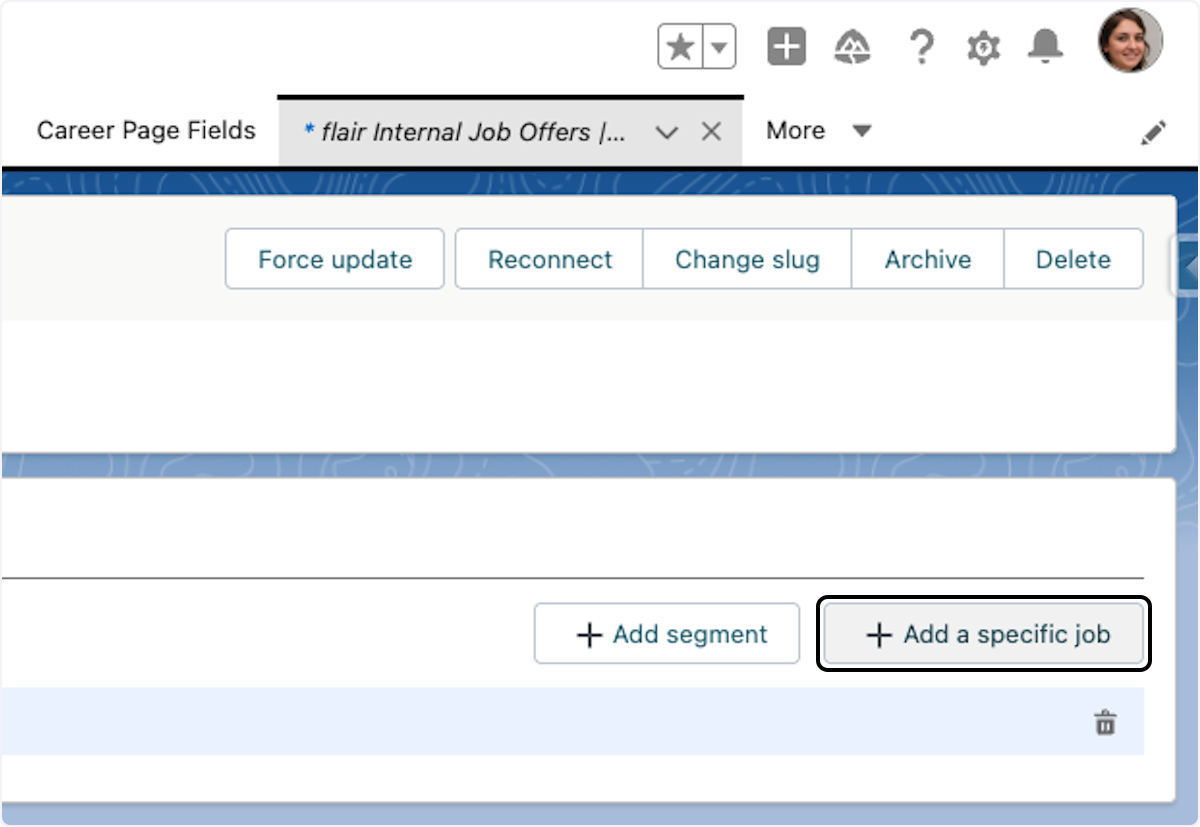
- Choose the position that you wish to post on one of your career portals.
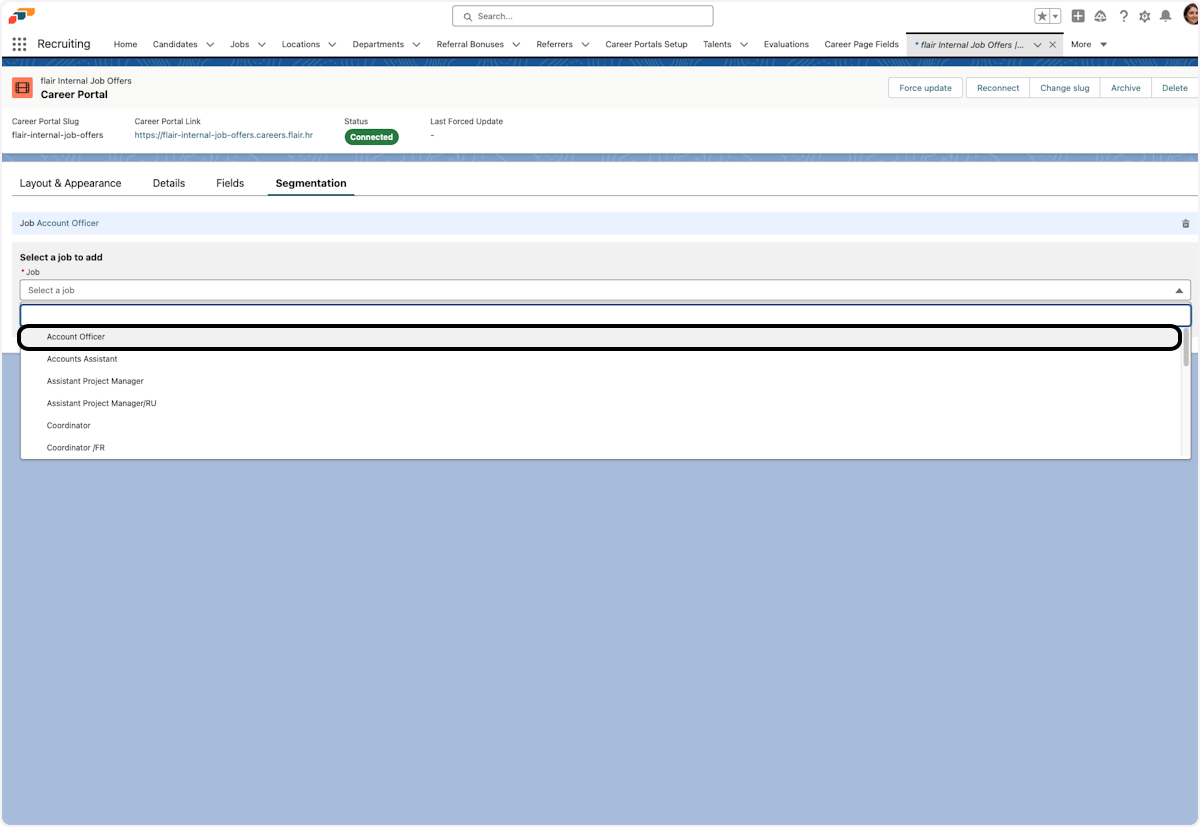
- Click on Add job.

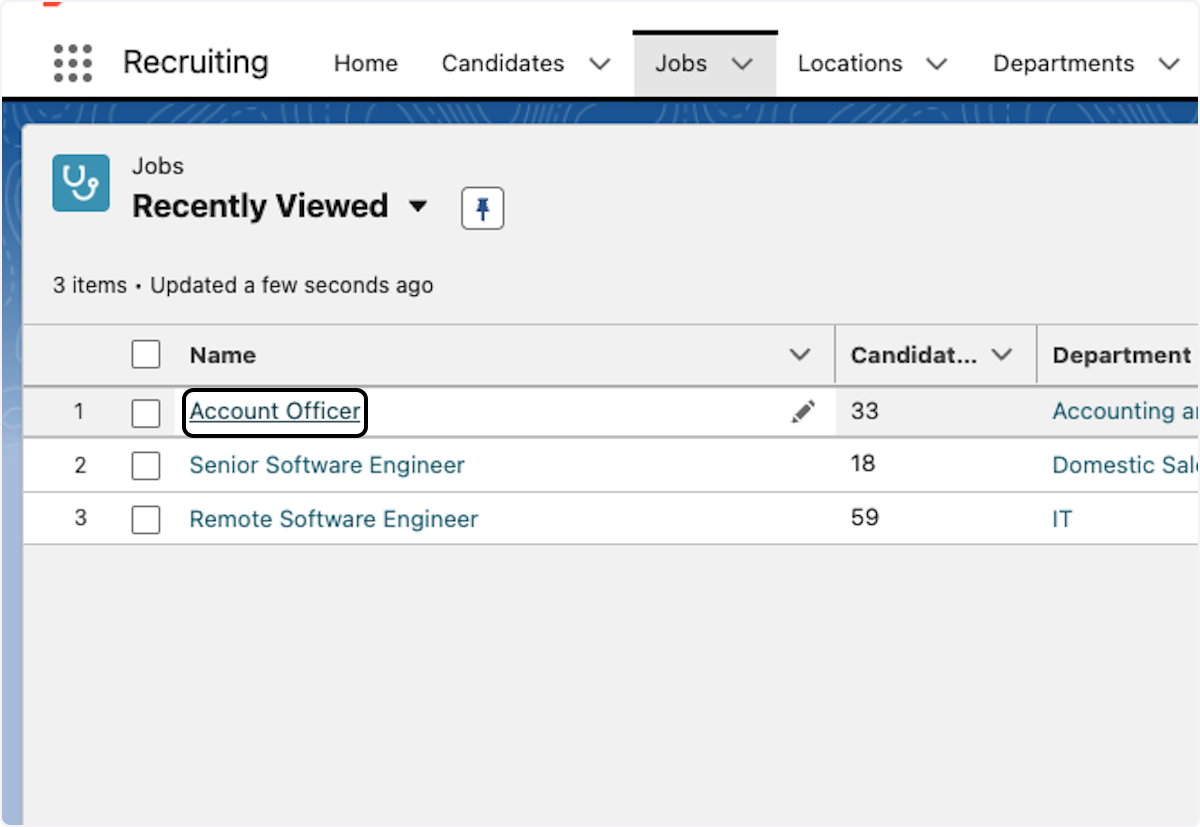
- Now go back to Jobs to verify the job was added.
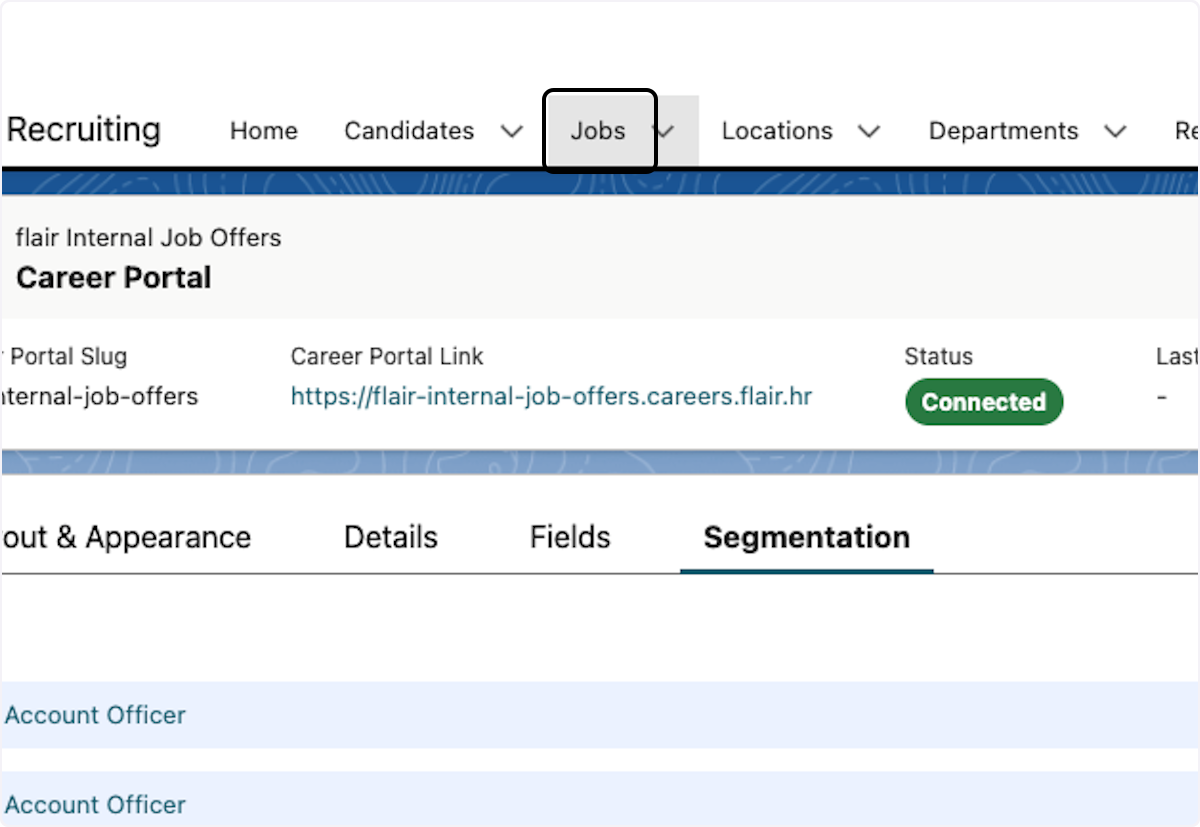
- To access the job you recently added to your career portal, click on it.
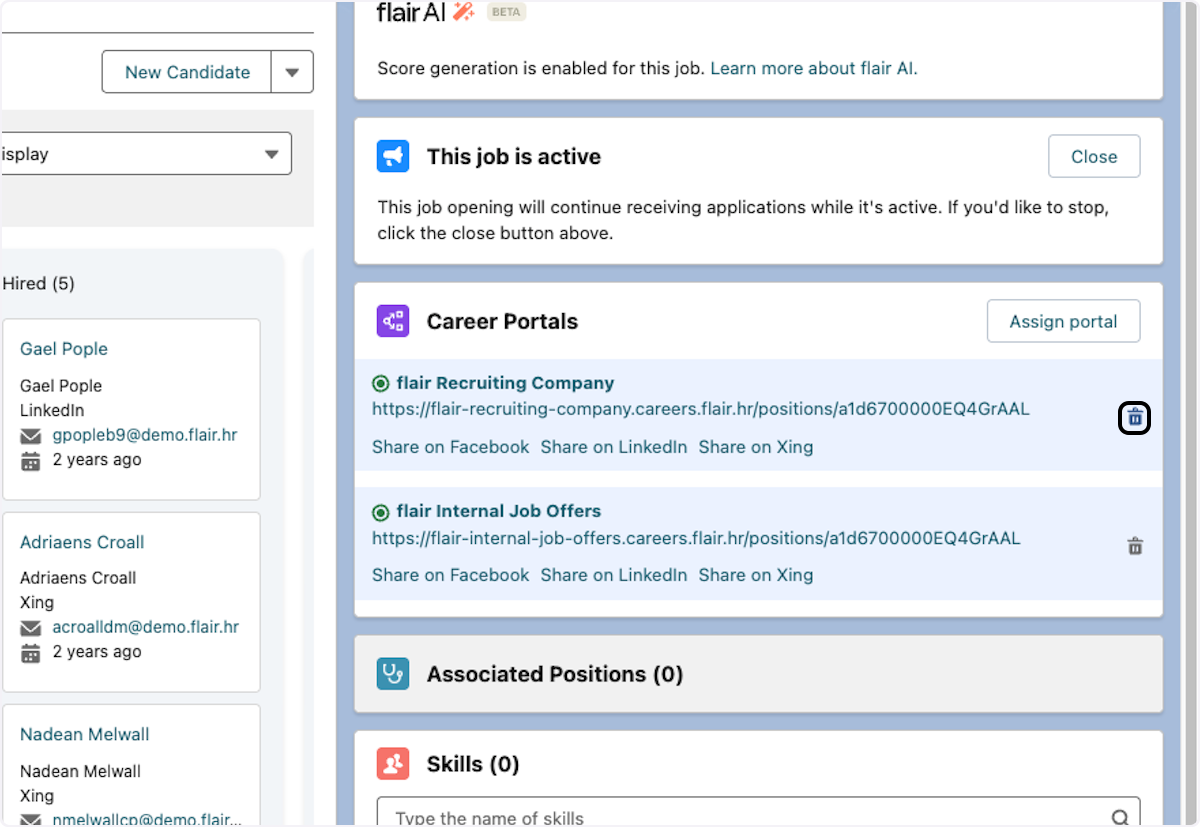
Removing Jobs from a Career Portal
It's now possible to remove jobs from a Career Portal within the Career Portal component. This is only functional if you haven't selected "All departments" and "All locations" for the Career Portal's segmentation.
How To Track Candidate Sources
Once your career page is ready to go, you're going to want to know where your candidates are coming from. By adding a simple tag to the end of the page URL, you can track application sources to see how candidates are finding your job posts. Here's how it works.
- Take the career page URL that you defined in Career Page Settings. For example: https://YOURCOMPANY.jobs.flair.hr/. If you want to track candidates for a specific job posting, then take the URL for the job posting you want to track. This will be the same URL with an ID after the final slash.
- Add ?origin= to the end of the URL.
- Now type in the name of the source where you are planning to share the link. For example, if you want to share your career page on LinkedIn, add ?origin=linkedin to the end of the URL.
Please note that the name of your source is case-sensitive. To ensure your tracking is reliable, be consistent with spelling, spacing, and case.


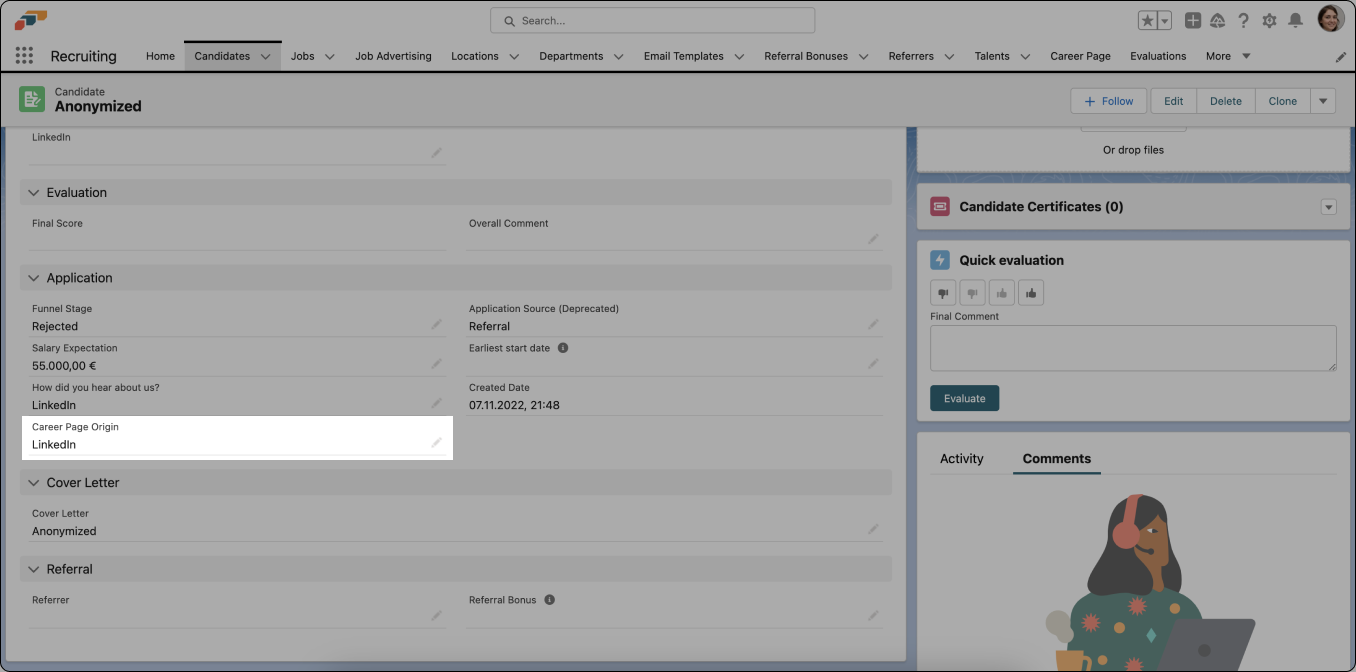
- Now when someone applies for a job using this link, you will be able to track the application's origin. Open the flair Recruiting app on Salesforce and search Career Portal Applications in the App Launcher. When you click on a candidate, you will see a field called Career Page Origin that lets you know where the candidate applied from.
- You can use this field to create reports, helping you better monitor which of your recruitment channels are yielding the most applicants.
Link an Existing Career Page or Job Ad to flair
If you have used a solution or platform other than flair to publish and advertise a job listing, candidates will not automatically be added to the flair Recruiting app. Fortunately, if you follow these simple steps, you won't have to enter these candidates into Salesforce manually.
To connect a job ad to flair:
- Set up a flair career portal - Make sure you have already set up a flair career portal
- Create the job - Go to the Jobs section of the flair Recruiting app and create the job
- Check Career Portals box - Provided that your job listing matches the location and departments defined in the Segmentation options for your career portal, you will see a Career Portals box on the job's page in Salesforce
- Copy the career portal link - Copy the career portal link from this box
- Paste into external job advertisement - Paste it into your external job advertisement. For example, you might want to make this URL the destination of the "Apply Now" button on your career page
Now, when someone clicks the link in your job advertisement, they will be redirected to a flair job application form. Once they submit this form, their details will be saved in the Candidates section of the Recruiting app.

Integrating Your Career Portal with an iFrame
You can use an iFrame to embed your flair career portal onto your website. This allows you to display your career portal directly within your company website, providing a seamless experience for job seekers.
Steps to Embed Your Career Portal
-
Open your career portal home page and copy the URL (e.g.,
https://companyname.careers.flair.hr) -
Add the embed parameter to hide the page header and footer:
- Add
/?embed=trueto the end of the URL - Example:
https://companyname.careers.flair.hr/?embed=true
- Add
-
Copy the URL with the embed parameter
-
Use the iFrame code below, replacing the example URL with your own:
<iframe src="https://companyname.careers.flair.hr/?embed=true" style="width:100%; height:40rem" title="Embed career portal"></iframe>
This is the minimum code required to embed your career portal. You can customize the width and height styles to match your website's design requirements.