Email Templates
flair email templates allow you to generate and schedule standardized email content for various HR-related purposes, such as recruiting. This guide covers how to create, customize, and send email templates, as well as how to use merge fields for personalized communication.
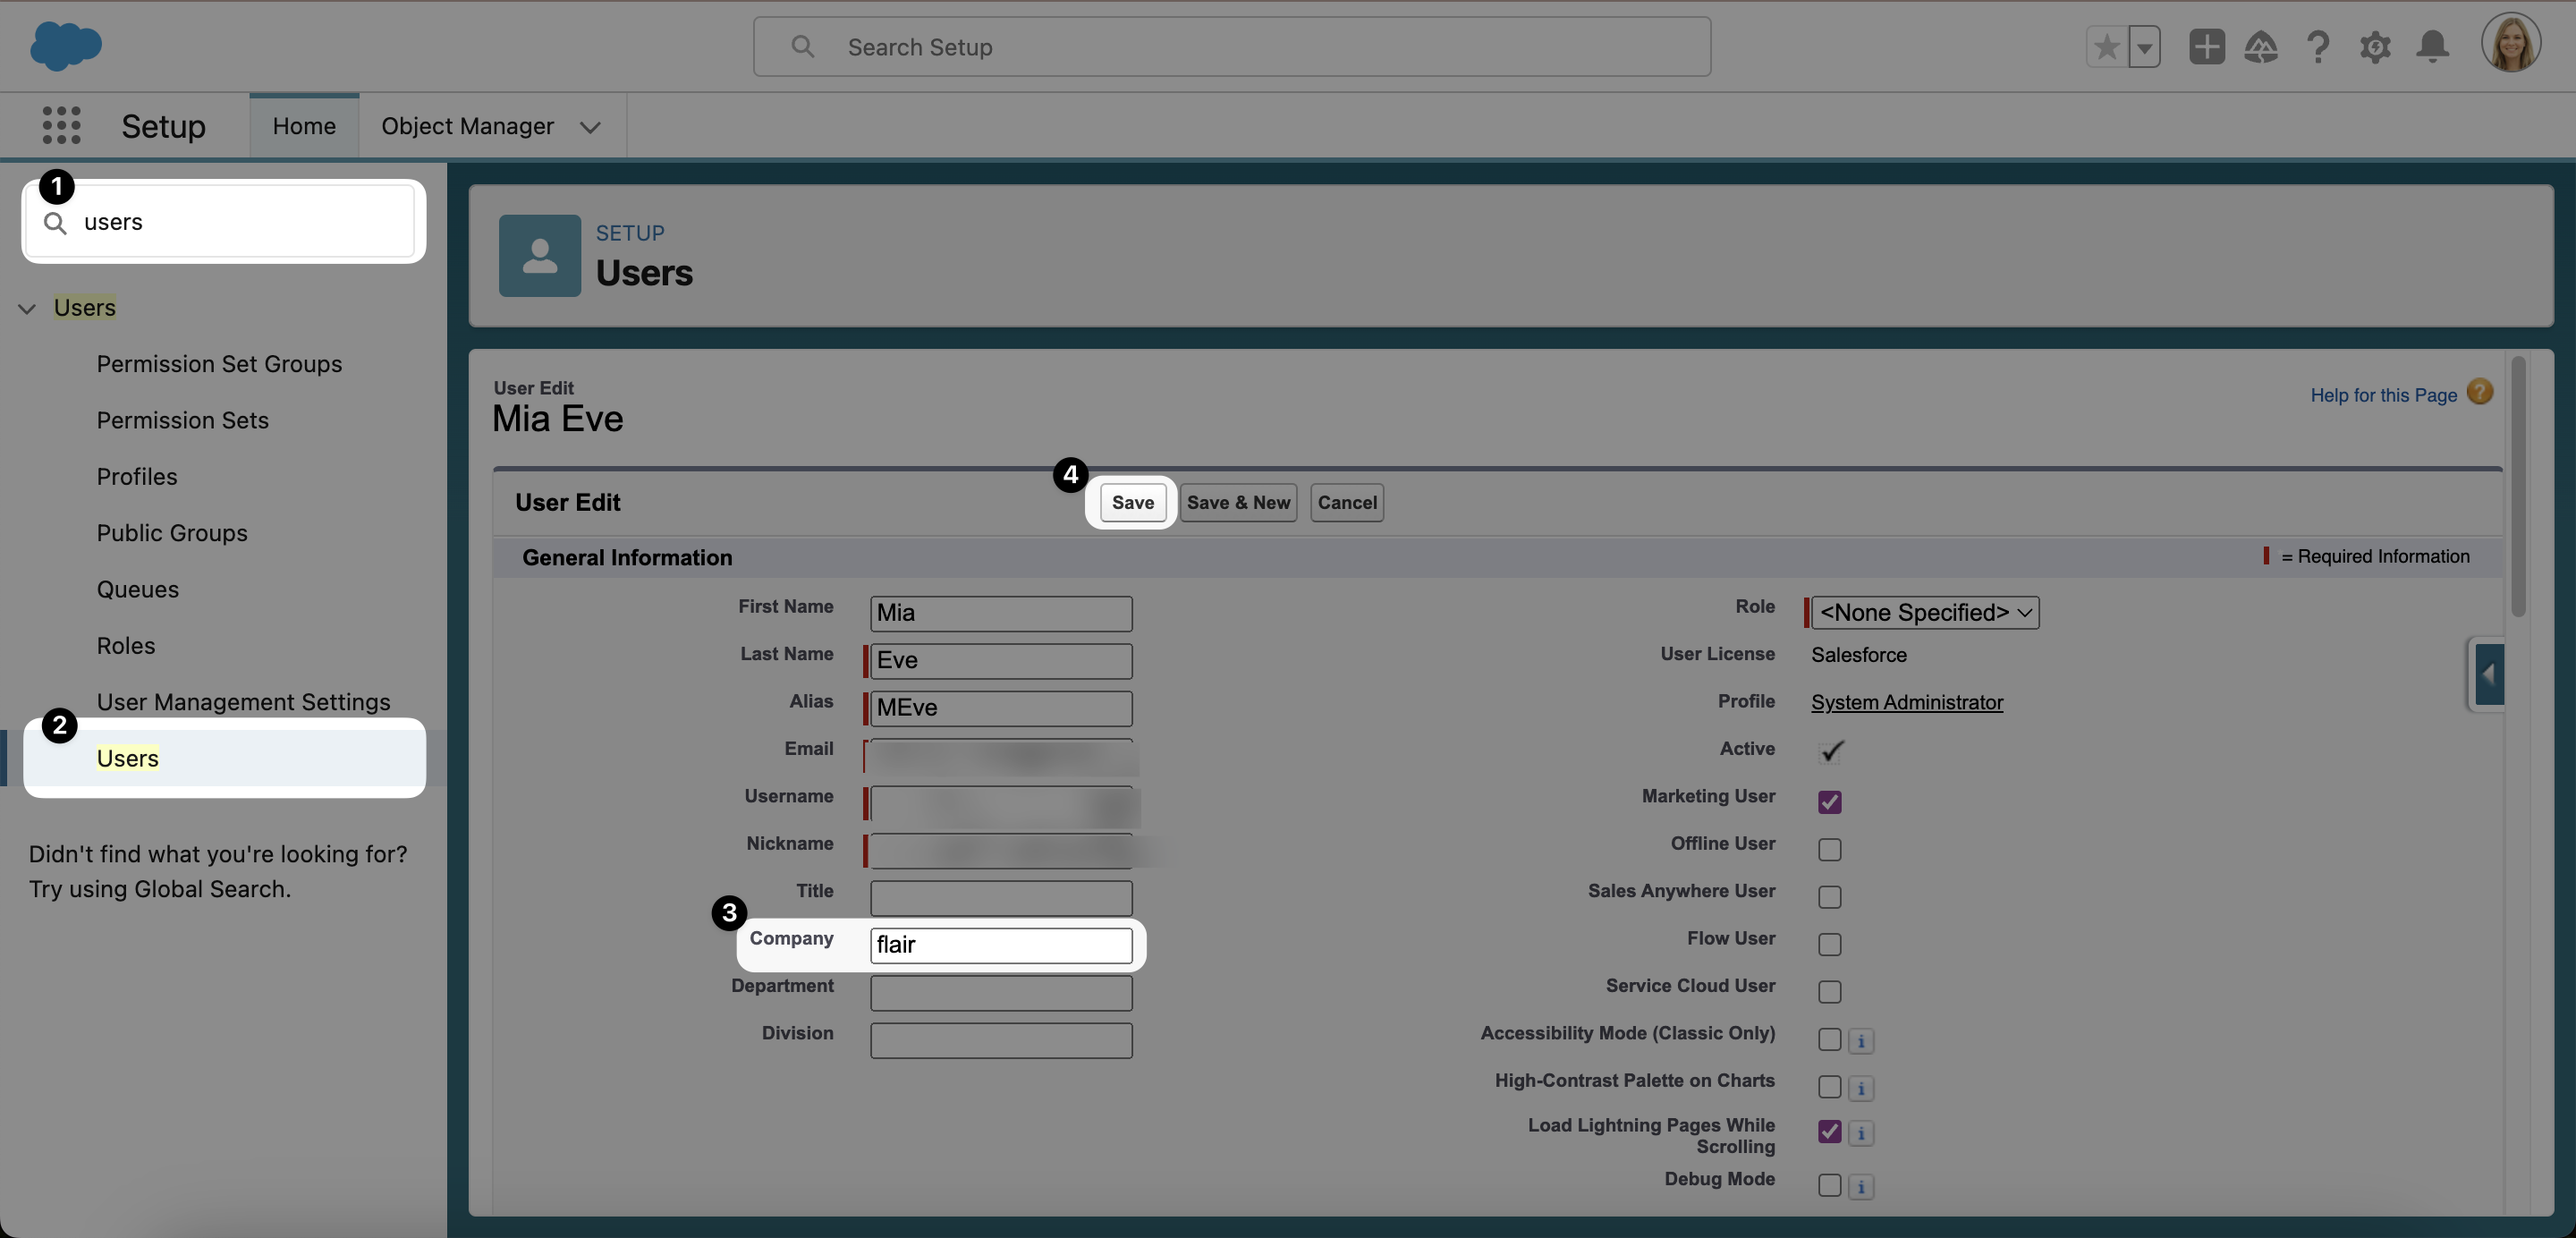
To ensure emails to candidates include your company name, make sure you have added your company name to your Salesforce user profile. To do this, open Salesforce Setup and use Quick Find to navigate to the Users page. Click Edit next to your user profile, ensure the Company field is filled in correctly, and then click Save. This company name will then appear in your recruiting emails, e.g. "Thank you for your application at flair".
Creating Email Templates Using the flair HR app
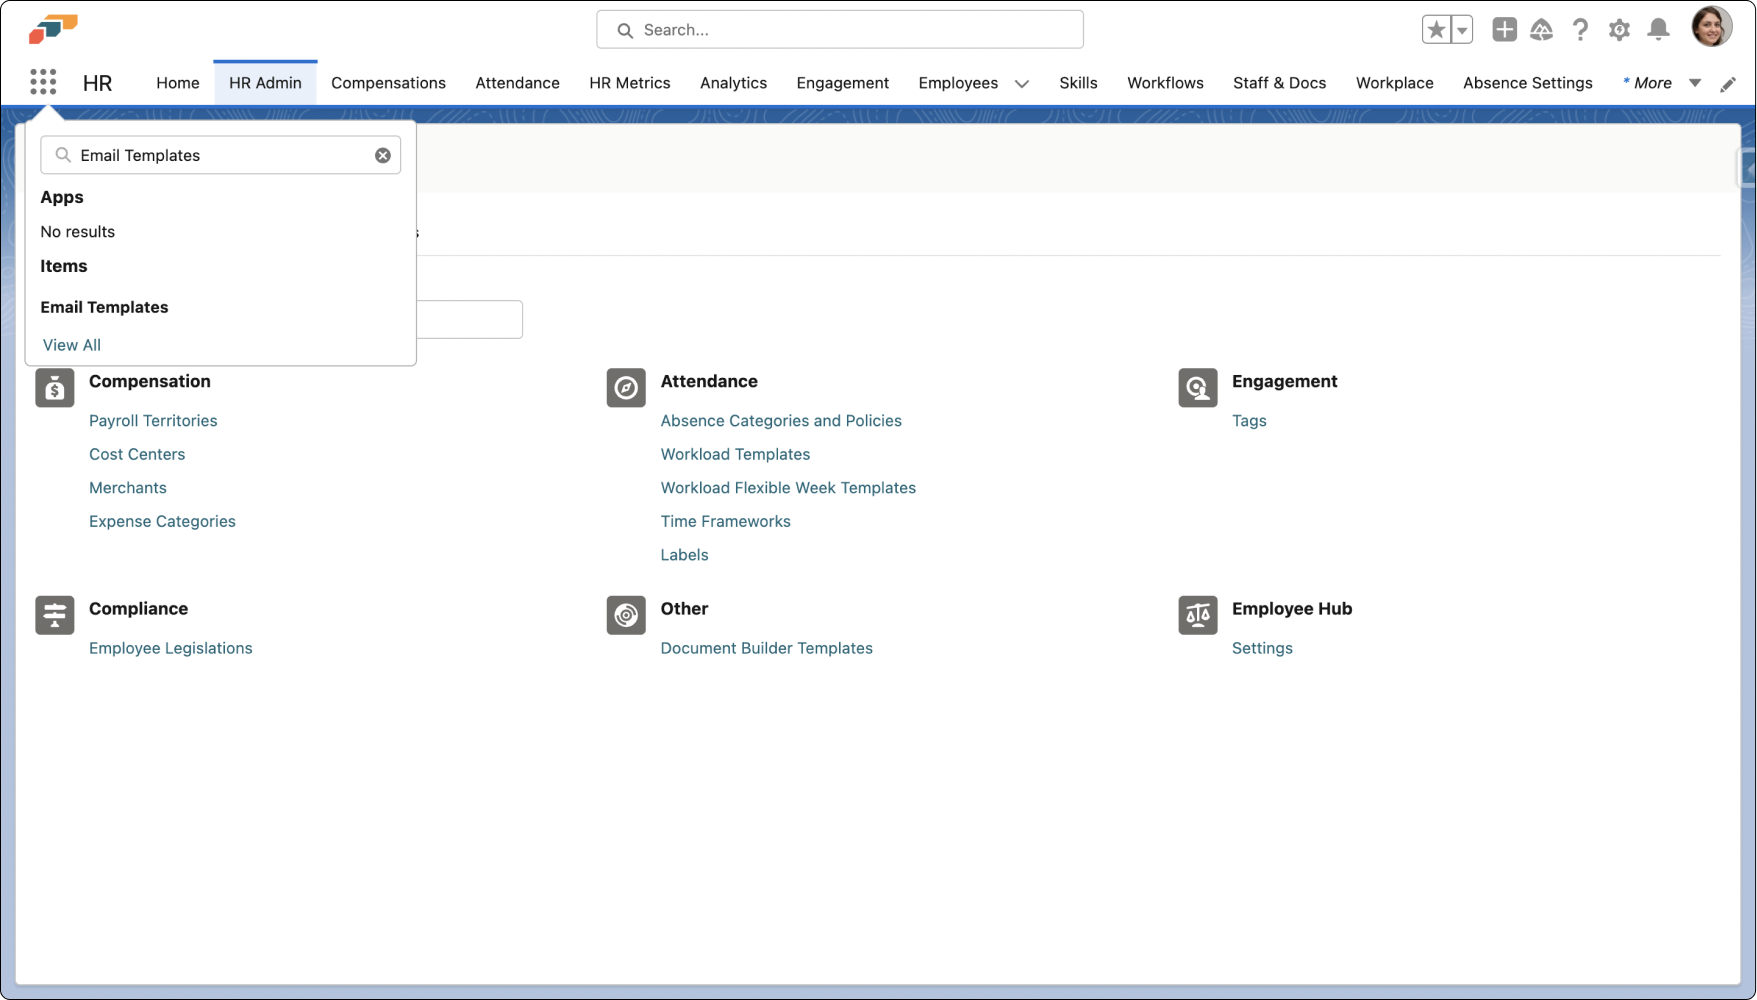
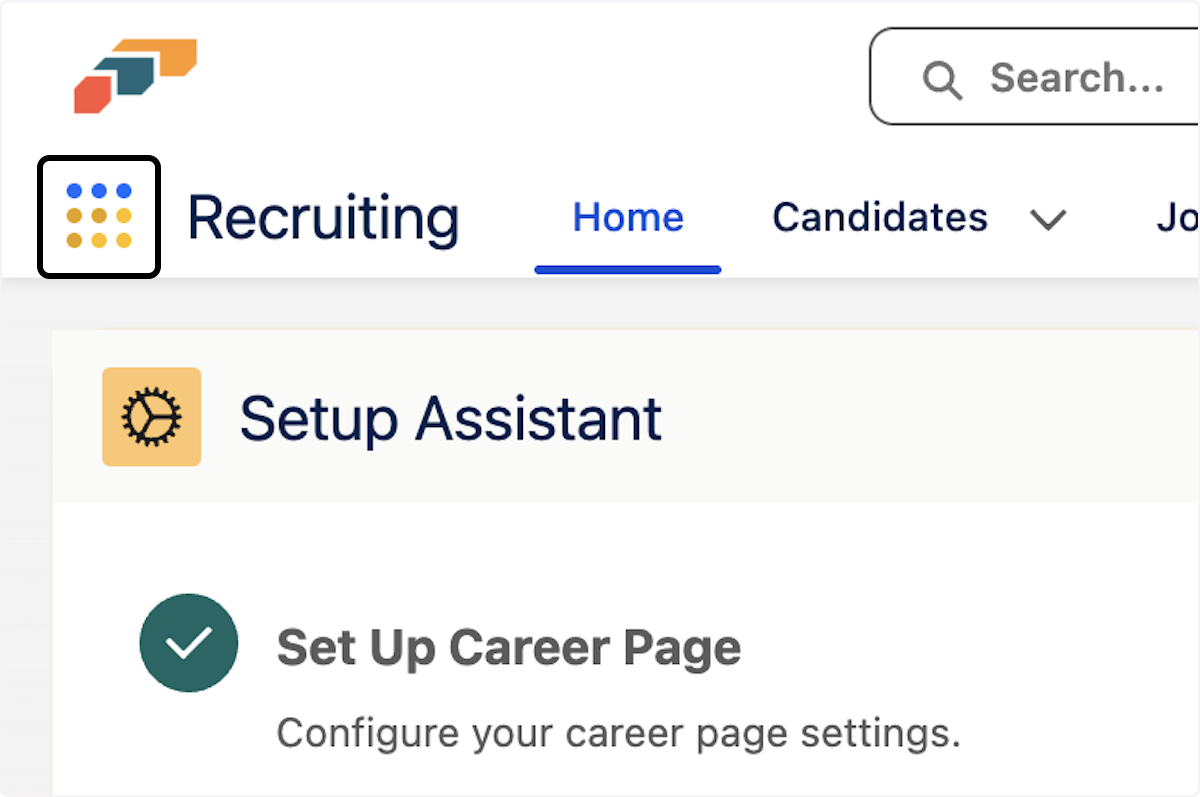
- To begin, log in to your flair HR app on Salesforce and click on the nine-dot option menu on the left-hand side of the screen. Type "Email Templates" into the search bar.
- Select the Email Templates option from the search results. This will bring you to a page where you can create a new email template.
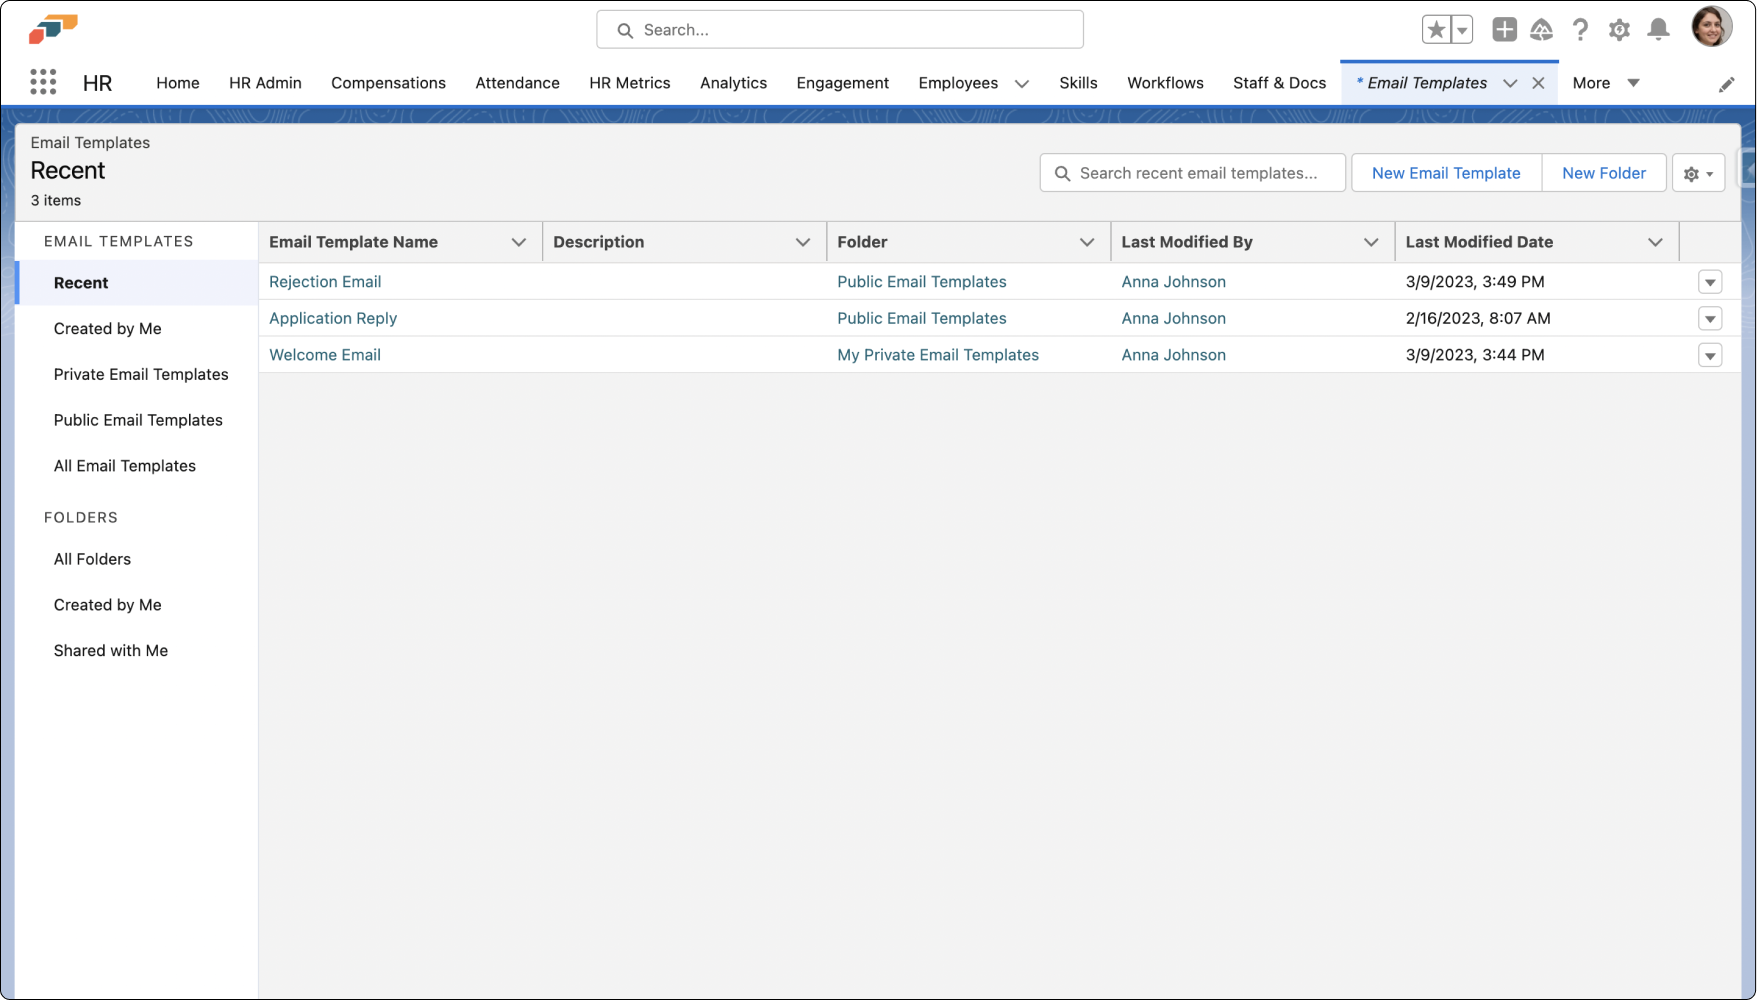
- Click New Email Template and provide a name for your email template, such as "Successful Candidate Interview"
Creating Classic Email Templates in Salesforce
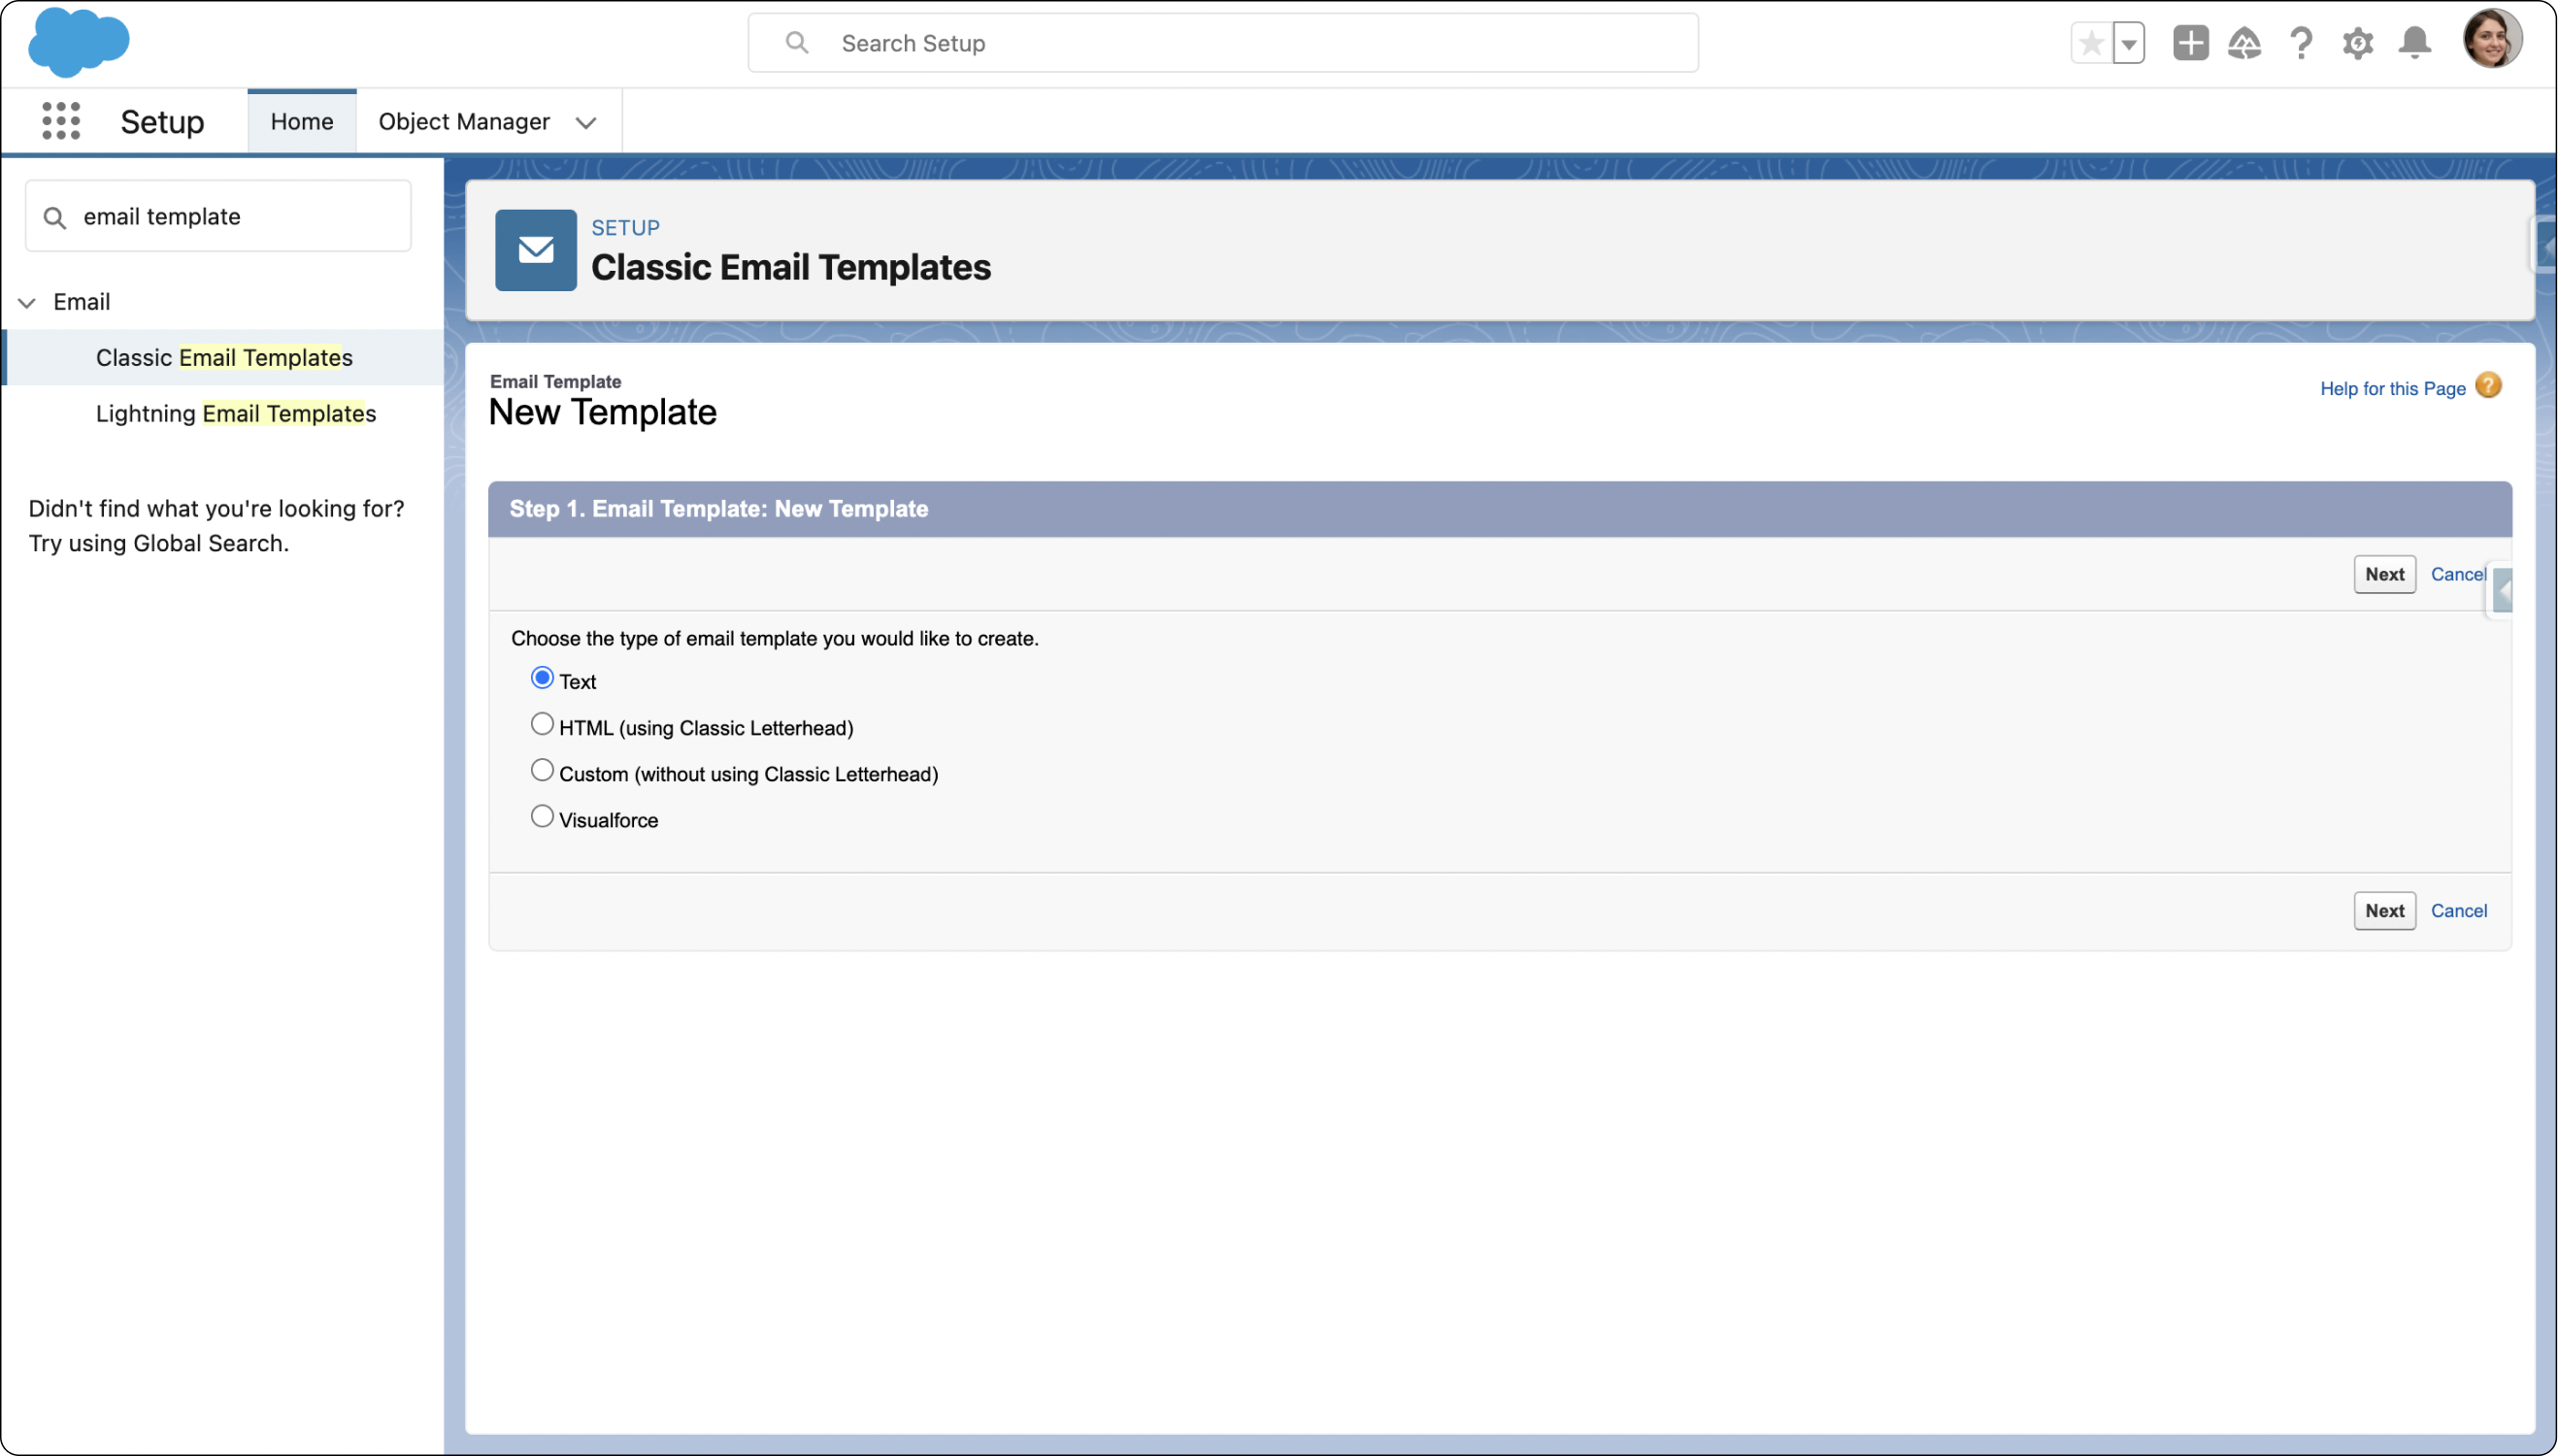
Four unique types of Classic Email Templates are at your disposal: Text, HTML with Classic Letterhead, Custom, and Visualforce. Here are the steps you need to take using the Salesforce Setup Page.
- Click on the gear icon in the upper-right corner and select Setup
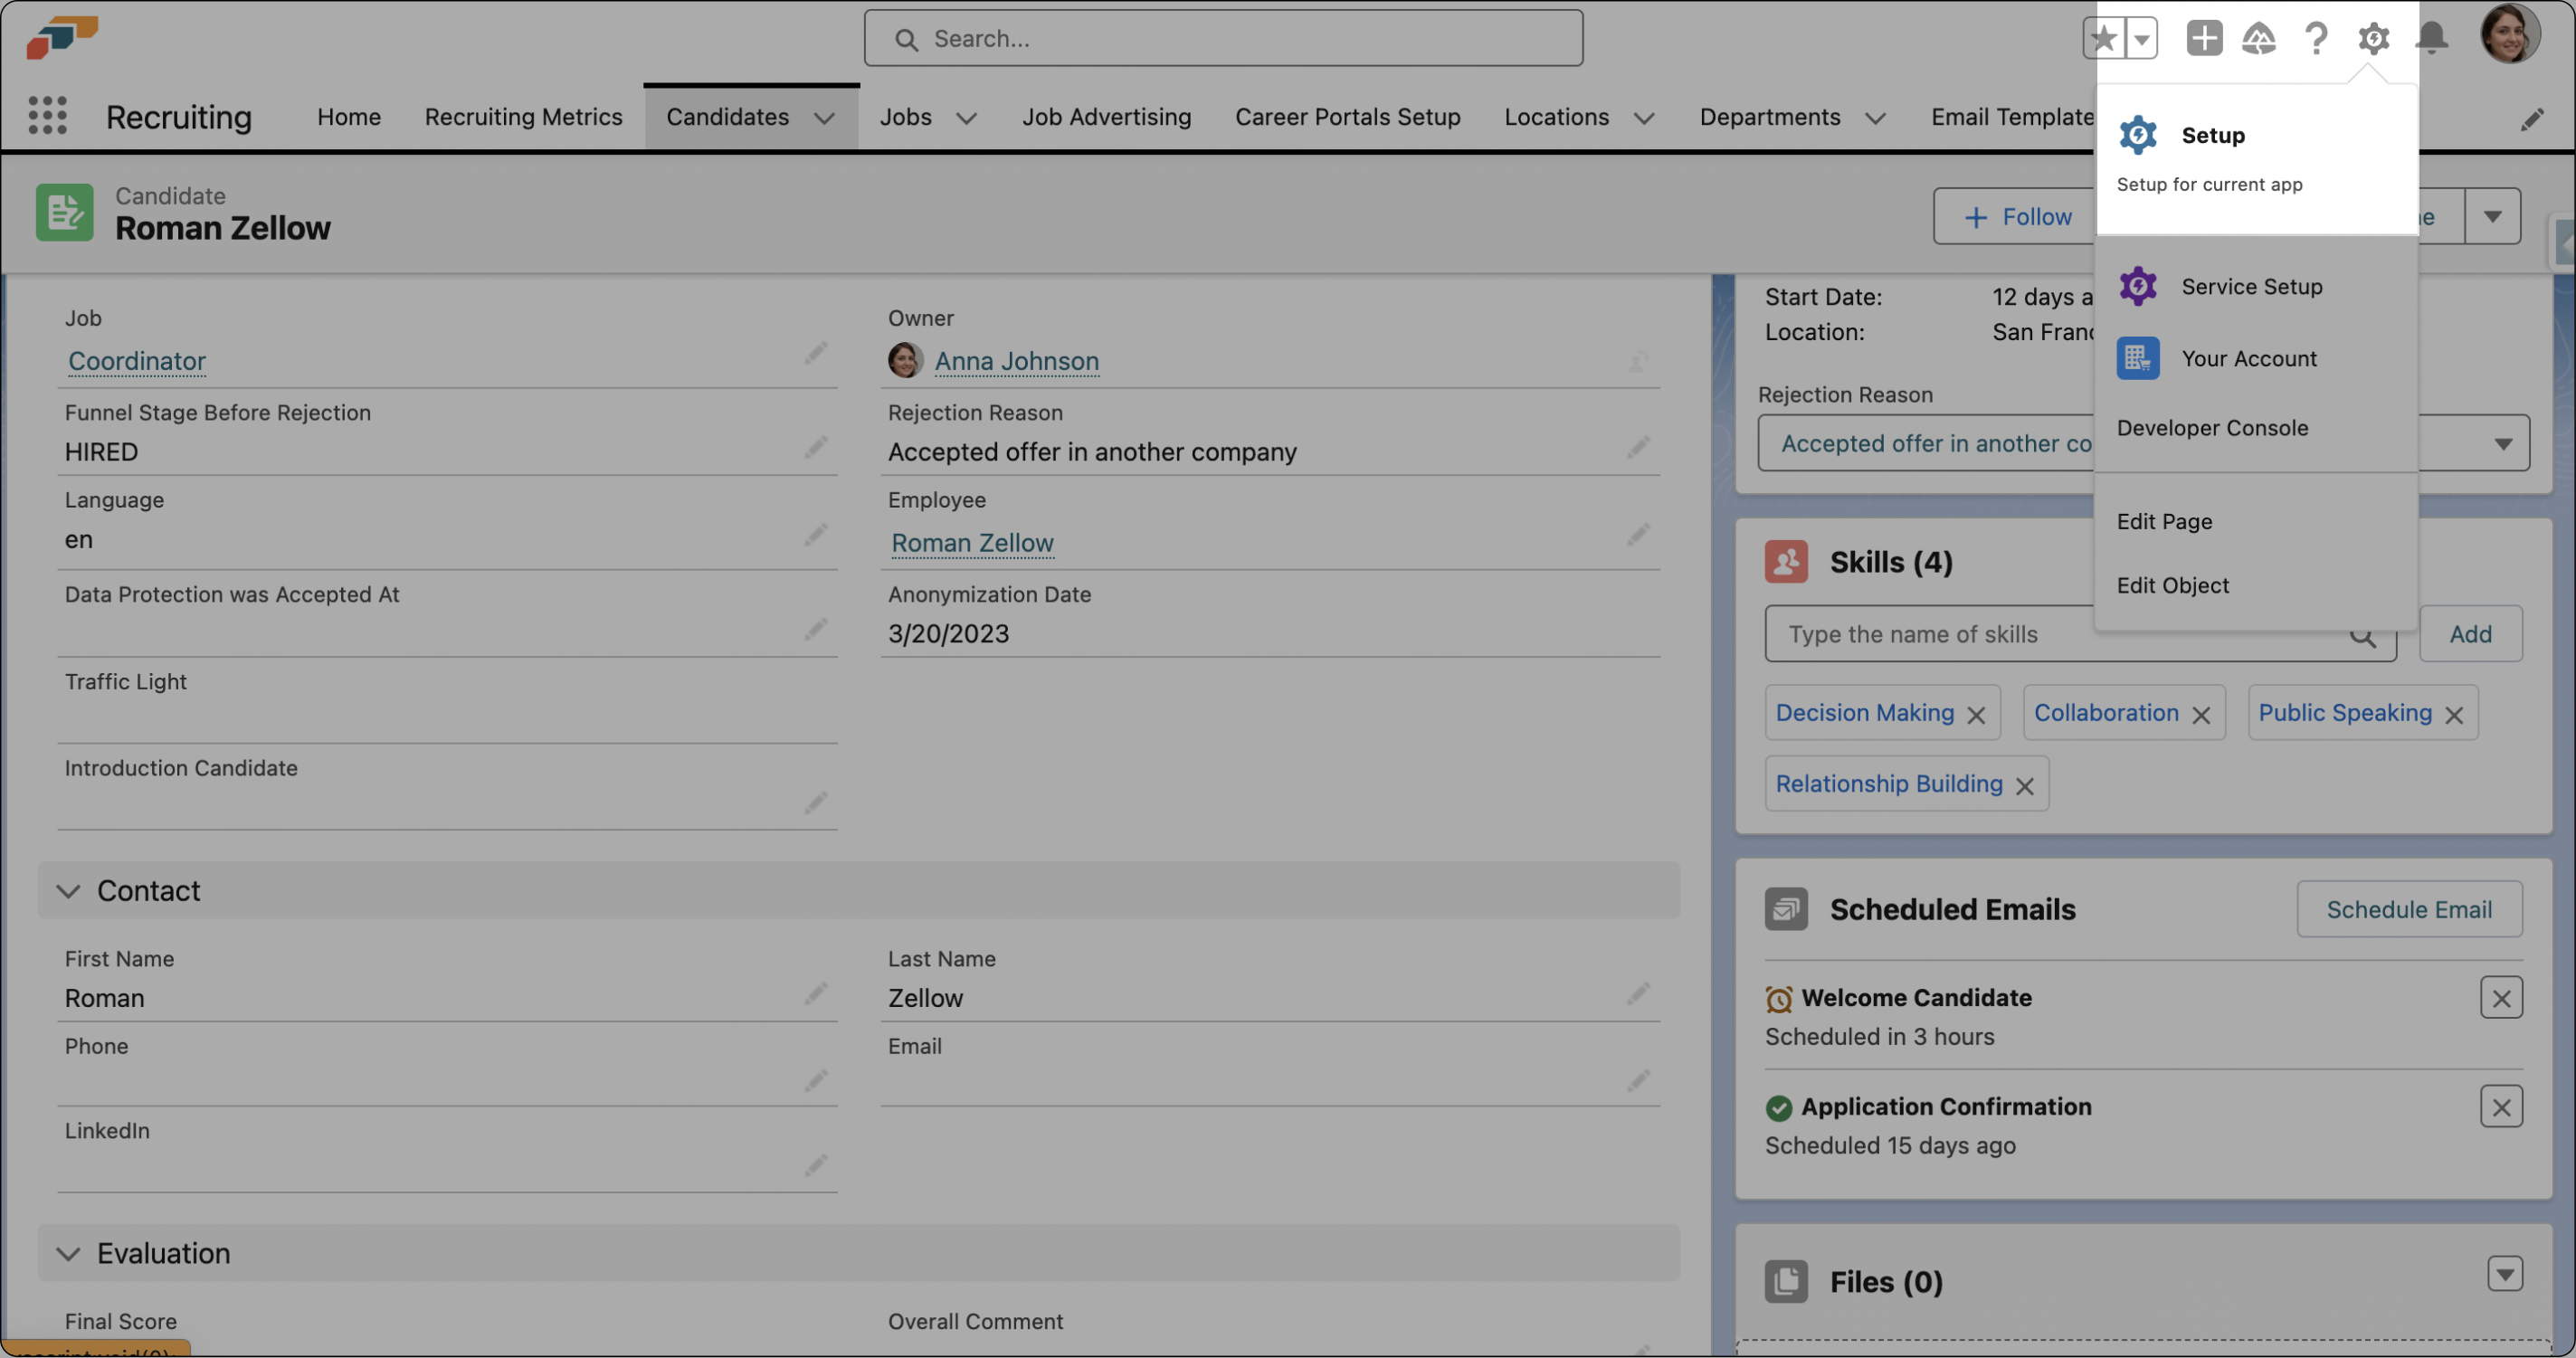
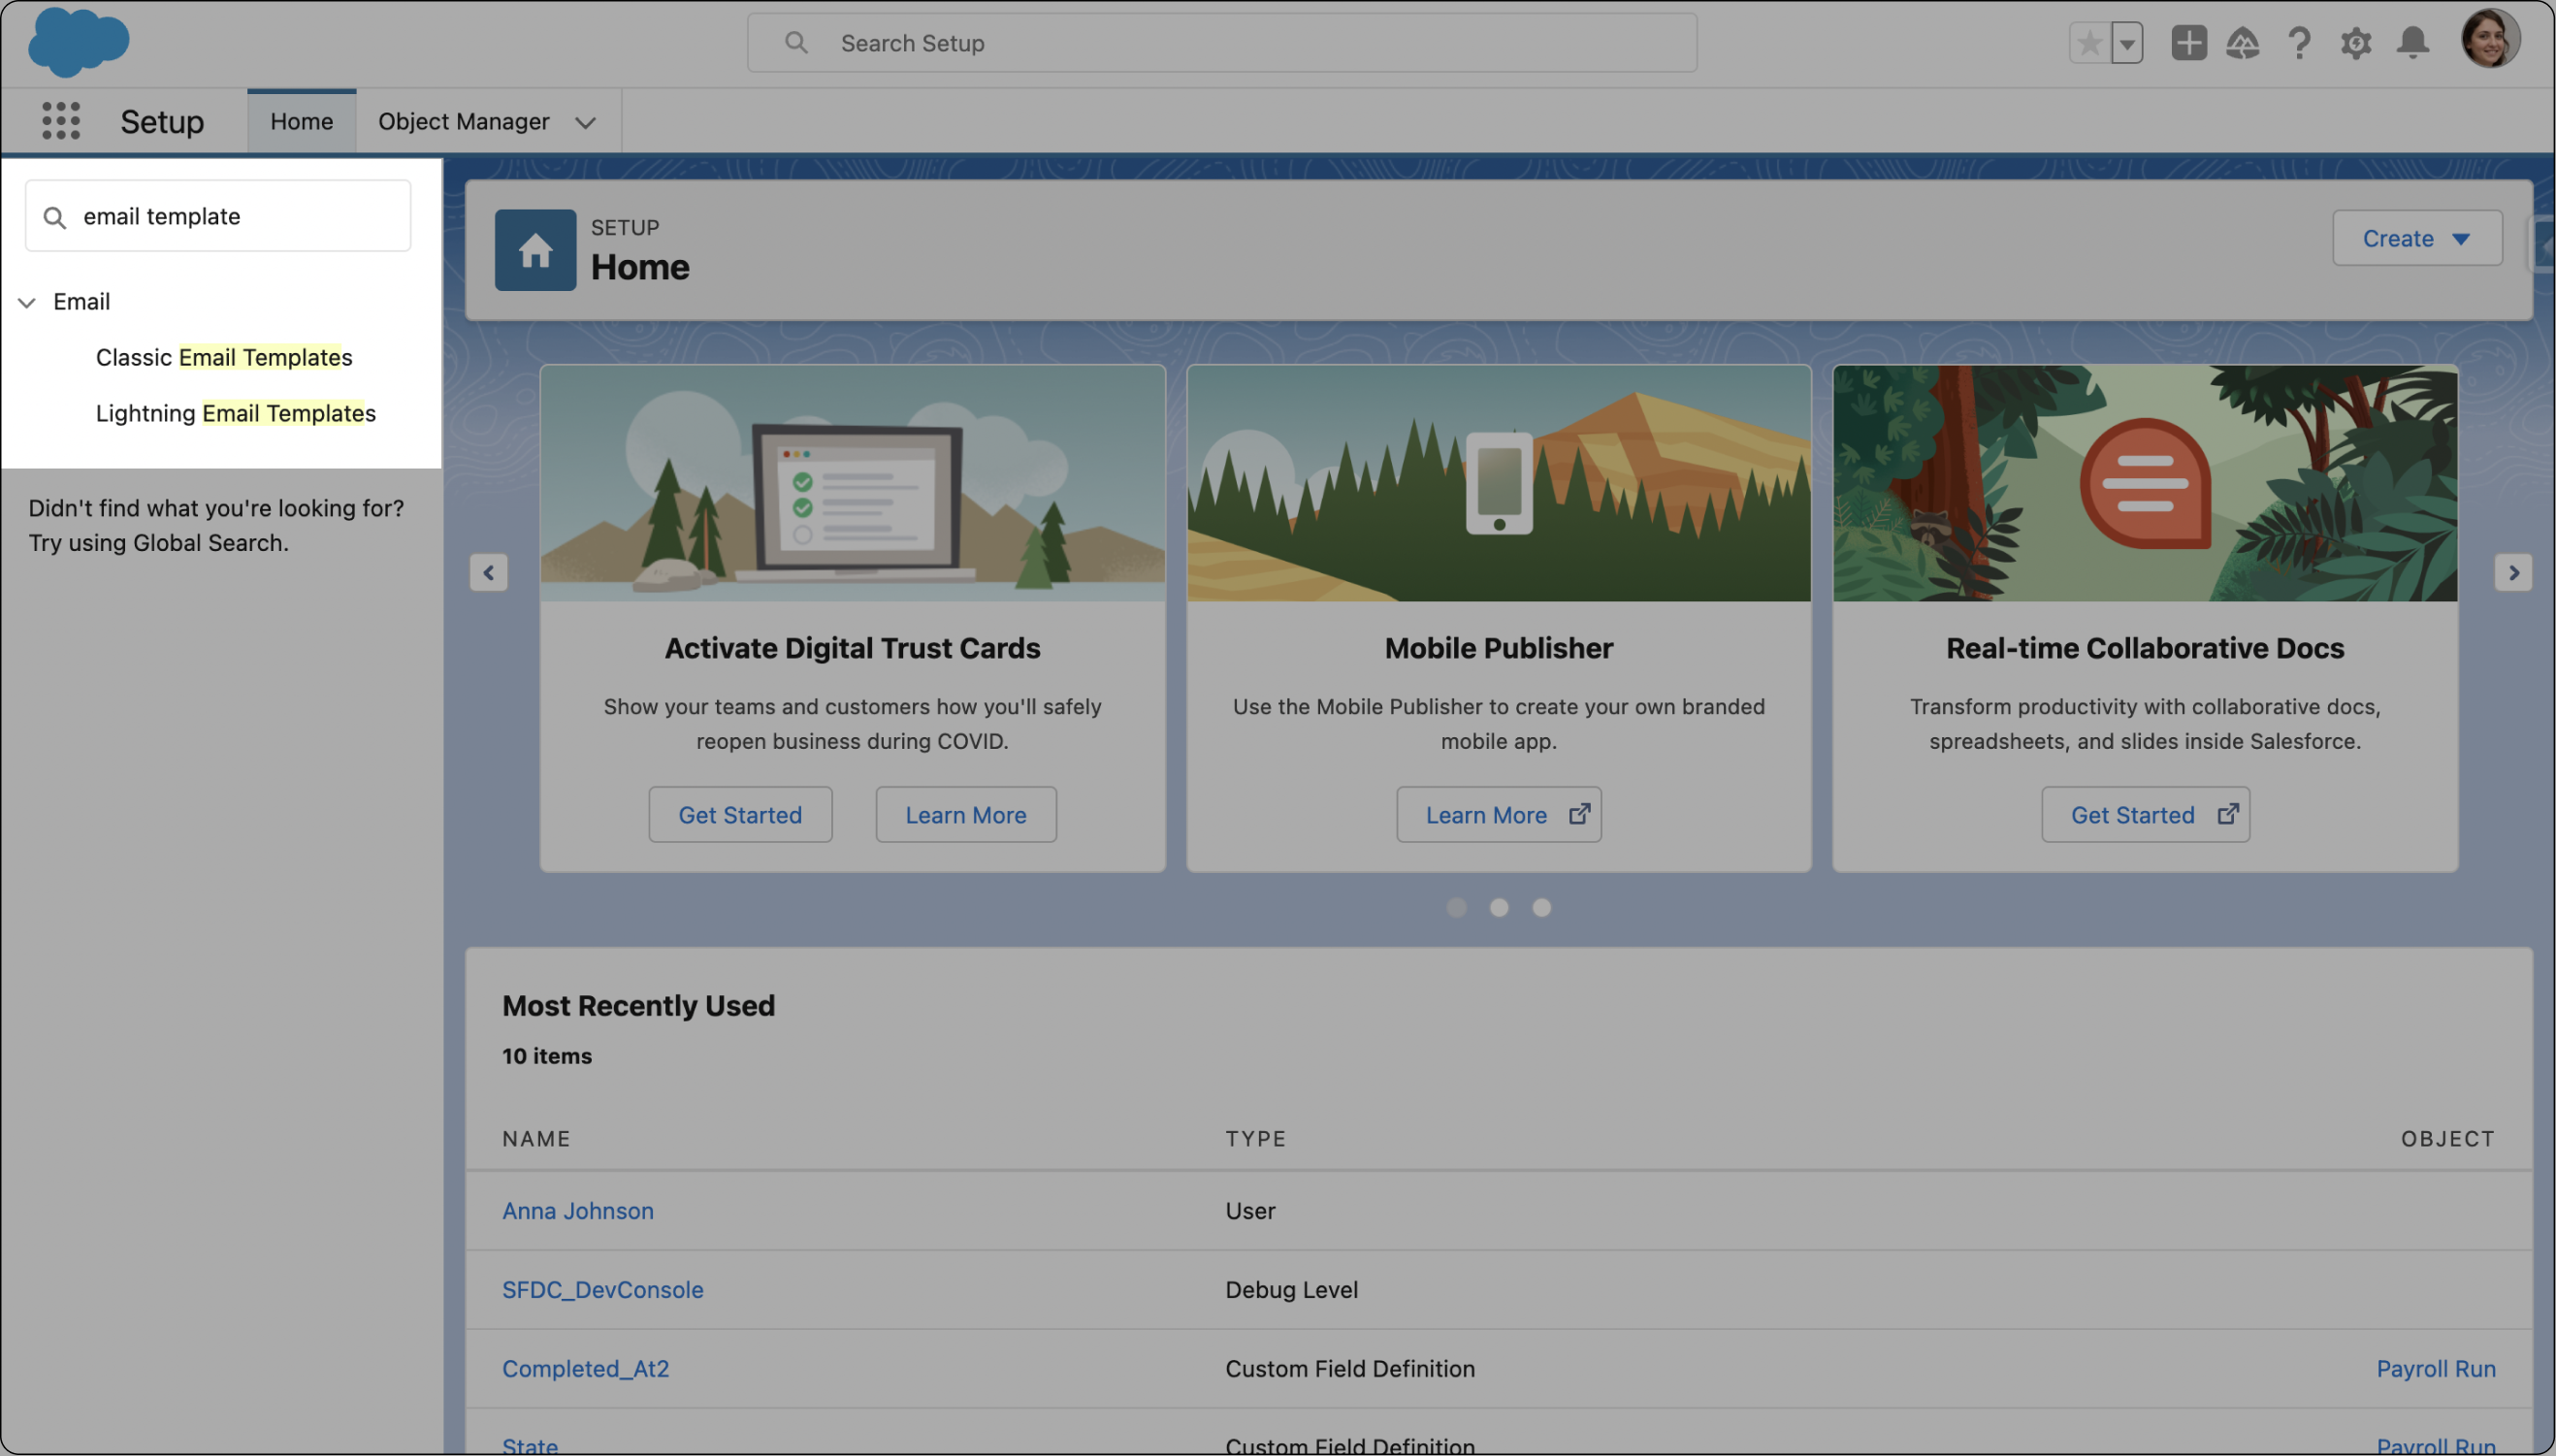
- In the Setup Home menu, search for "Email Template" to find the Classic Email Templates
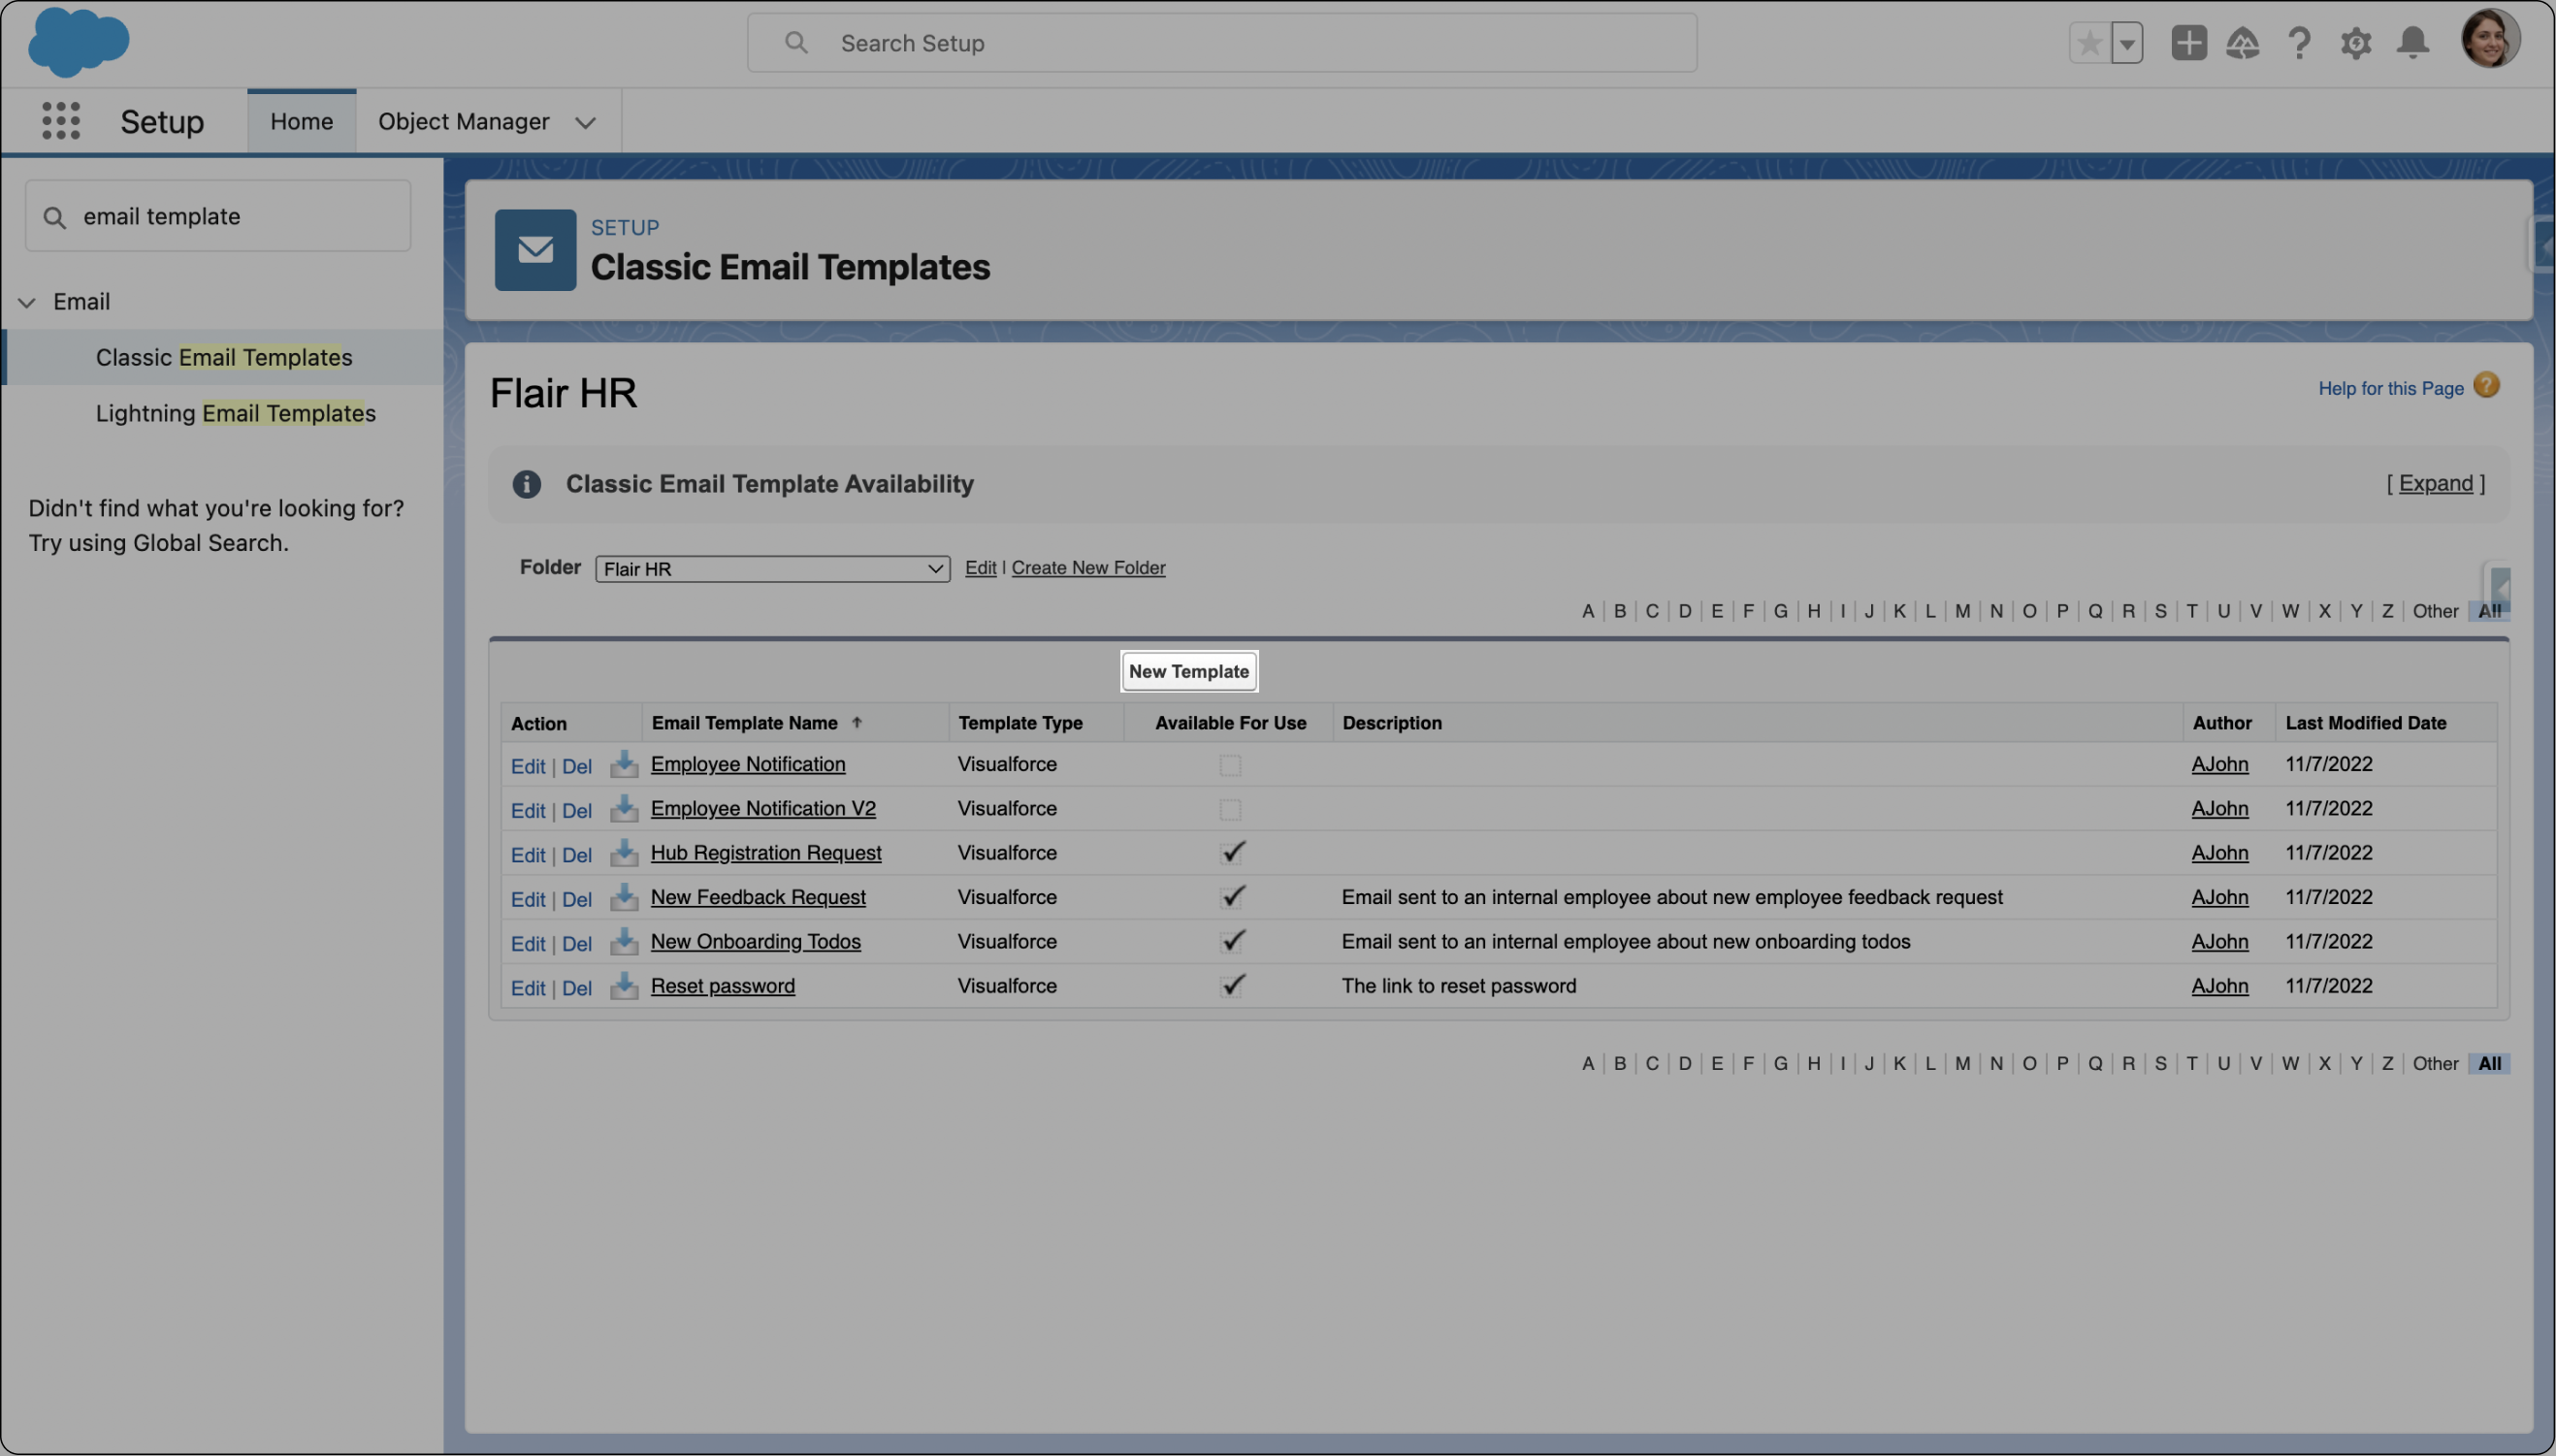
- Within the Classic Email Templates page, it is possible to toggle through different categories of email templates using the Folder option. Click edit to make changes to an already existing email template.
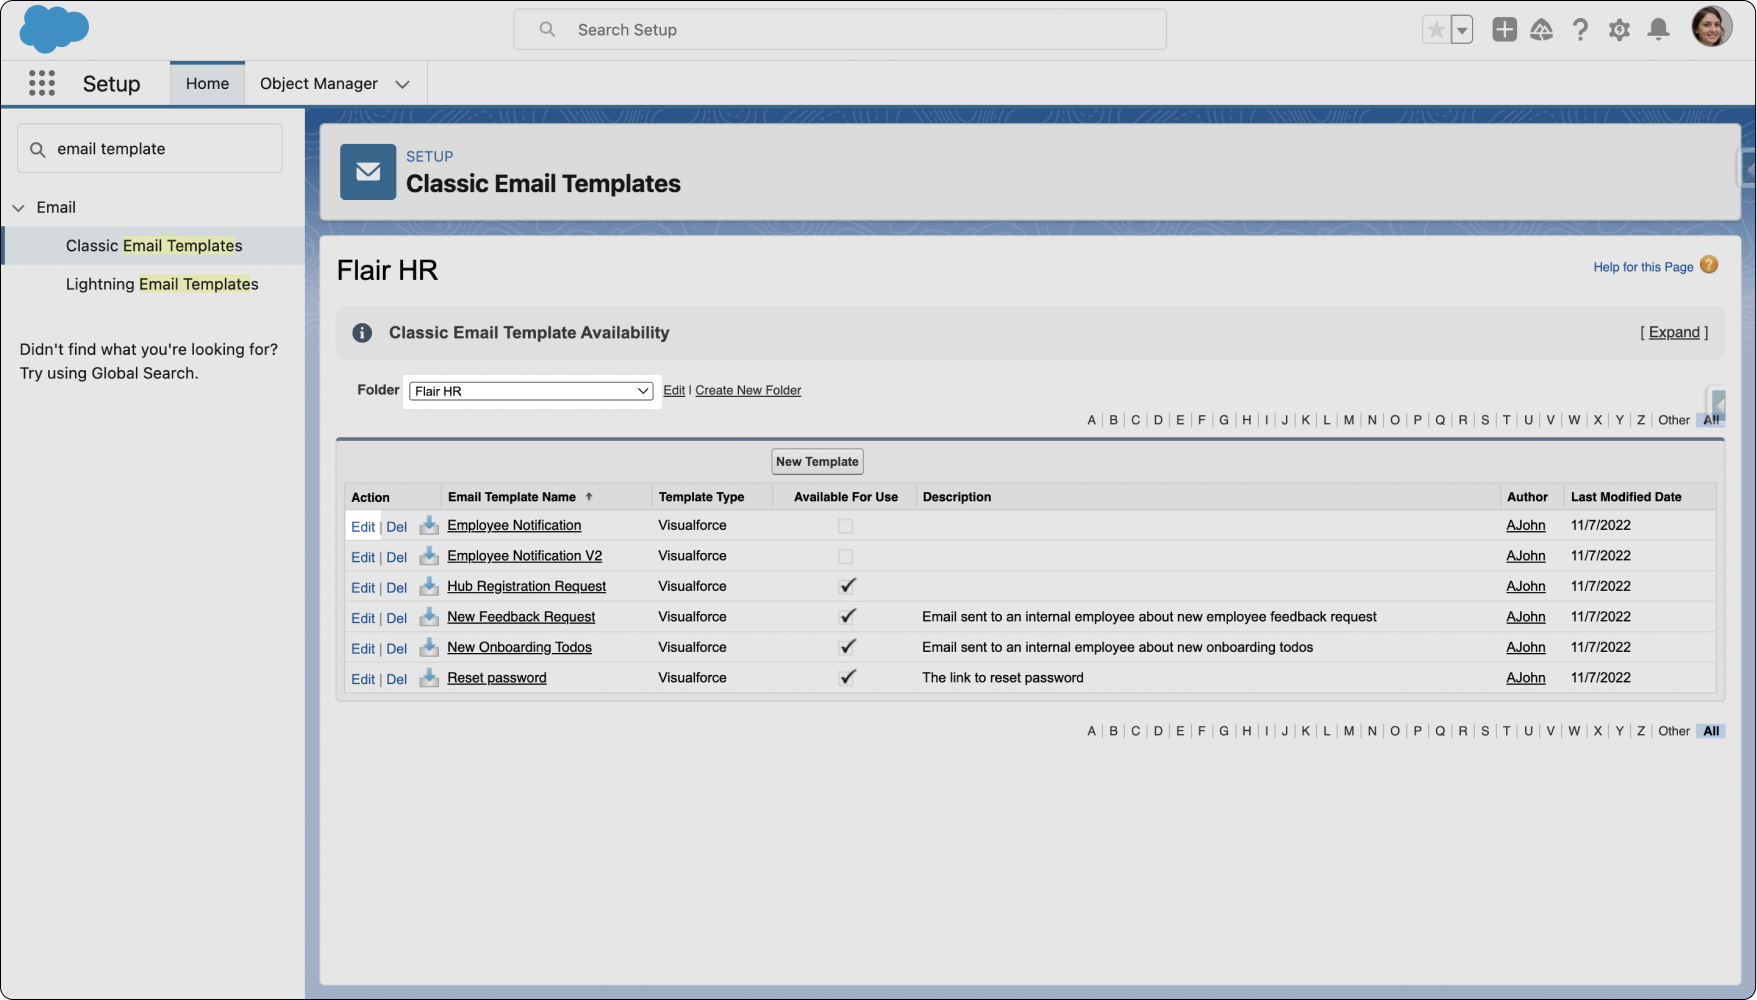
Within each folder, it is possible to create a new email template. To do this, simply select New Template.
After navigating to the New Template creation stage, you may choose the type of email you would like to create. For example, you may wish to build a Text or HTML email format.
Configuring Candidate Application Email Templates
This guide describes how to change the email template used to automatically notify candidates when they submit their application.
If you haven't already, you should first create your email template. Go to Setup → Email Templates and either create your own template or clone and modify an existing one.
Steps to Update the Notification Template
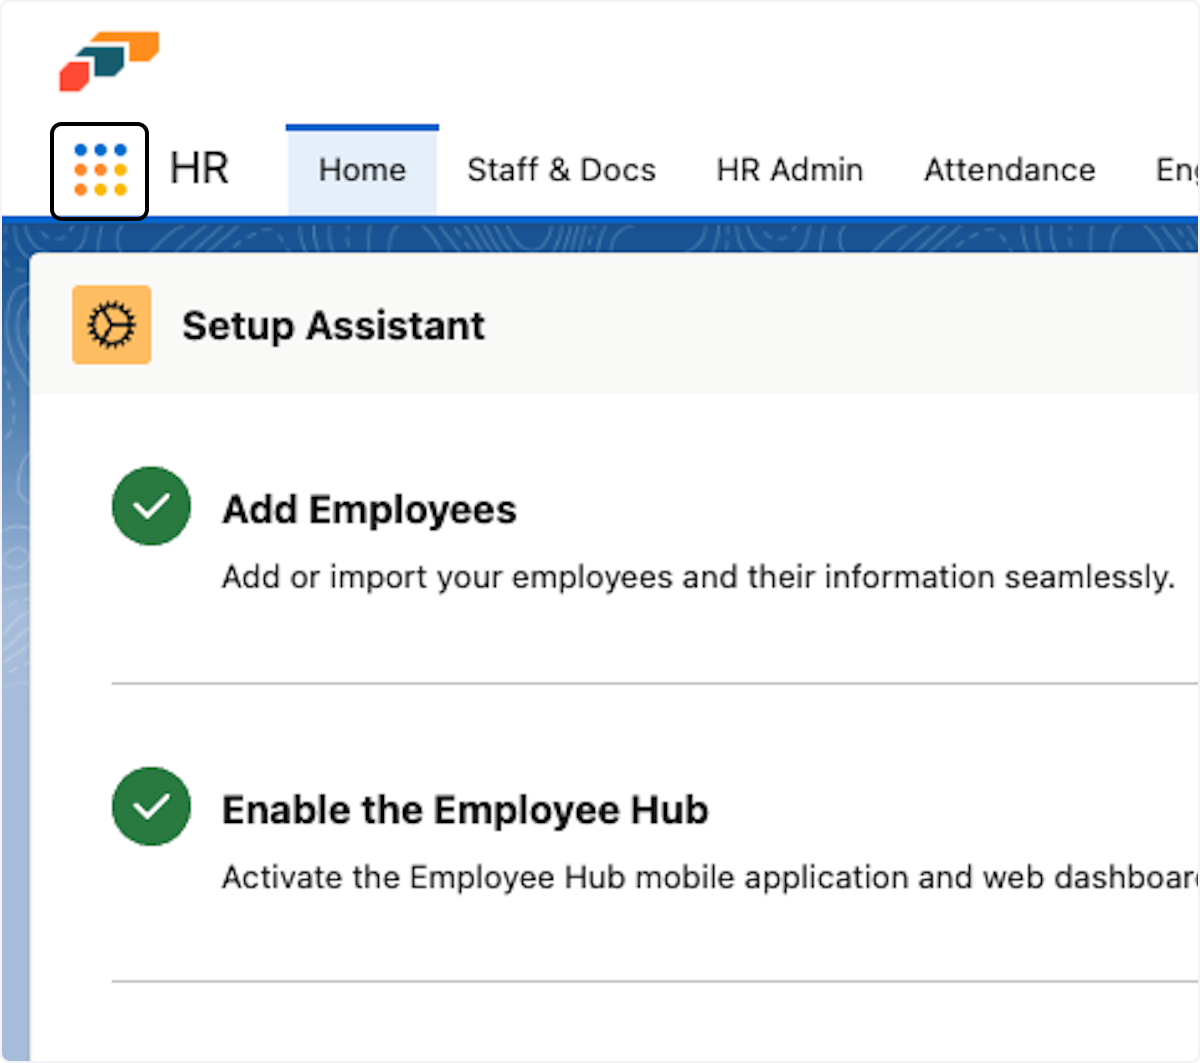
1. Open the App Launcher
Click on the App Launcher (nine-dot icon) in Salesforce.
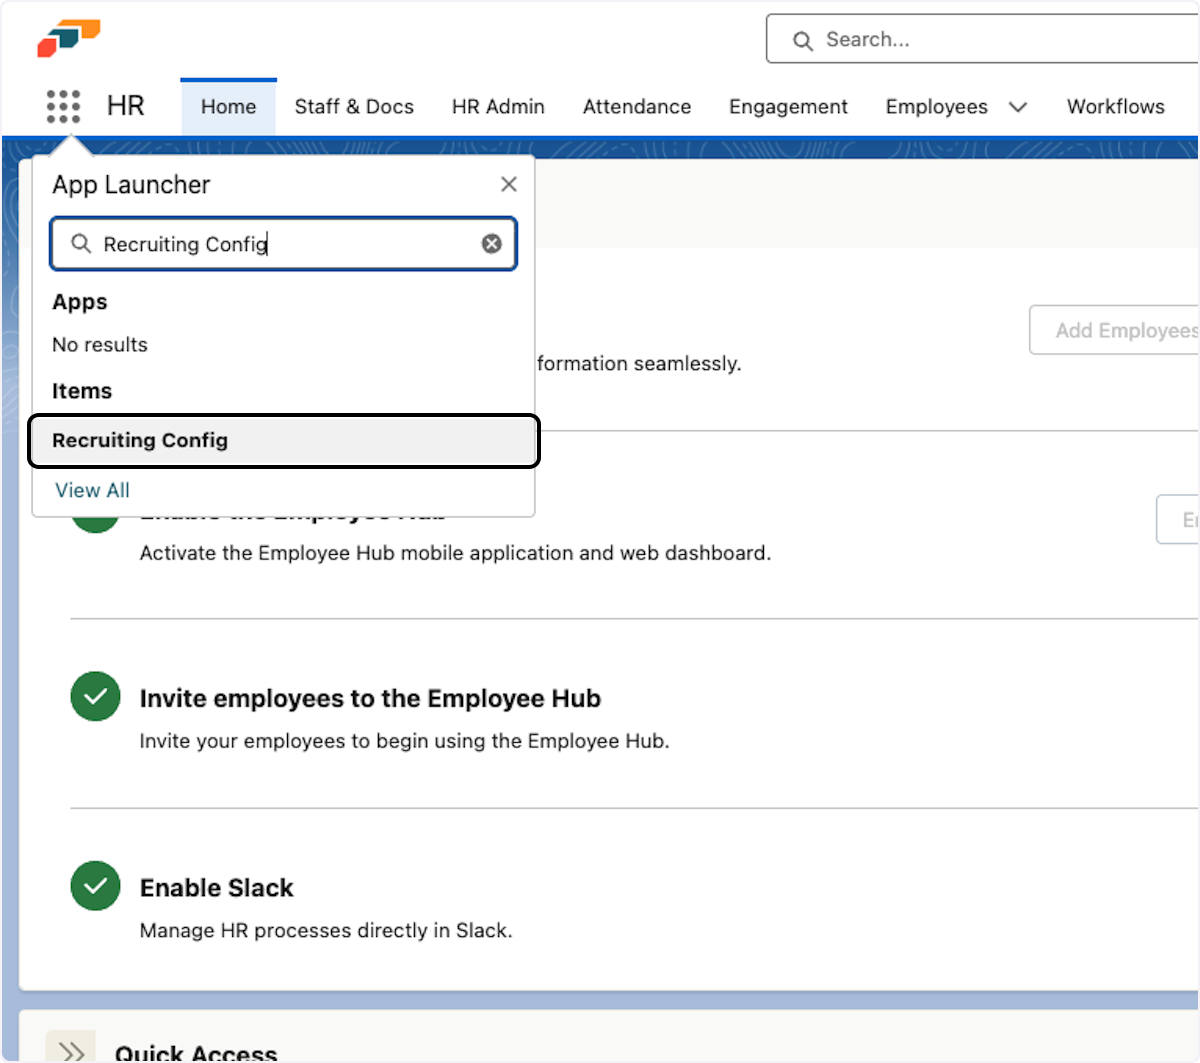
2. Navigate to Recruiting Config
In the App Launcher search, type "Recruiting Config" and select it from the results.
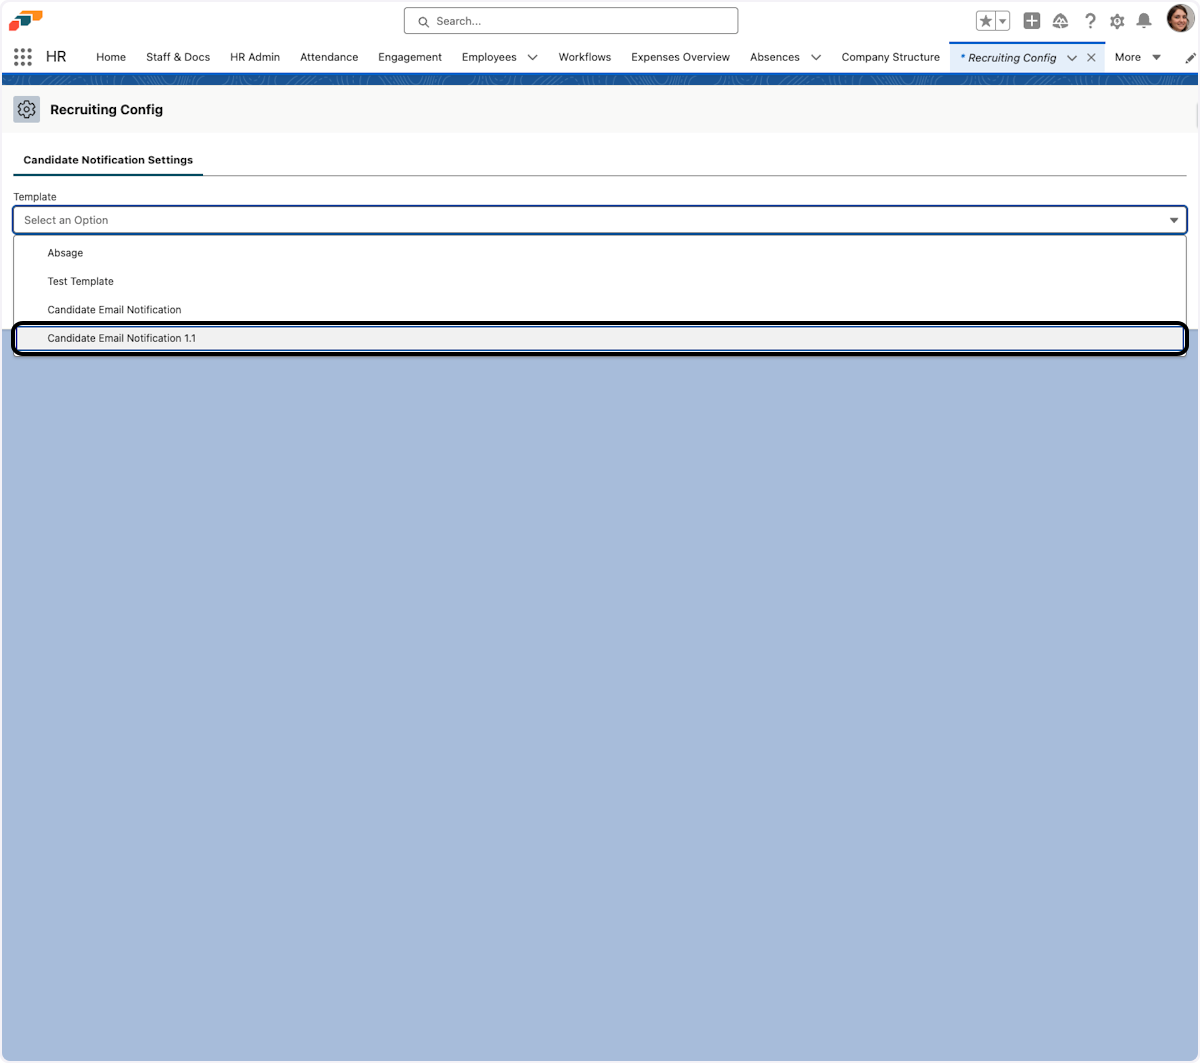
3. Select Your Template
In the Recruiting Config settings, find the field for candidate application email templates and select the template you created earlier.
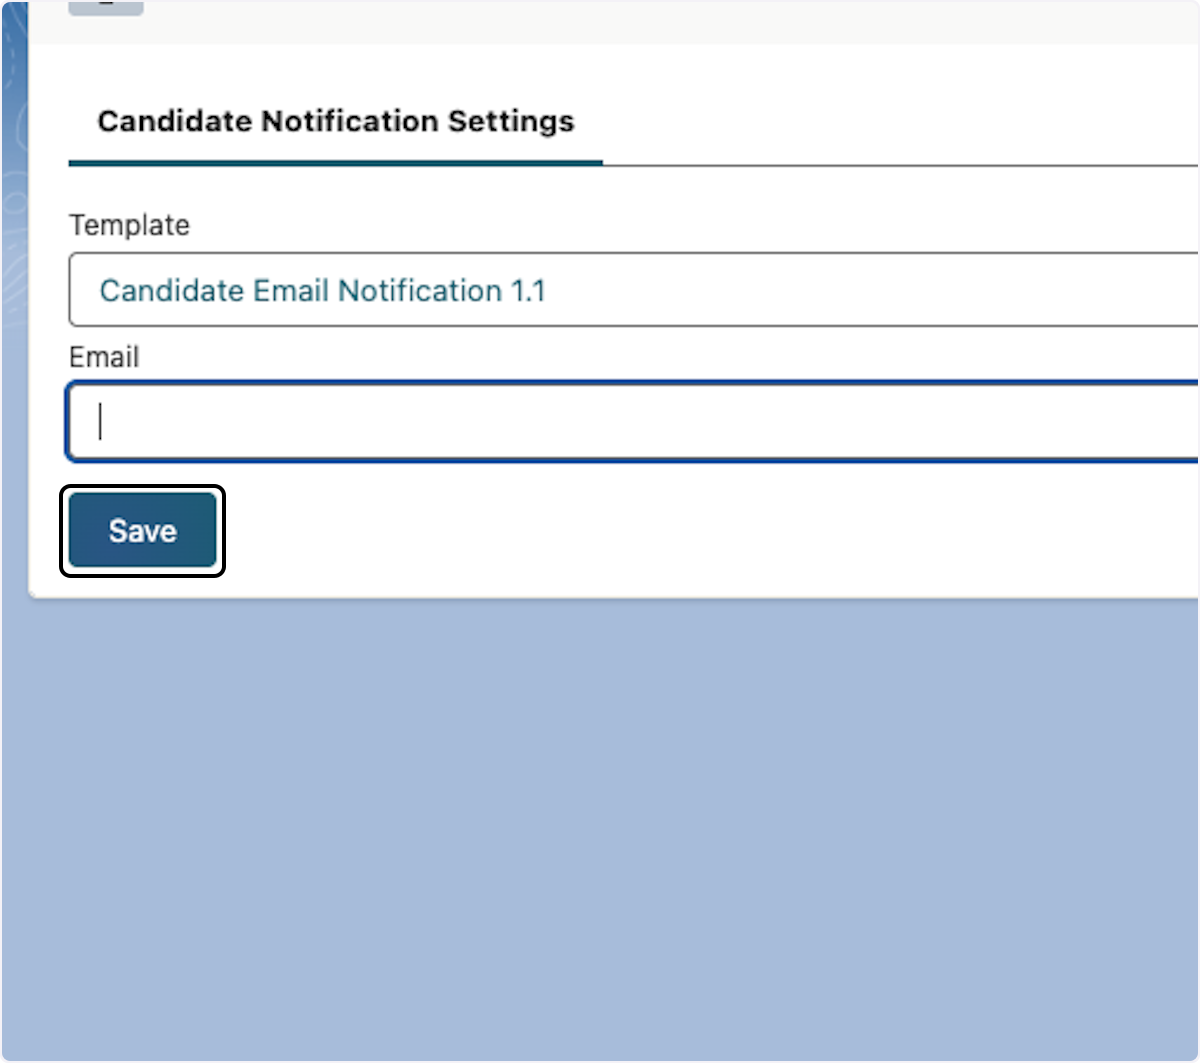
4. Save Your Changes
Click Save to apply the new email template configuration.
Testing Your Email Template
To verify that your email template looks as intended, you can simply apply to any of your published jobs yourself. You'll receive the same notification email that your candidates get.
Sending Email Templates in the Candidates Section
If you want to send an email using a flair Email Template, you can do so through the Candidates function on the flair Recruiting app.
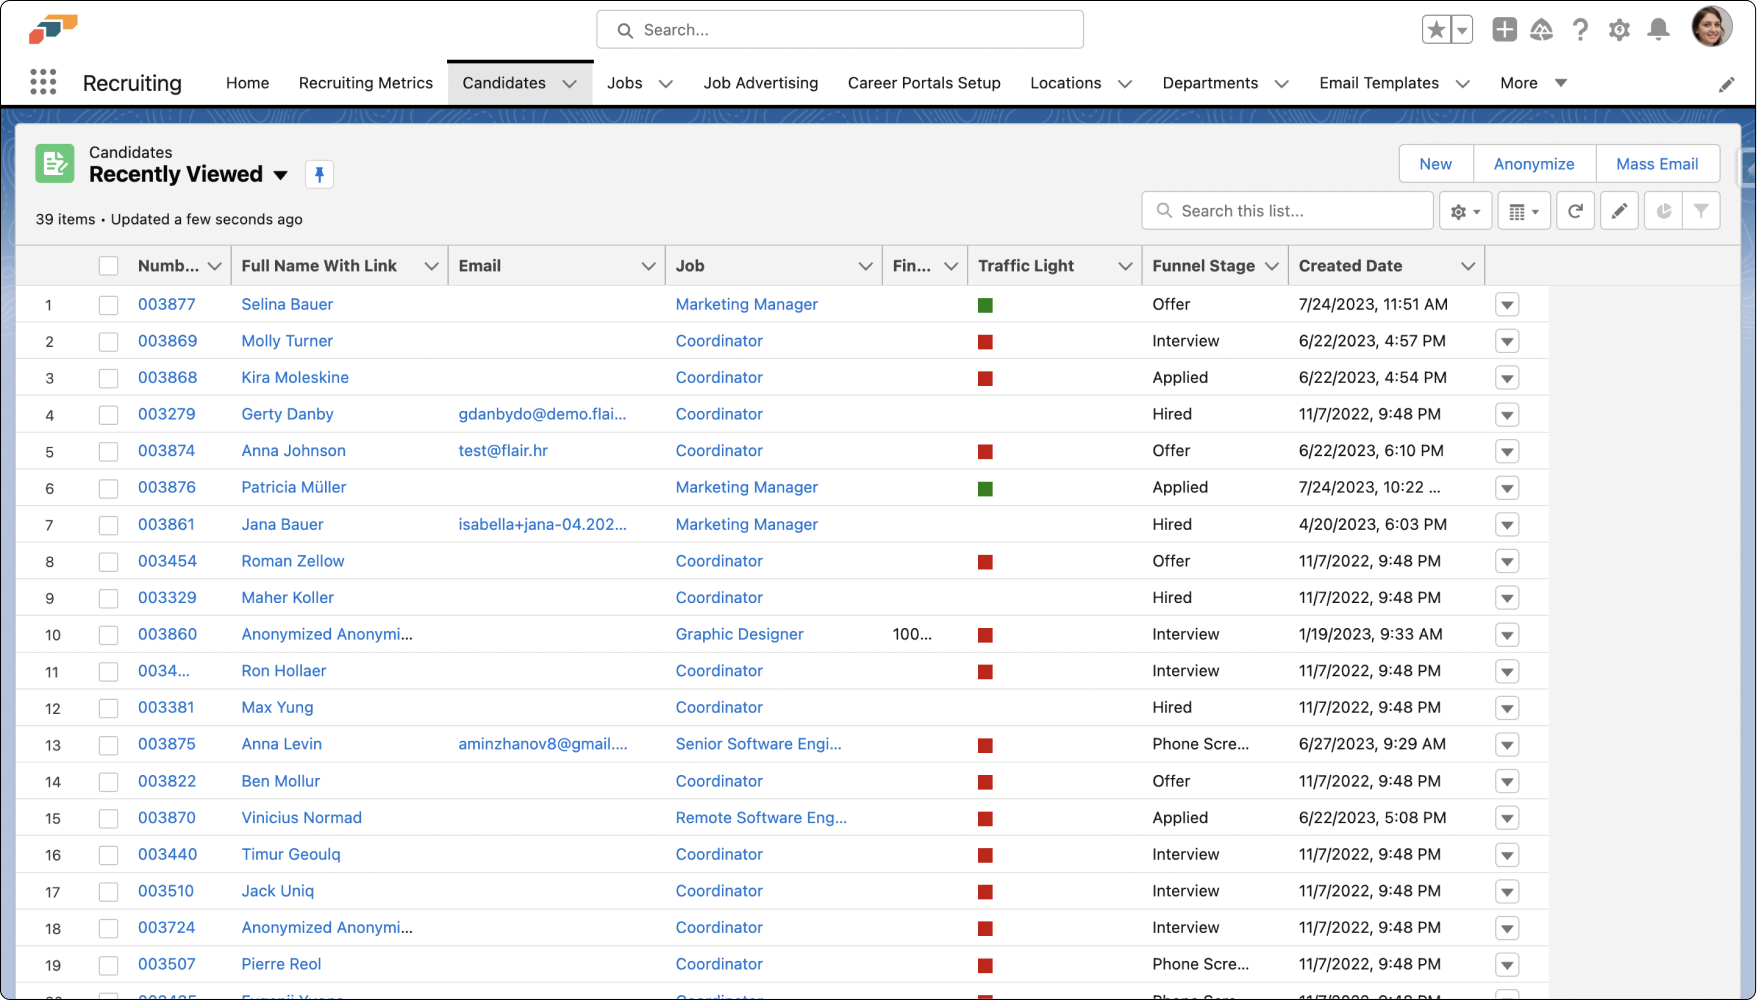
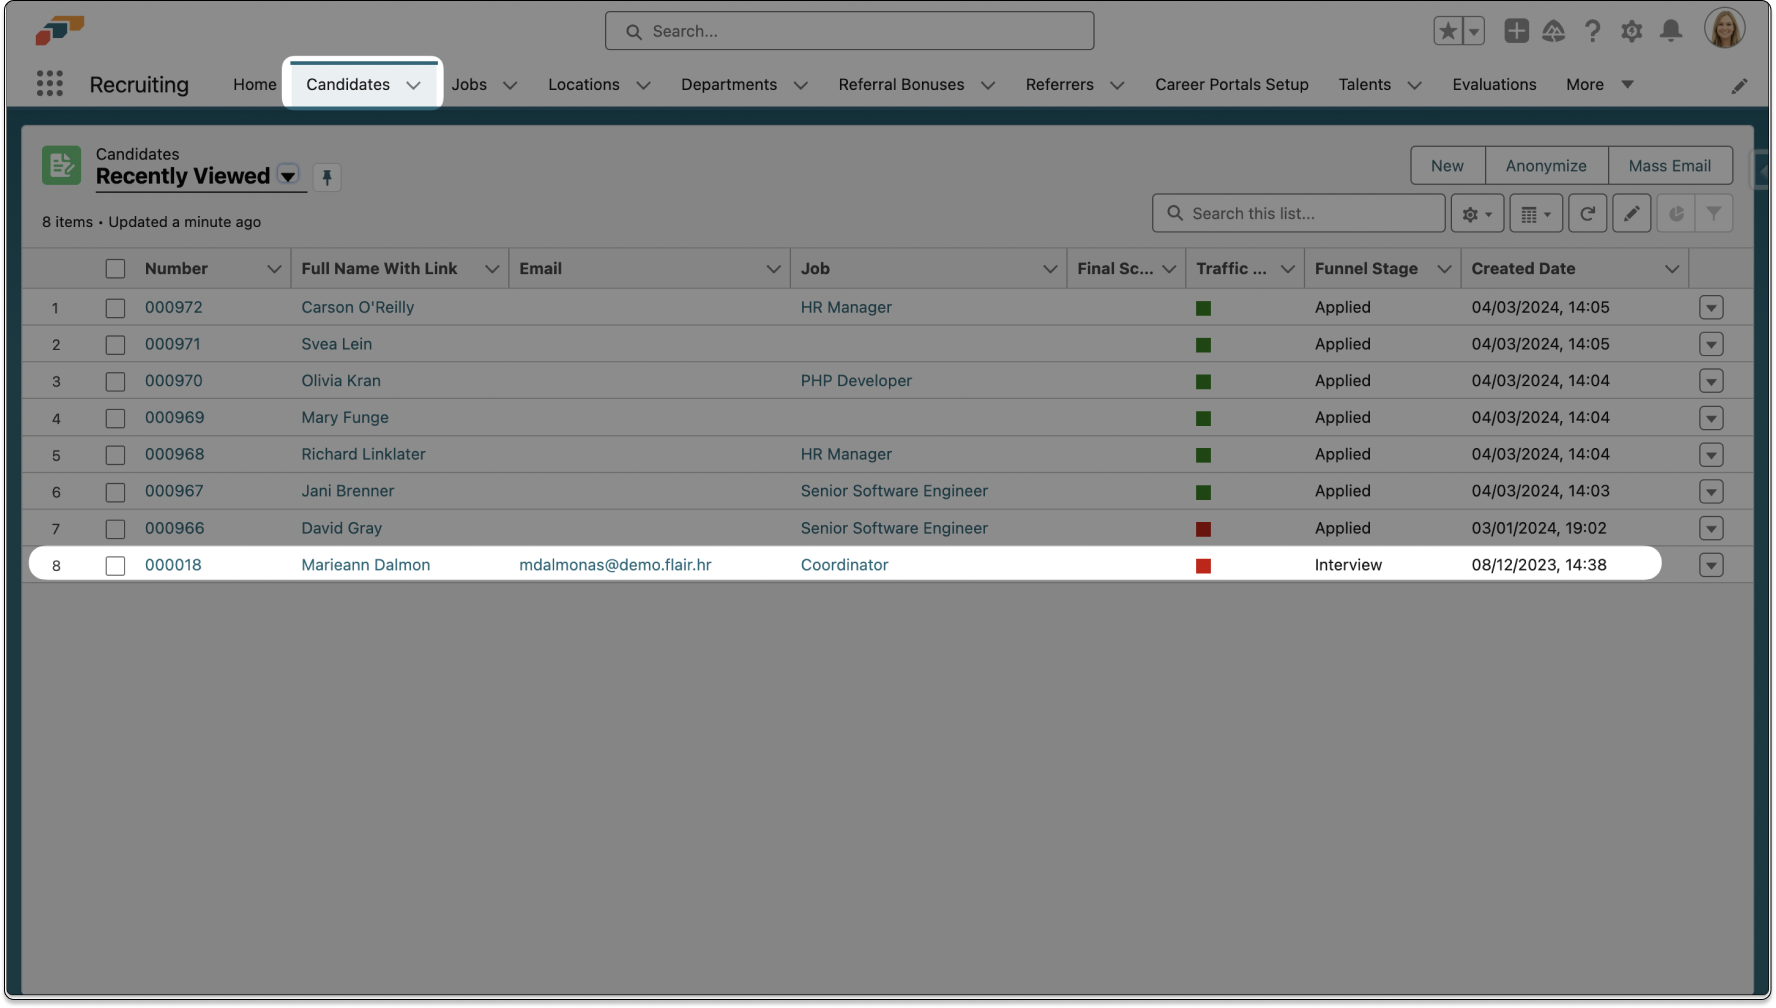
- Access the flair Recruiting app and navigate to the Candidates page
- Select the candidate you wish to receive the email
Adding Merge Fields to an Email Template
With flair email templates it is possible to incorporate merge fields. A merge field is a placeholder or variable that gets replaced with actual data when the email is sent out. It allows for the personalization and automation of email content. There are two ways to add merge fields to an email template.
Classic Email Merge Fields
- When creating a new Classic Email template, you'll see an option labeled Available Merge Fields in the top left corner of the template.
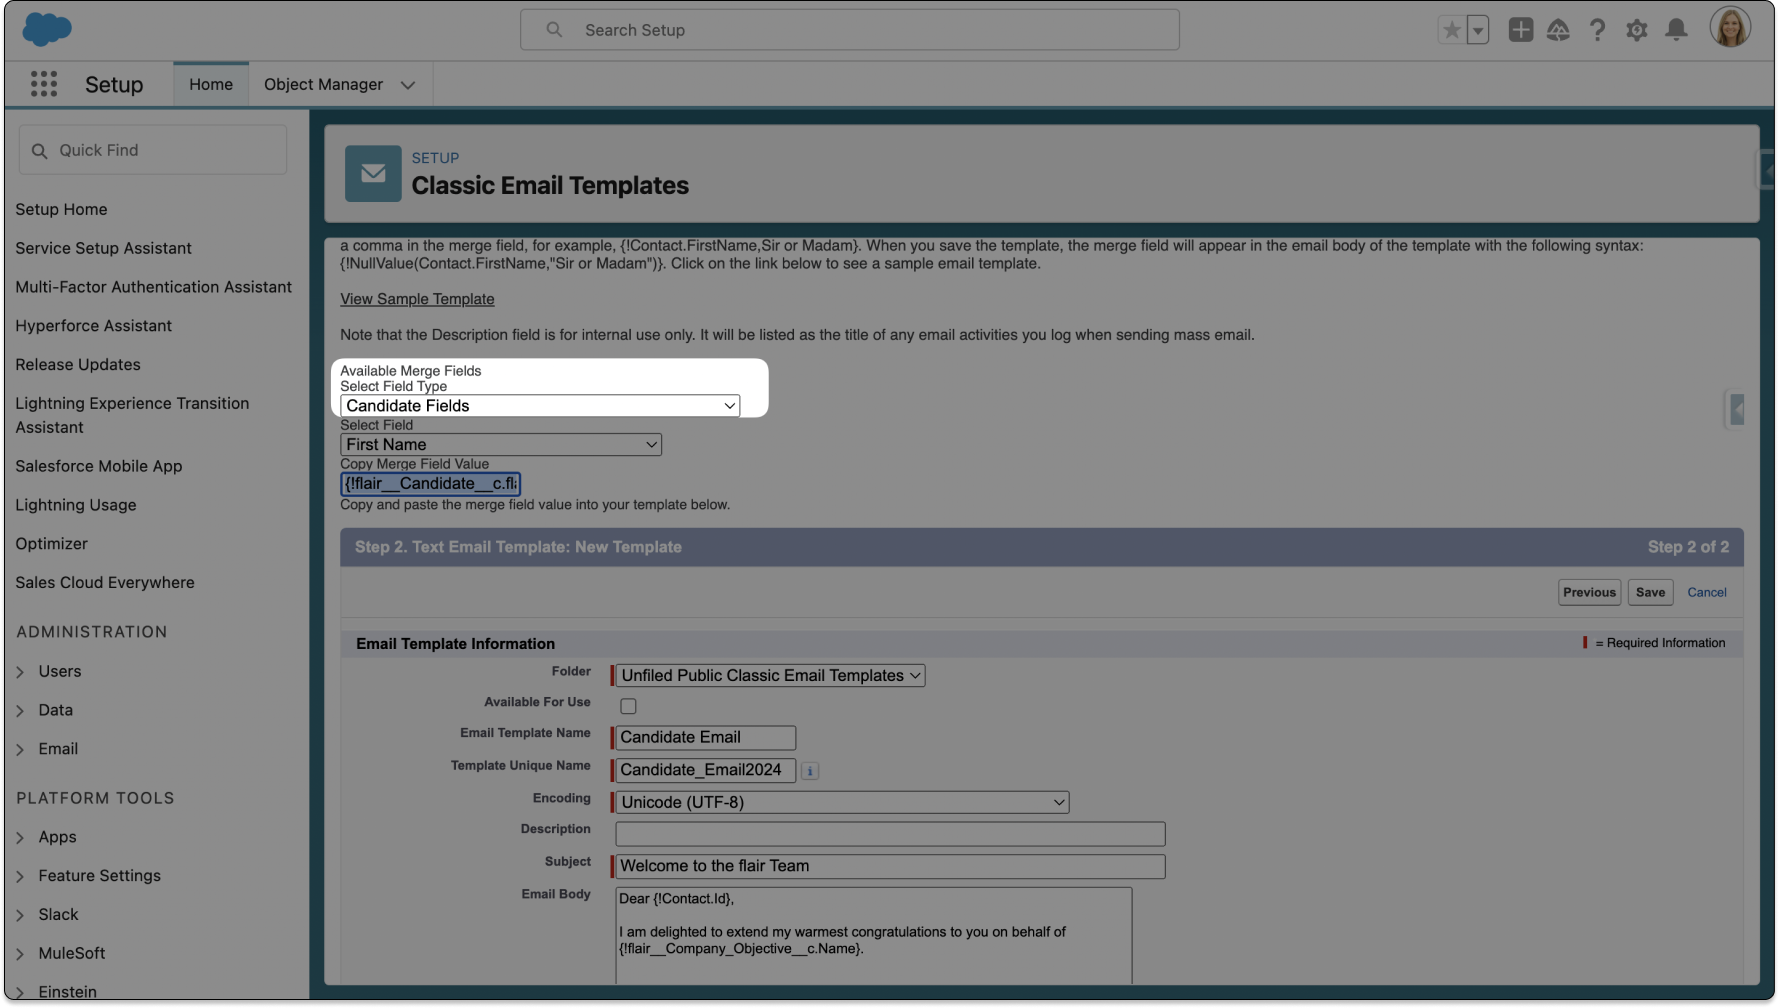
- Choose the appropriate merge field type from a selection of options using the Select Field Type dropdown list. For example, if you want to include candidate-specific merge fields in an email, select Candidate Fields. If the email is payroll-related, select Payroll Fields.

There are more than 100 categories of merge fields related to recruiting, employees, jobs, departments, talent, skills, evaluation, timesheets, and more.
- Within the relevant merge field type, you'll find fields like First Name, Employment Type, Job Name, and many more options for your emails.
- Selecting a merge field such as First Name will present you with a merge field value which you can copy into your email template.
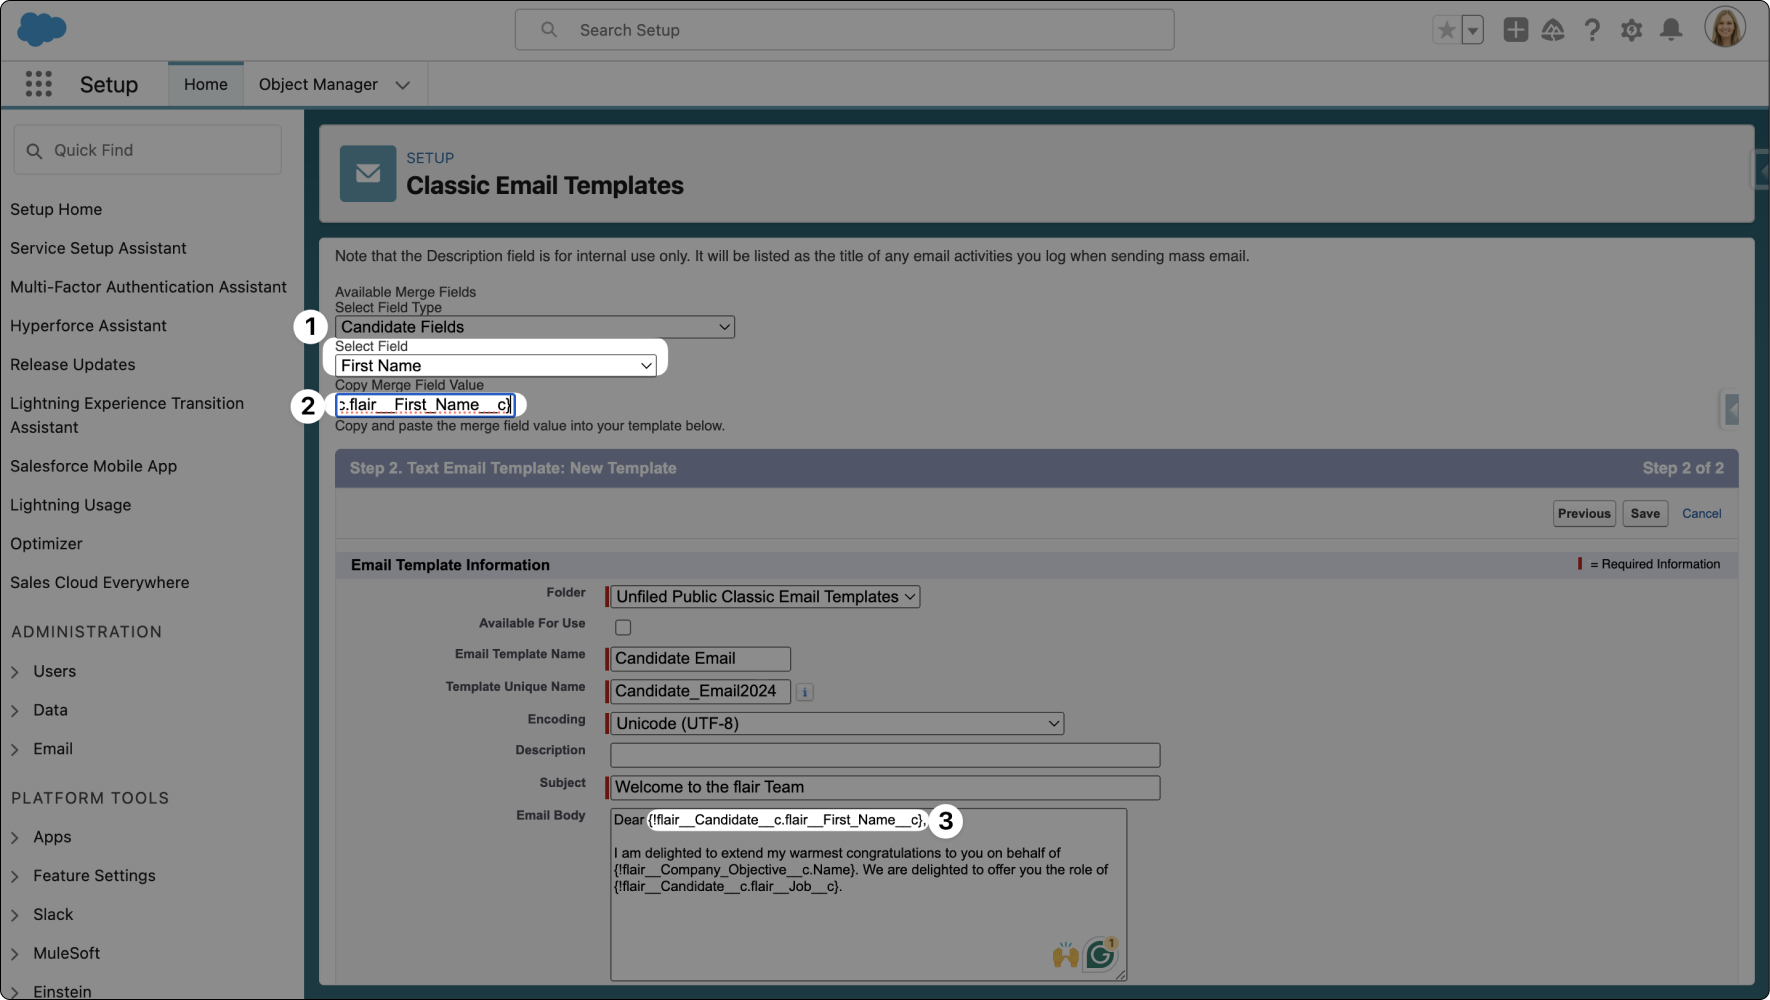
- The types of merge fields you include in an email template will determine the type of data automatically included in the email. For example, including fields like First Name or Contact ID will populate the email with corresponding individual information.
- Once you're happy with how the email looks, click Save to store the template.
Candidate Email Merge Field
It is also possible to add merge fields to candidate and recruitment emails using the flair Recruiting app. Here is how it works.
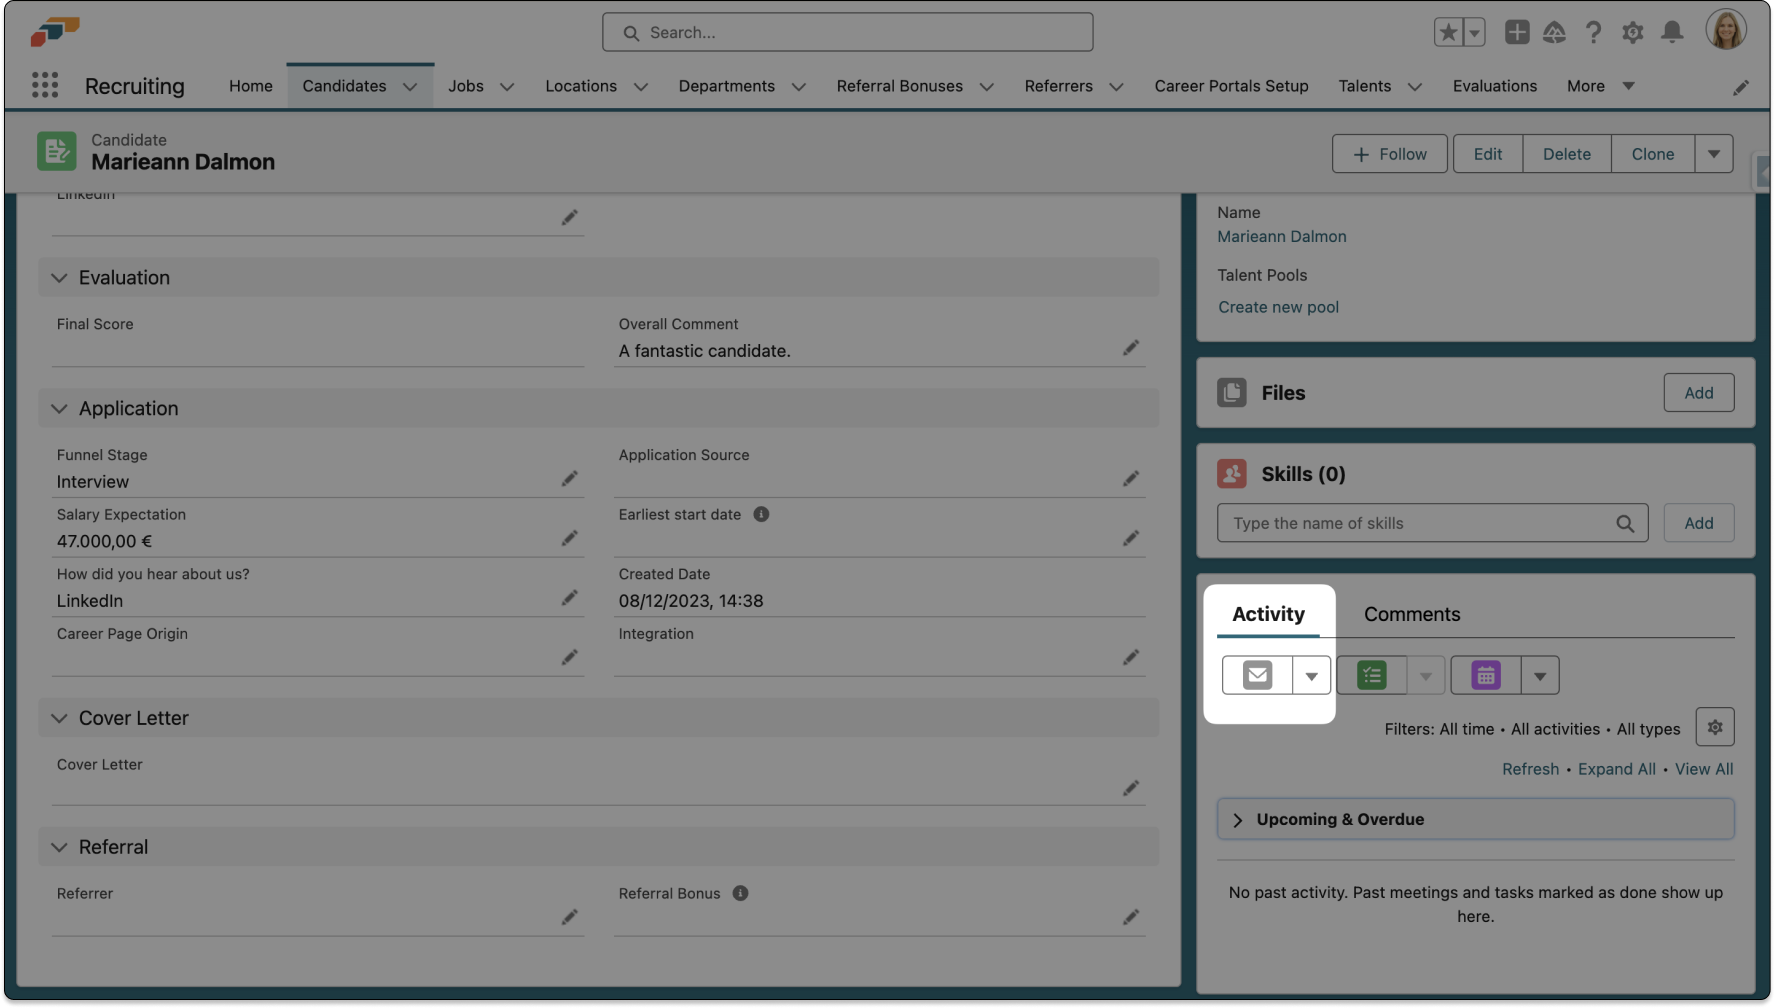
- In the flair Recruiting App, navigate to the Candidates page and choose the specific individual you wish to email.
- Within the chosen candidate's profile, navigate to the Activity box in the bottom right corner and select the Email icon to begin your correspondence.
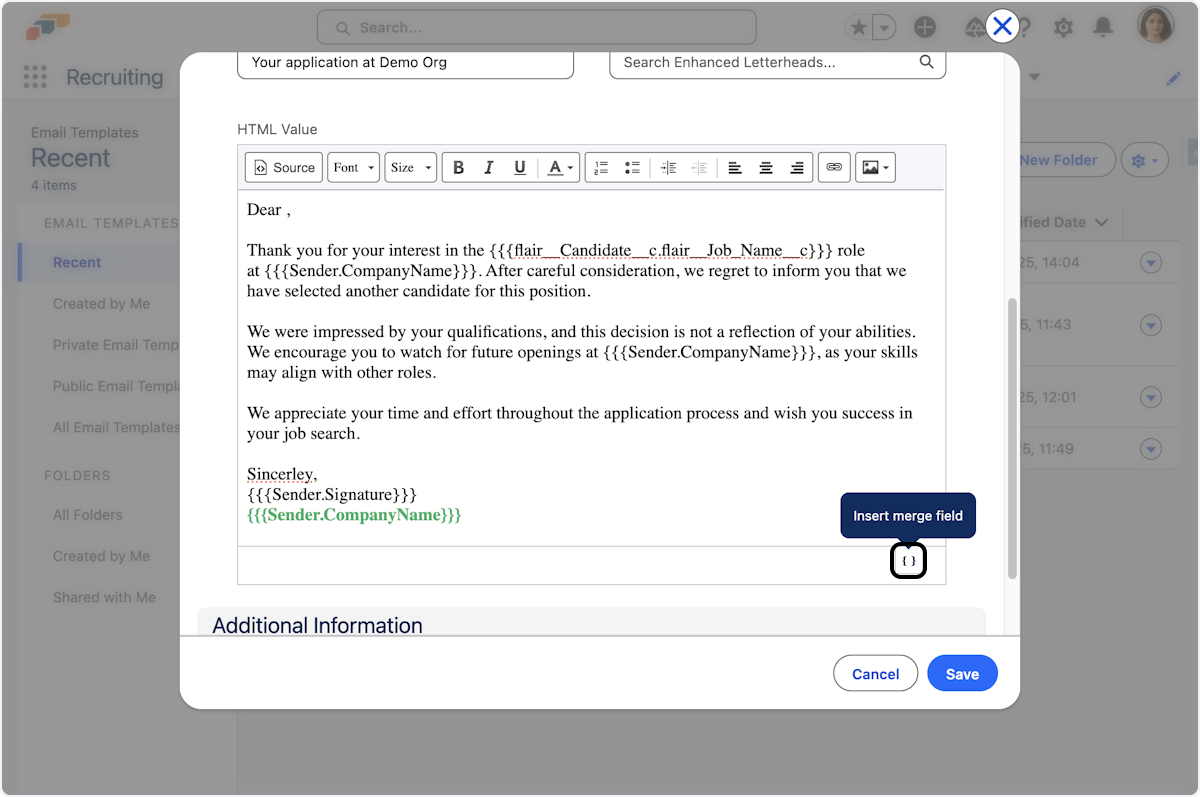
- Within a candidate email, it is possible to insert as many merge fields as you like using the Merge Fields button, indicated by the Bracket icons .
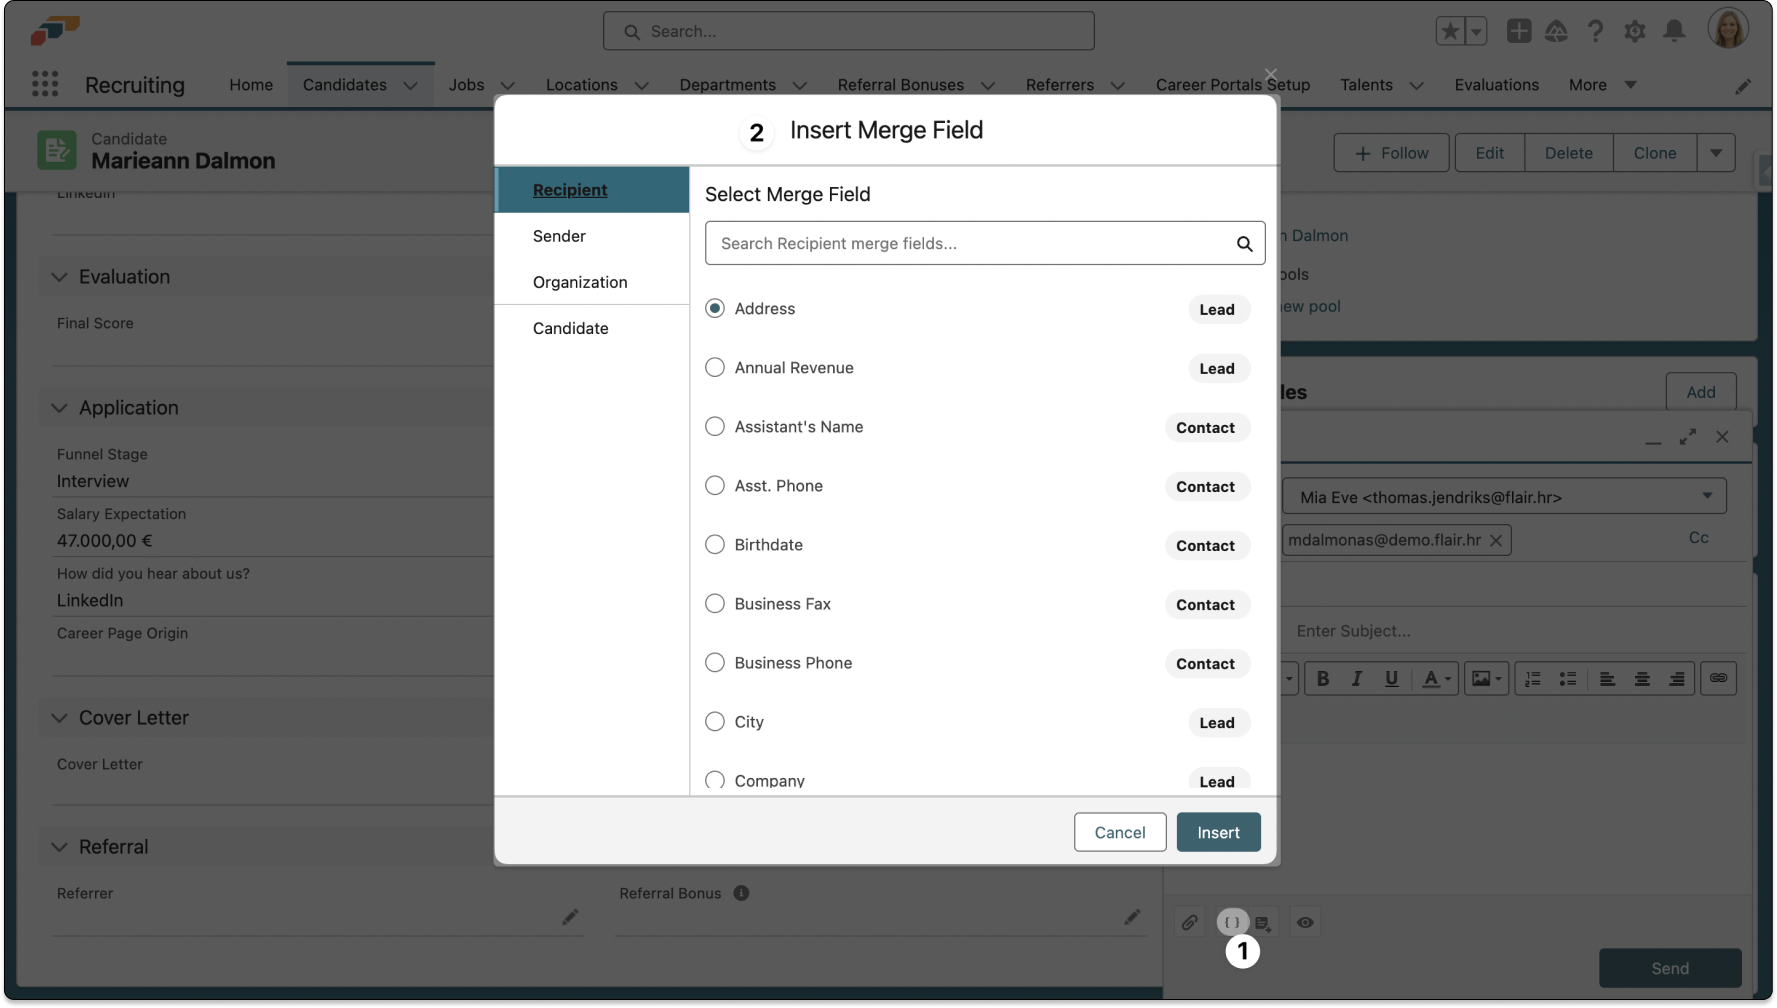

- Choose from a selection of merge fields associated with the sender, your organization, and the candidate.
- Once you have created the email and inserted the relevant merge fields, click the Eye icon to preview the correspondence. Then click Send to deliver the email.
Personalizing Candidate Email Greetings
The Candidate Email Greetings label used at the start of candidate emails supports merge fields beyond just the candidate's first name. You can now also include the candidate's last name or any other candidate field, such as a custom salutation, in the greeting label — for example, "Dear Ms. Lovelace,". Existing greetings that only use the first name keep working exactly as before.
Sending Mass Emails to Candidates
When you need to email multiple candidates at once for the same job, flair's mass email feature saves you time by allowing you to select multiple candidates and send them a templated email in one action. This is particularly useful for interview invitations, status updates, or rejection notifications.
Accessing the Mass Email Feature
- Navigate to the Jobs tab in the flair Recruiting app

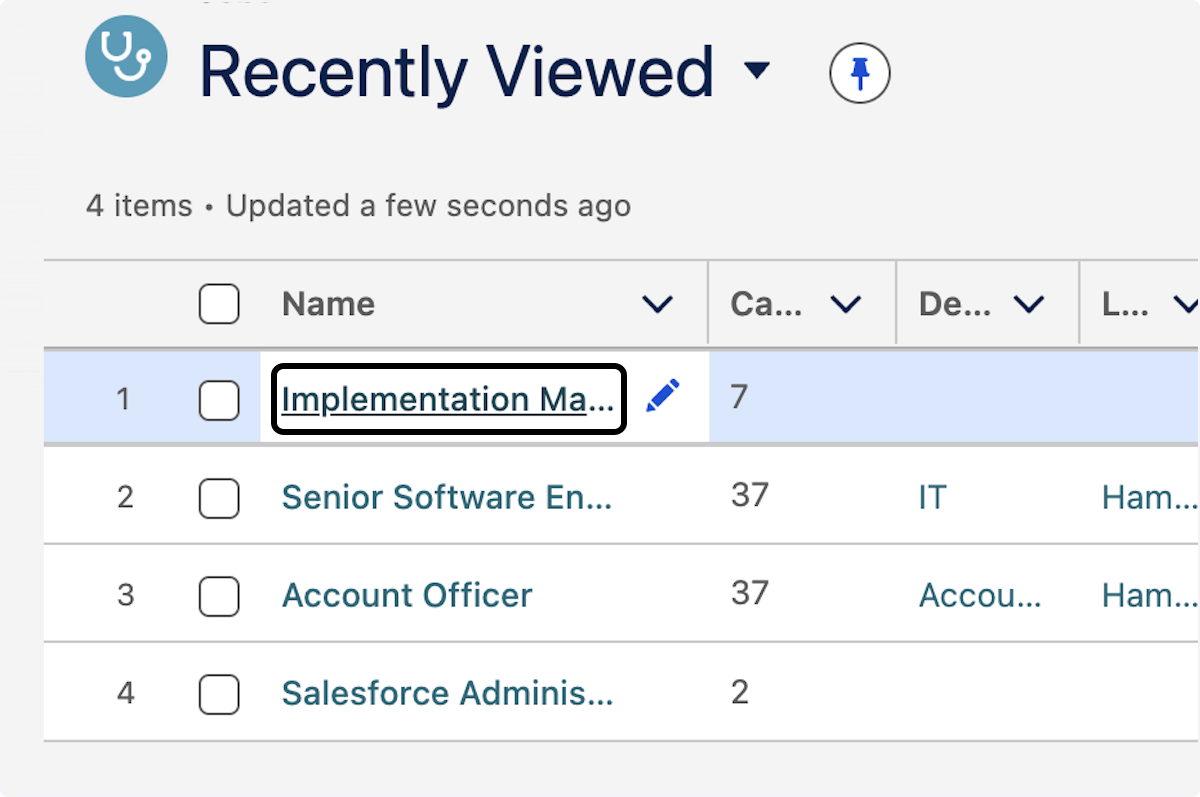
- Select the job for which you want to email candidates
- Select the checkboxes next to the candidates you want to email
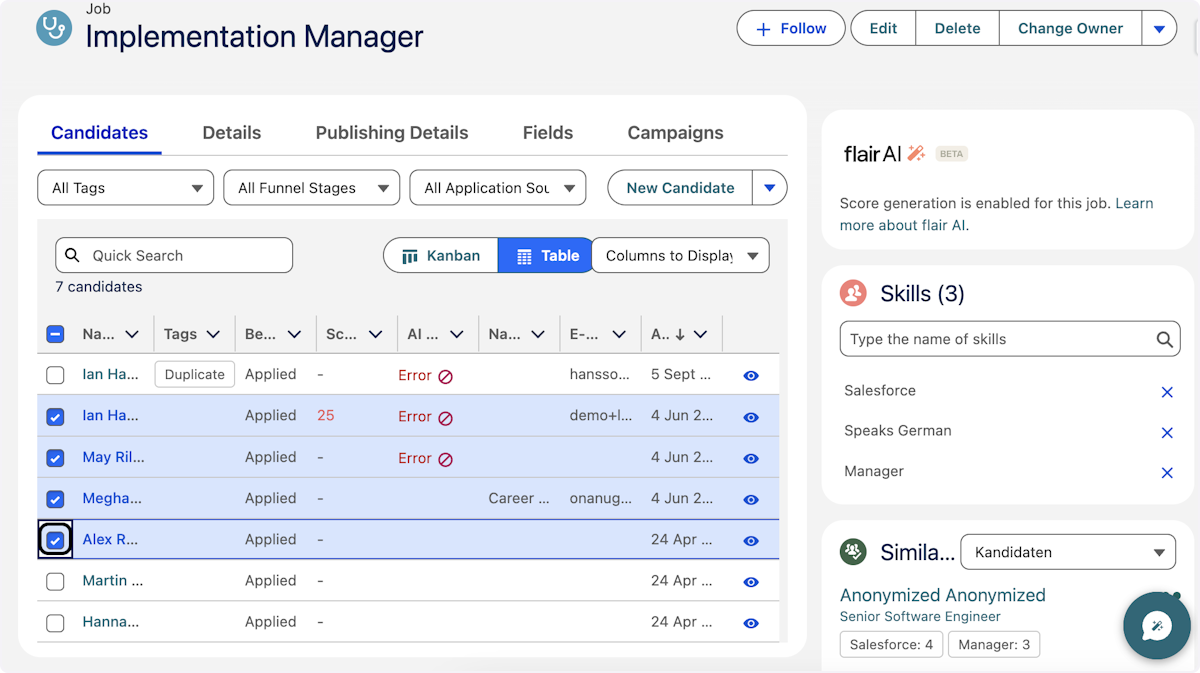
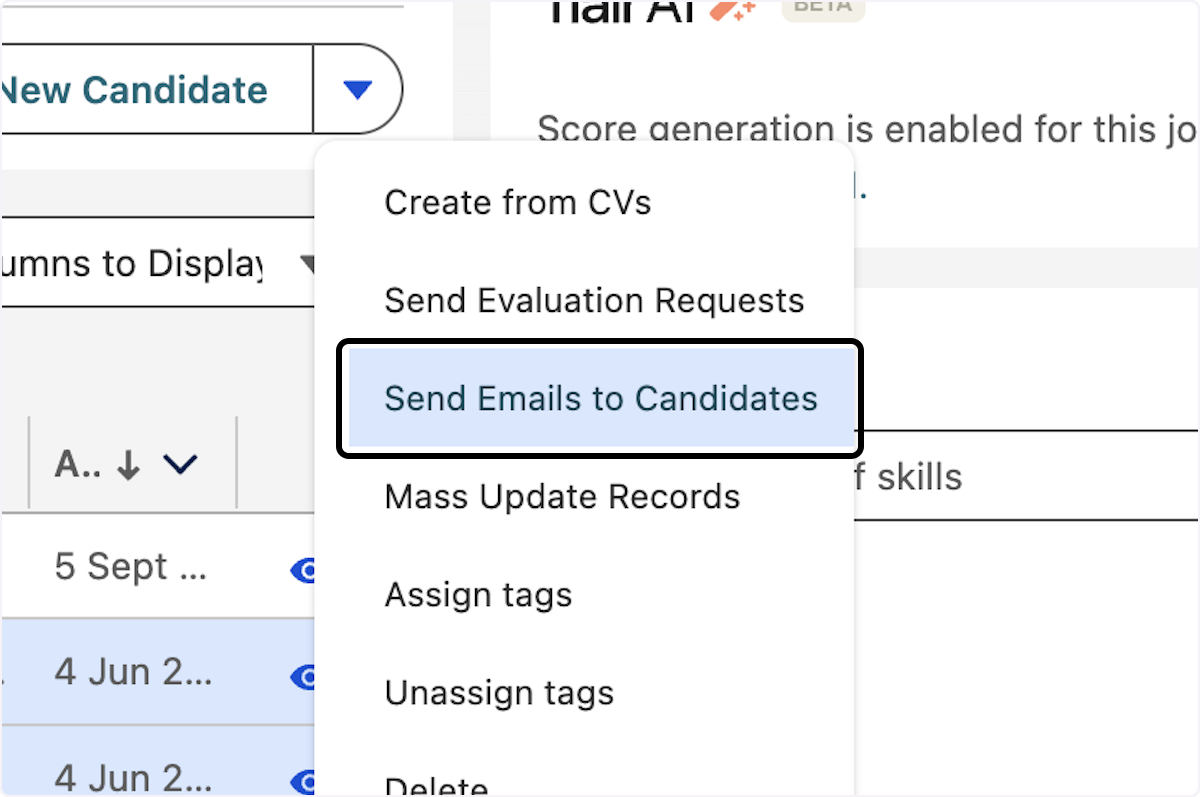
- Click on the Show menu icon (three dots)
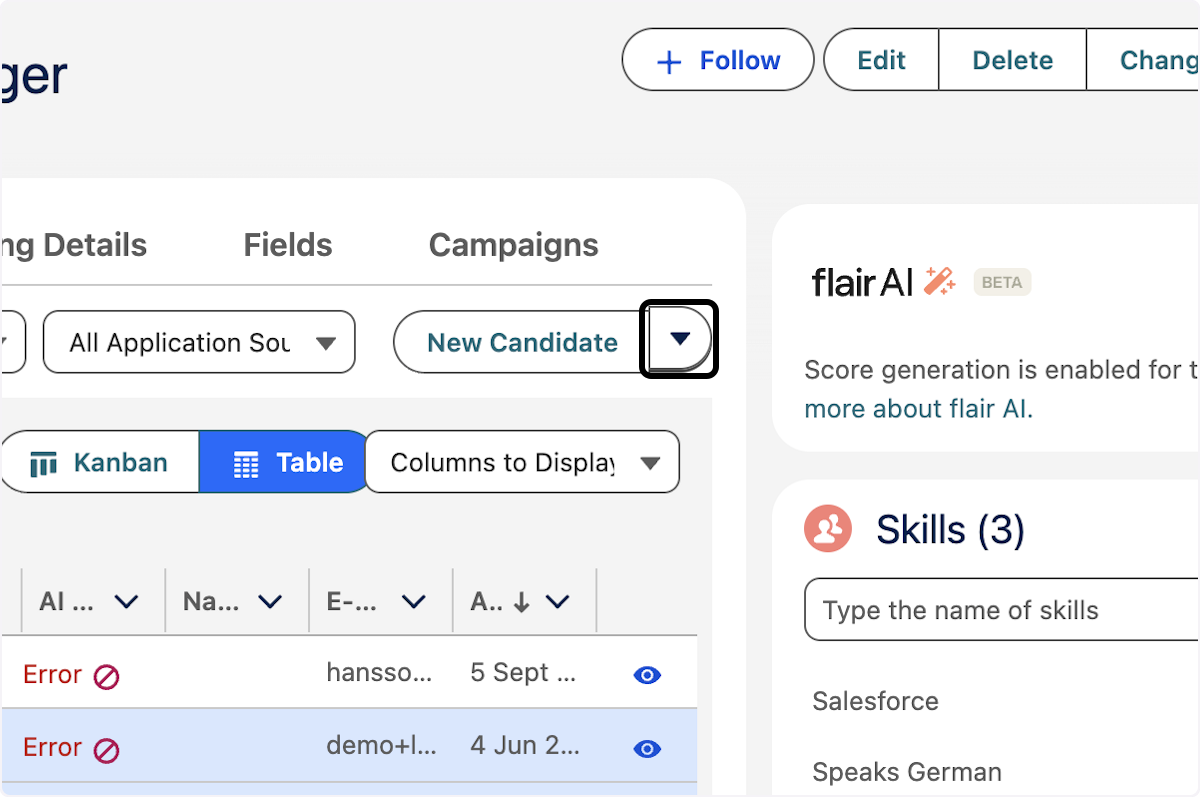
- Click on Send Emails to Candidates
Configuring Your Mass Email
- Click on Select Template to choose your email template
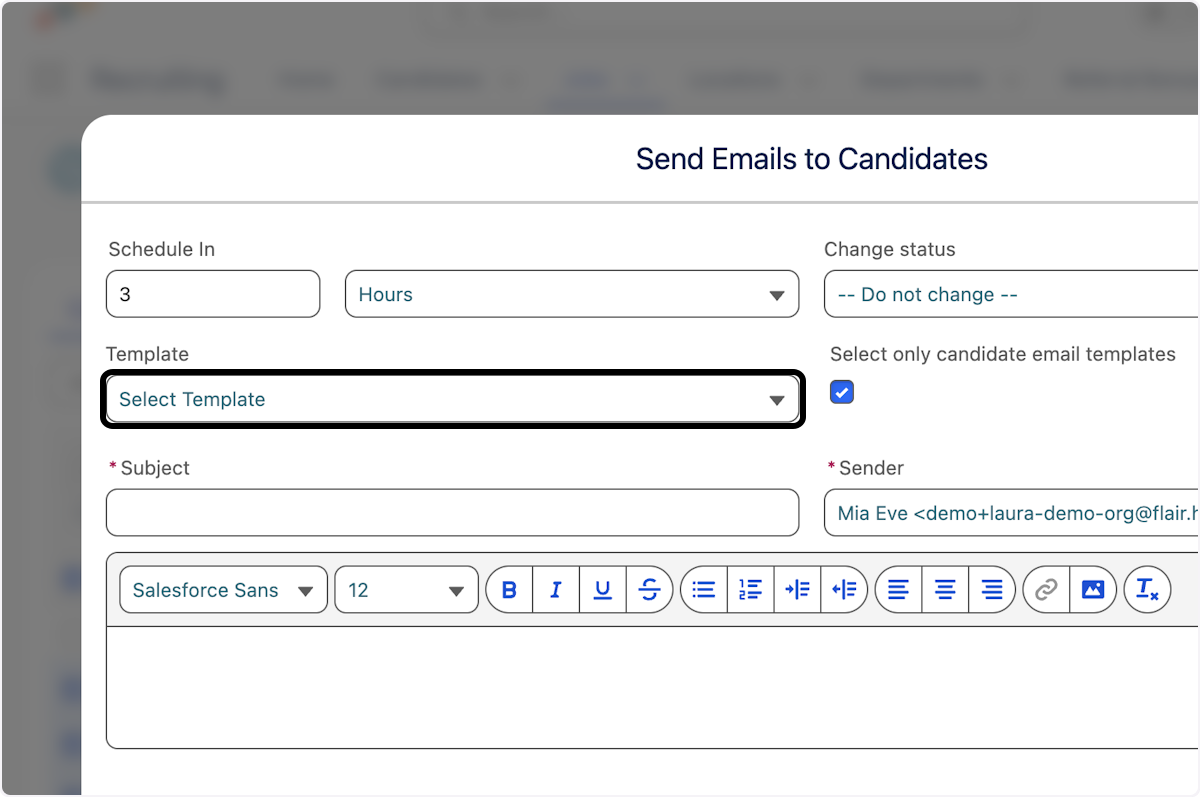
- Select your desired email template from the dropdown

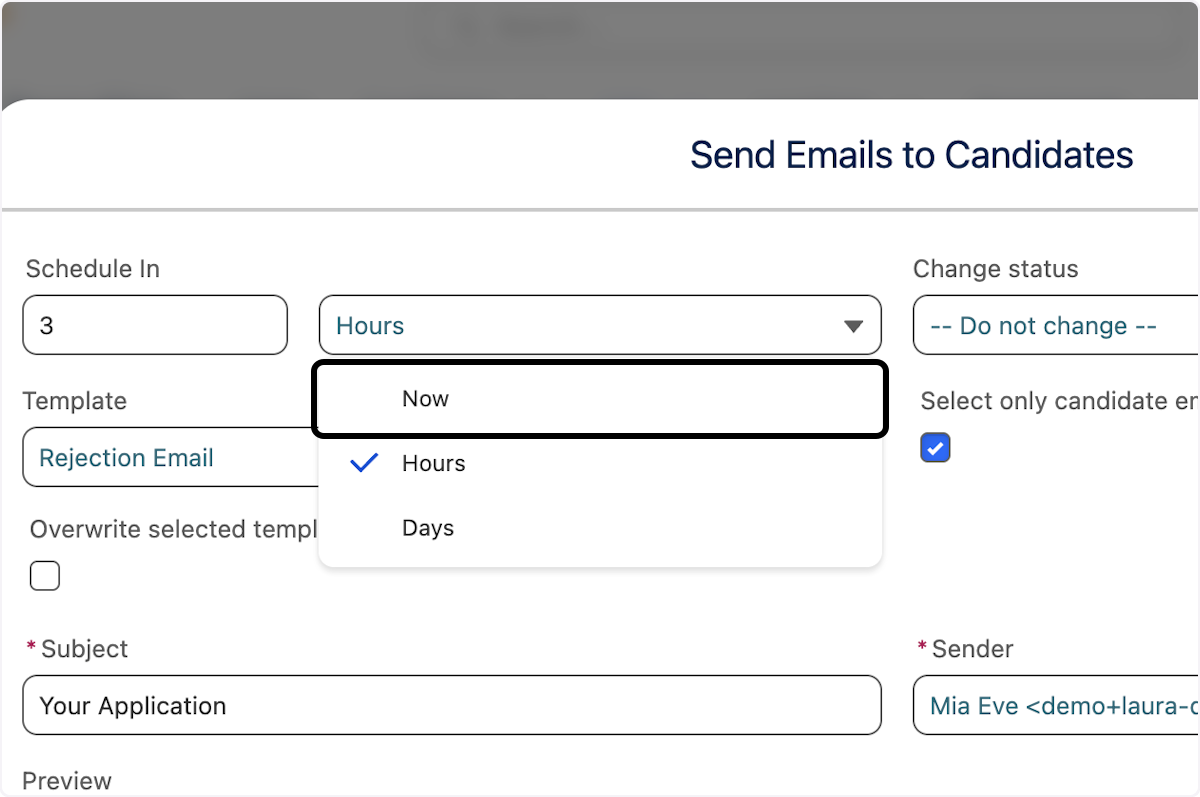
Scheduling Your Email
- To specify when to send the email, click on Hours
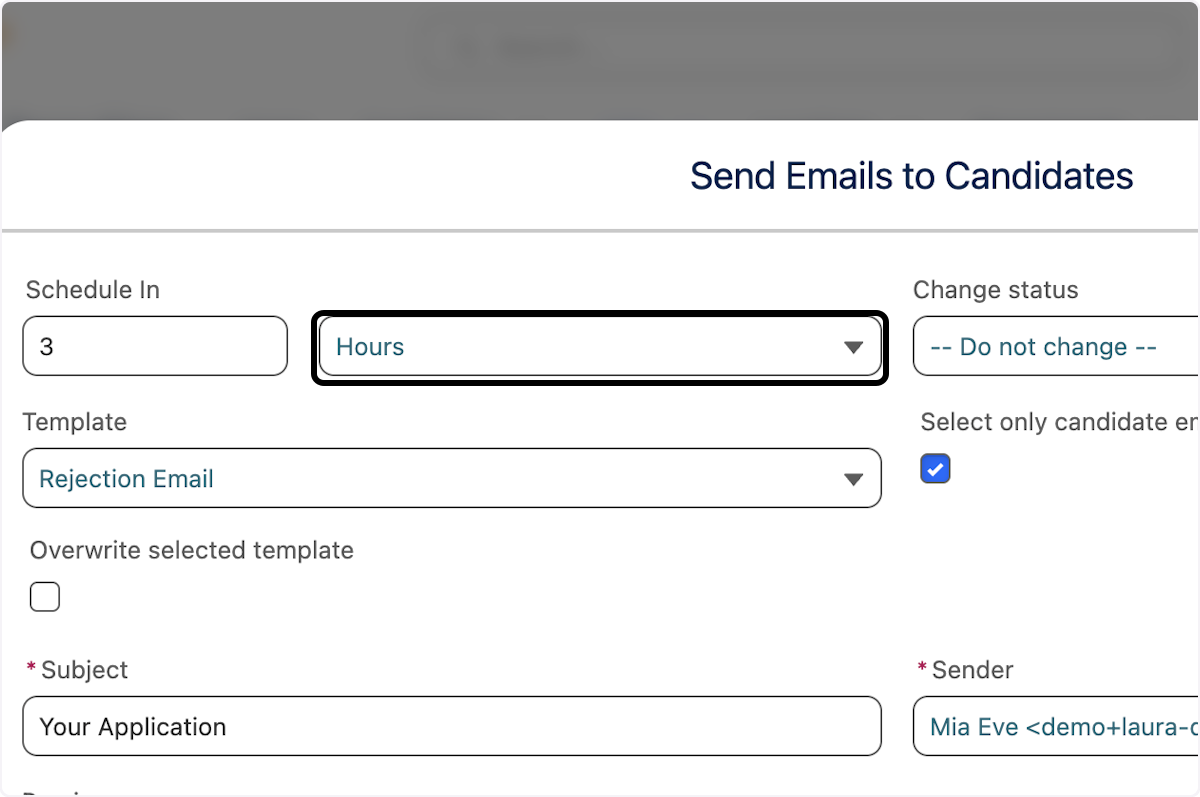
- Click on Now to send the email immediately (or choose a scheduled time)
Customizing the Template for This Send
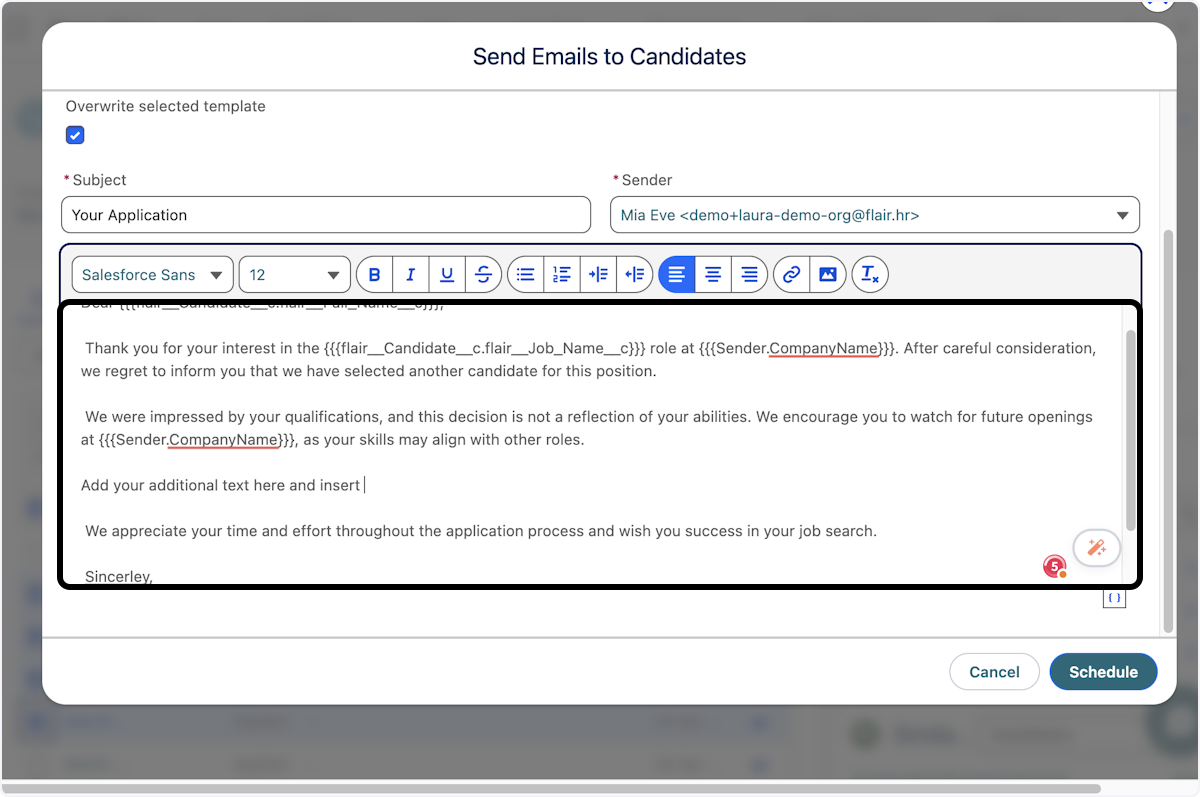
If you want to make specific adjustments to the email content for this particular mass send without affecting the saved template:
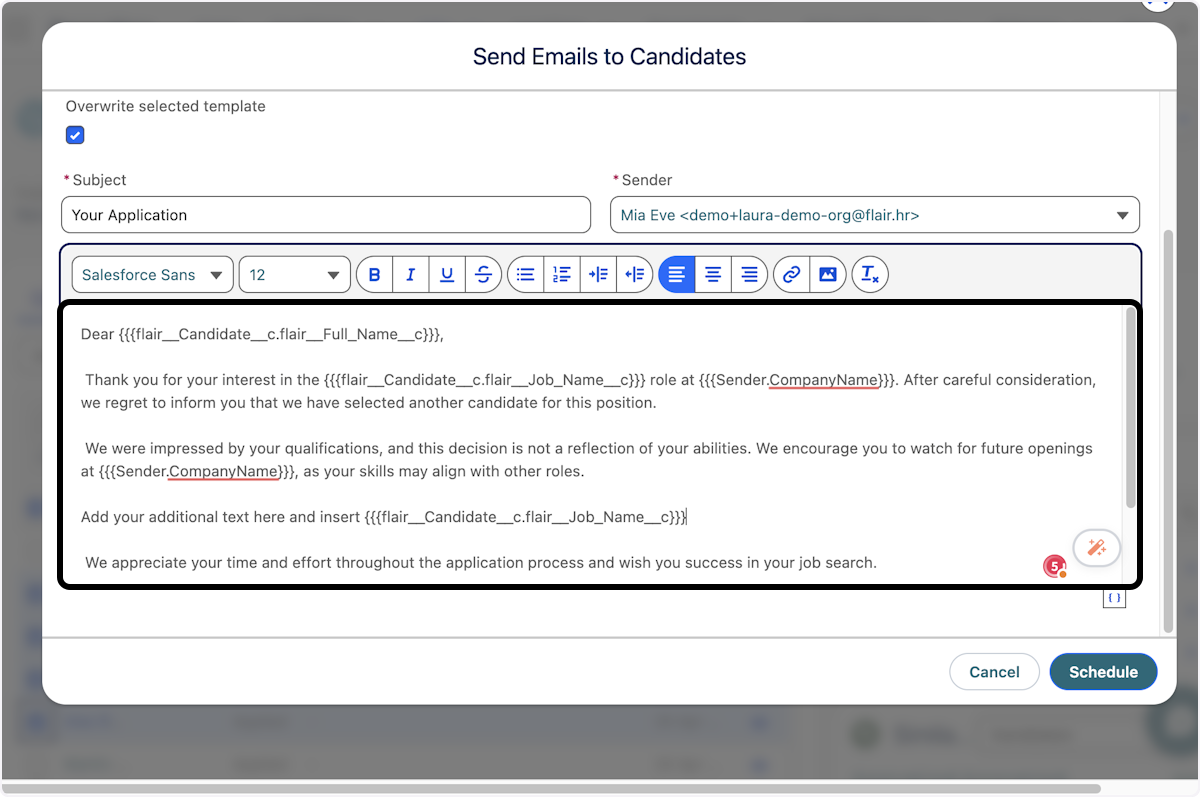
- Check the Overwrite selected template checkbox

- You can now add or remove text, pictures, and links for this specific mass email. Your saved template won't be affected by these changes.
Adding Merge Tags to Personalize Mass Emails
- Click on the icon (merge tags) to insert dynamic placeholders
- Type keywords to search for merge fields (e.g., "job")
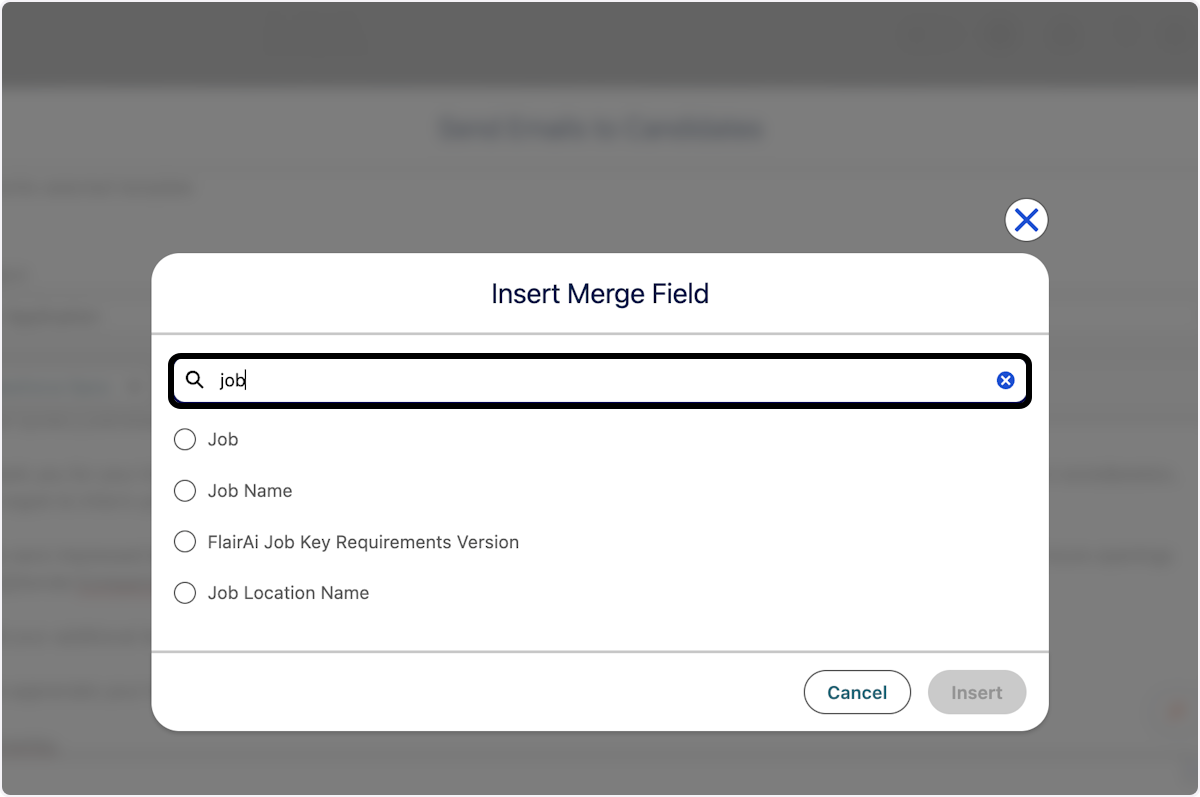
- Select the desired merge field (e.g., Job Name) from the search results
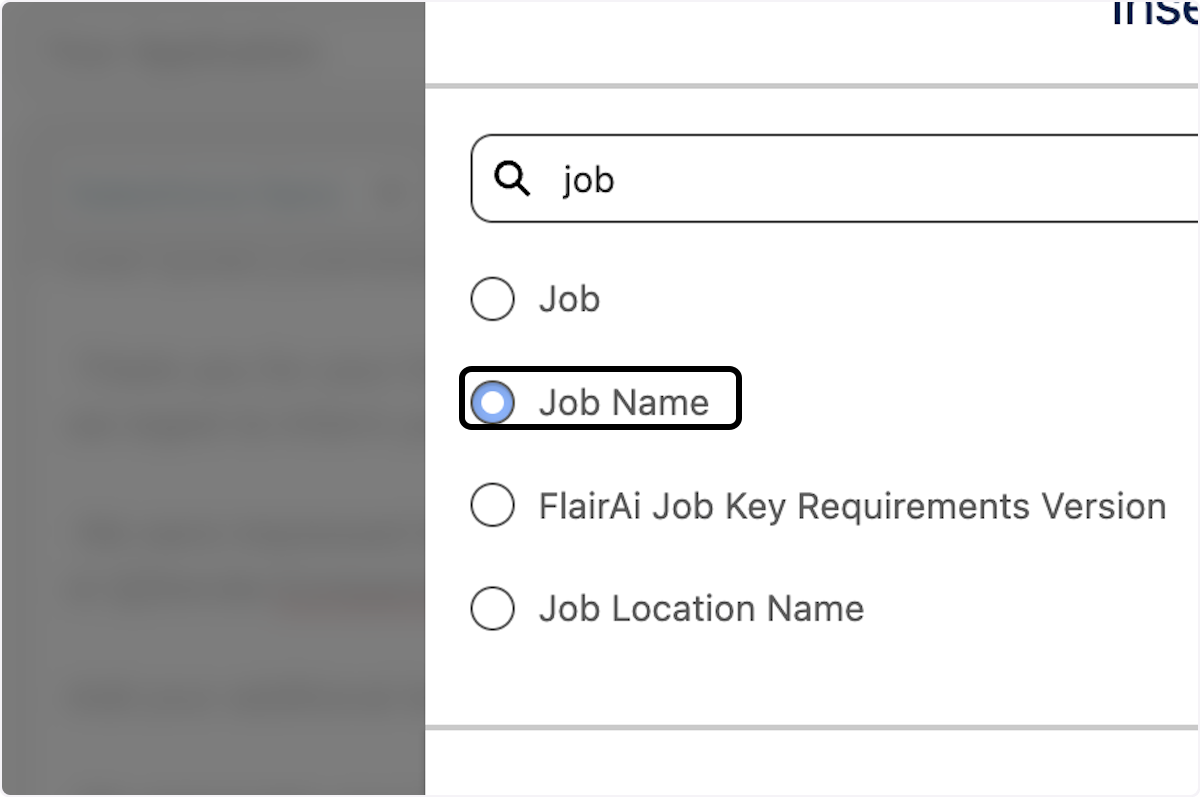
- Click Insert to add the merge tag to your email
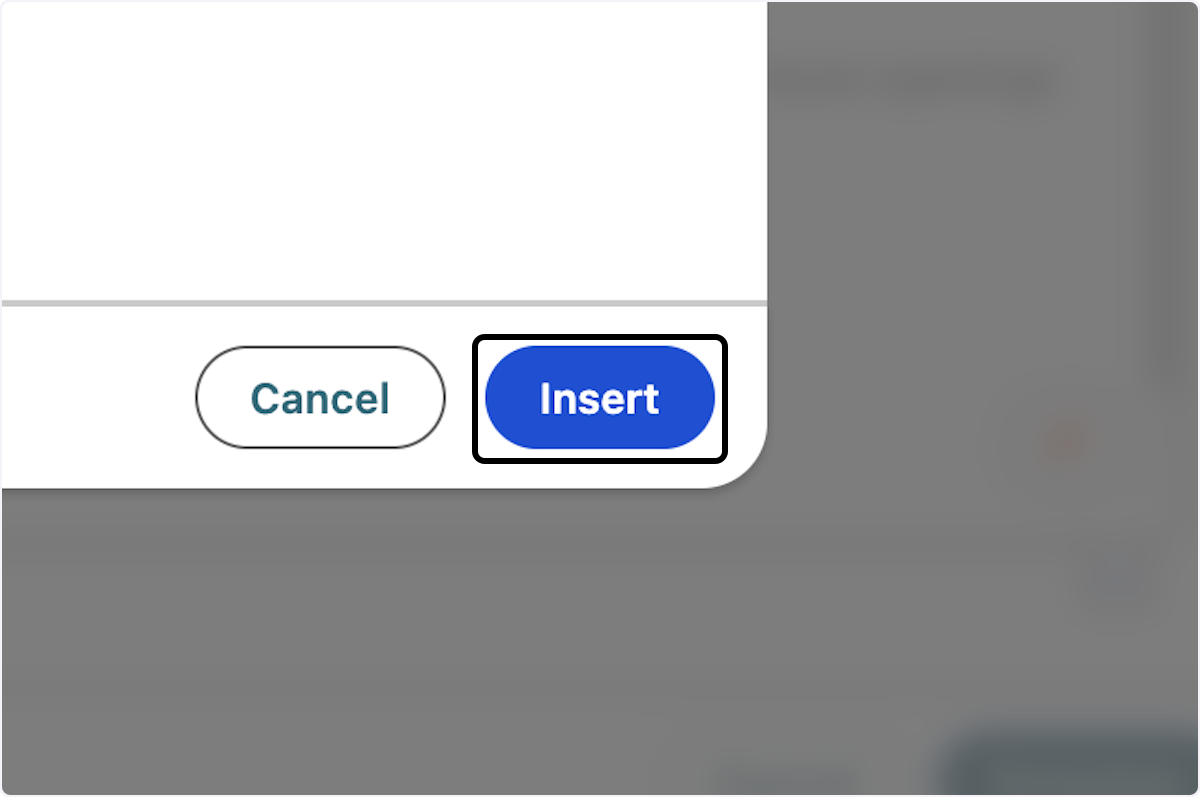
- The merge tag (e.g.,
{{{flair__Candidate__c.flair__Job_Name__c}}}) is now added to your email and will be replaced with actual data when sent
Sending the Mass Email
- Once you're satisfied with the email configuration, click Schedule to send the emails to all selected candidates
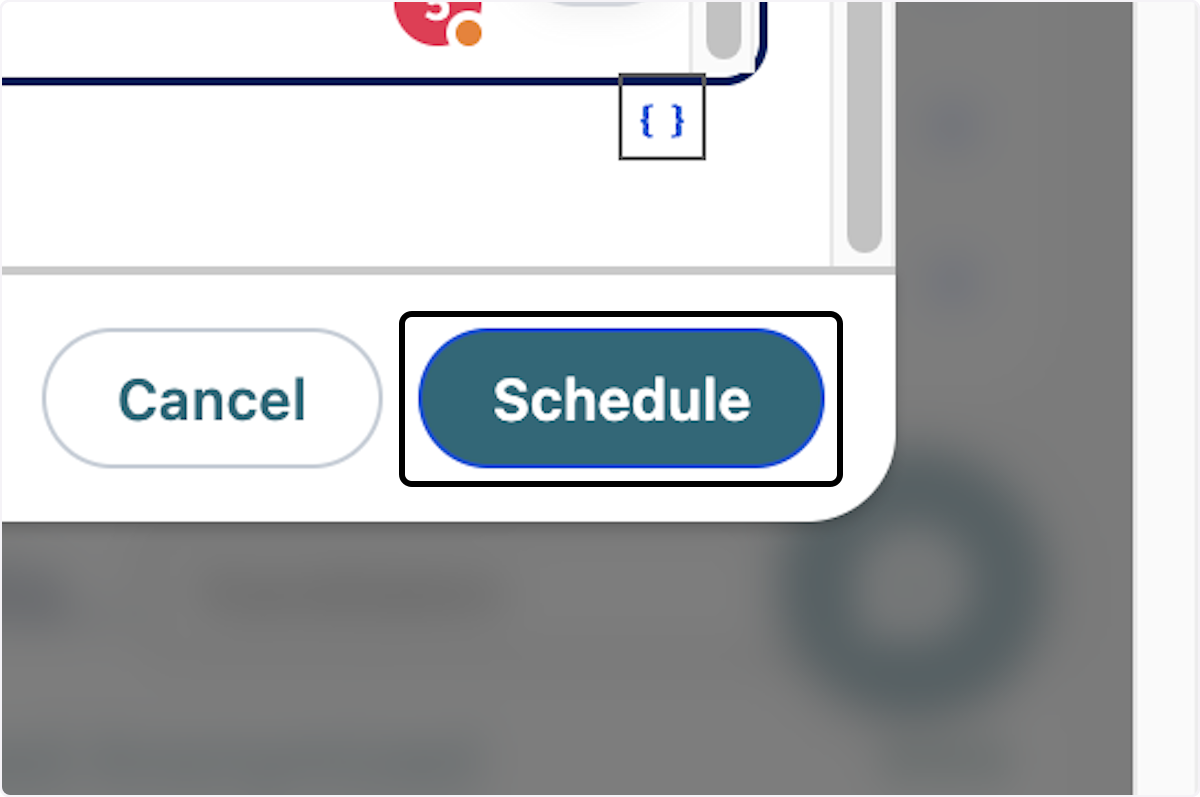
Well done! You just emailed several candidates at once and saved a lot of time!
Sending Mass Emails to Employees and Talents
HR admins can now send mass emails to employees and talents directly from their list views in Salesforce. This extends the same email flow previously available for candidates to your full workforce — useful for company-wide announcements, policy updates, or any communication that needs to reach a group of employees or talent pool members at once.
Sending to Employees
- Navigate to the Employees list view in the flair HR app in Salesforce.
- Select the checkboxes next to the employees you want to email.
- Click the Send Email action from the list view action bar.
- Select your email template. Optionally check Overwrite selected template to adjust the content for this specific send without changing the saved template.
- Choose to send immediately (Now) or schedule for a later time.
- Click Schedule to send the emails.
Sending to Talents
- Navigate to the Talents list view in the flair HR app in Salesforce.
- Select the checkboxes next to the talent records you want to email.
- Click the Send Email action from the action bar.
- Configure the template, timing, and any overrides as needed.
- Click Schedule to send.
All the same options available for candidate mass emails apply here: template selection, template overrides, scheduling, and merge fields. See Sending Mass Emails to Candidates for a detailed walkthrough of the configuration options.
Creating Candidate Rejection Email Templates
This guide walks you through creating a candidate rejection email template in Salesforce that you can use to send professional rejection notifications to candidates.
Creating the Template
- Click on App Launcher and search for "email".
- Type "email" in the search bar.
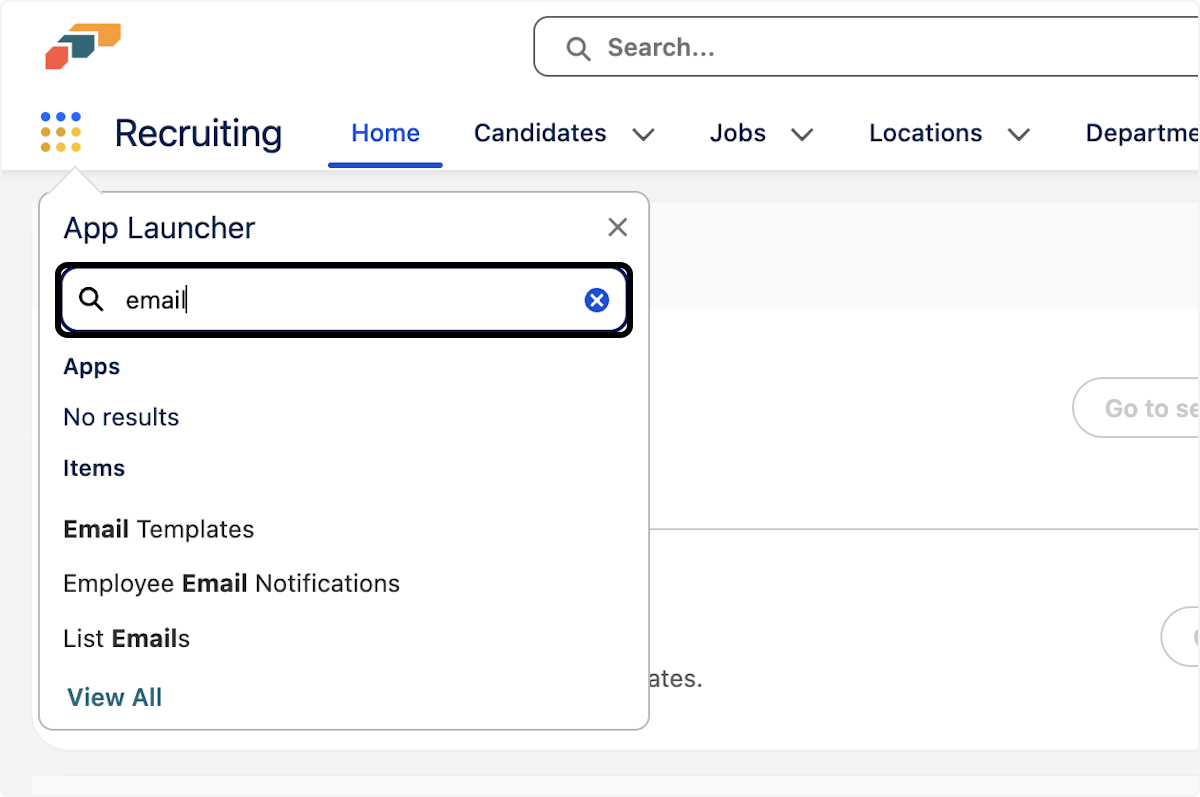
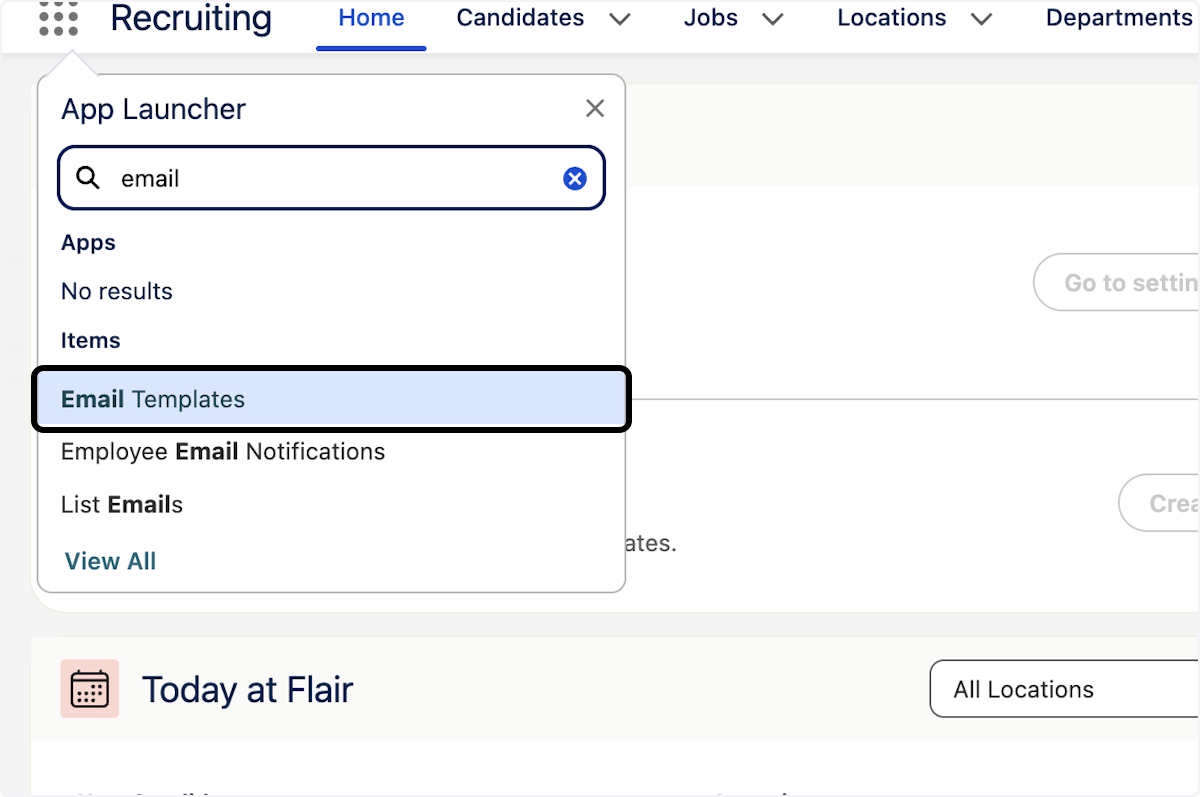
- Click on Email Templates.
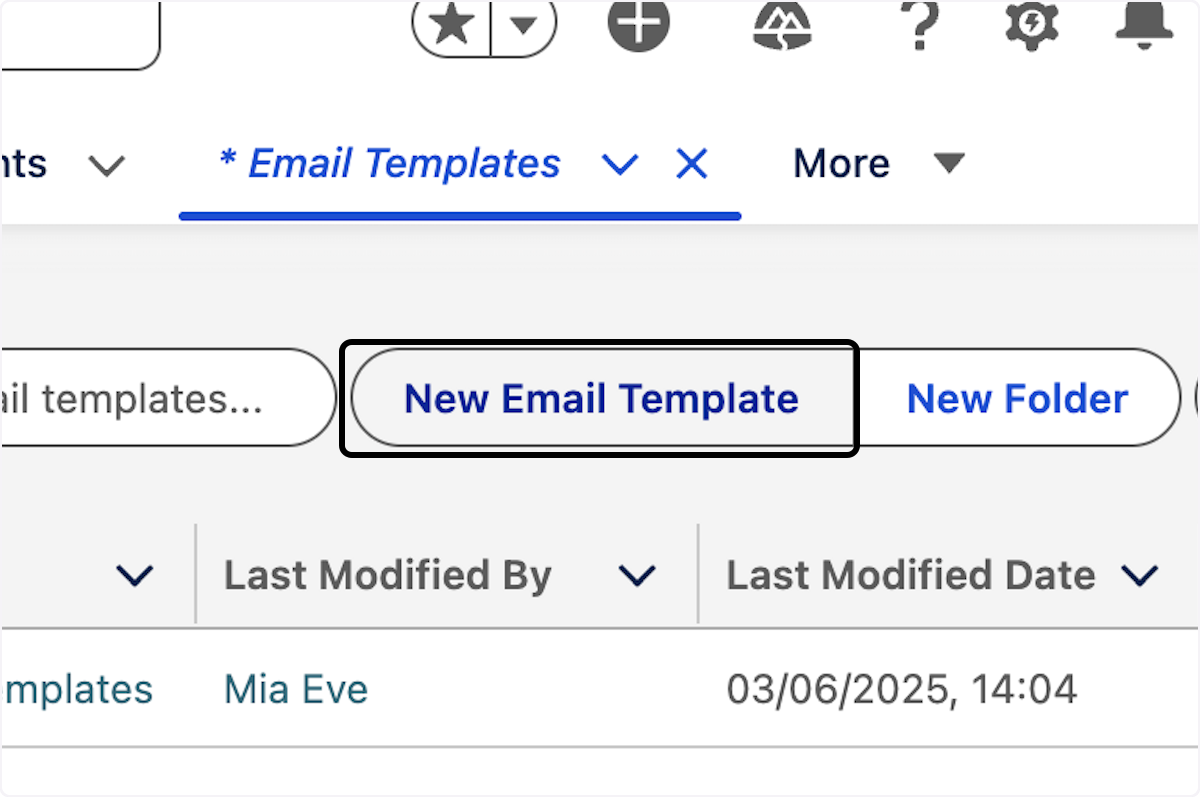
- Click on New Email Template.
- Provide a name for your email template, such as "Candidate Rejection Email".
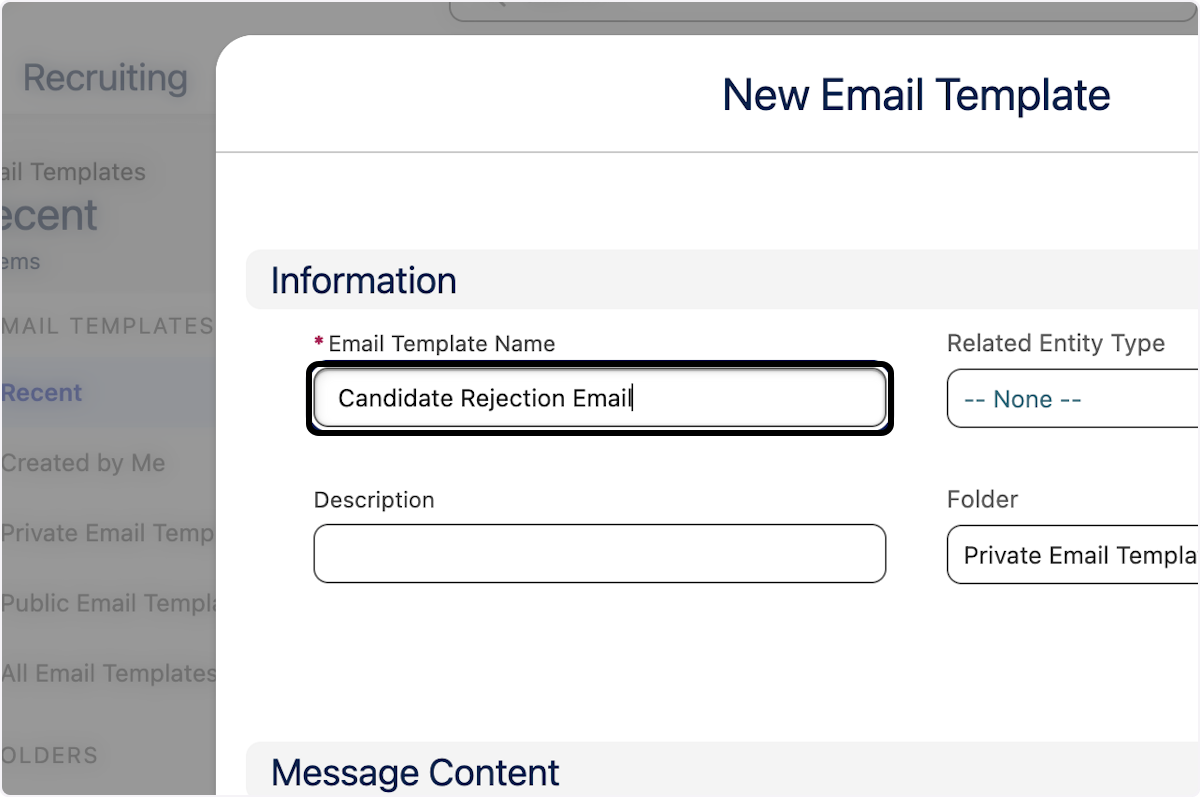
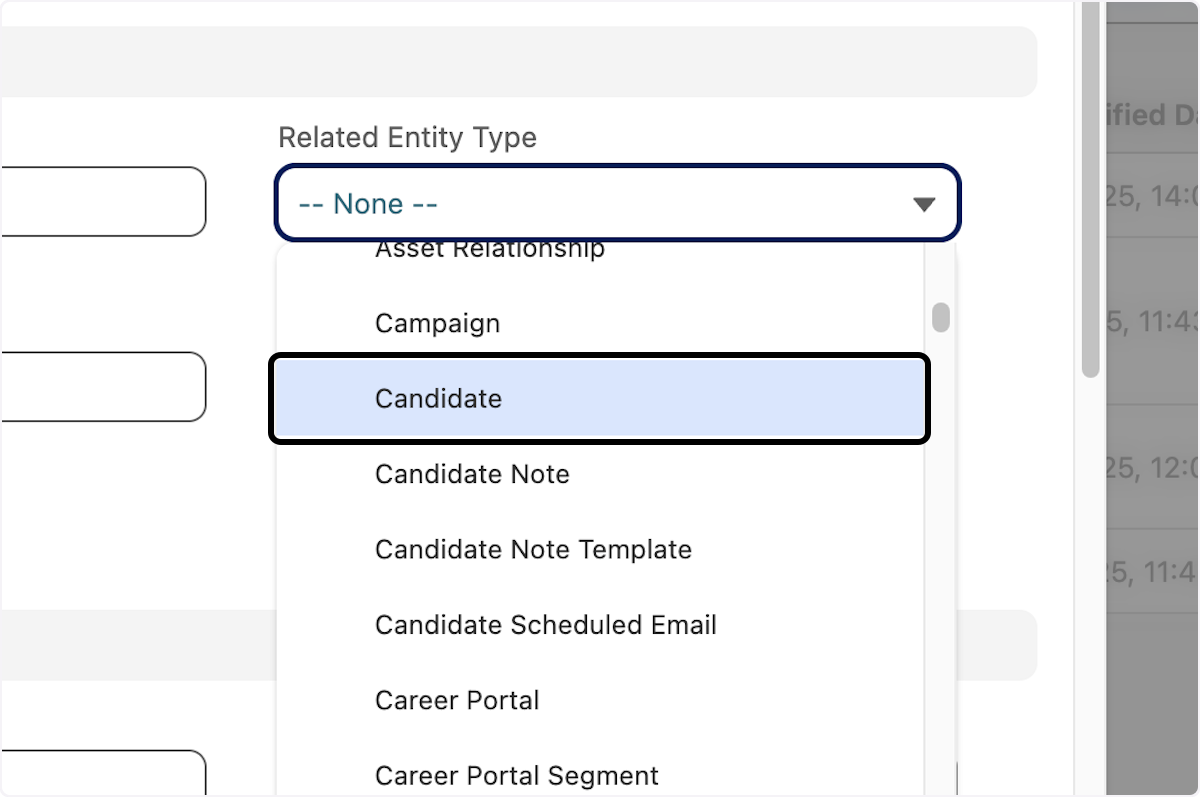
- Use the Related Entity Type field to specify the related object. For example, if it pertains to an email intended for interview candidates, you can select Candidate.
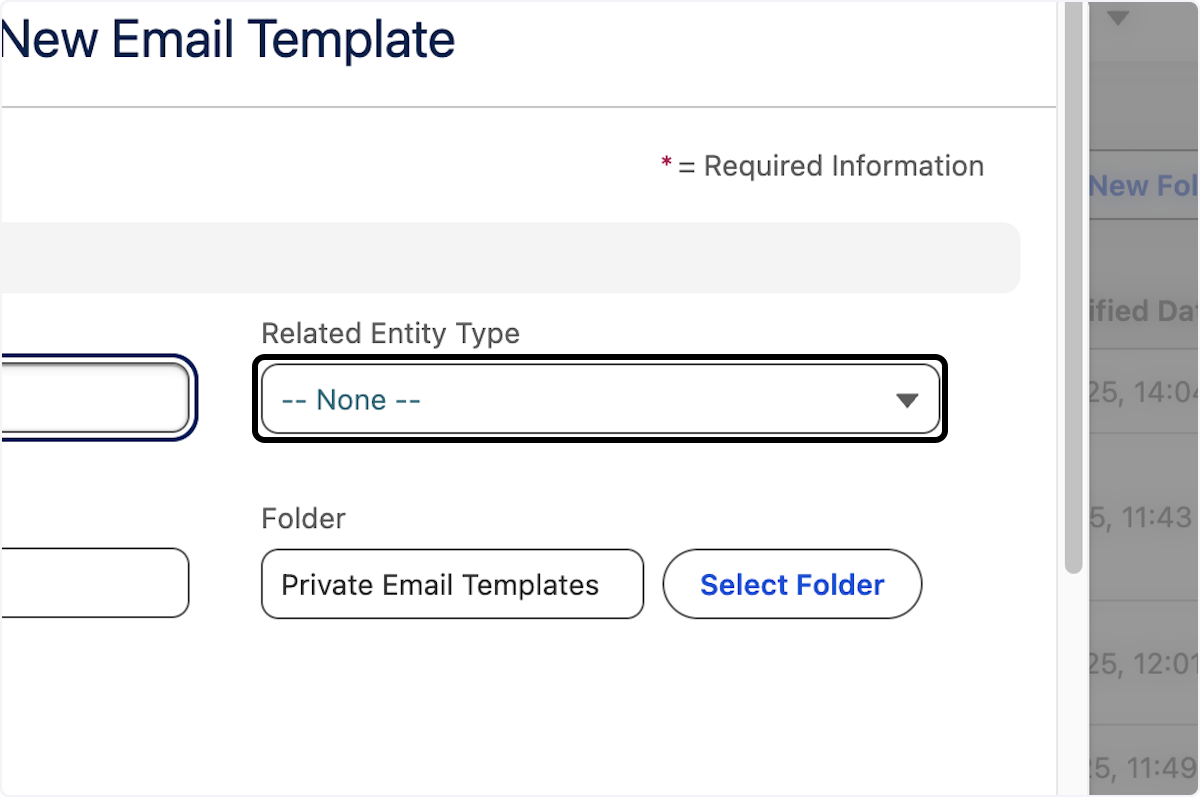
- Click on Candidate.
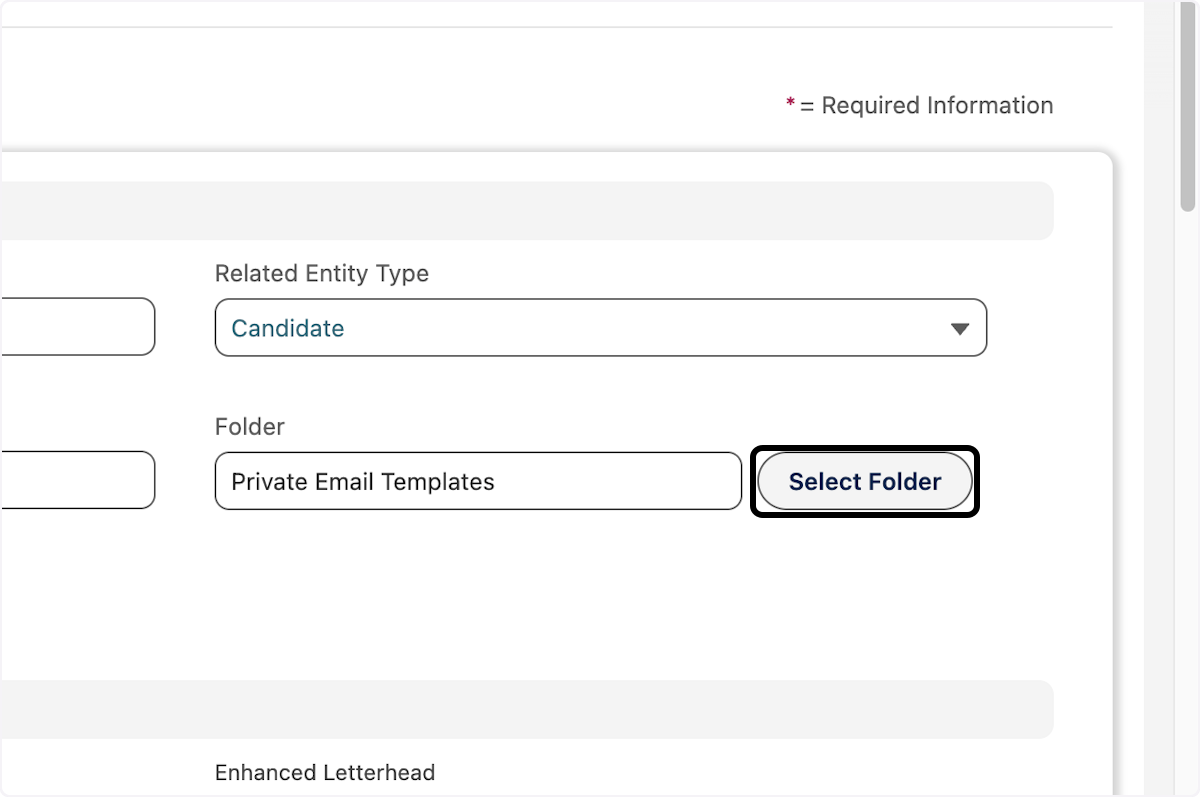
- Choose the visibility of the template using the Folder field. You can keep it private (only visible to you) or make it public for others to access.
- Click on flair Recruiting.

- Click on Select Folder.

- Add a description to provide additional context for the template, such as "Use for Candidate rejection".
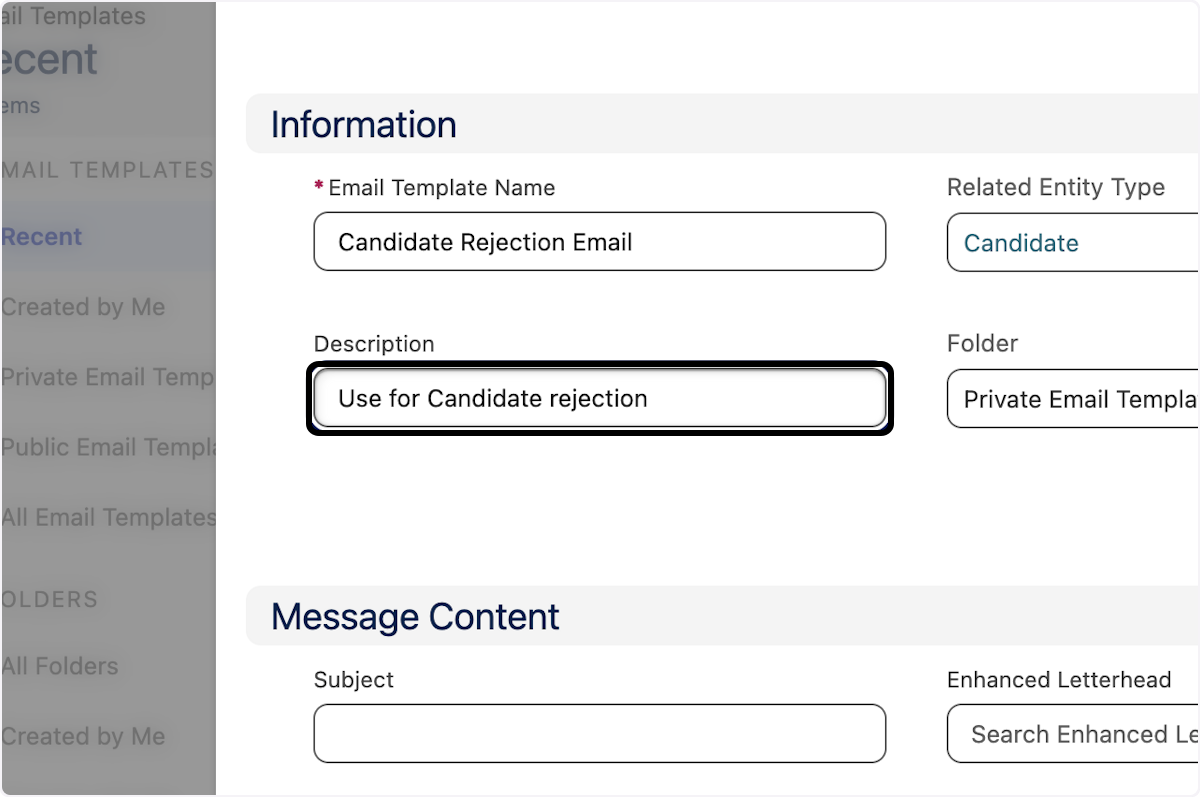
- Enter a subject for the email. This subject will be used when sending the email to recipients.
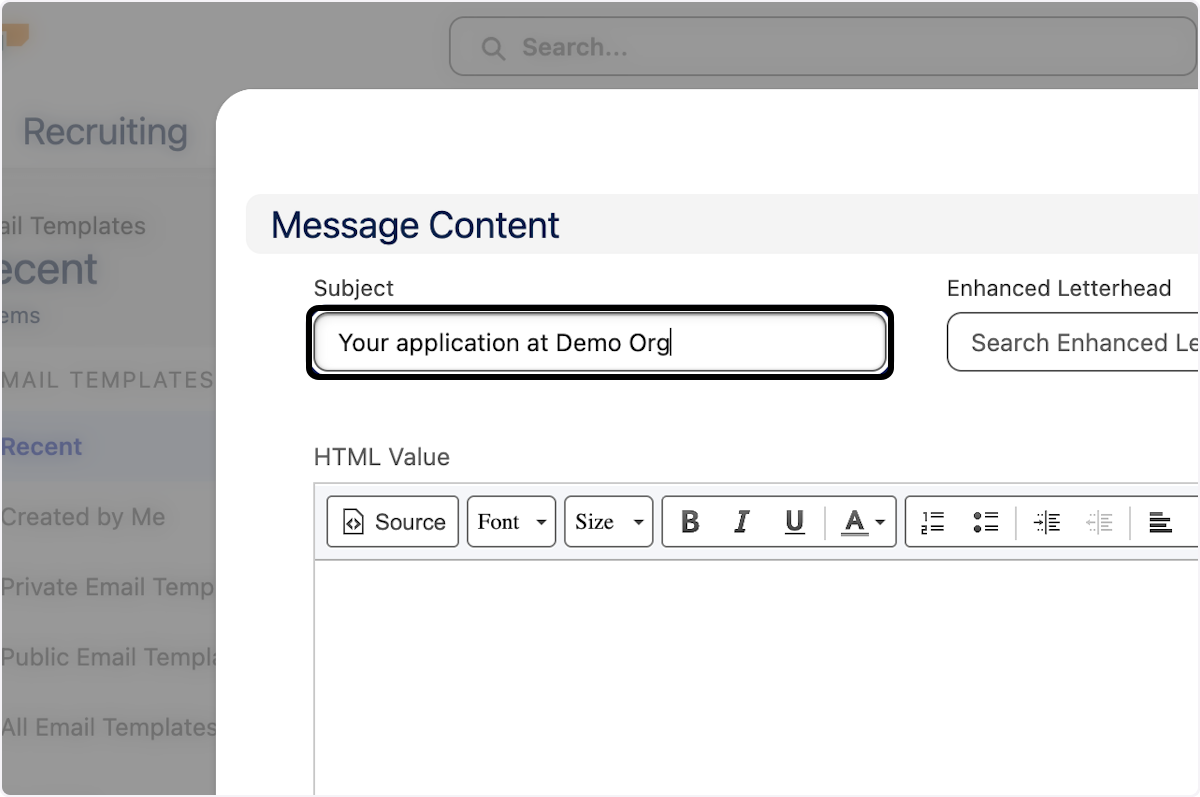
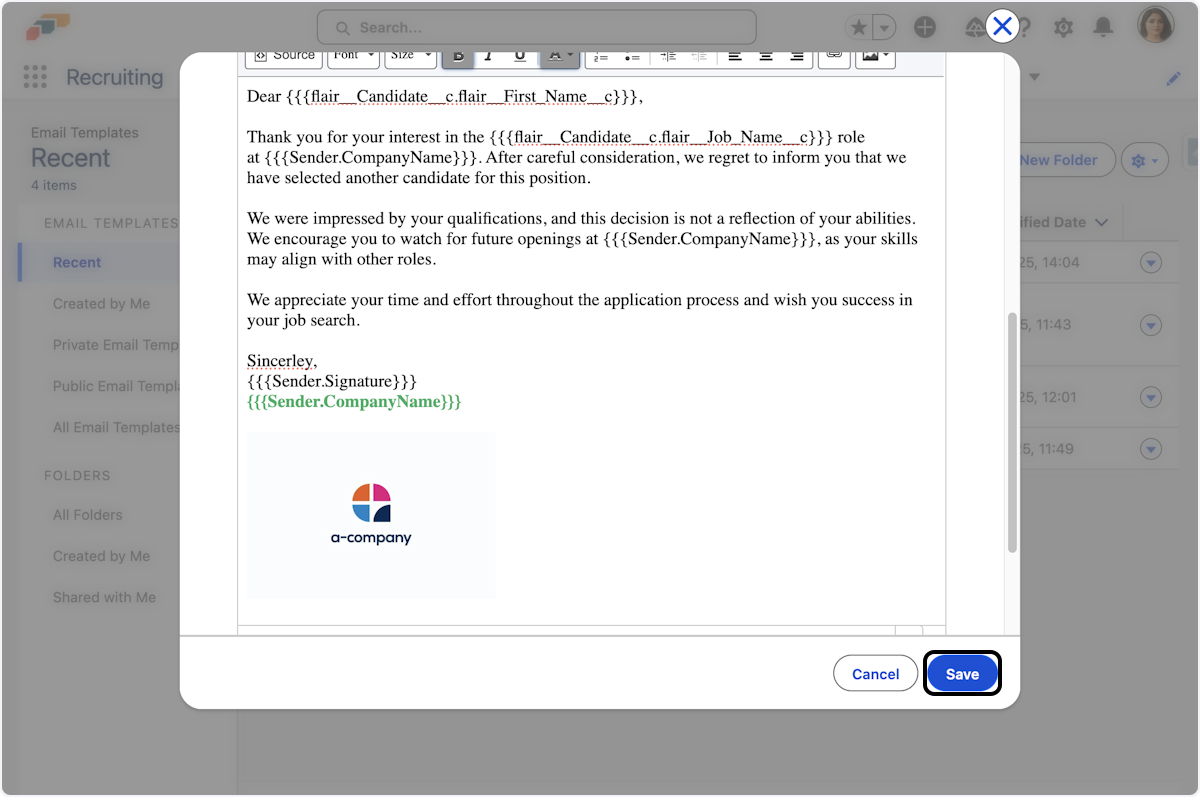
- Compose the content of your email using the text box.
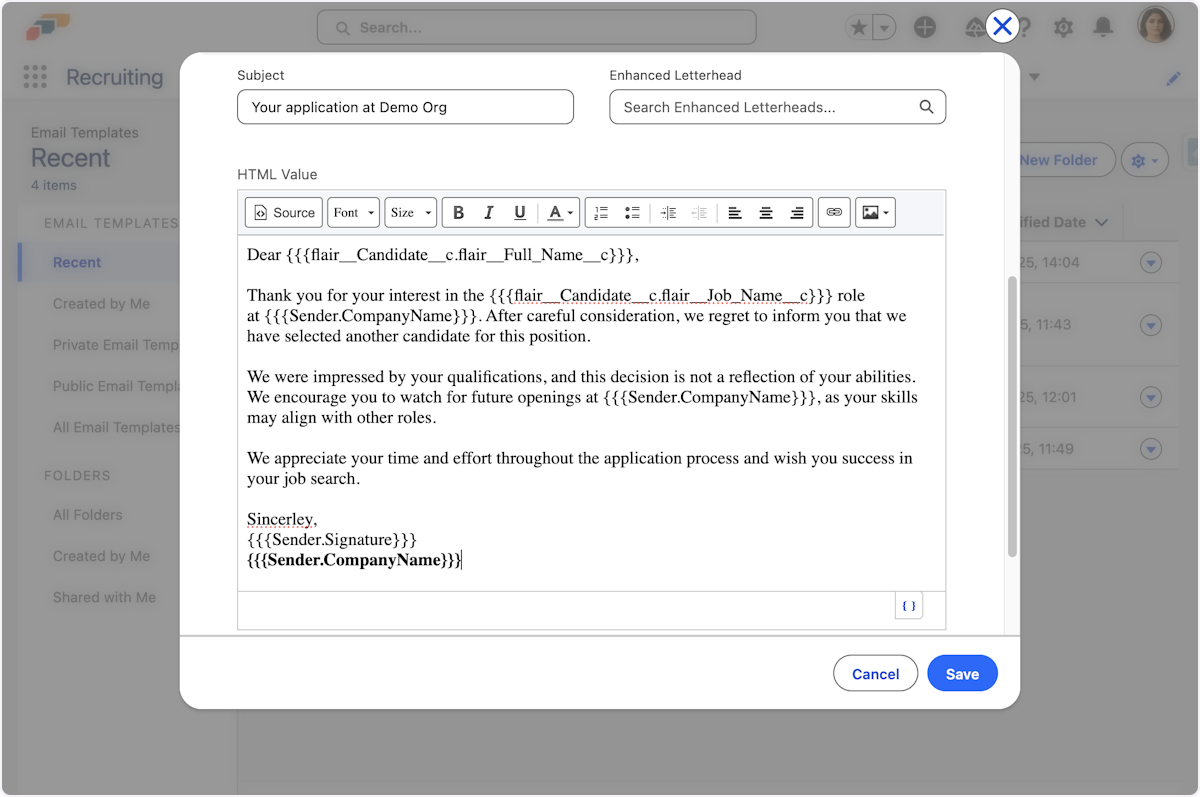
- You can use merge tags as placeholders that dynamically fill with candidate information like names and job titles. Click on Insert merge field.
- Select Candidate.
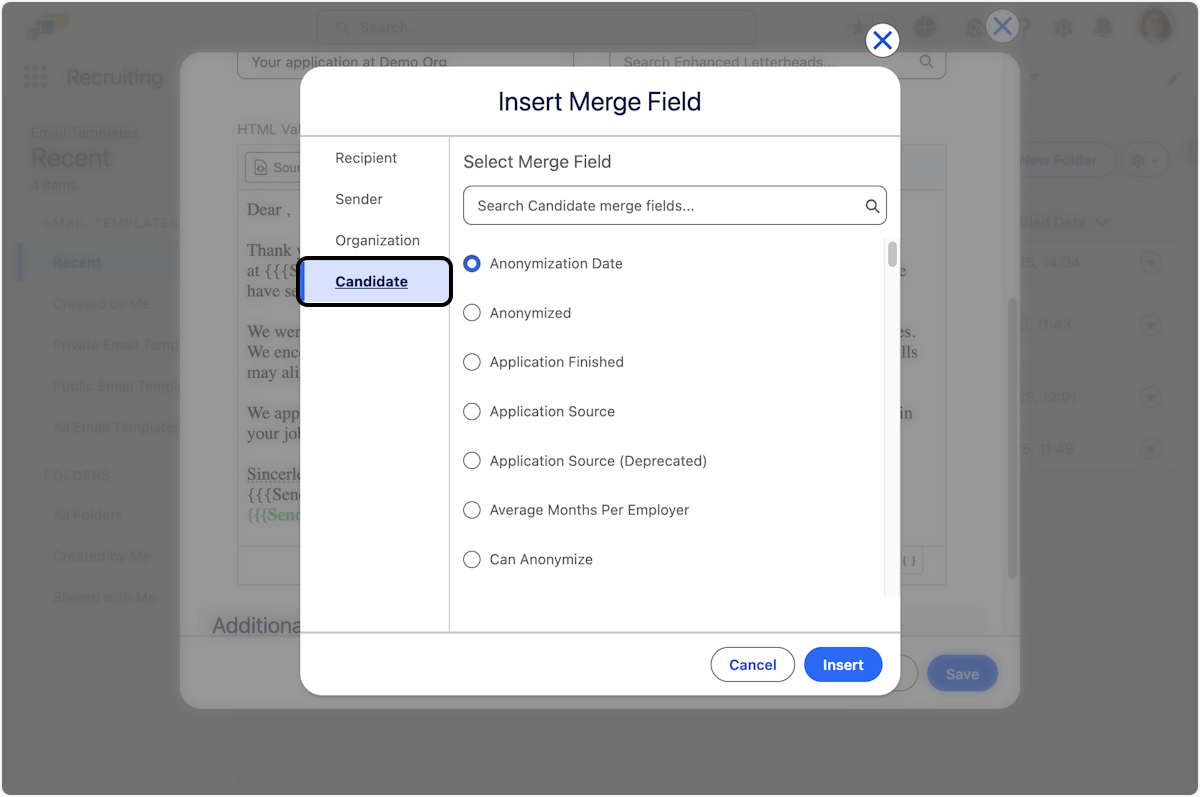
- Select First Name.
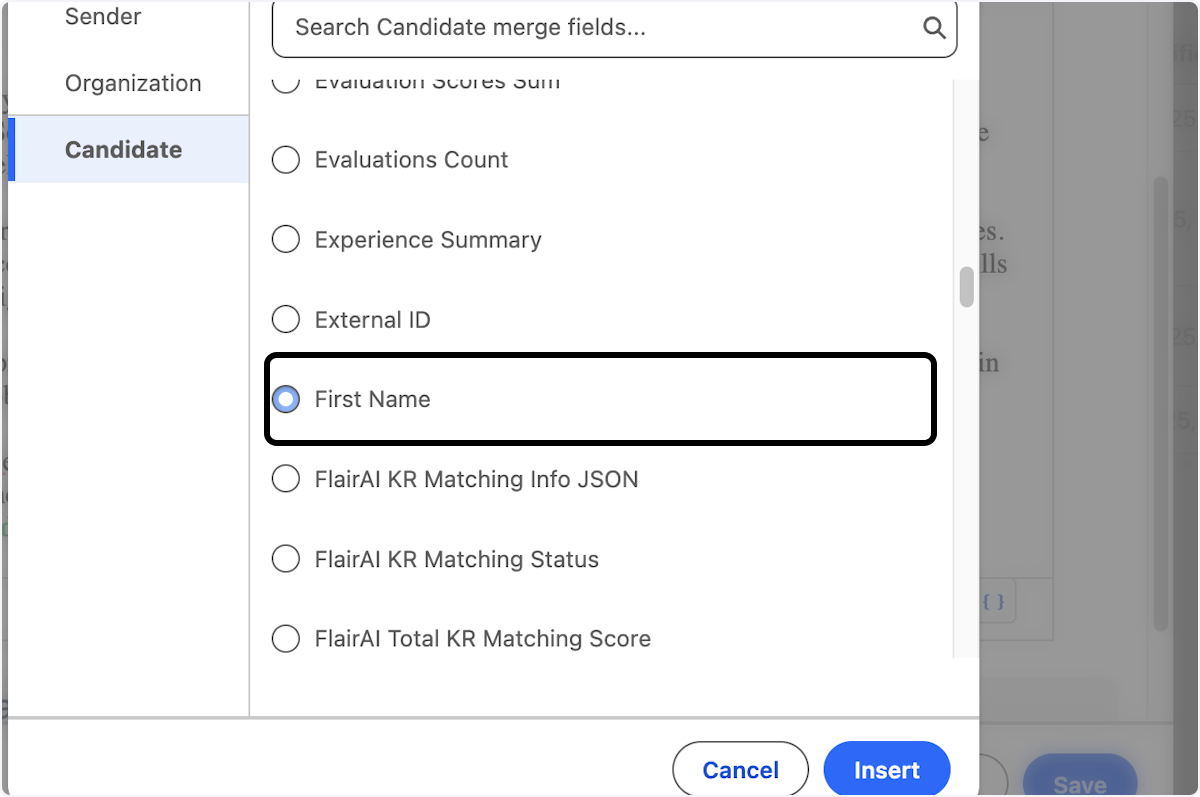
- Click on Insert.

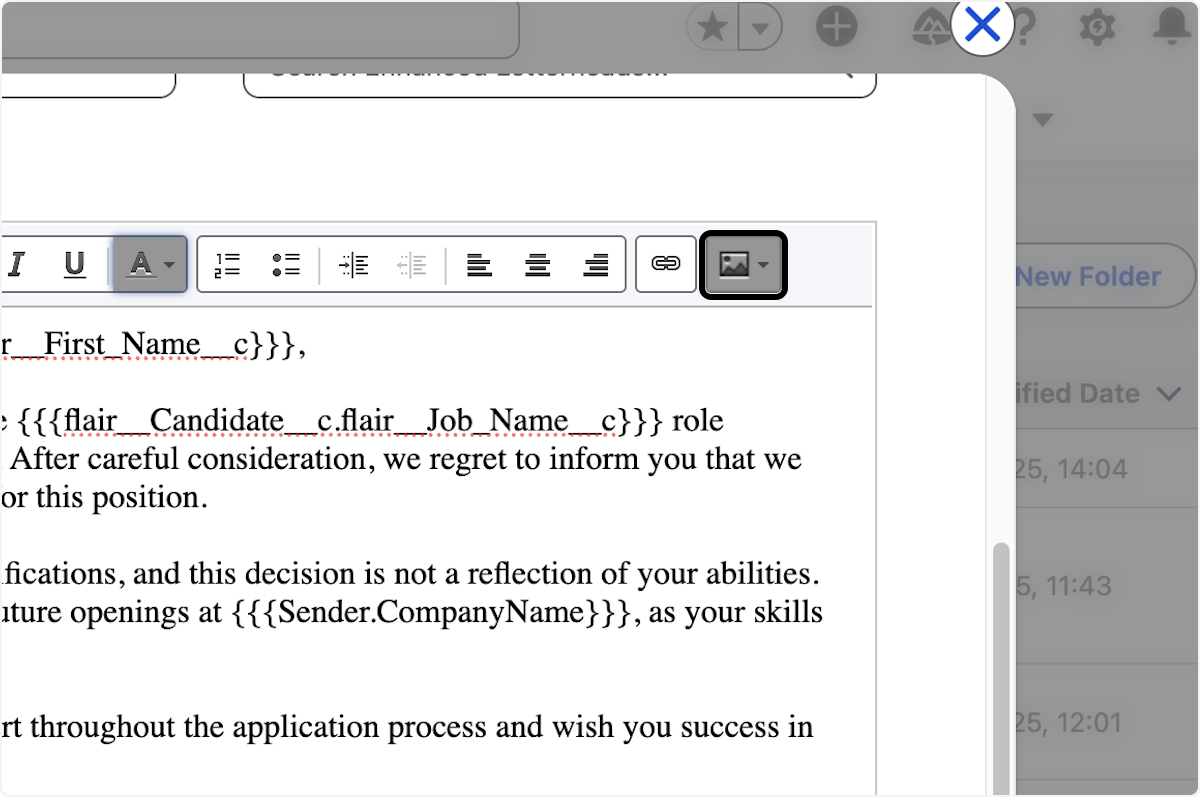
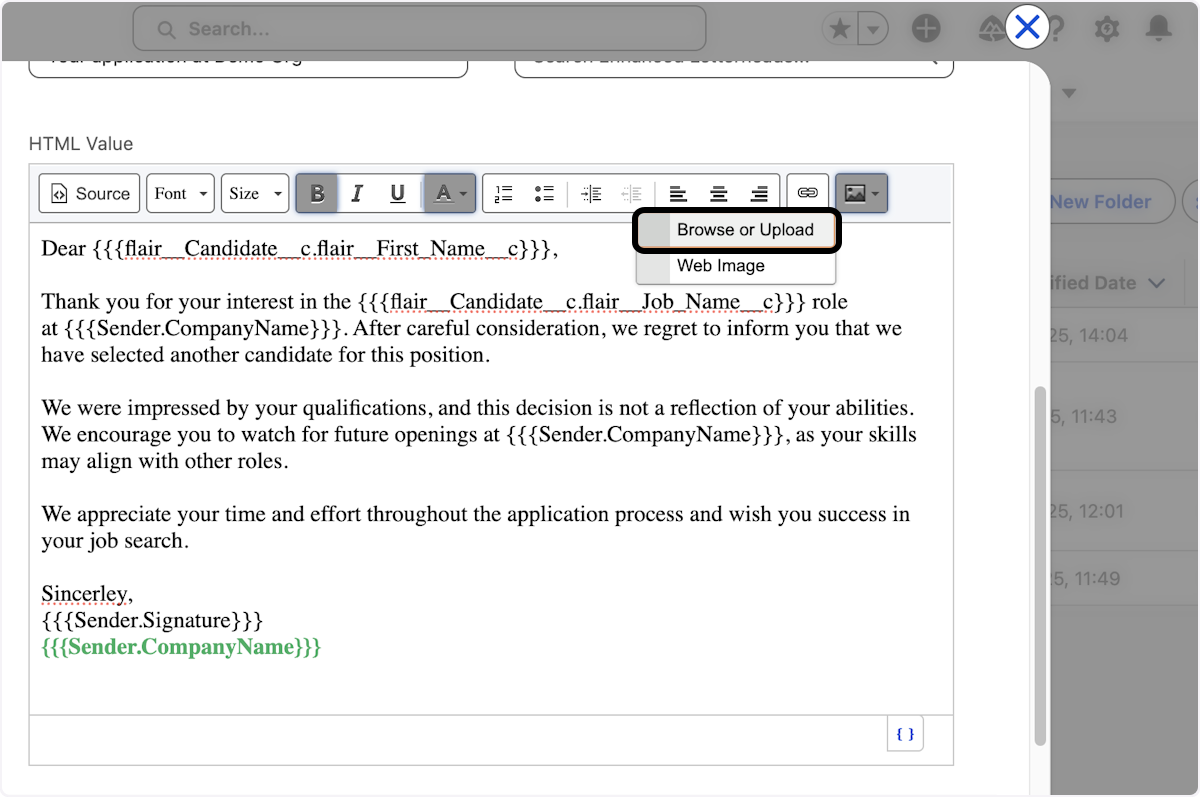
- You can also insert images into your message by clicking on the image icon.
- Click on Browse or Upload.
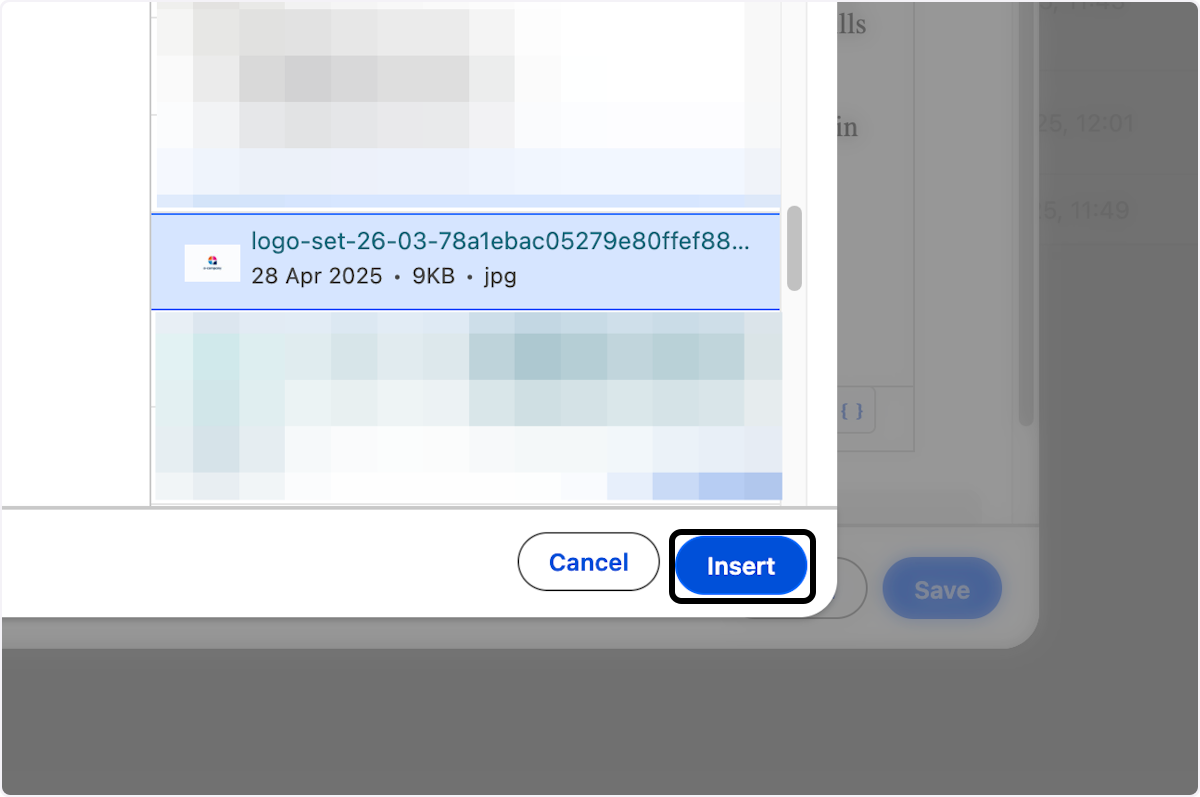
- Select the image you want to insert.
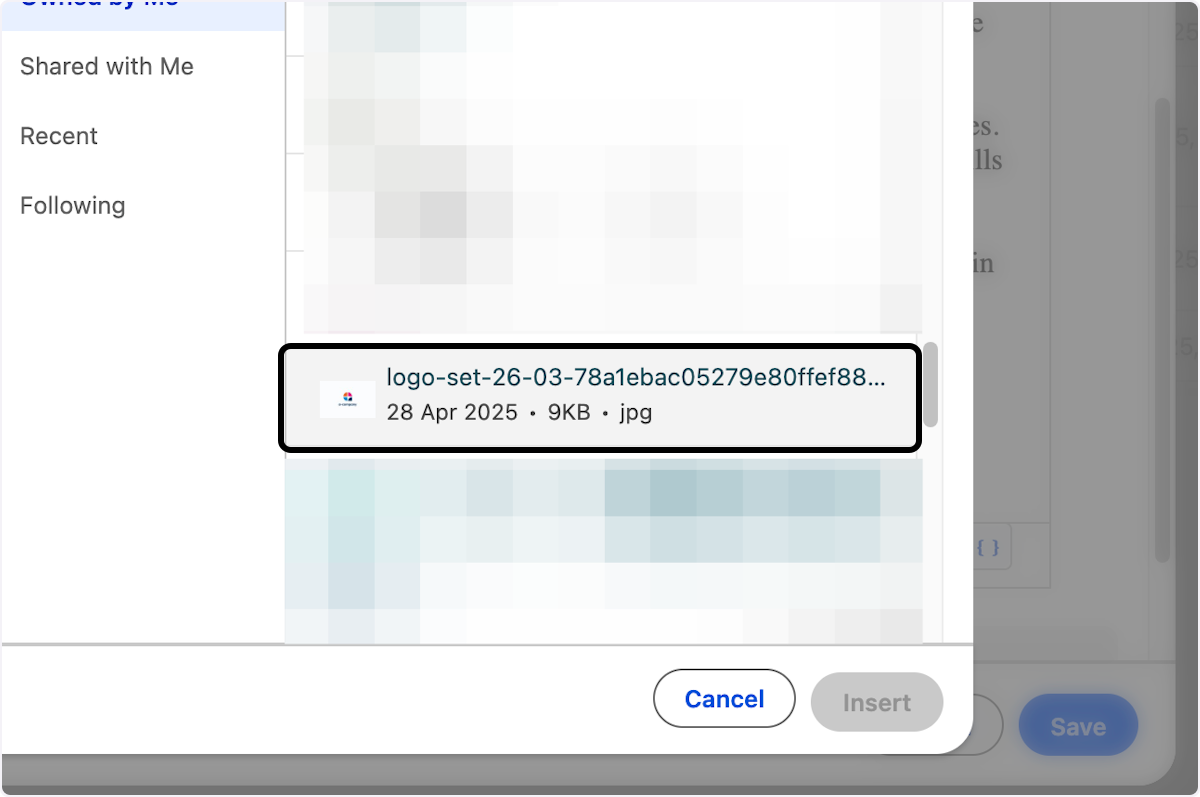
- Click on Insert.
- When you're finished creating your template, click on Save.
Sending Emails with Your New Template
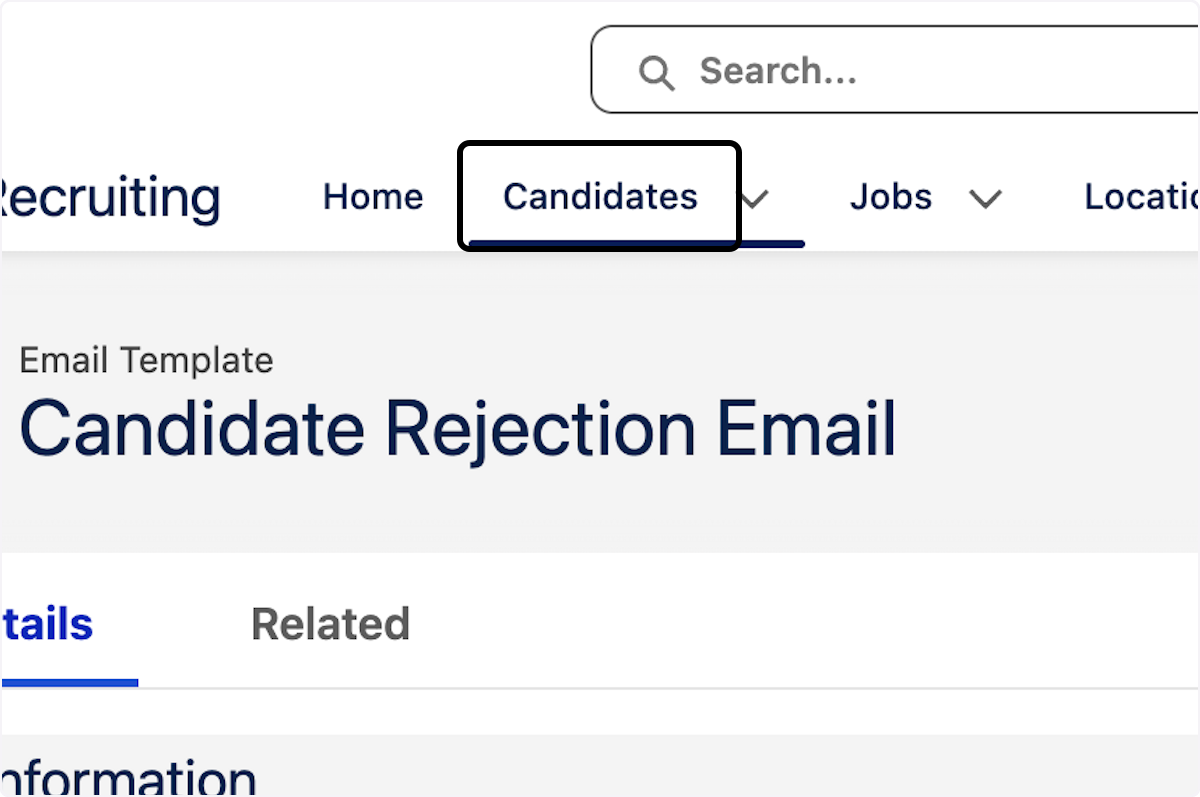
- Click on Candidates.
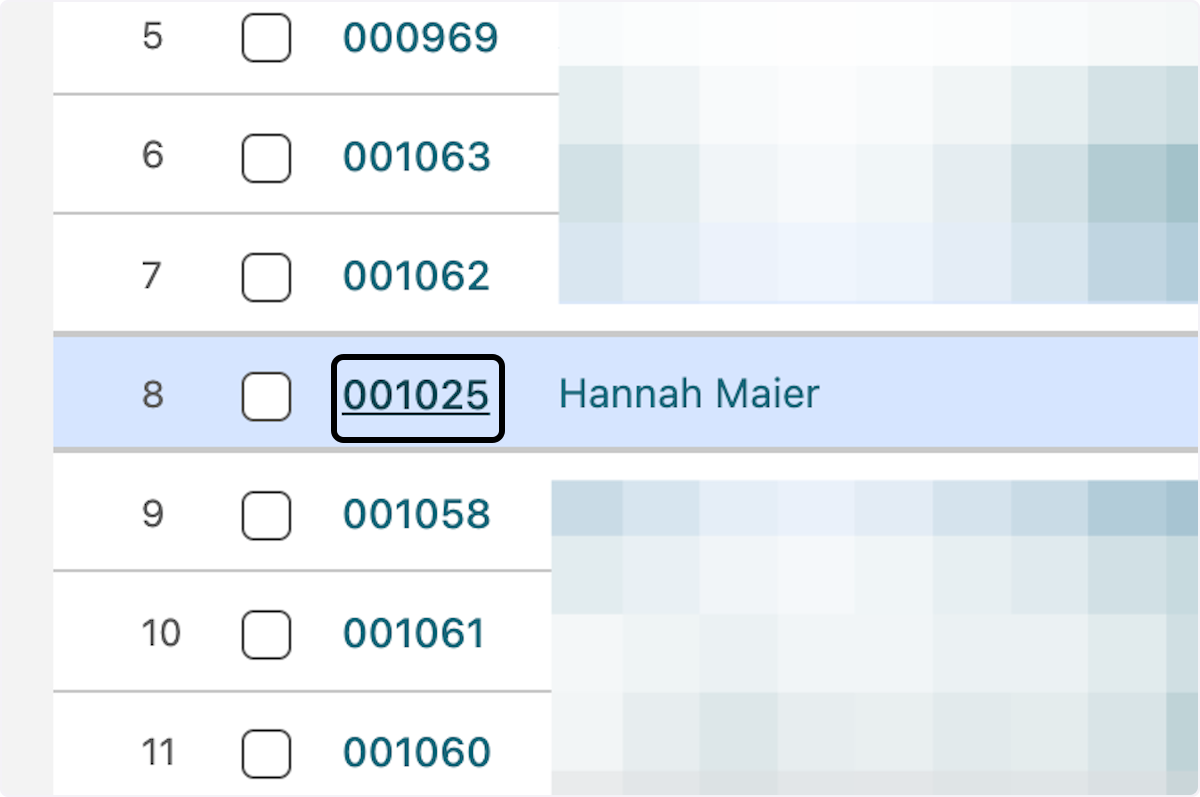
- Click on the candidate you want to email.
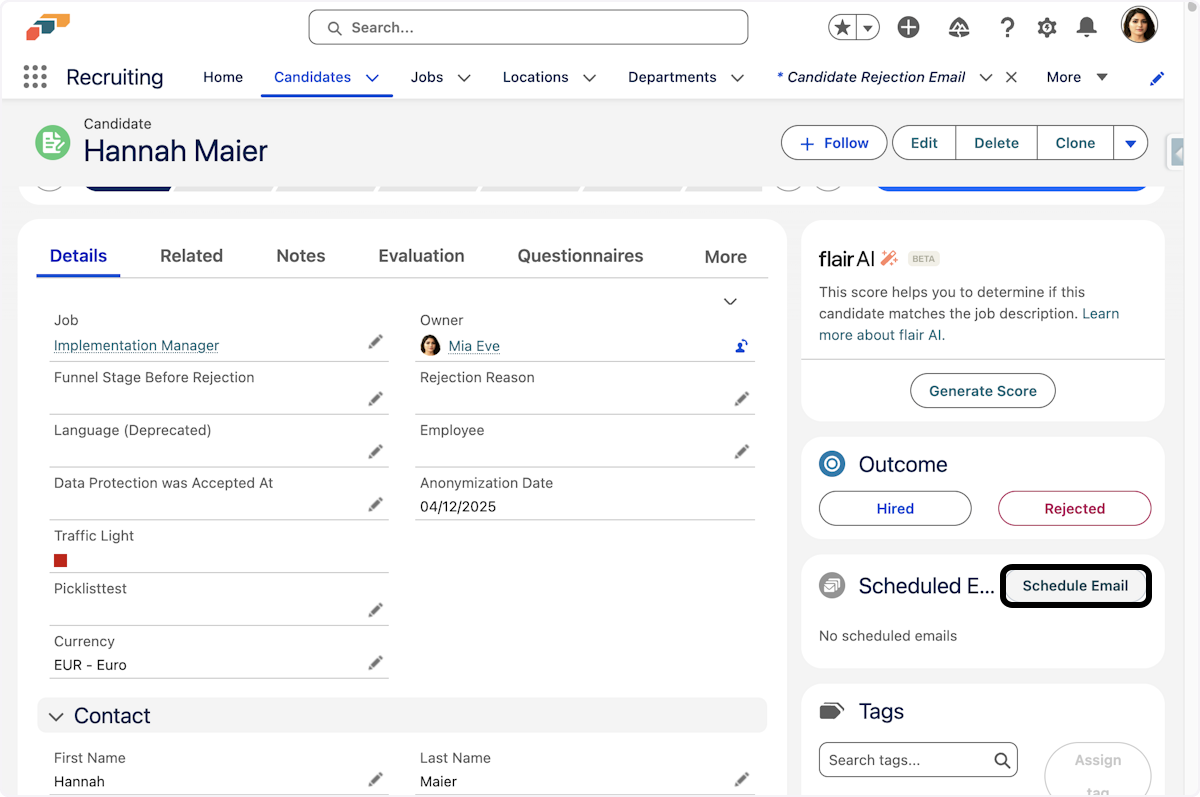
- Click on Schedule Email on the right pane.
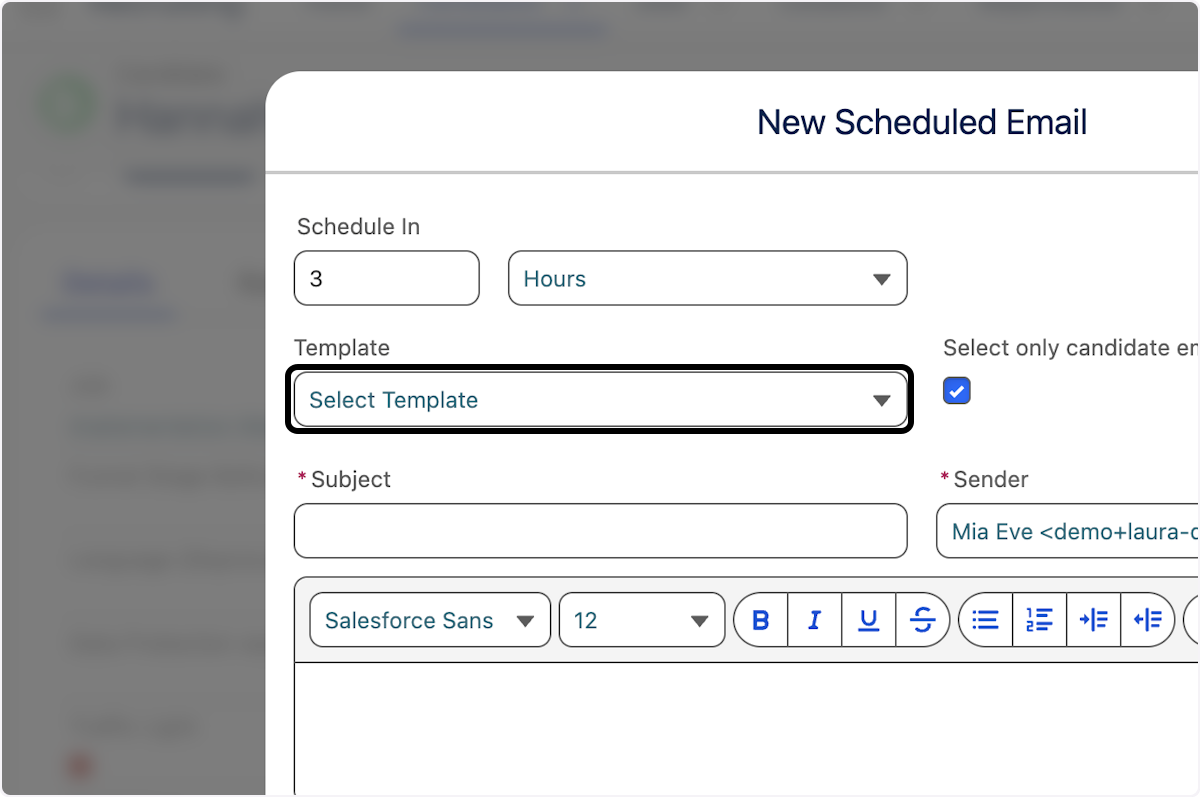
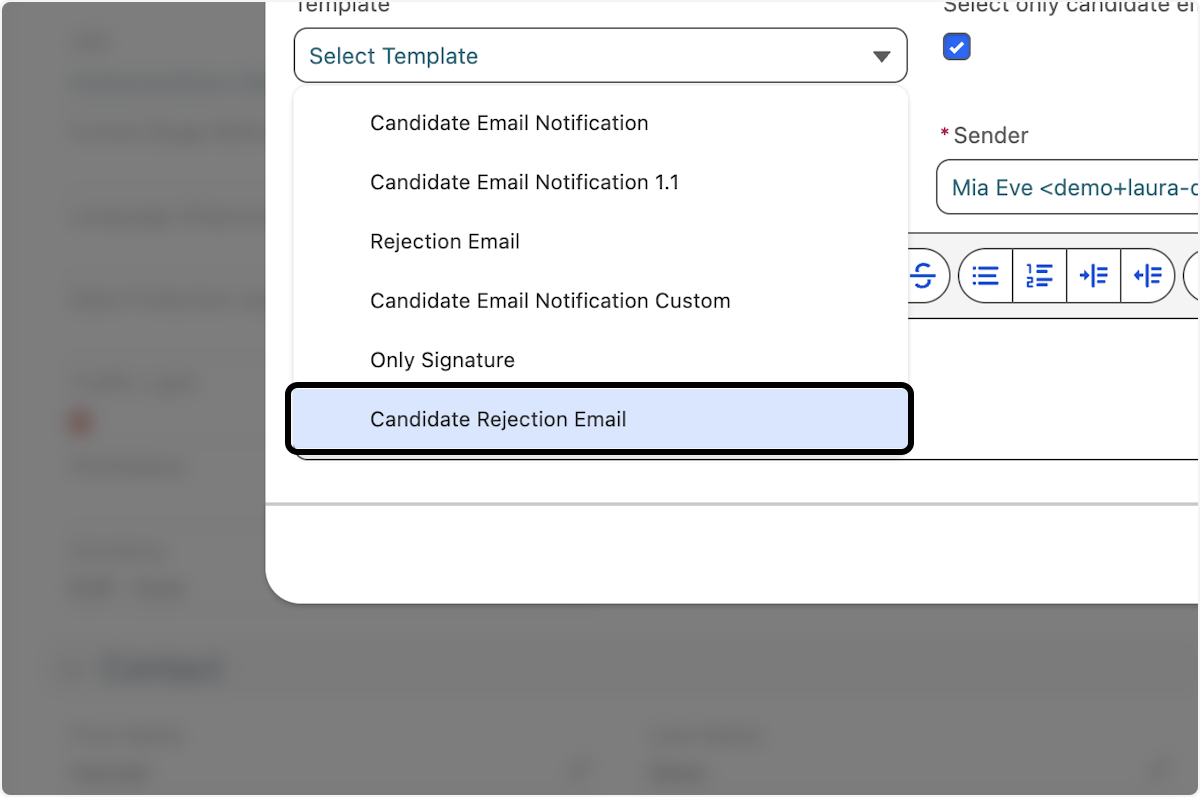
- Select your Template.
- Click on Candidate Rejection Email.
- Click on New Scheduled Email….
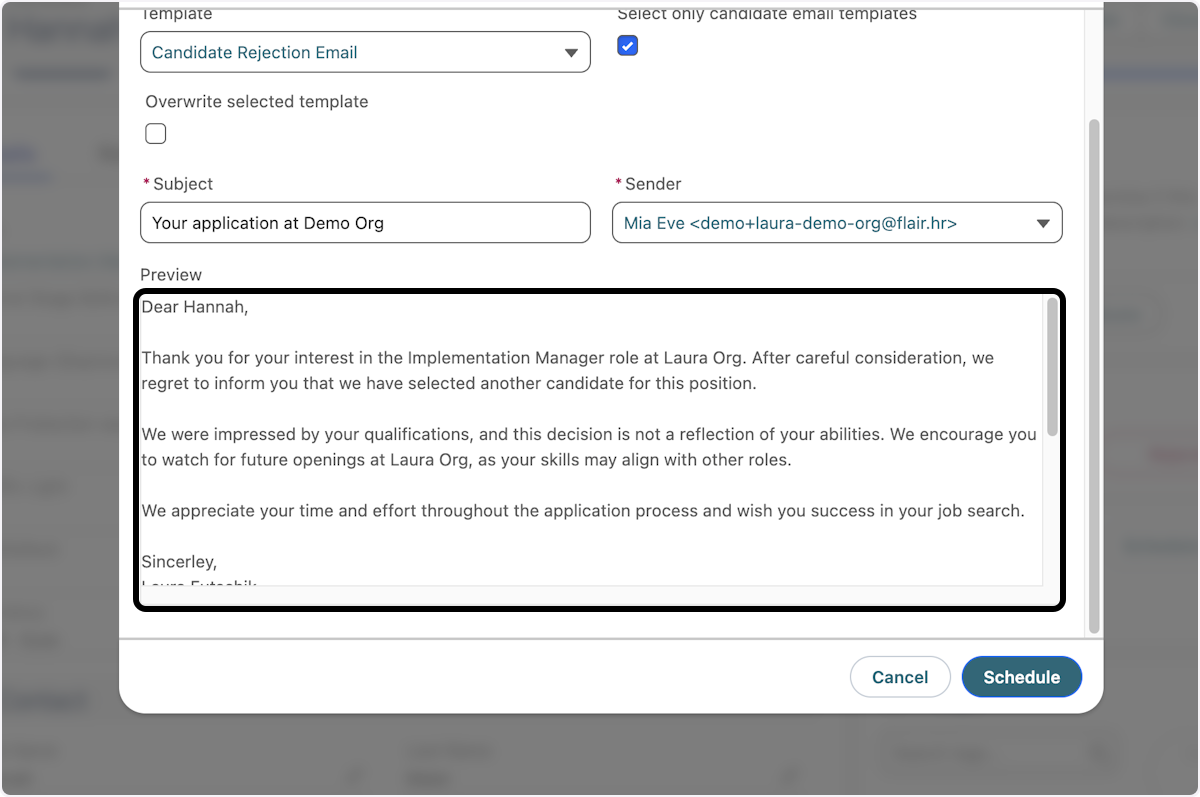
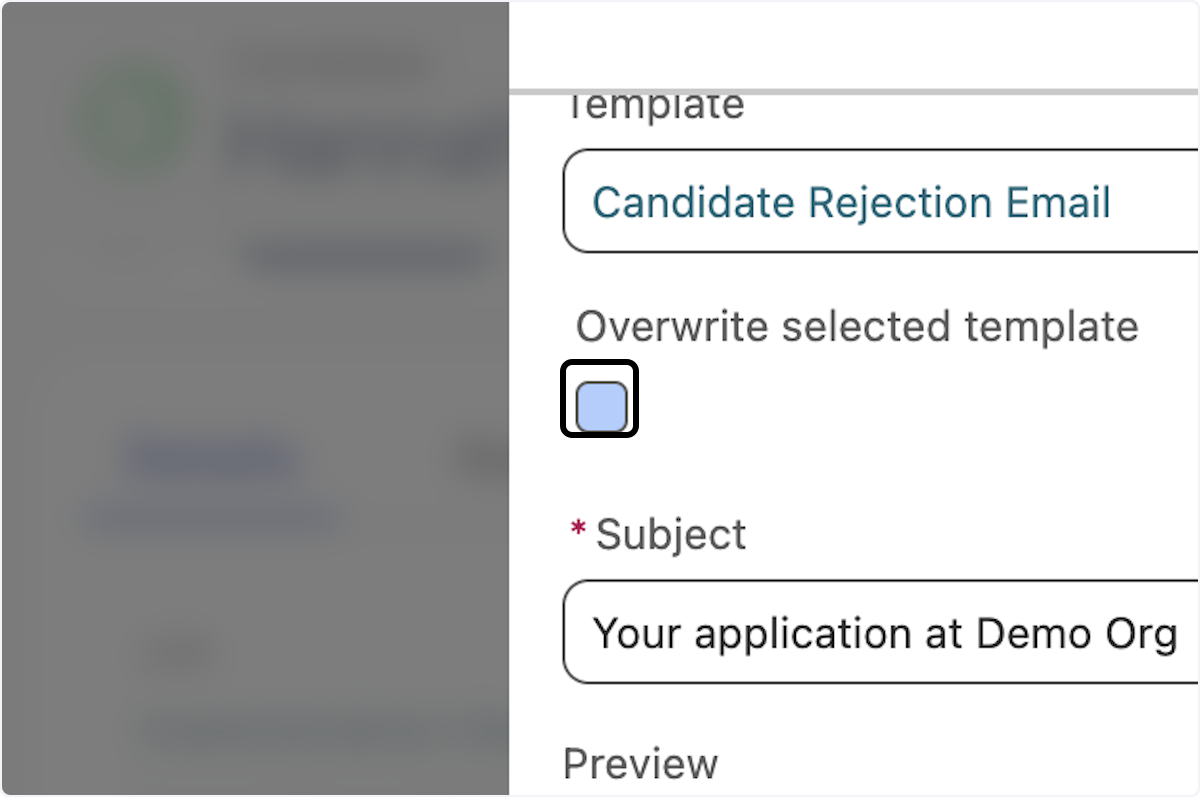
- You can also overwrite the selected template by checking the box.
- You can specify when to send the Email by clicking on Hours.
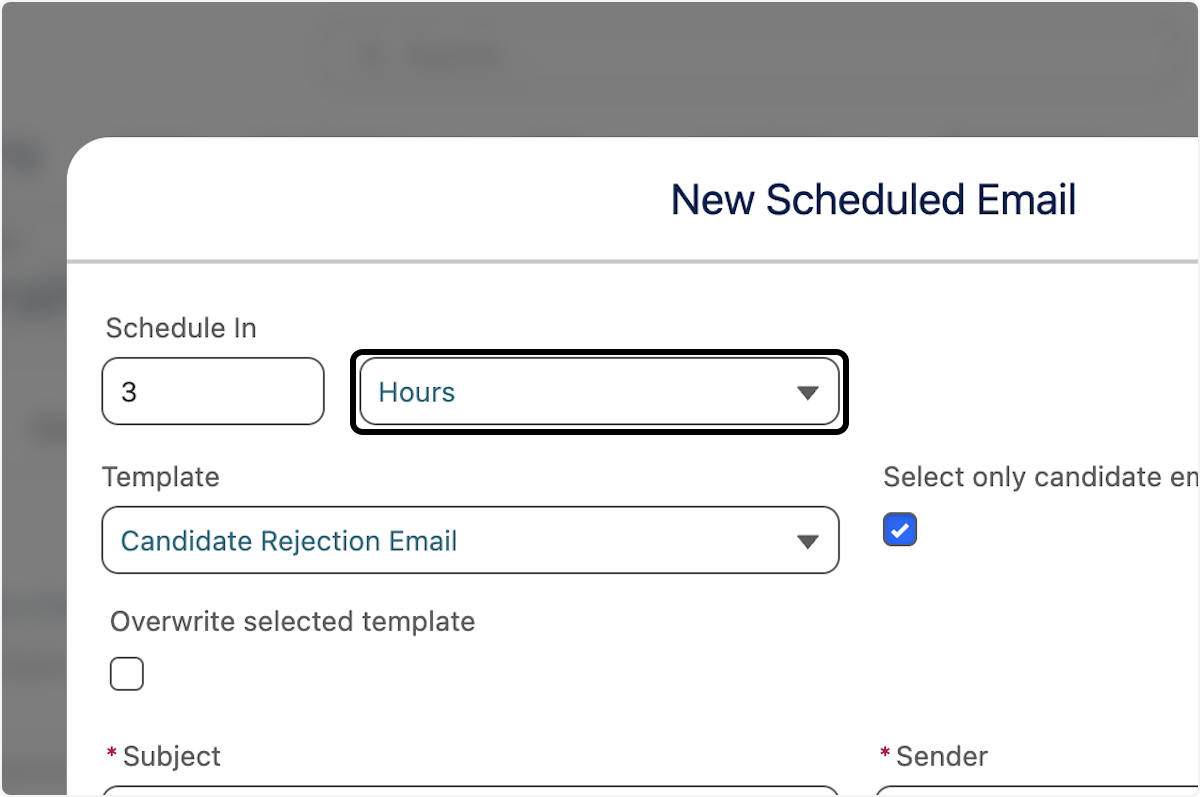
- Select when to send the Email.

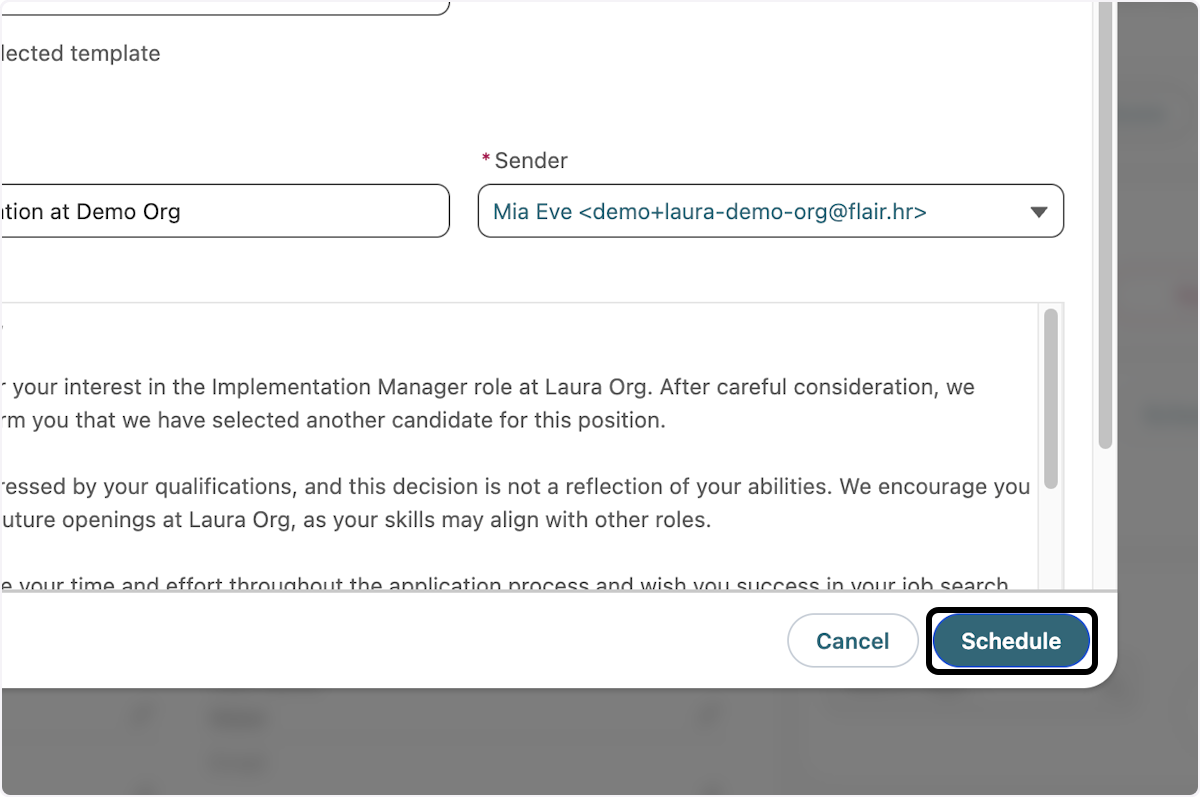
- Click on Schedule to send the Email.
Well done! You've created an email template and already sent an email!