Configure custom SMTP
Connect your own SMTP server so supported transactional emails from flair use your mail provider instead of Salesforce sending. The integration also includes a sandbox mode for reviewing messages without delivering them.
Salesforce Admins and HR Admins configure SMTP in the flair HR app on Salesforce.
Before you begin
- Get the SMTP host, port, username, and password from your mail provider.
- Choose a valid From address and optional From name.
- Configure SPF and DKIM for the From domain with your mail provider.
- Confirm that the provider allows SMTP connections from flair.
- Use an SMTP host that resolves to public addresses.
- Use
STARTTLSon ports25,587, and2525; port465uses implicit TLS instead.
Add and connect the SMTP integration
- In the flair HR app, open HR Admin → Integrations.
- In the available integrations, select SMTP.
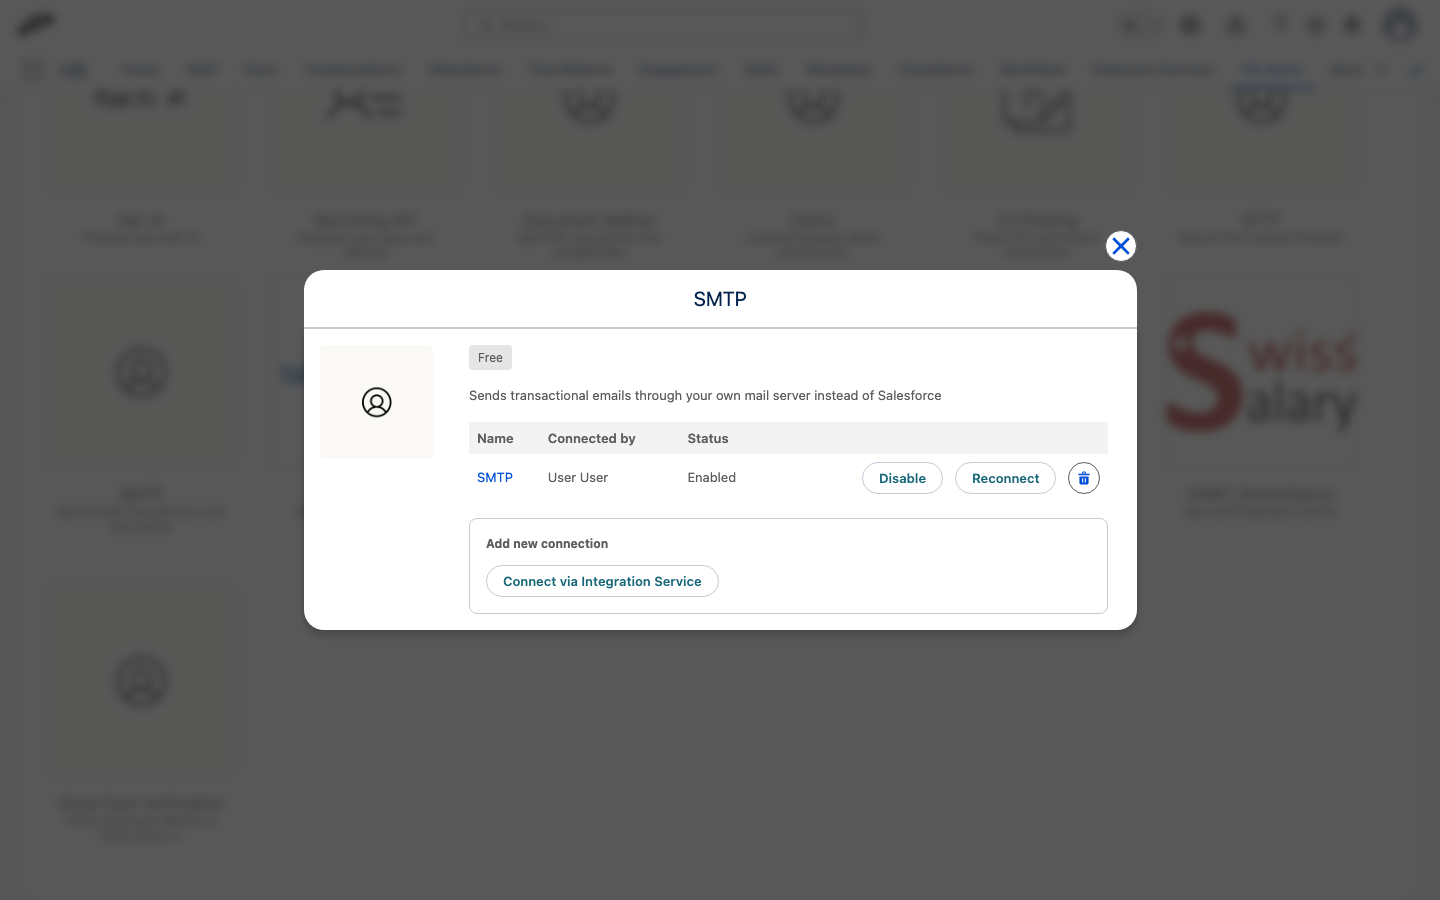
- In the connection dialog, click Connect via Integration Service. Salesforce creates the integration enabled and opens the integration service connection flow. Until you save a valid host and credentials, supported emails continue through Salesforce.
- Complete the connection flow. The SMTP integration appears in the connected integrations list.
Configure the SMTP server
- On the connected SMTP integration record, open the SMTP configuration.
- In Host, enter your SMTP server hostname.
- In Port, select
25,465,587, or2525according to your provider's instructions. - In Username, enter the SMTP username.
- In Password, enter the SMTP password.
- In From address, enter the address your provider authorizes for sending.
- Optional: In From name, enter the display name recipients should see.
- Click Save. flair stores the configuration in your Salesforce organization.
- Optional: If an existing integration is not connected, click Reconnect, then return to the record.
- Optional: If the integration is connected but not enabled, click Enable.
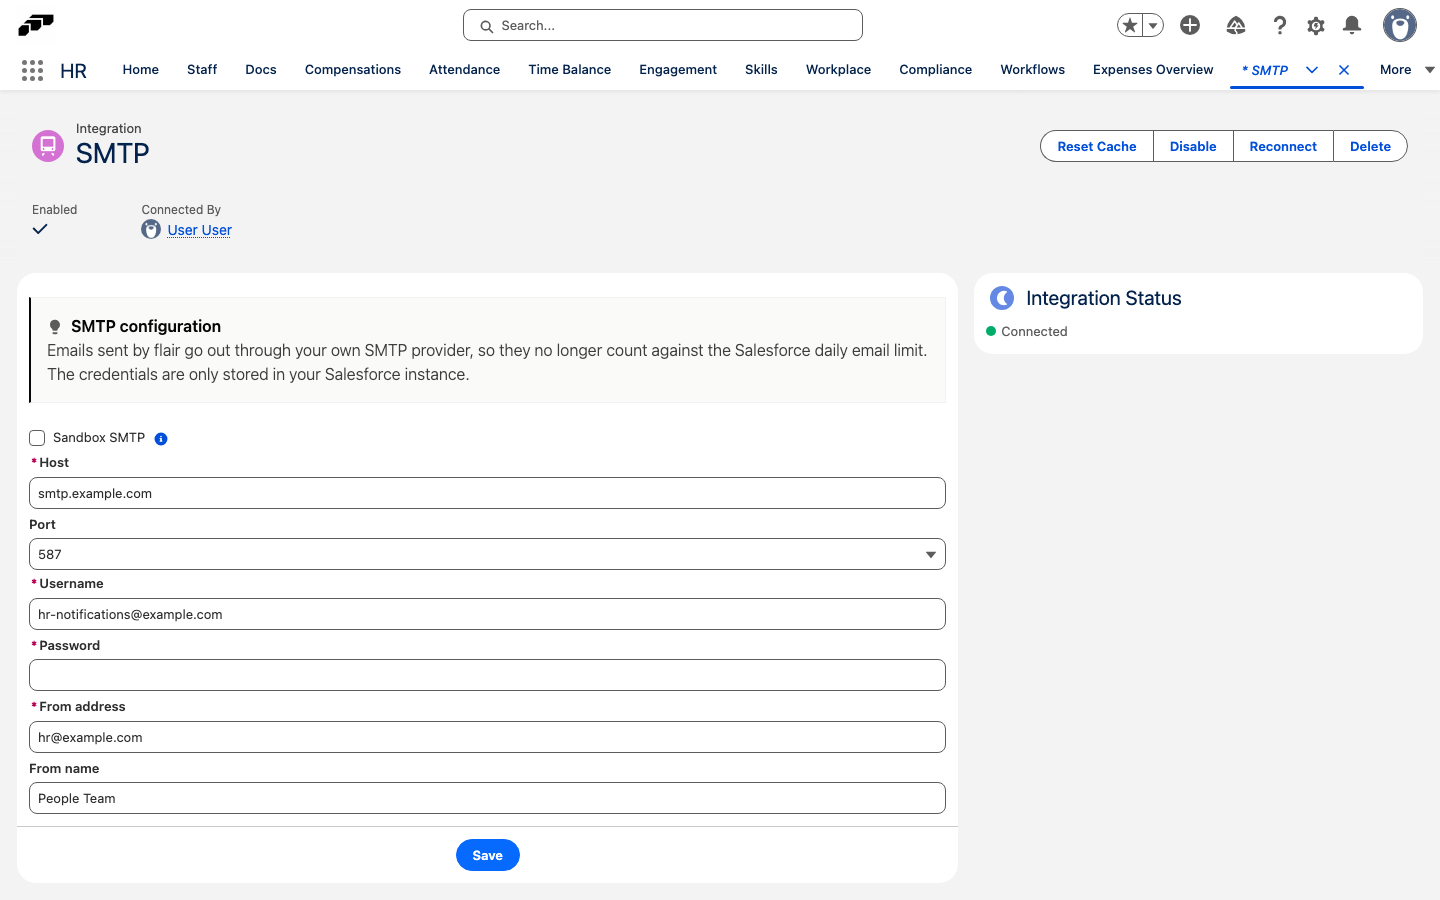
If a password is already stored, leave Password empty to keep it. The saved password is not returned to the configuration form.
The From domain must authorize your SMTP provider with SPF and DKIM. Without those records, messages may be rejected or delivered to spam.
Test delivery with Sandbox SMTP
Use sandbox mode when you need to inspect the messages flair generates without sending them to recipients.
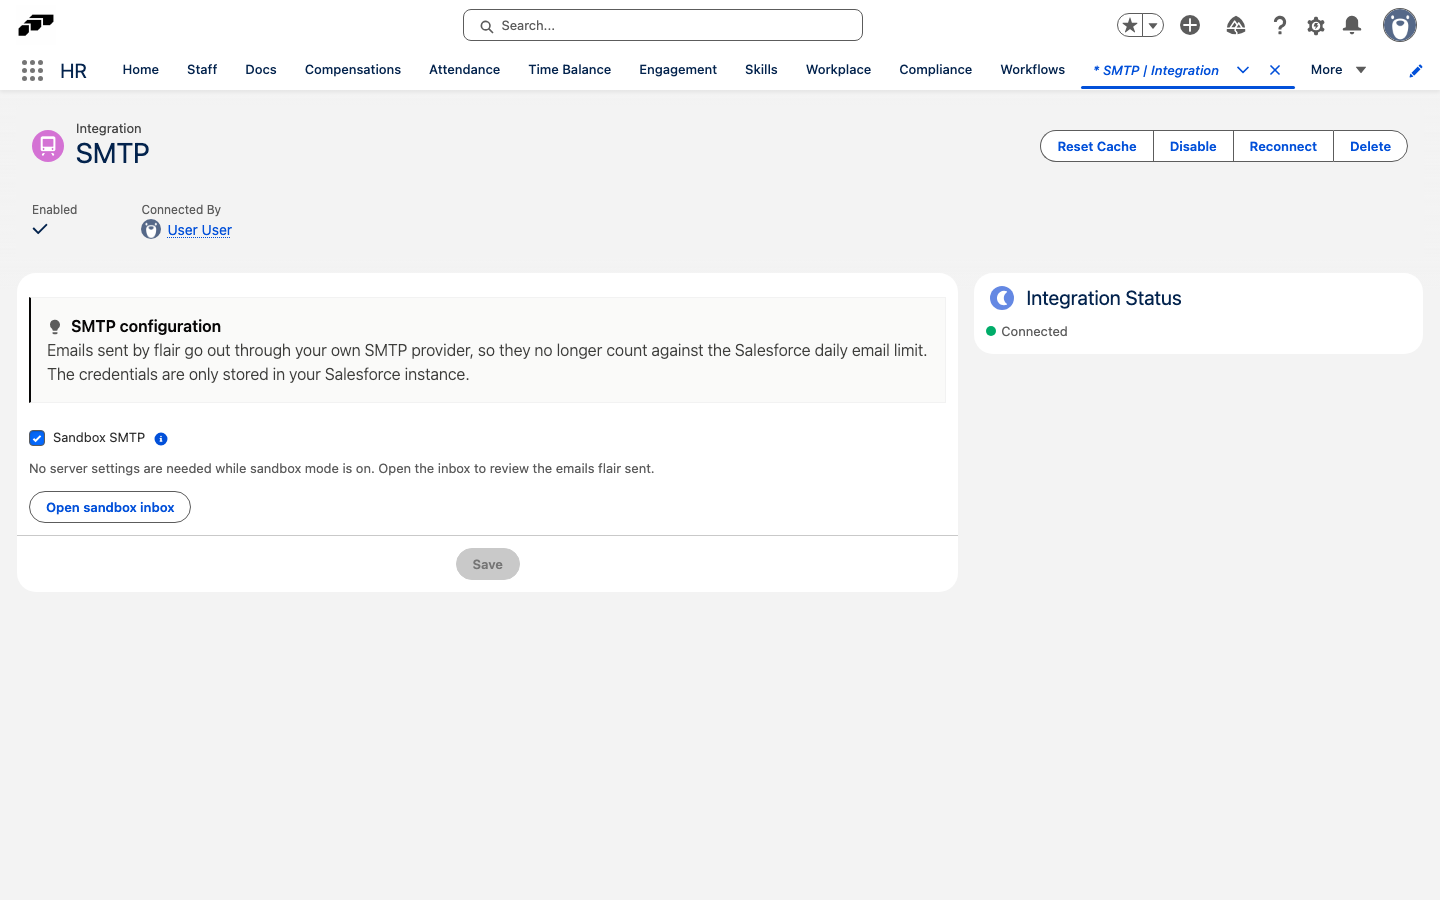
- On the SMTP configuration, select Sandbox SMTP. The server fields become optional and are hidden.
- Click Save. flair stores relayed messages instead of delivering them.
- After the integration is connected, click Open sandbox inbox. The inbox keeps the newest 200 messages for seven days.
Sandbox mode does not deliver messages. If the relay fails while sandbox mode is on, flair drops the messages instead of sending them through Salesforce.
Check email routing
The SMTP relay handles supported transactional email sent through flair's shared messaging service. Some messages remain on Salesforce because Salesforce must render them or preserve recruiting inbox behavior:
| Sending path | |
|---|---|
| Supported transactional email without Salesforce-side rendering | SMTP relay |
| Email using a Salesforce template, target object, entity attachment, or unresolved merge field | Salesforce |
| Recruiting Inbox replies | Salesforce |
Messages sent through sendEmailsIndependently | Salesforce |
If the relay reports a failure or cannot be reached, flair logs the error and sends the affected messages through Salesforce. This fallback does not apply in Sandbox SMTP mode.