Set up an organization-wide email address
Create a shared Salesforce sender address and display name for HR or recruiting email. You can make the address available to every profile or selected profiles.
Salesforce Admins who manage Organization-Wide Addresses, Custom Settings, and Email Alerts in Salesforce Setup.
Before you begin
- Confirm that you can receive the verification email at the address you add.
- Review Salesforce's considerations for organization-wide email addresses.
Add the organization-wide address
-
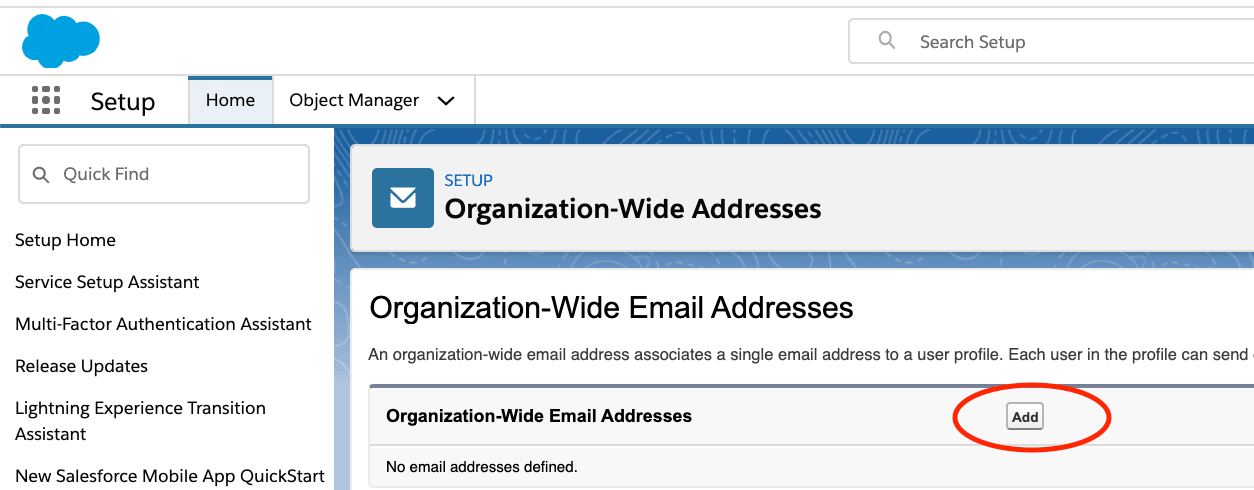
In Salesforce Setup, enter
Organizationin Quick Find. -
Open Organization-Wide Addresses.
-
Click Add.
-
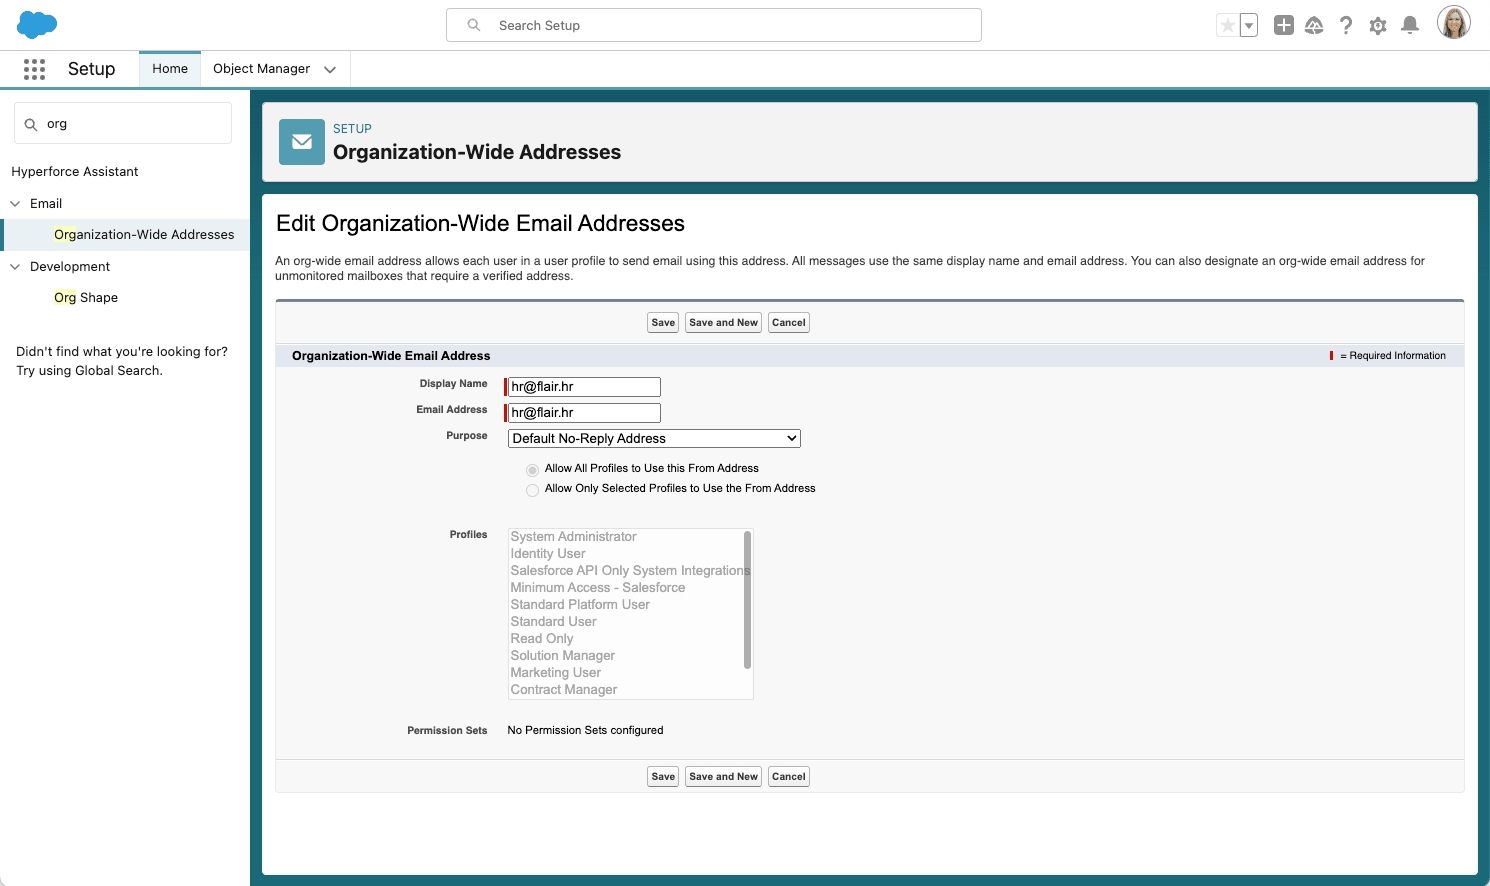
In Display Name, enter a name that identifies the address in Salesforce.
-
In Email Address, enter the shared sender address.
-
Under Purpose, select User Select to choose the profiles that can use the address, or select Default No-Reply Address.
-
If every profile can use the address, select Allow All Profiles to Use this From Address.
-
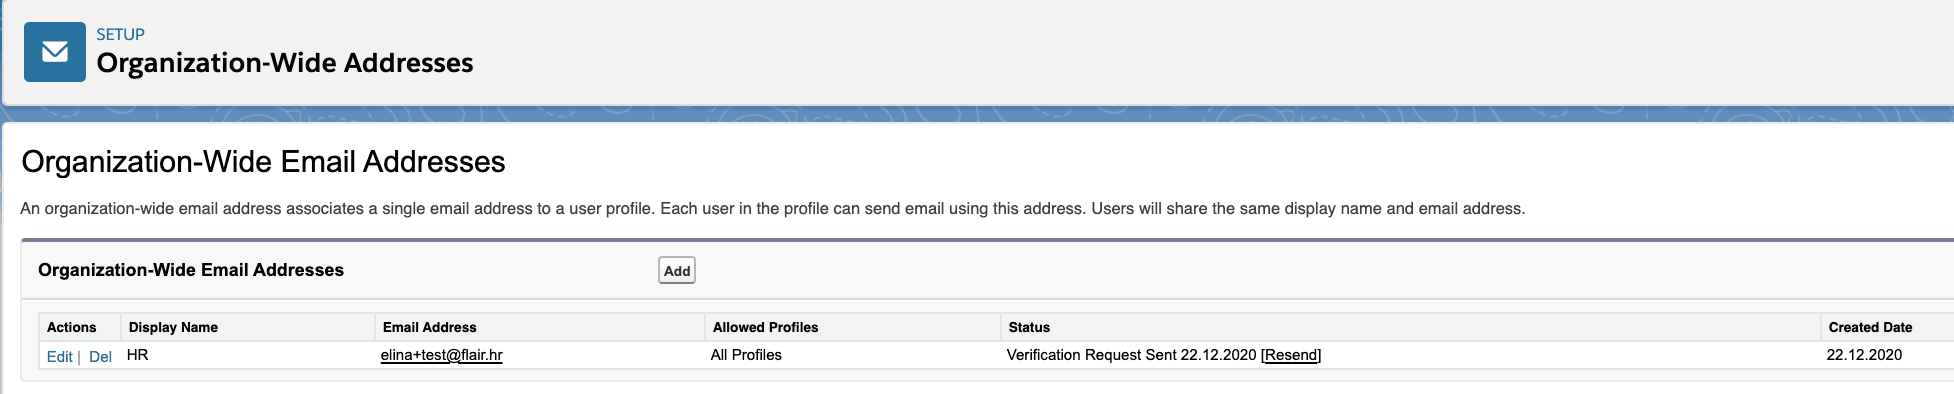
Click Save. The address appears in the organization-wide address list.
Verify the address
-
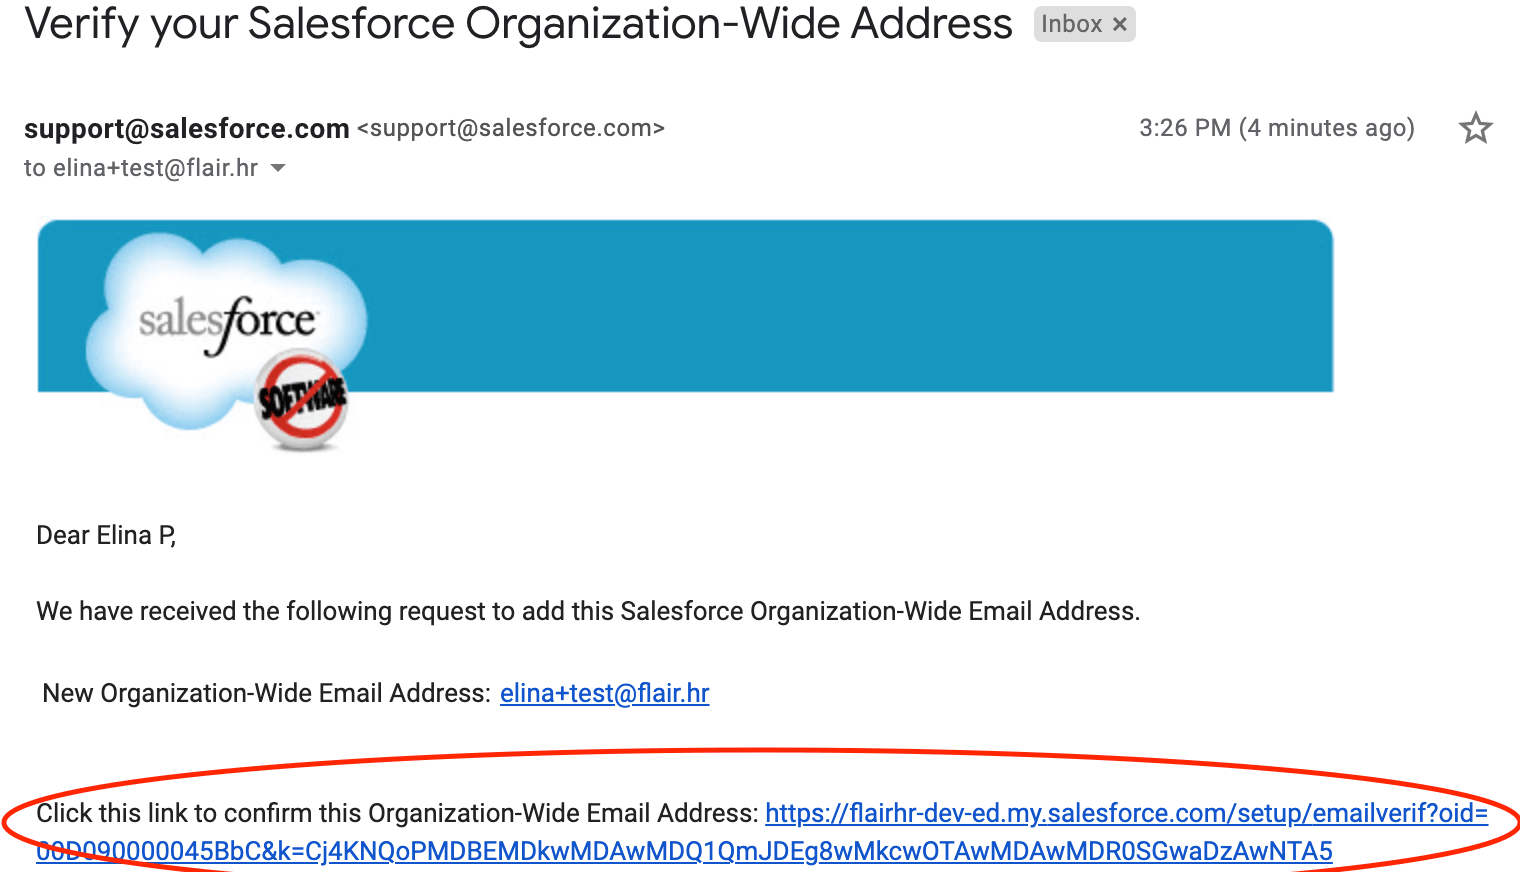
Open the verification email from support@salesforce.com.
-
Click the verification link.
-
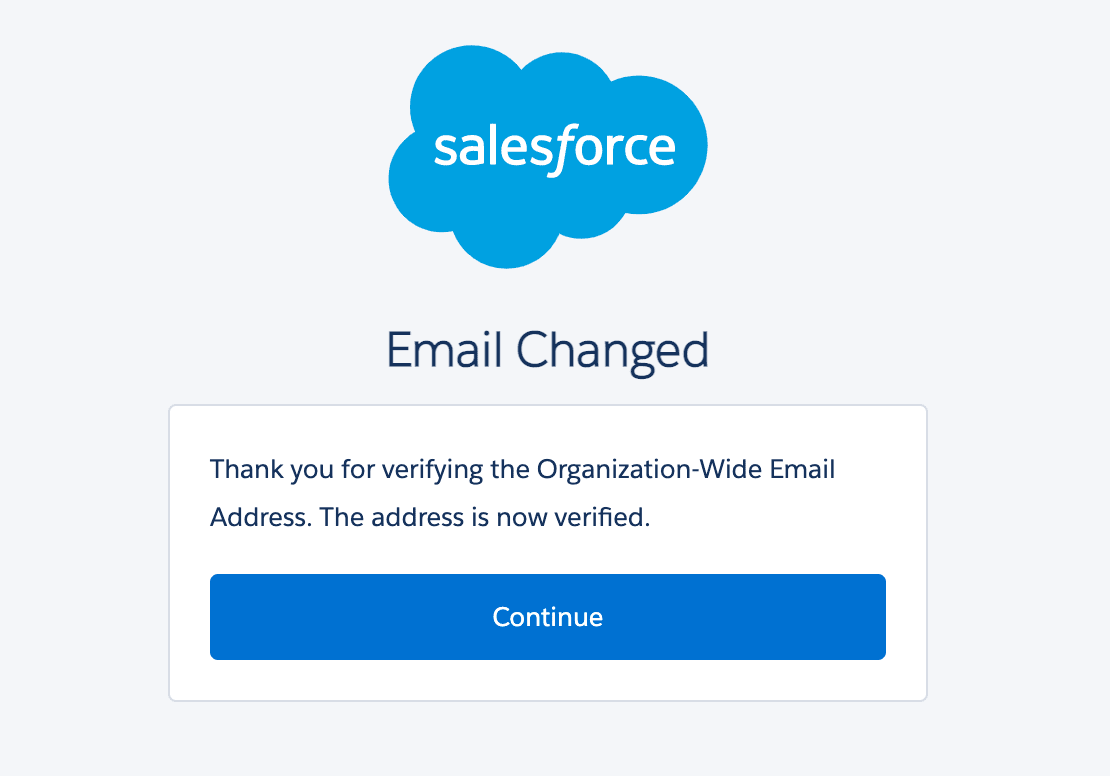
Click Continue. Salesforce verifies the sender address.
Use the address for employee notifications
-
In Salesforce Setup, enter
Custom Settingsin Quick Find. -
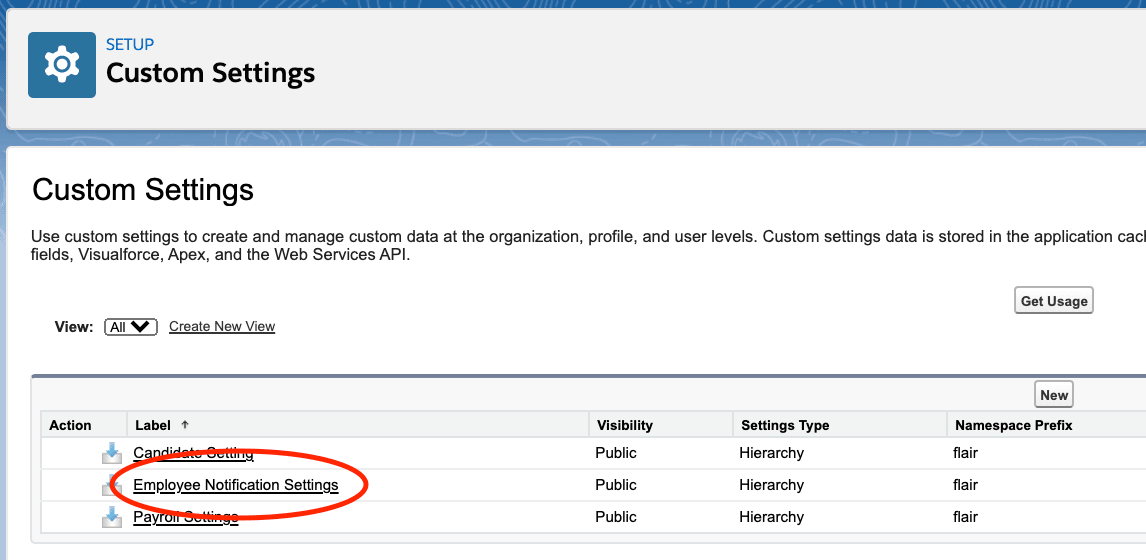
Open Custom Settings.
-
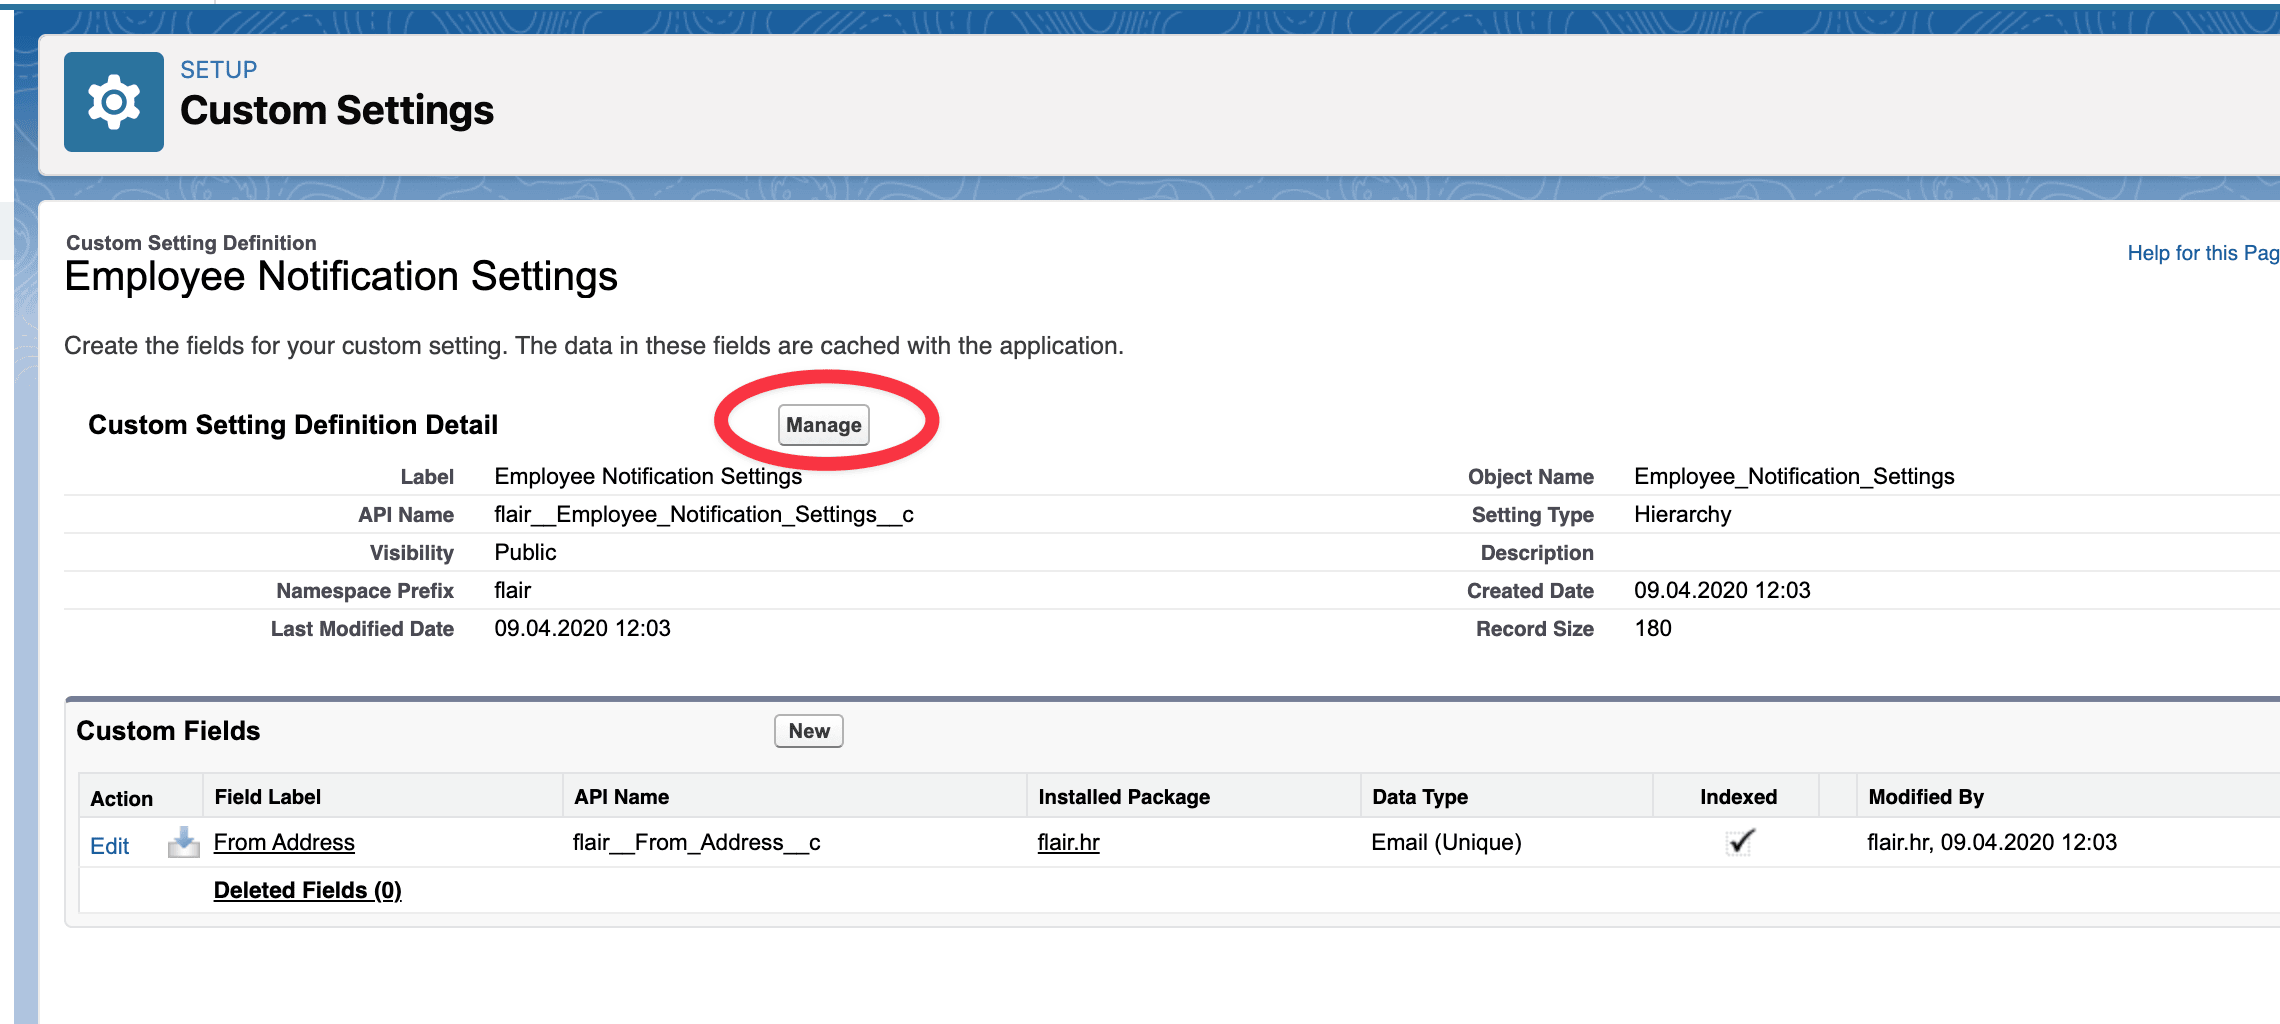
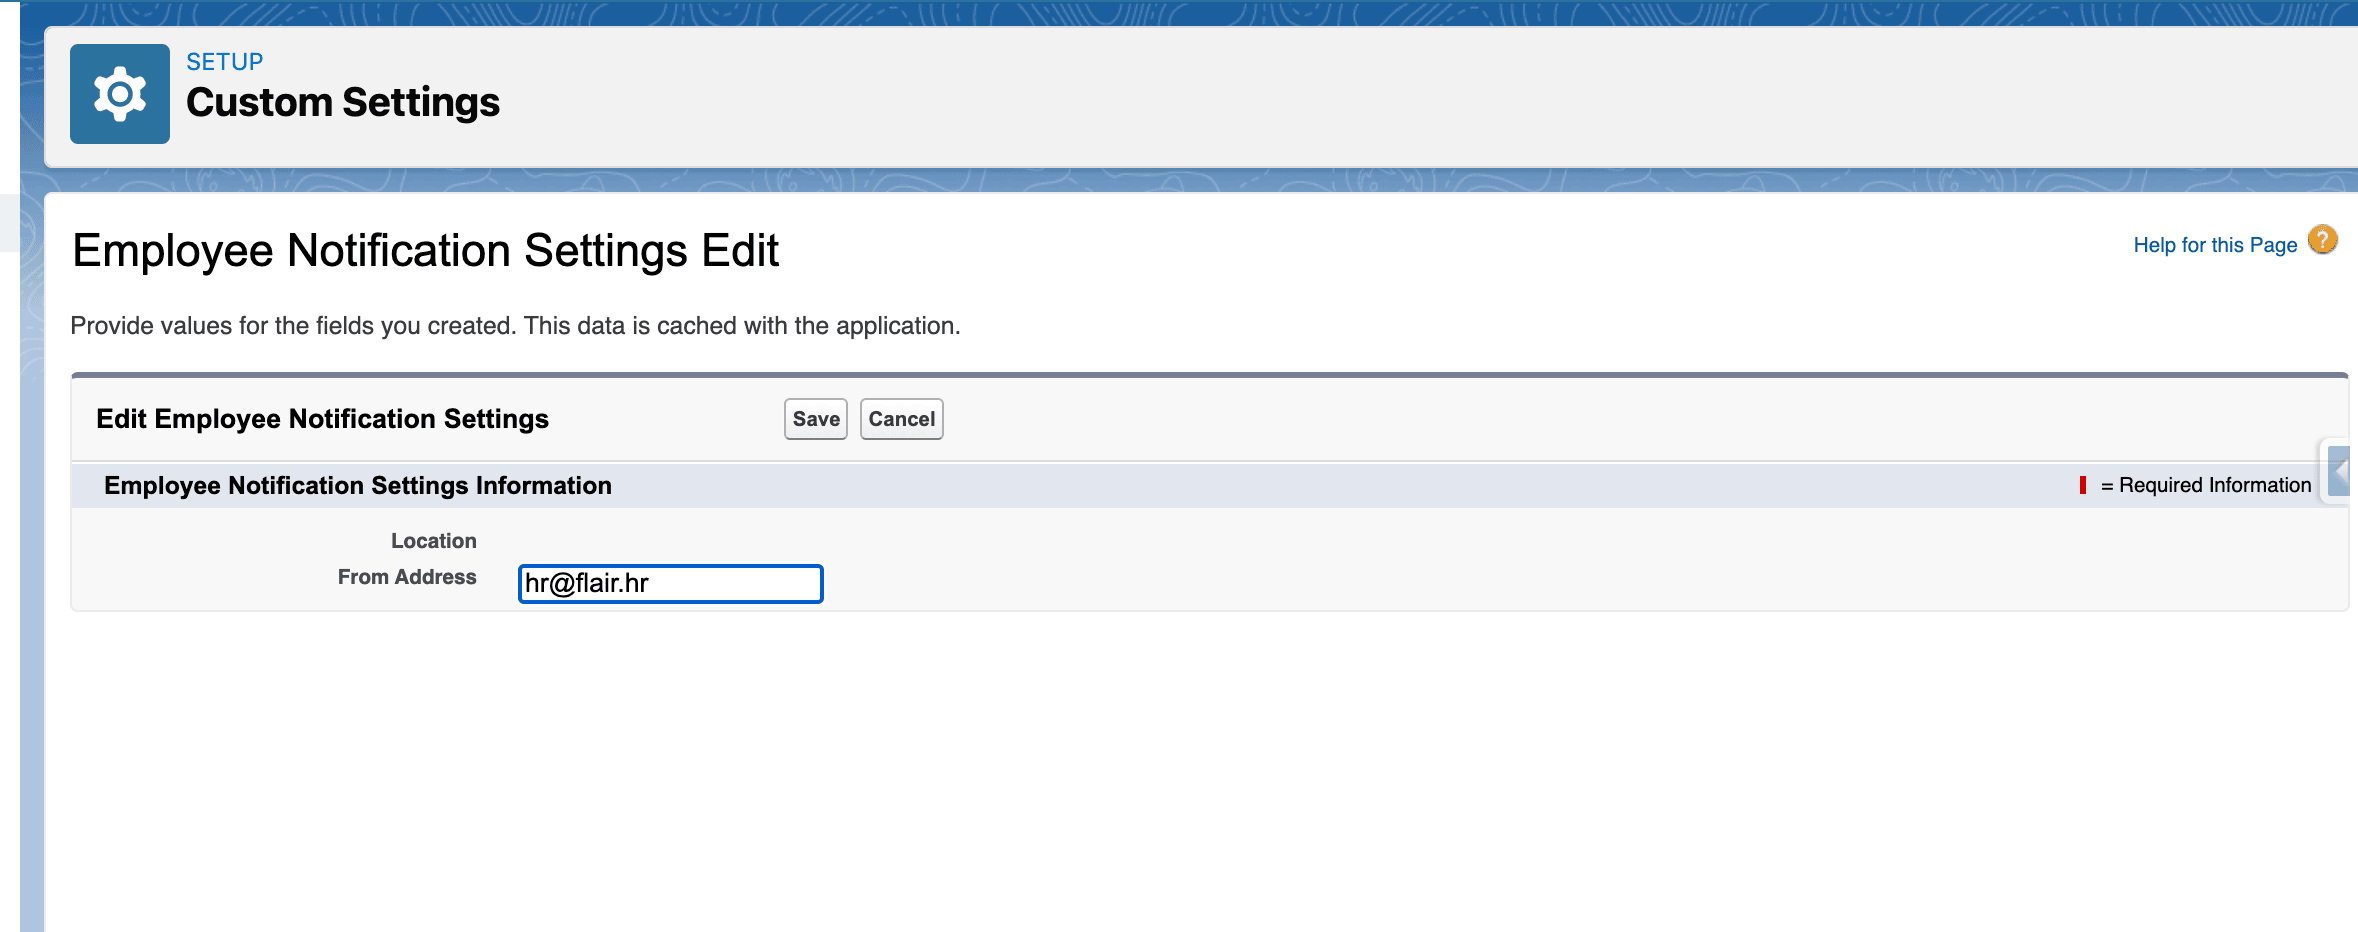
Next to Employee Notification Settings, click Manage.
-
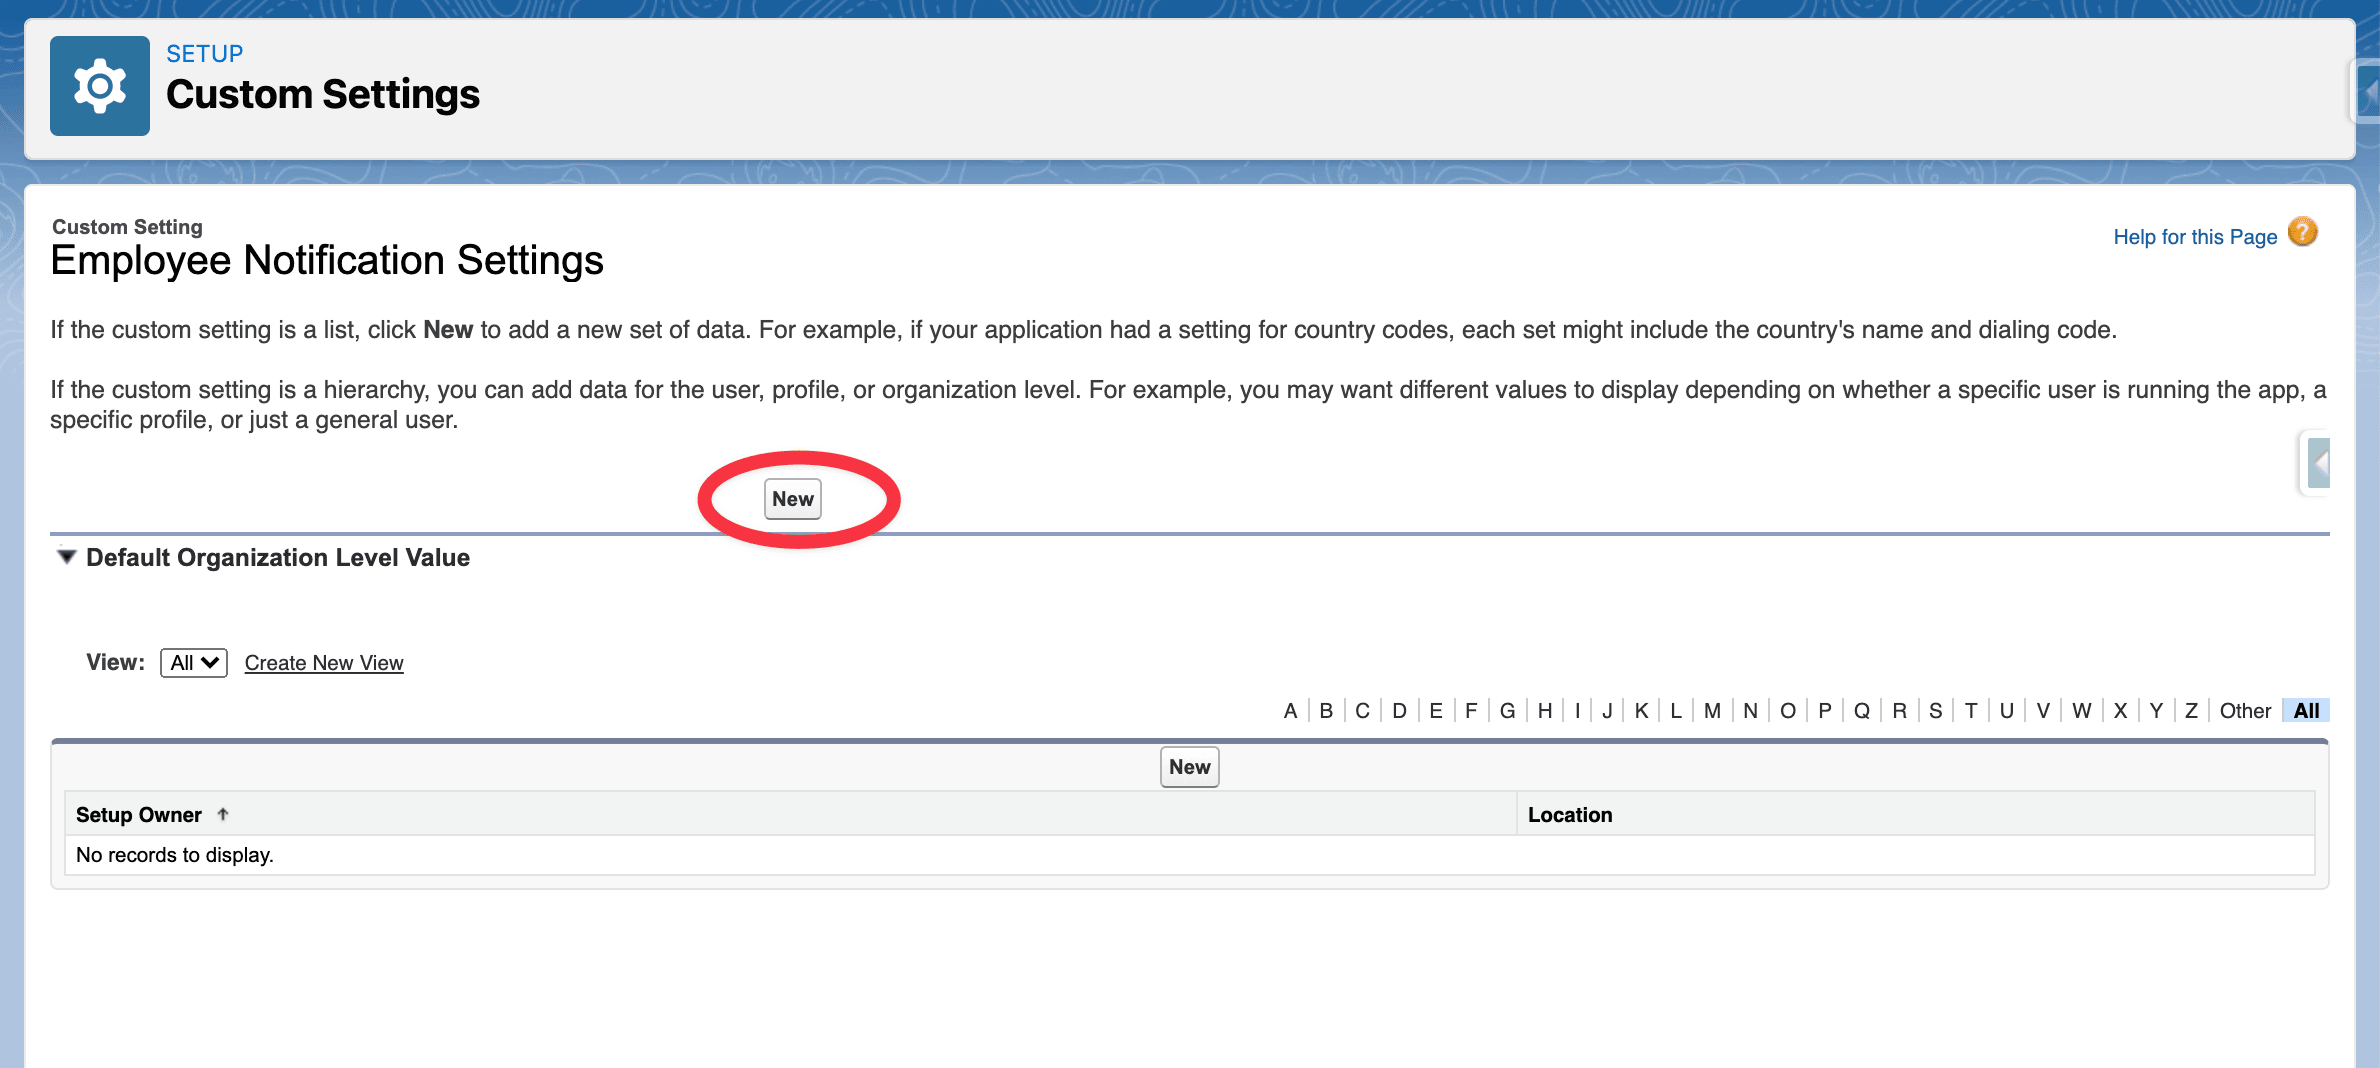
Click the first New action.
-
Enter the verified organization-wide email address.
-
Click Save. Employee notifications use the new HR sender address.
Use the address for candidate notifications
Configure an Email Alert
-
In the flair Recruiting app, click the setup gear, and select Setup.
-
In Quick Find, enter
Email Alerts.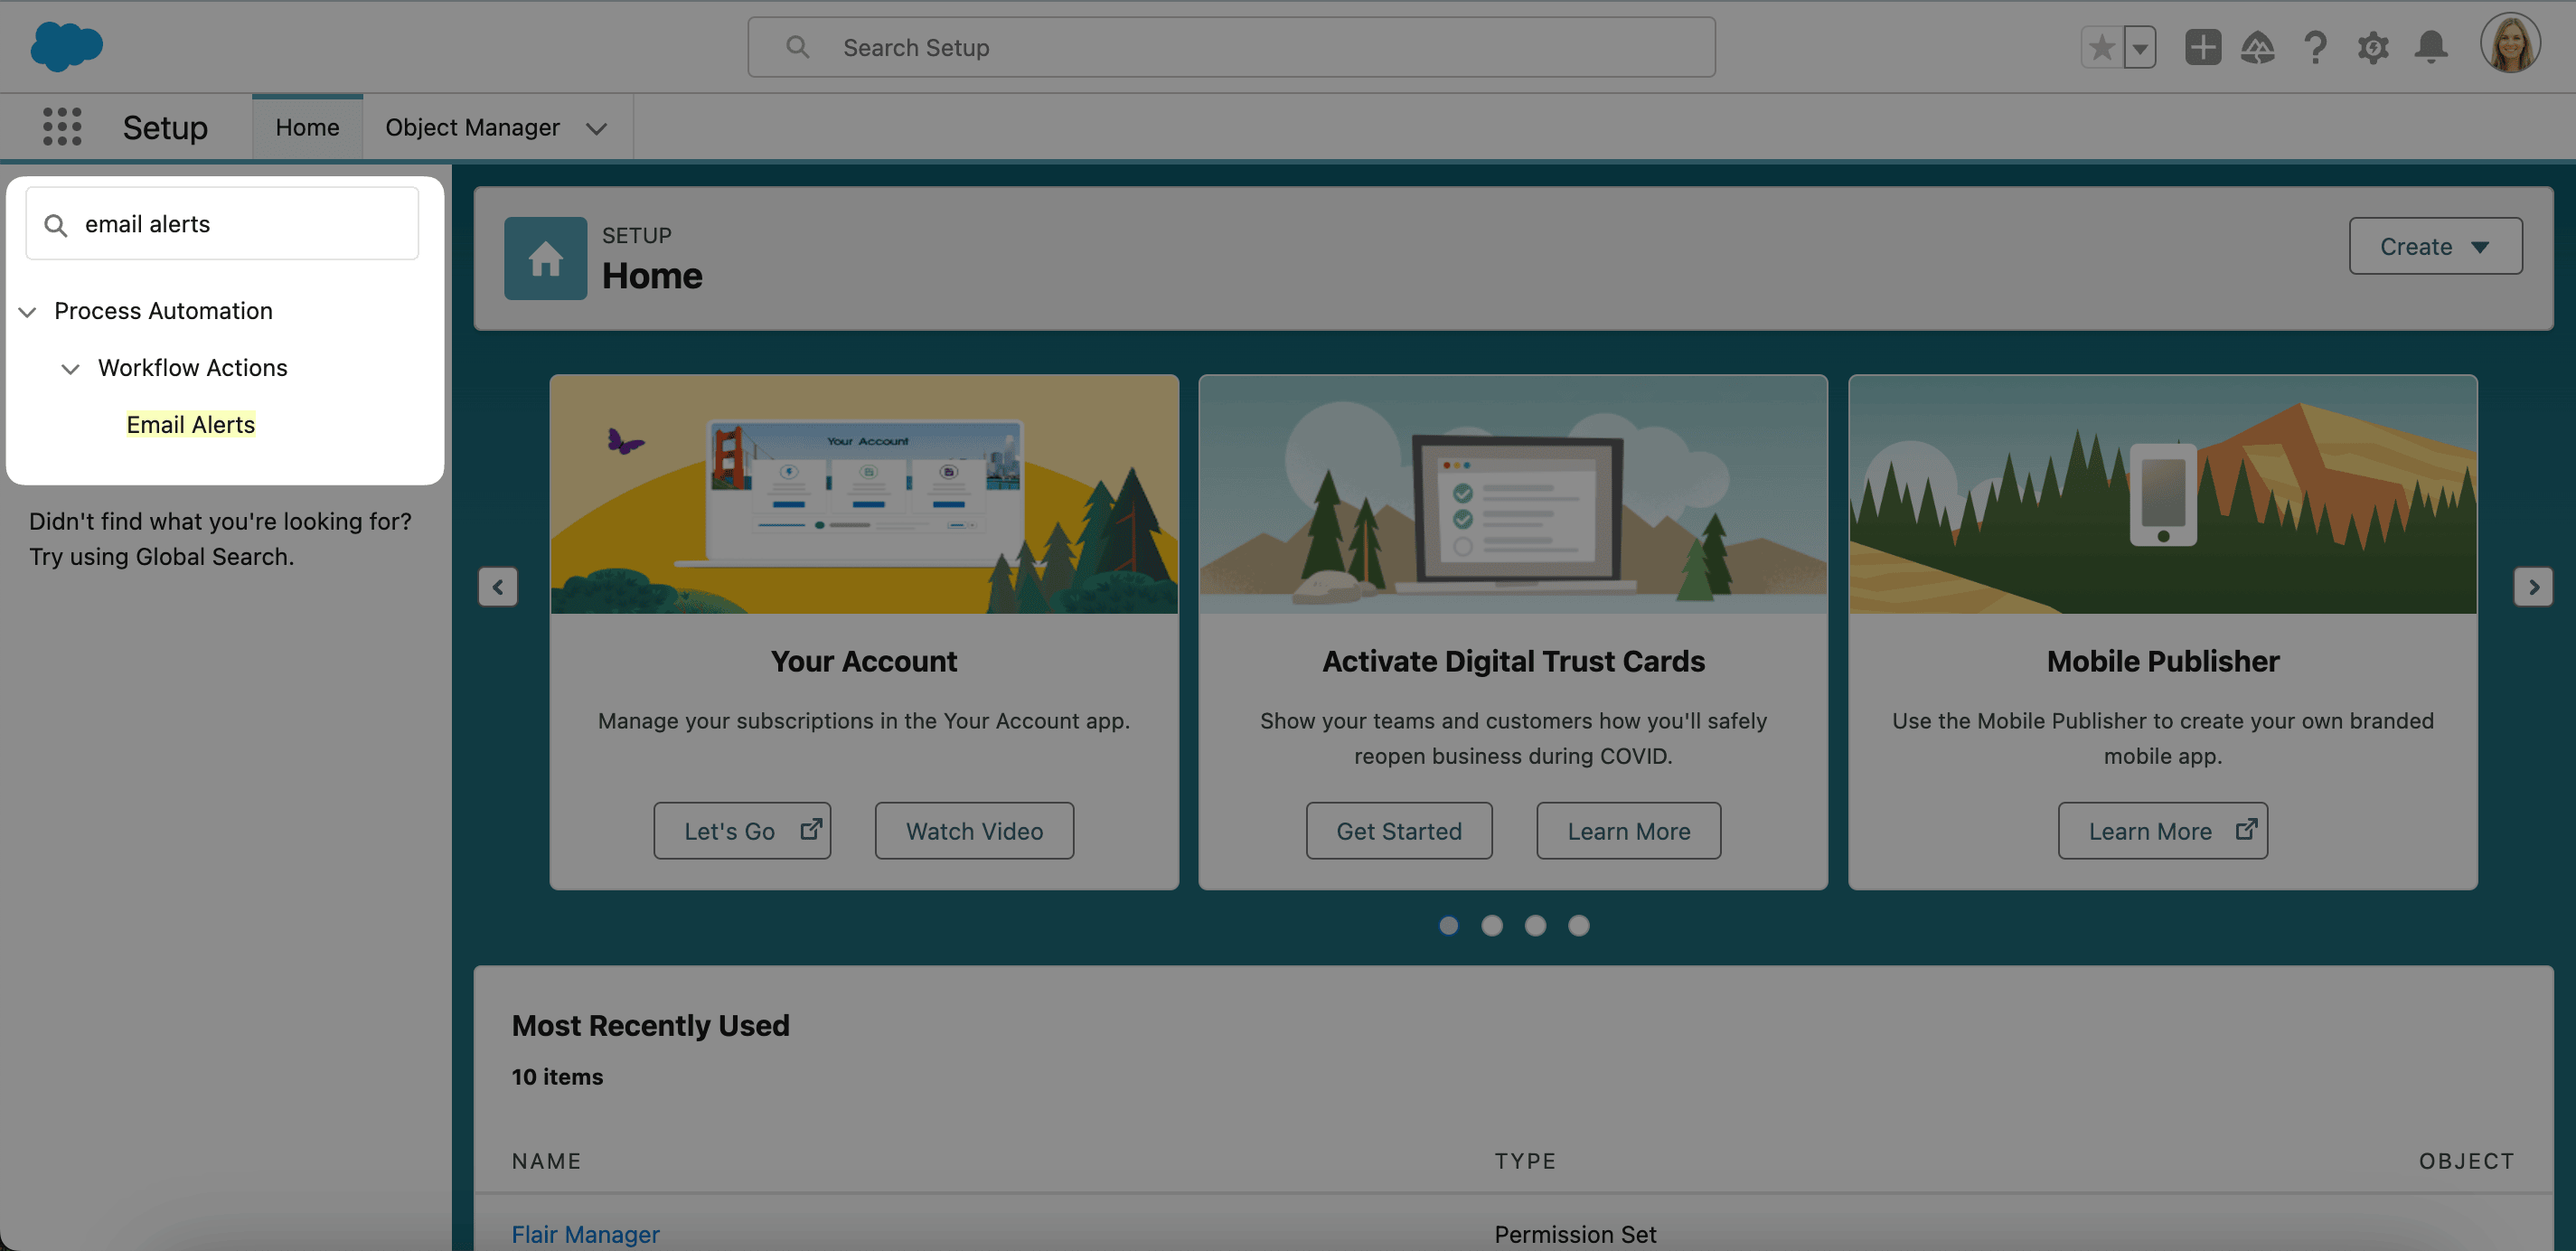
-
Open Email Alerts.
-
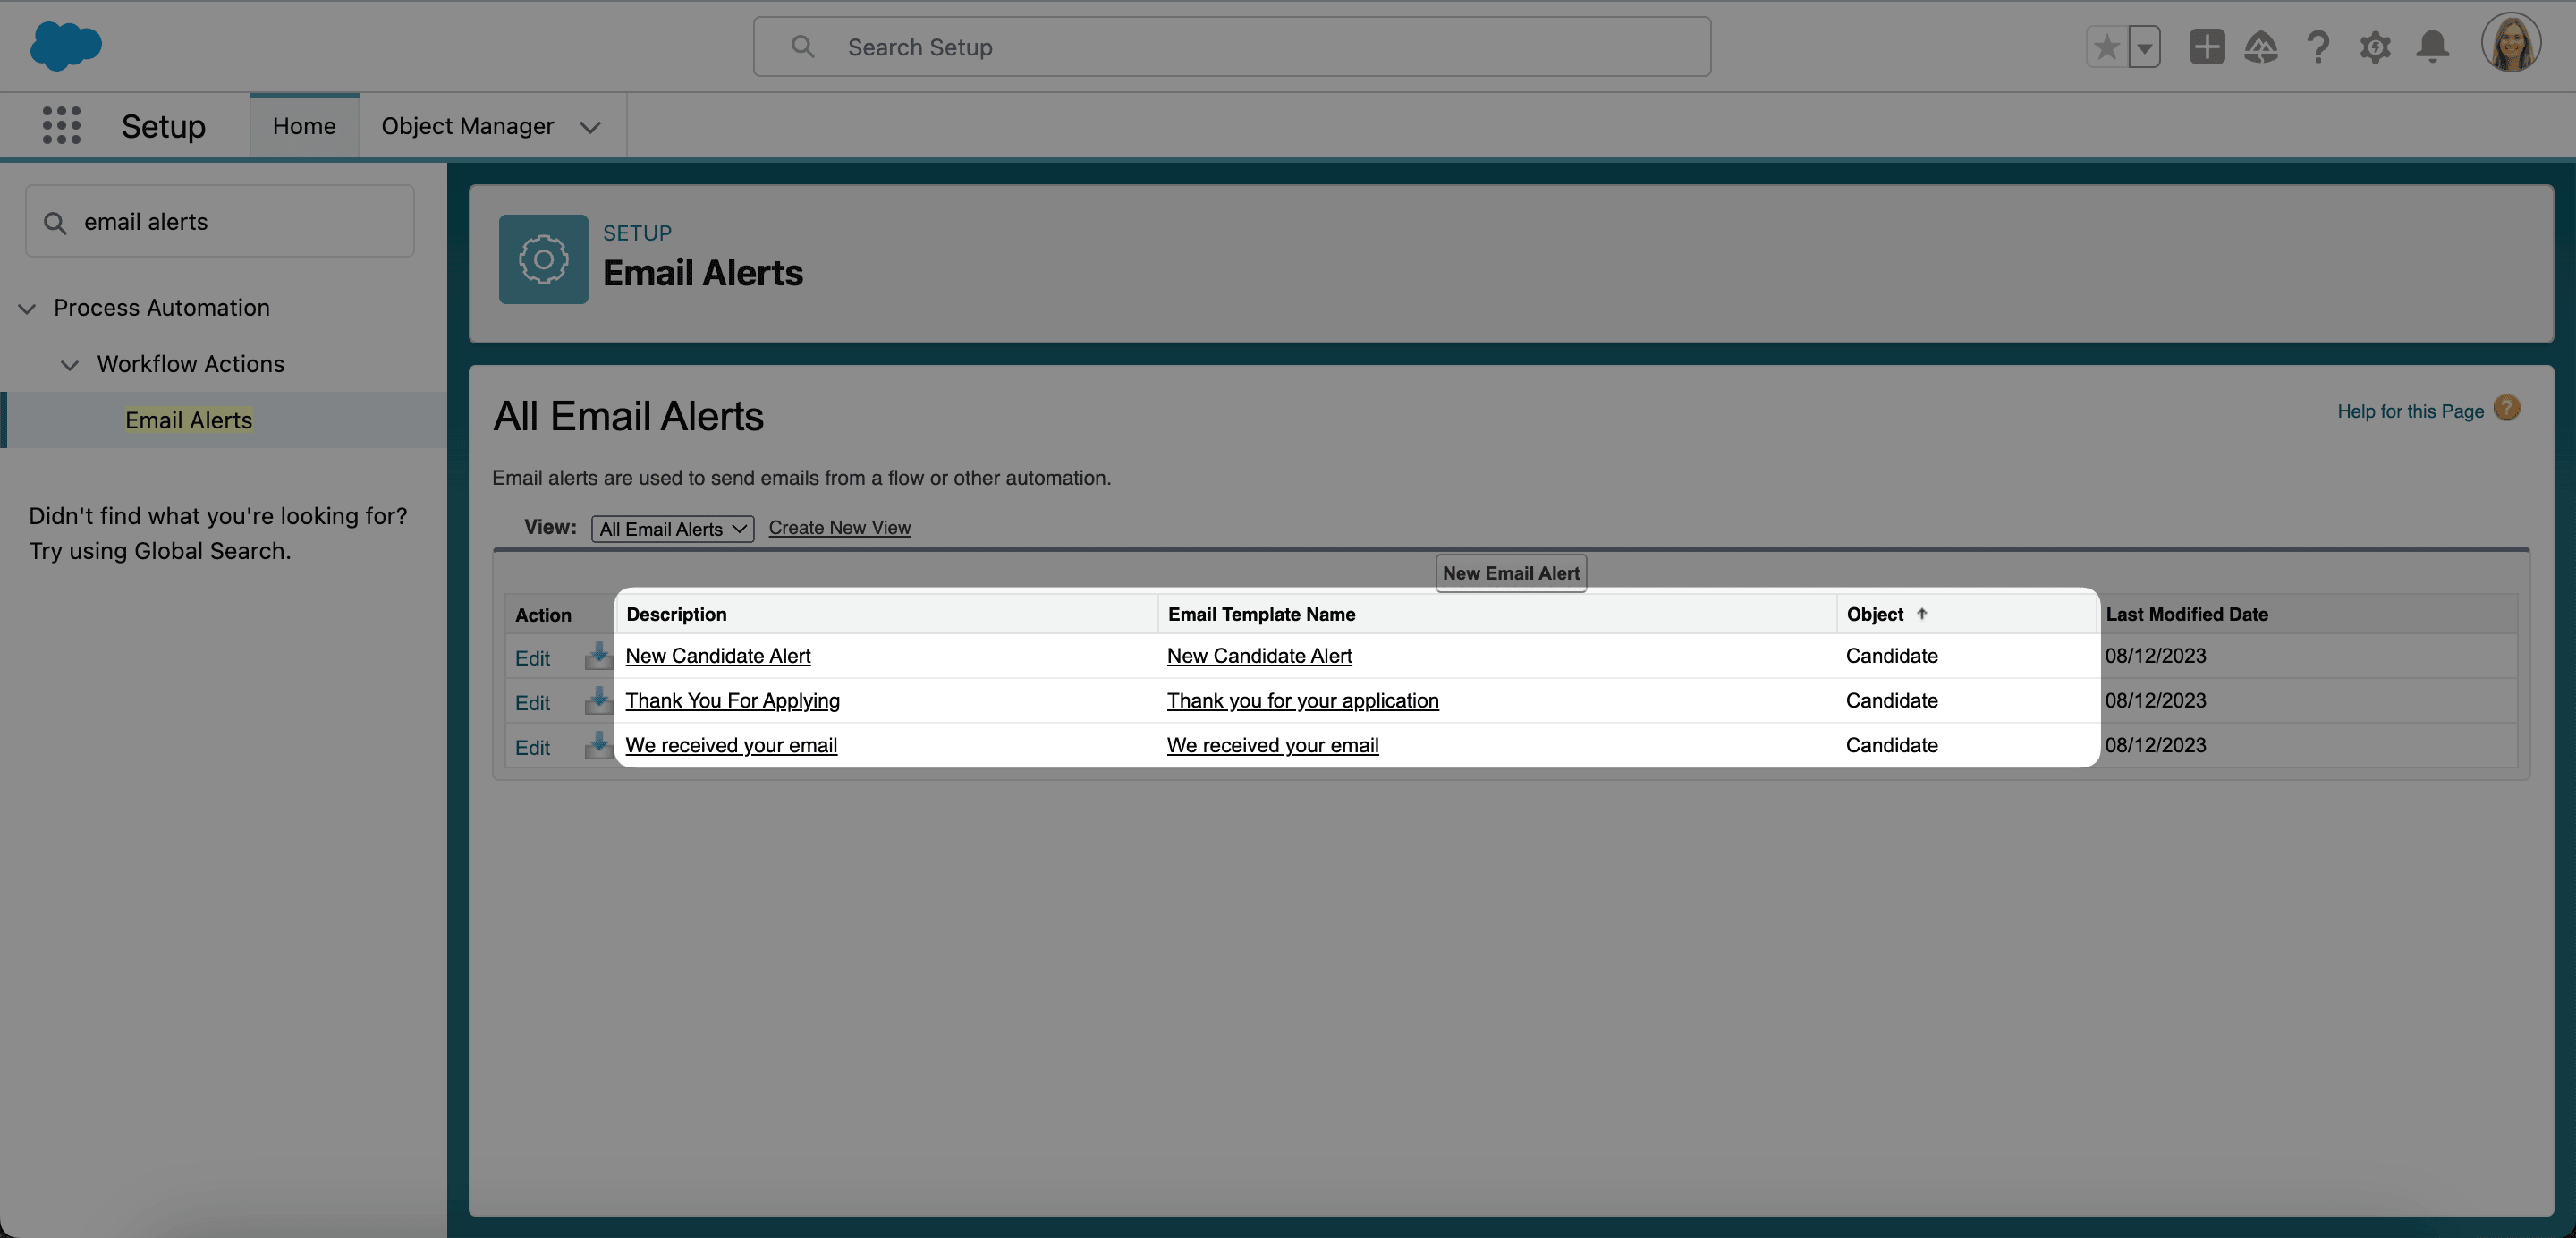
In the Object column, find a Candidate alert such as New Candidate Alert, Thank You For Applying, or We Received Your Email.
-
In the Description column, open the alert.
-
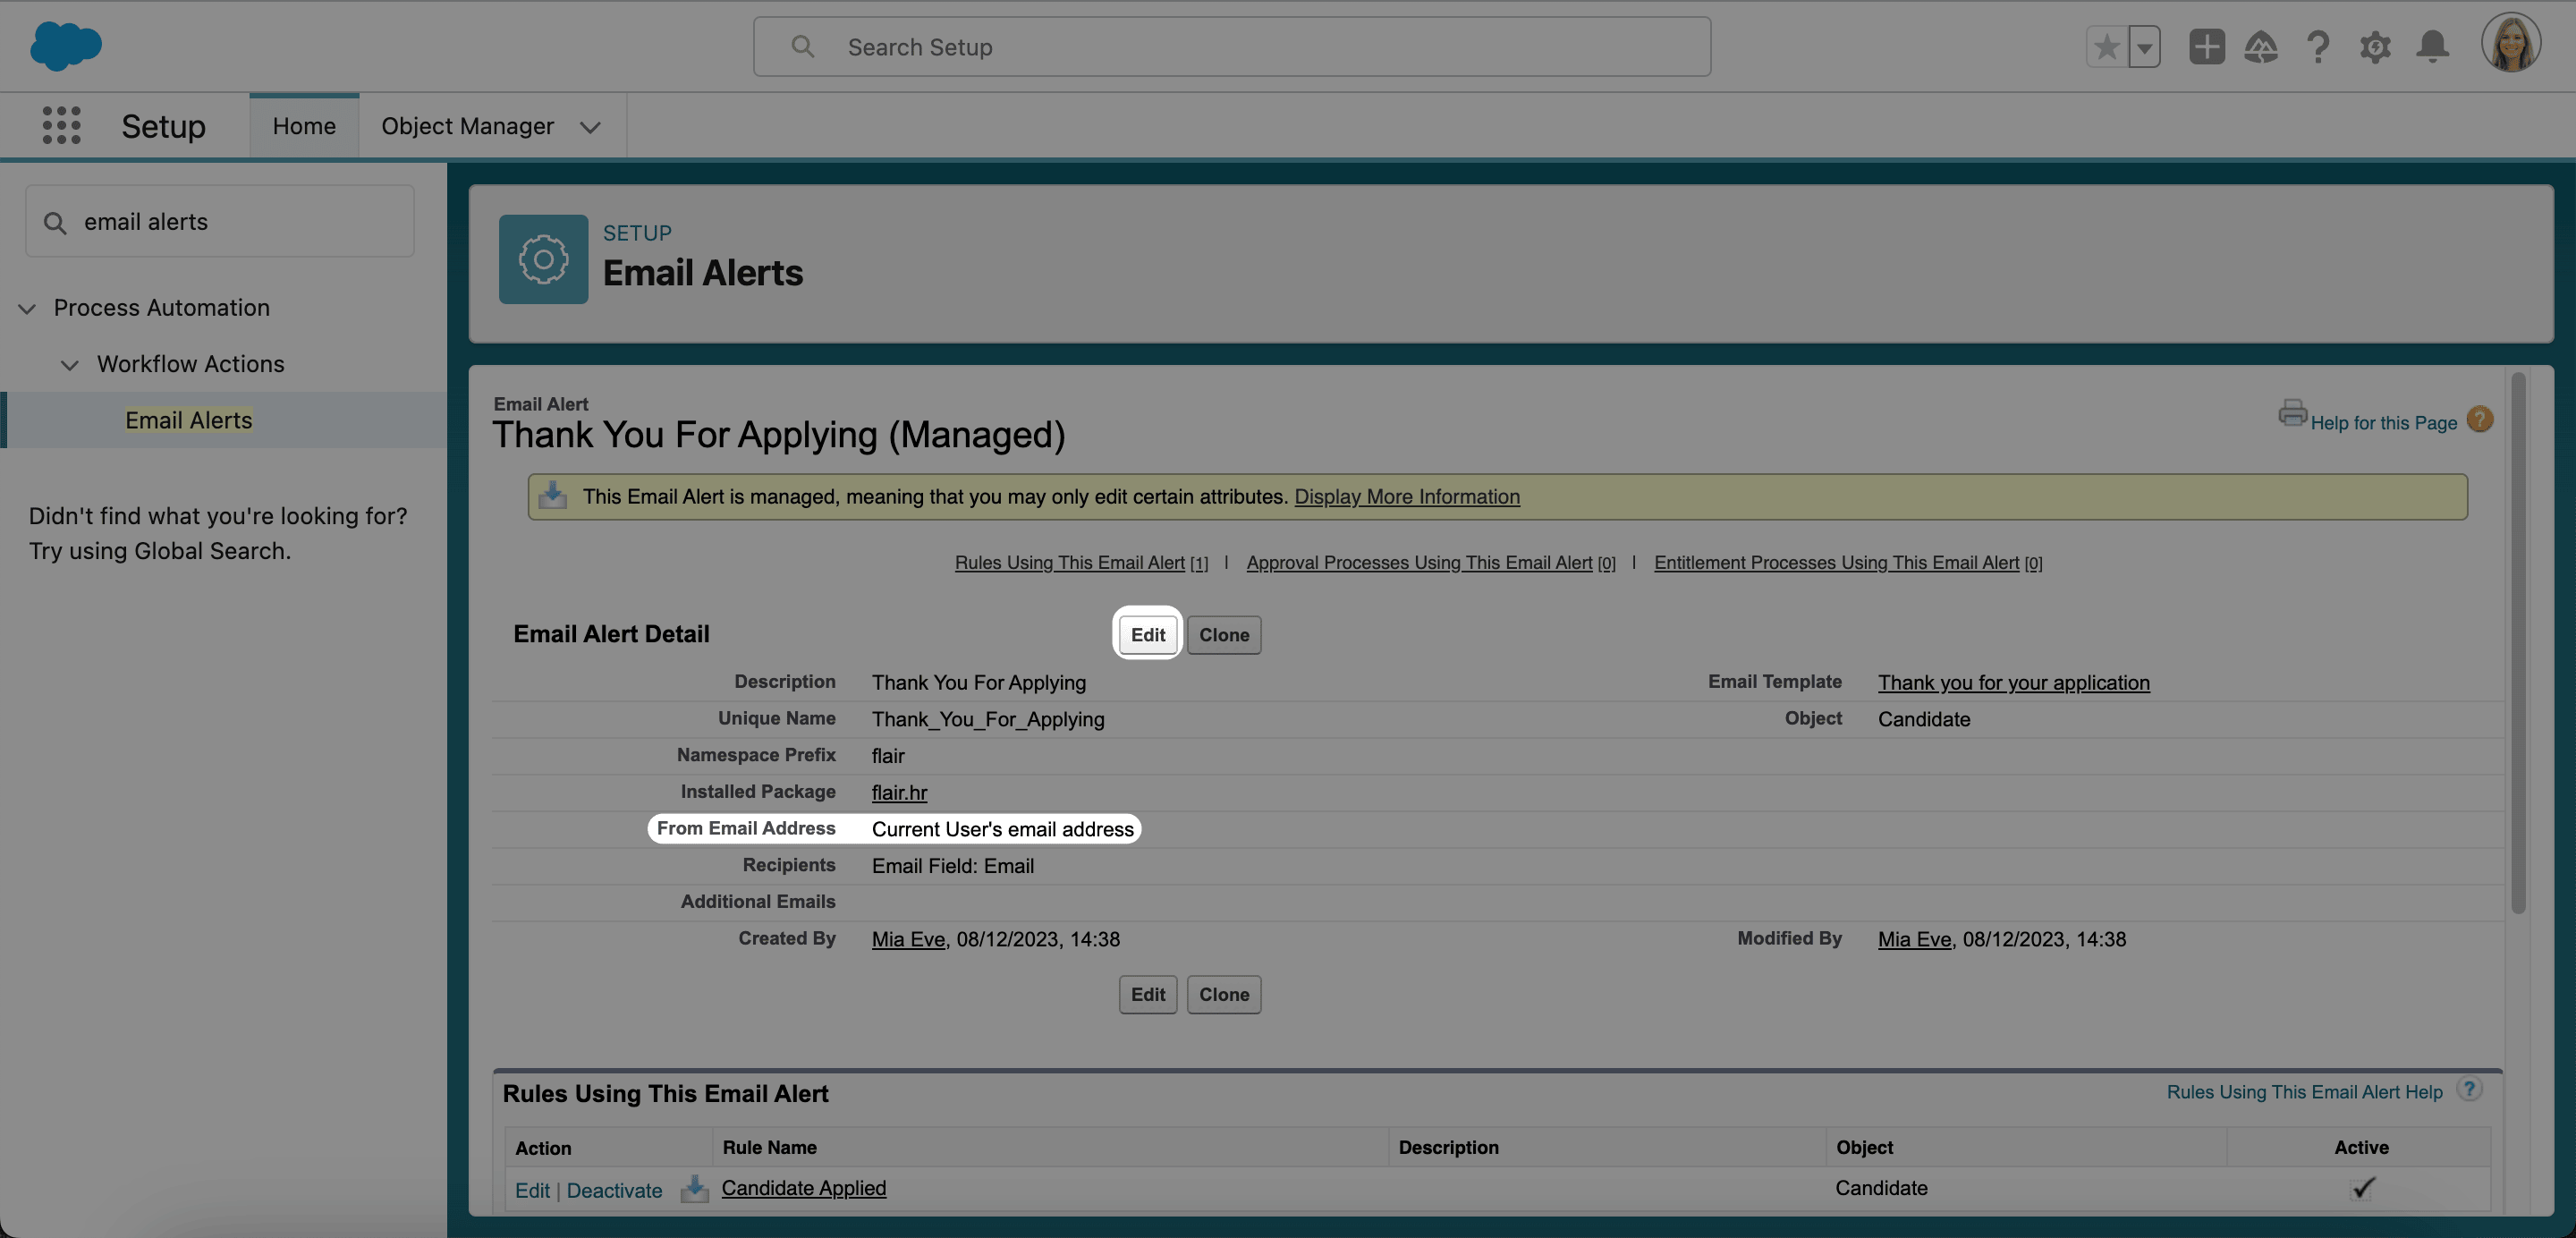
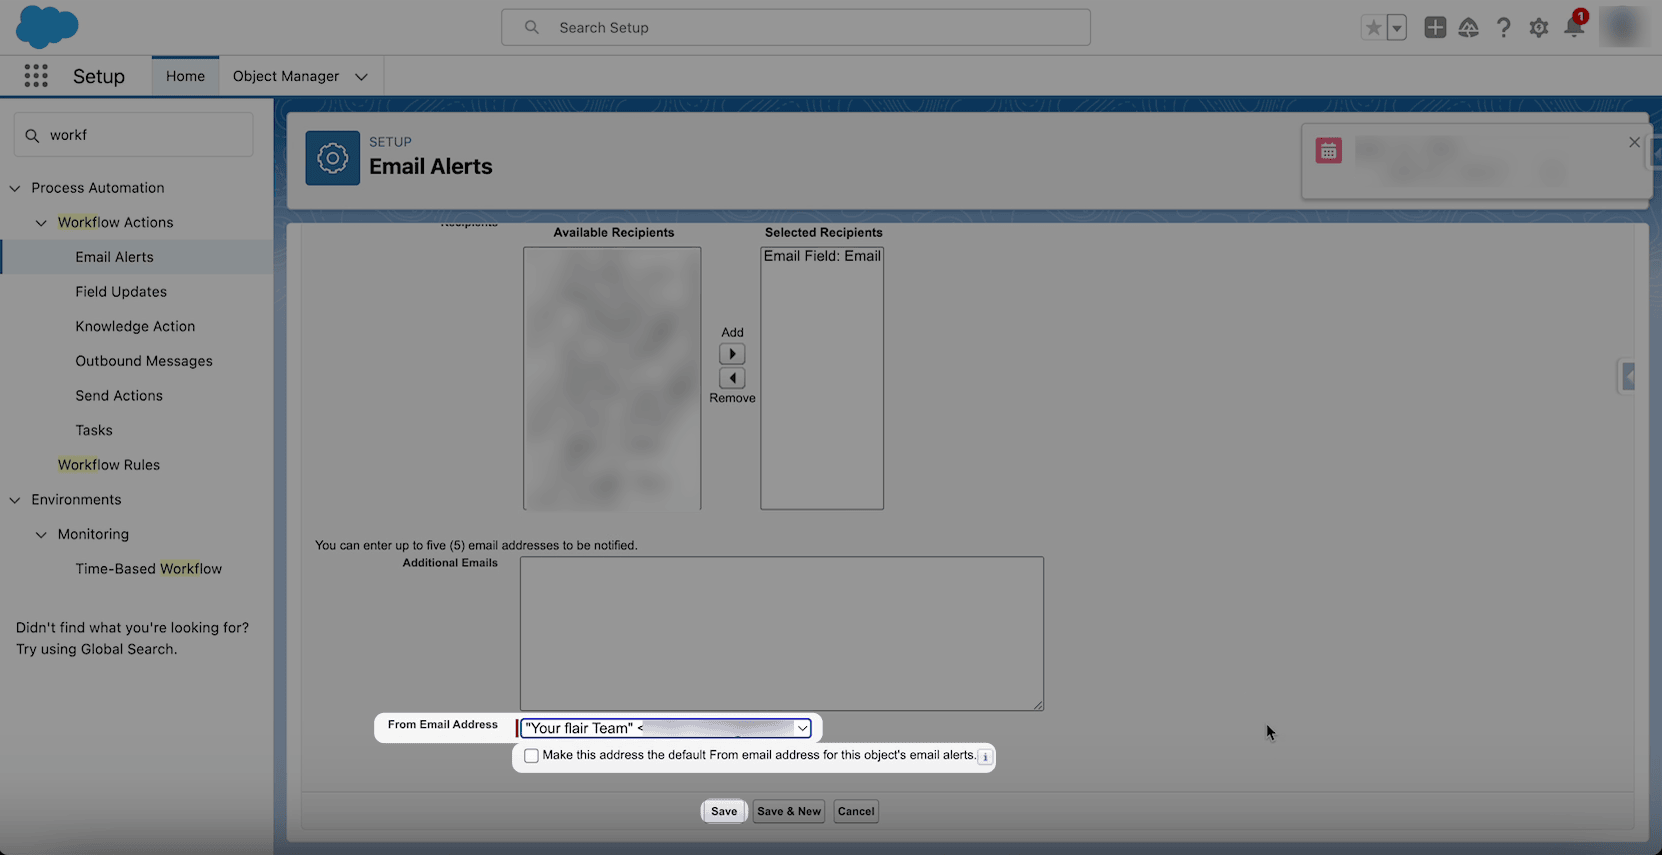
Click Edit next to From Email Address.
-
Select the organization-wide address under From Email Address.
-
Optional: Select Make this address the default From email address for this object's email alerts to update the other Candidate alerts.
-
Click Save.
Configure Candidate Notification Settings
- In Salesforce Setup, open Custom Settings.
- Next to Candidate Notification Settings, click Manage.
- Add the organization-wide email address.
- Click Save. Candidate application email uses the shared sender address.